Create Push Template
In this area you'll learn how to create a push message template.
To access this area, expand the menu item Messages and click in Templates as follows:

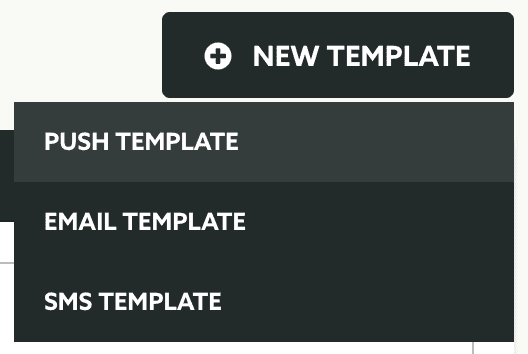
In this page, expand the New Template menu and click in in Push Template:

This will take you to a wizard divided in five different tabs, as shown below:

Some sections are optional and you will notice that they are marked as ready by default.
Setup
In the Setup tab, you will need to provide a name for your template. This will help you identify templates later on:

Segmentation
If you would like to automatically categorize users when they open your messages, you can use segmentation rules to do so. Click in the Segmentation tab:

Learn more about how to setup segmentation rules in our guides located here.
Content
To actually create the content your users will see when you send a push message, click in the Content tab. If you are using our inbox functionality, you may localize your content in multiple languages. For that toggle the switch Use localized content to start creating content in other languages:

Automatically a new tab called Default will appear, which will allow you to create the content that we will use as a fallback when the device that receives the message does not have a language provided by the localized content you create.

Make sure you create the default content before proceeding to add more languages, as other localized content must share the same type and actions you use in the default content. When you are ready to add more languages, go ahead and click in the following button:

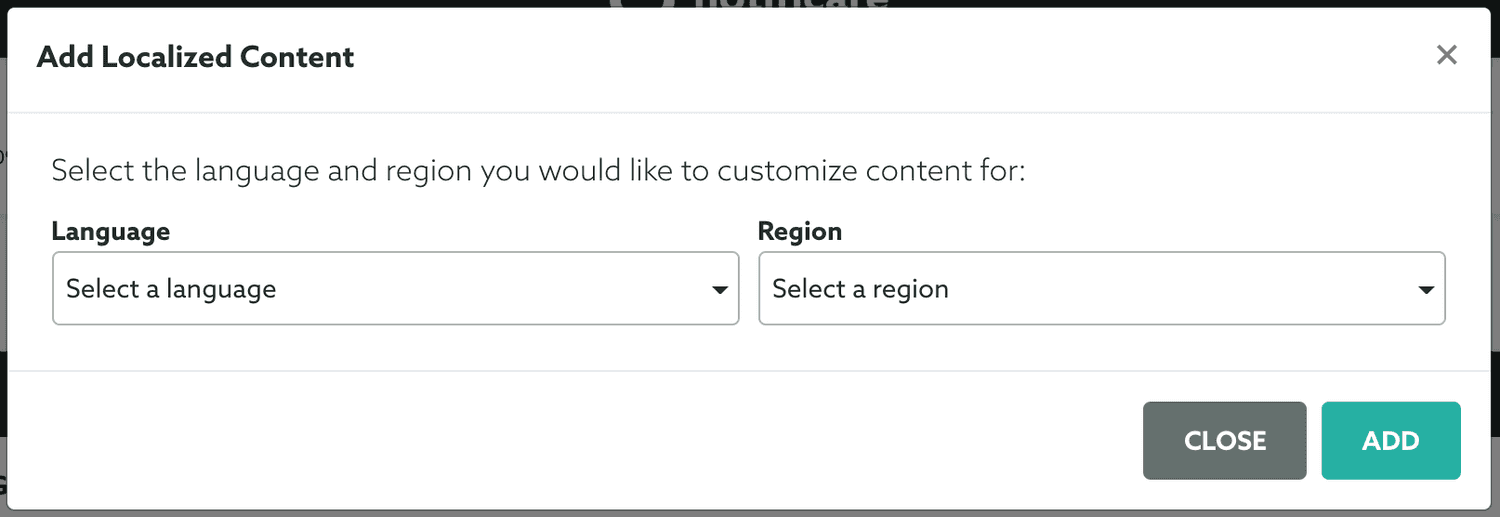
This will open a new window where you can select a language/region combination. Note that region is a property that is only available in SDK 2.0 or higher, so it's important your apps use this version if you would like to have use a language/region combination. If your apps do not support this version or you simply don't need to create content based on a language/region combination, you can leave the region option unselected.

Adding languages will eventually add new tabs to the message composer, as shown below. Make sure you localize all fields accordingly in each tab:

A push message can include a lock screen image, for that simply upload a image file or use an existing one (only available if you have the Storage add-on) in the Lock Screen Media section:

By default a push message will always generate a remote notifications, if you are using our inbox functionality and you don't want to generate one and only show it in the inbox instead, go ahead and toggle the following option OFF:

Optionally you can also include a title (please note that this field allows placeholders):

Also optional, a push message can contain a subtitle (please note that this field also allows placeholders):

It is mandatory that you include a short message (please note that this field allows placeholders):

Then you should select a Rich Push Template, by default we will include several templates but you can also create your own. Select one of the options by expanding the menu below:

To learn more about these templates read the guide here. To learn how to create your own rich push templates, read the guide located here.
Finally you can also add actions to your messages, by using the option below:

To learn more about actions, please read the guide here.
Options
In this tab, you can use the following option to ignore the messaging limit you've previously defined for your app:

This can be useful for time-sensitive messages or particularly important communication.
Optionally, for each push message, you can also configure some optional settings. To do that click in the Options tab. If you wish to not deliver your message after a certain amount of time, provide a value in seconds in the following field:

This can be useful if the content of your message is time sensitive and not relevant if not delivered (recipient's device is OFF or unavailable) after a certain amount of time.
It is also possible to configure a sound for your message. By default, your message will not produce any sound but you can provide default as the value to let the device play the default sound when a message arrives. You can also play custom sounds, for that you need to include a sound file in your apps. For iOS we advise you to use the .caf format and for Android and Web the .mp3 file format. To play custom sounds you will need to specify the file name in this field:

In some cases, your app might need to handle some information before processing a push message. For those cases, we allow you to include a machine-readable value (key-value pairs JSON object) in each message as the Extra:

Developers should then handle this data in the app as it will be accessible as soon as the message is delivered to the user's device.
Finally you can also provide some platform-specific options. For iOS you can override the badge value:

Please note that if you are using the inbox functionality with the Auto-Badge option, any value you provide in this field will be ignored.
For Android you will be able to remotely provide which channel to use and/or the LED colour and ON/OFF interval (when supported by the device):

For Web you will be able to remotely define if a message should only be dismissed after a user interacts with it (when supported by the browser):

These settings might be useful if you want to send a message platform specific message.
Delivery
Finally you can configure the throttle rate of a message by clicking in the Delivery tab:
If you wish to throttle the delivery of a message, you can toggle the option below:

This will allow you to specify the rate of how many messages we should send per second (min. 10/sec):

As you compose your message you can also see how it will look like by clicking in the Preview button:

Once you are done composing your message, click in the Create Template button to actually save the template:

Keep reading our guides to learn how to edit a template.