Create Email Template
In this area you'll learn how to create an email message template.
To access this area, expand the menu item Messages and click in Templates as follows:

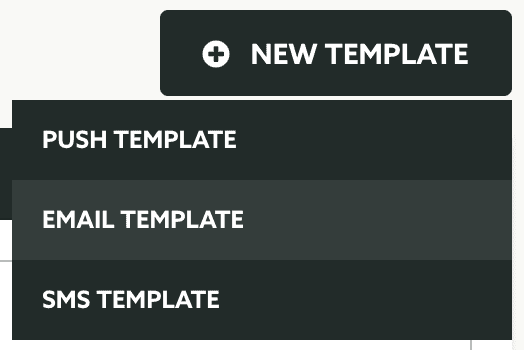
In this page, expand the New Template menu and click in in Email Template:

This will take you to a wizard divided in five different tabs, as shown below:

Some sections are optional and you will notice that they are marked as ready by default.
Setup
In the Setup tab, you will need to provide a name for your template. This will help you identify templates later on:

Segmentation
If you would like to automatically categorize users when they open your messages, you can use segmentation rules to do so. Click in the Segmentation tab:

Learn more about how to setup segmentation rules in our guides located here.
Content
To actually create the content your users will see when you send an email message, click in the Content tab. If you are using our inbox functionality, you may localize your content in multiple languages. For that toggle the switch Use localized content to start creating content in other languages:

Automatically a new tab called Default will appear, which will allow you to create the content that we will use as a fallback when the recipient that receives the message does not have a language provided by the localized content you create.

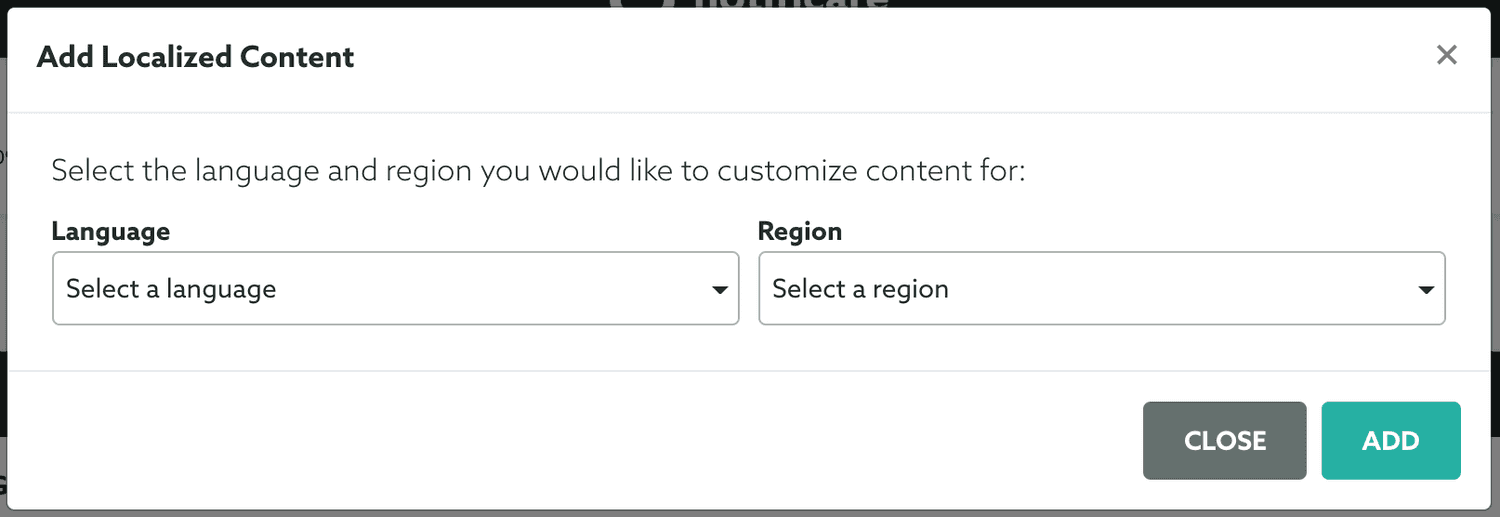
Make sure you create the default content before proceeding to add more languages, as other localized content must share the same structure you use in the default content. When you are ready to add more languages, go ahead and click in the following button:

This will open a new window where you can select a language/region combination. Note that region is a property that is only available in SDK 2.0 or higher, so it's important your apps use this version if you would like to have use a language/region combination. If your apps do not support this version or you simply don't need to create content based on a language/region combination, you can leave the region option unselected.

Adding languages will eventually add new tabs to the message composer, as shown below. Make sure you localize all fields accordingly in each tab:

An email message should contain a Subject:

Then you should provide a Body. You can either compose it using our component based editor or use your own HTML:

To learn more about these options, read the guide here.
By default we will use the body to automatically generate a plain-text version of your email, but if you wish to create your own, toggle the option below:

Then just provide your text in the field below:

Finally you can also upload files as attachments or use existing ones (if you have the Storage add-on) to your messages, by using the section below:

Options
In this tab, you can use the following option to ignore the messaging limit you've previously defined for your app:

This can be useful for time-sensitive messages or particularly important communication.
Optionally, for each email message, you can also configure some optional settings. To do that click in the Options tab. If you wish to use a different sender than the one you configure in your email service, use the fields below to define that. You can specify a different Sender Name:

Or a different Sender Address:

These values will be used in the FROM field of your message.
Delivery
Finally you can configure the throttle rate of a message by clicking in the Delivery tab:
If you wish to throttle the delivery of a message, you can toggle the option below:

This will allow you to specify the rate of how many messages we should send per second (min. 10/sec):

Once you are done composing your message, click in the Create Template button to actually save the template:

Keep reading our guides to learn how to edit a template.