Email Designer
In this area you'll learn how to compose the content for an email message. Whenever you see the following option in an email composer wizard, you can select from two different options:

Using Pre-Defined Components
This is our solution to create email content from scratch. Using a drag and drop interface you will be able to design your content as you go. Select the following option to use pre-defined components:

When selected, this option will present you an editor as follows:
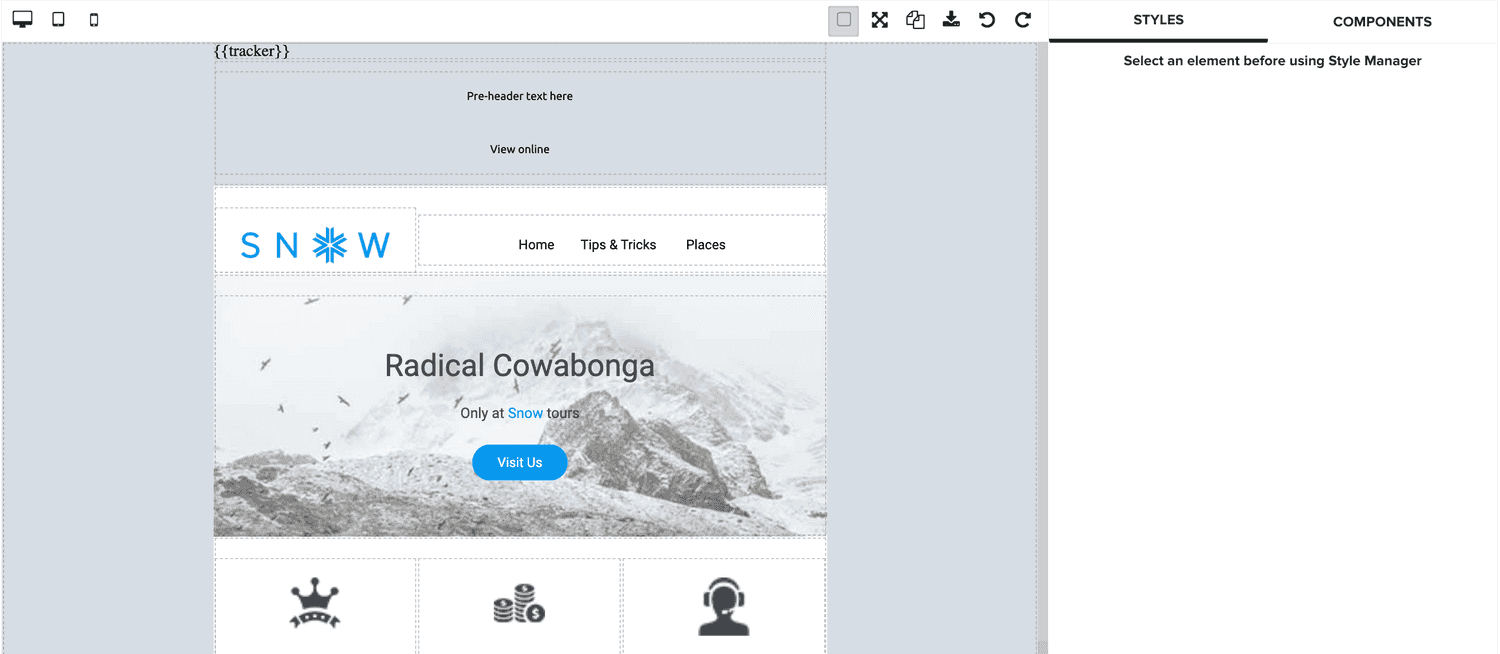
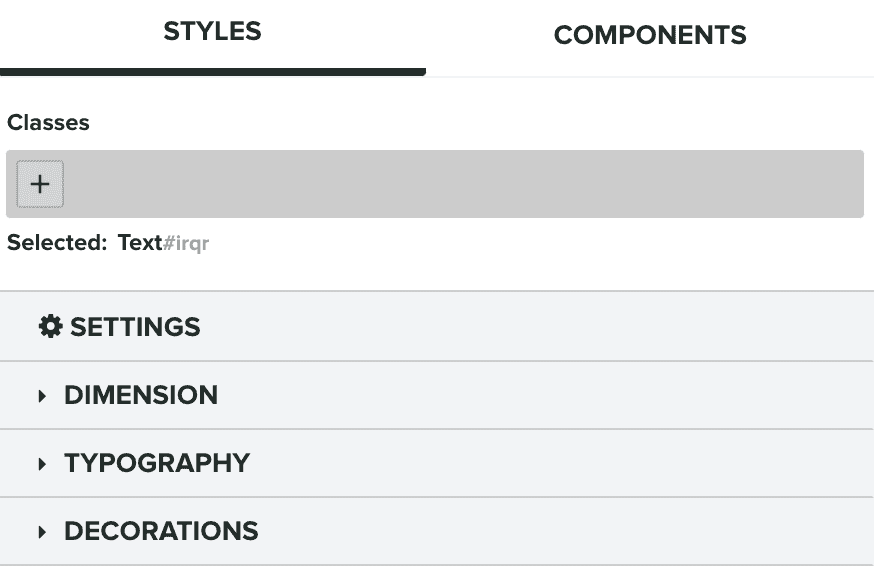
You will edit components by clicking on them and perform your changes in the Styles tab:
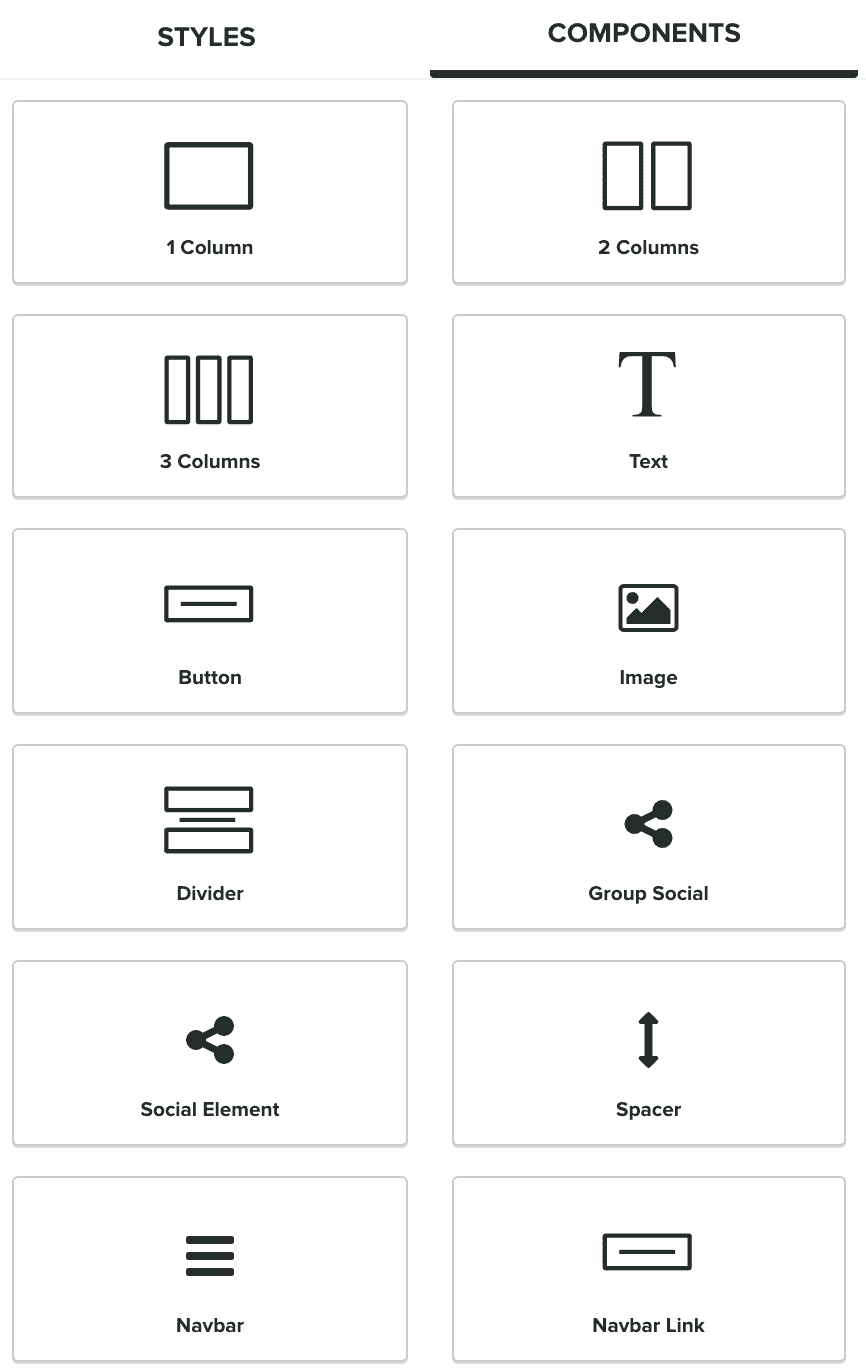
And you add more components from the Components tab by dragging them to the canvas:
You can then also preview how your responsive design works by switch devices in the following items of the toolbar:

And access several other features of the editor in the following items of the toolbar:

From left to right, you can show or hide components grid, enter or leave fullscreen, use templates, import MJML and finally undo and redo changes.
This is our legacy solution to create email content from scratch. Using a drag and drop interface you will be able to design your content as you go. Select the following option to use pre-defined components:

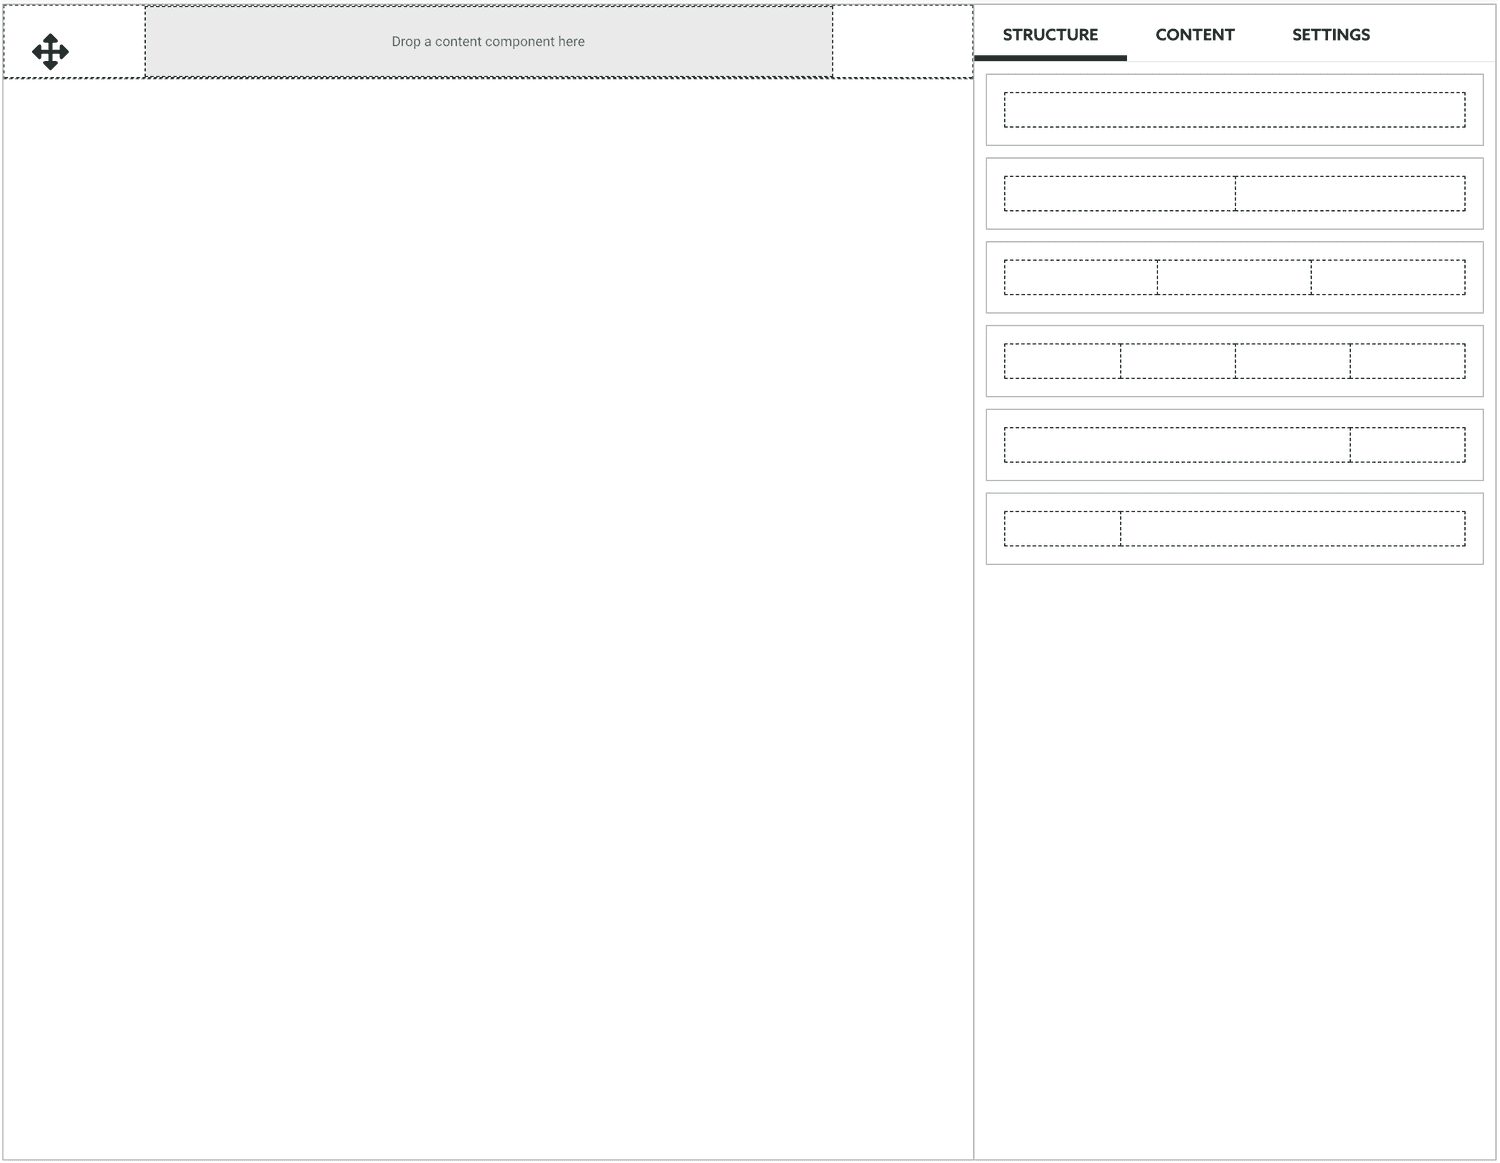
When selected, this option will present you with a section like the one below:
You can use this feature in full screen if you want, for that simply click in the following button:

In this right side of this editor, you will find the elements you need to help design your content. You should start with the tab Structure:
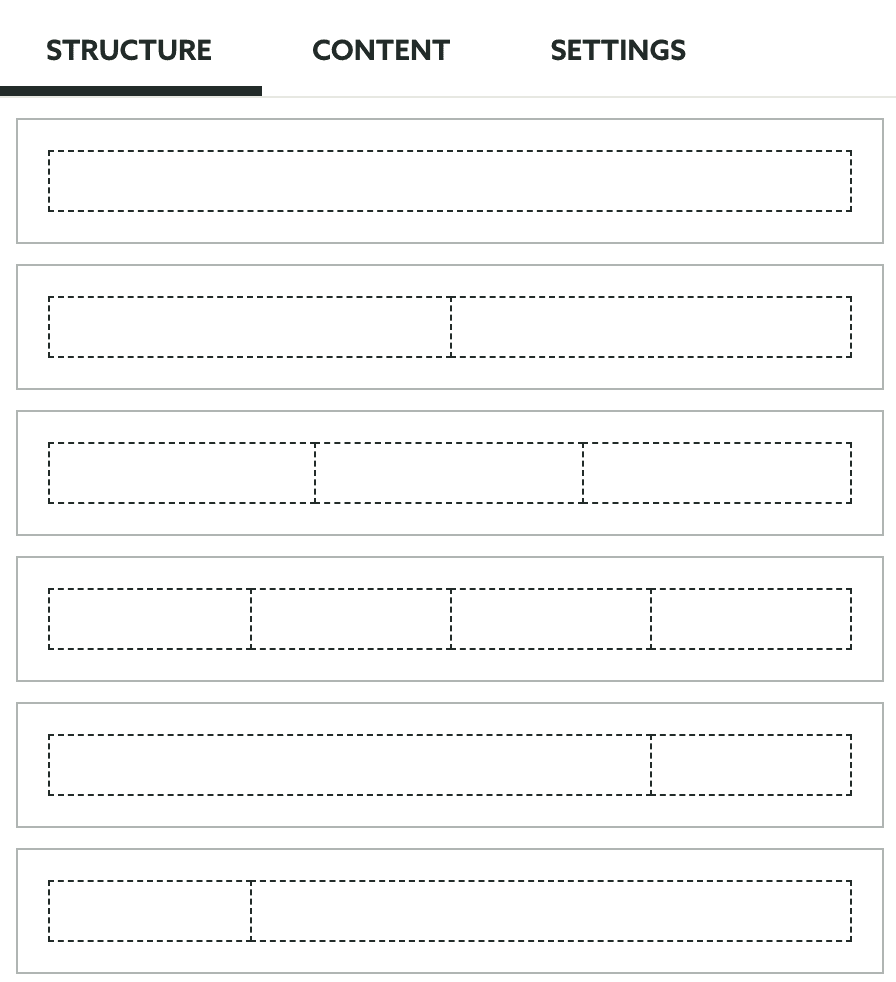
These are the elements you will need as the placeholder for your content. There are several types of structures and all of them will allow you to create a grid where you can place your content elements.
To actual add content inside your structures you should use the elements in the tab Content:
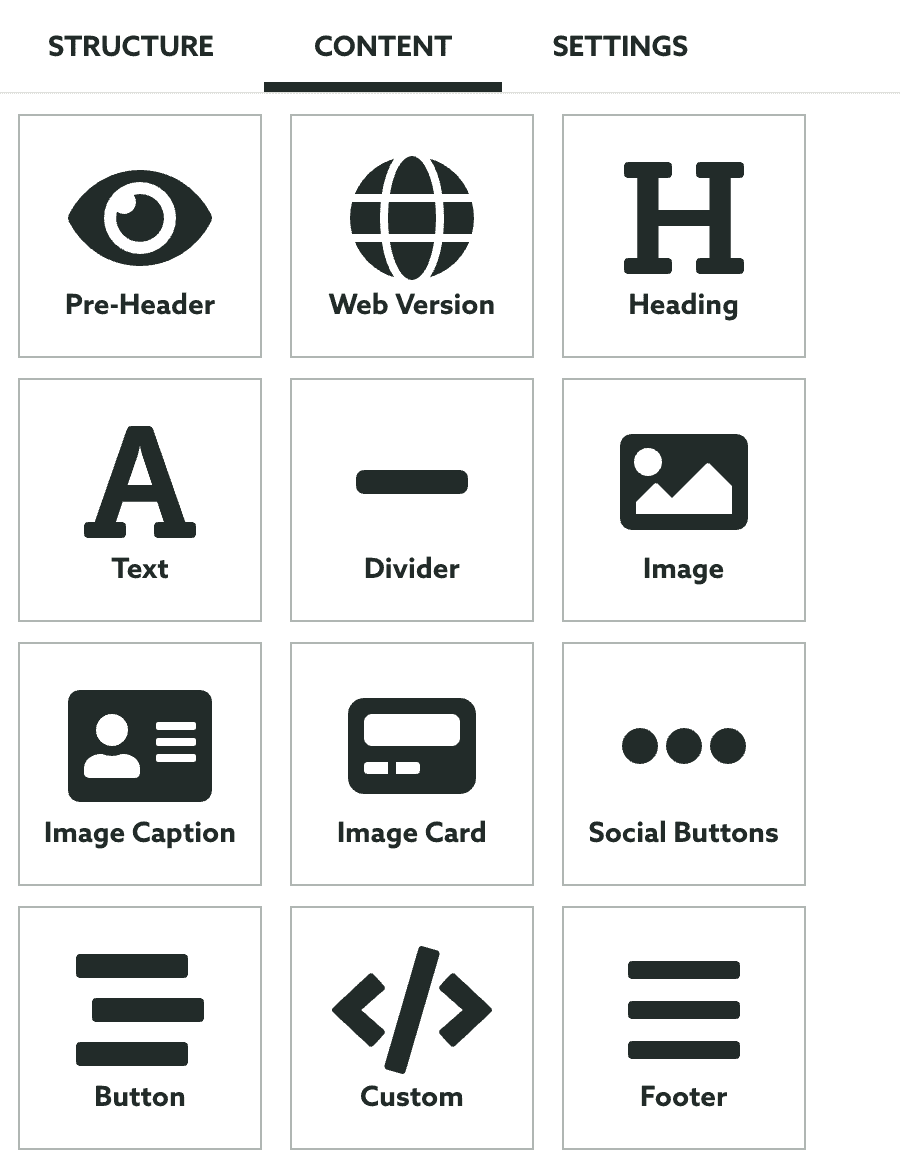
Each content element can be dragged and dropped into a structure column. They can also take different forms and will help you cover your needs when designing your email campaigns. Once you add components into structures, it is also possible to edit its settings by click on them.
Finally you can adjust your email body settings in the tab Settings:
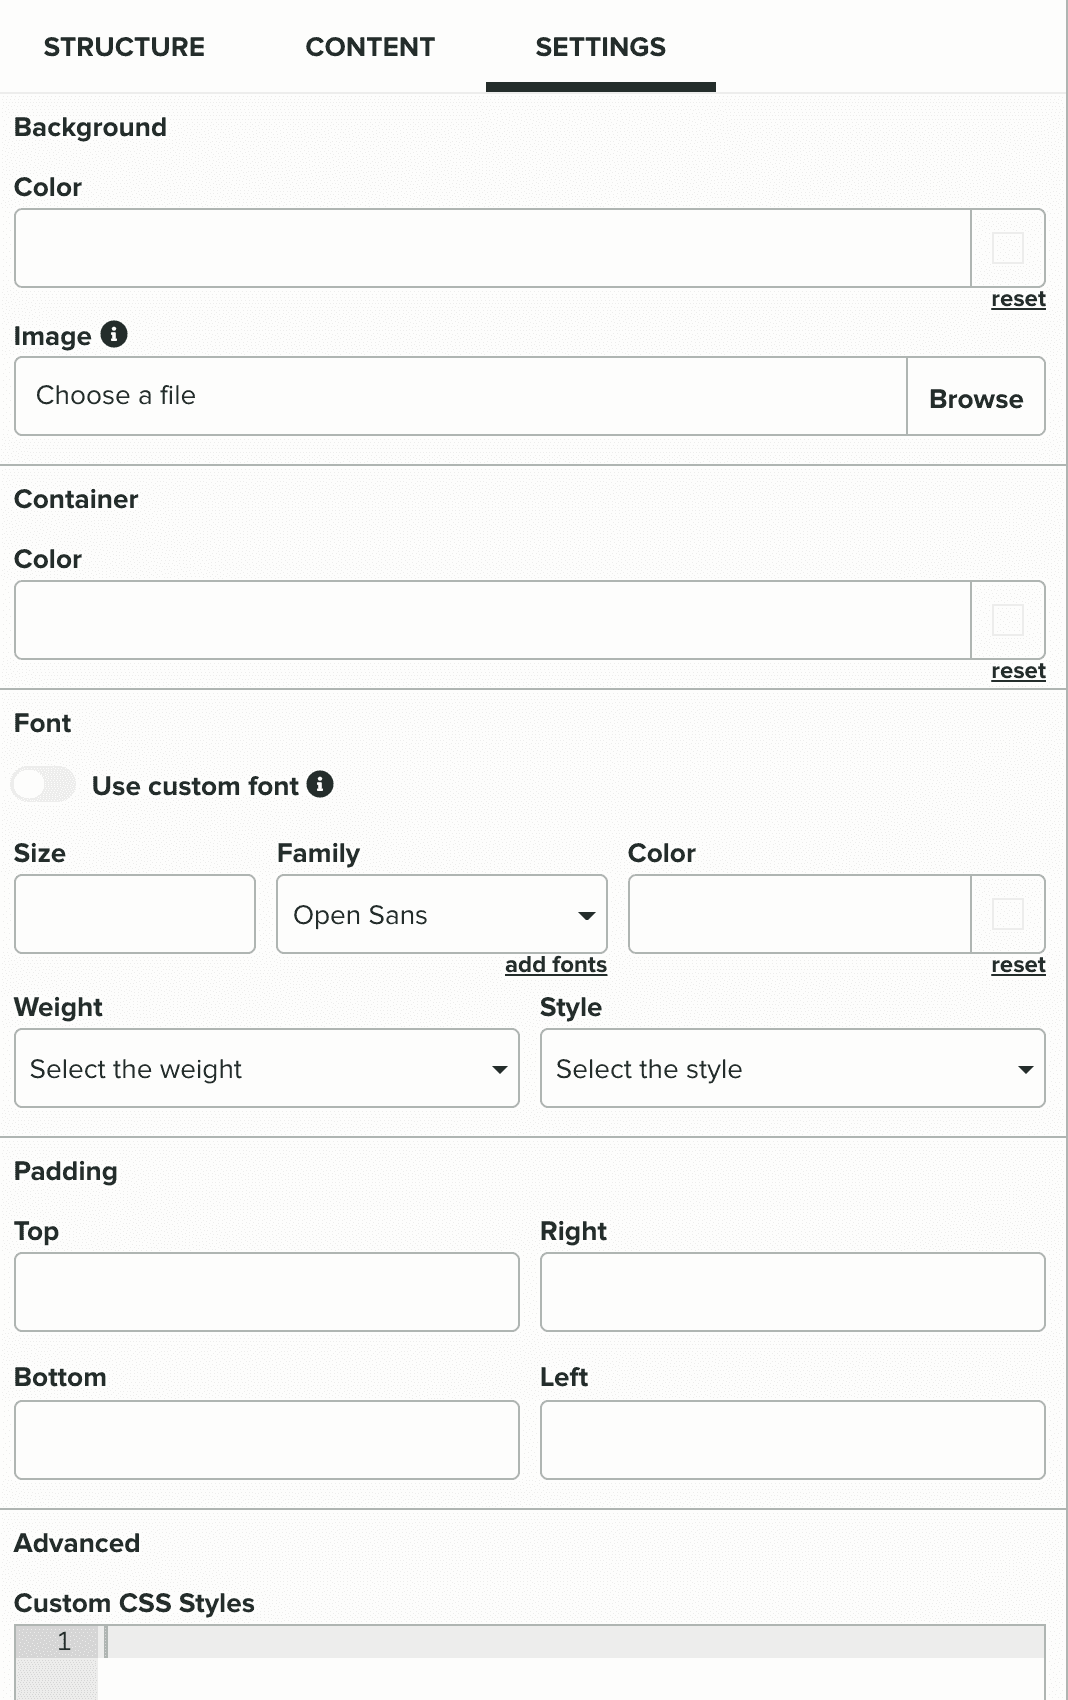
Let's break down all the options available in this tab. You can quickly set up two options for the background of the message. Starting with the body background color:

Additionally, you can also define a body background image for the message (please note that some email clients do not support background images so make sure your content still looks good without one):

You can then also define the container background color for the message:

It is also possible to define a font (and its properties) for your message. Although not all browsers are able to display a non-system font, we do provide for you a set of Google fonts enabled by default (which you can add more if you want) and additionally you can also use your own custom fonts.
You can start by defining if you want to use your own custom font by toggling the following option:

Optionally you can define the font size:
If you are not using a custom font, you can select one of the Google fonts available for you:
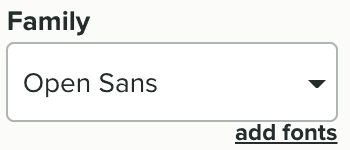
Additionally if none of the available font families is right for you, you can add more Google fonts by clicking in add fonts:
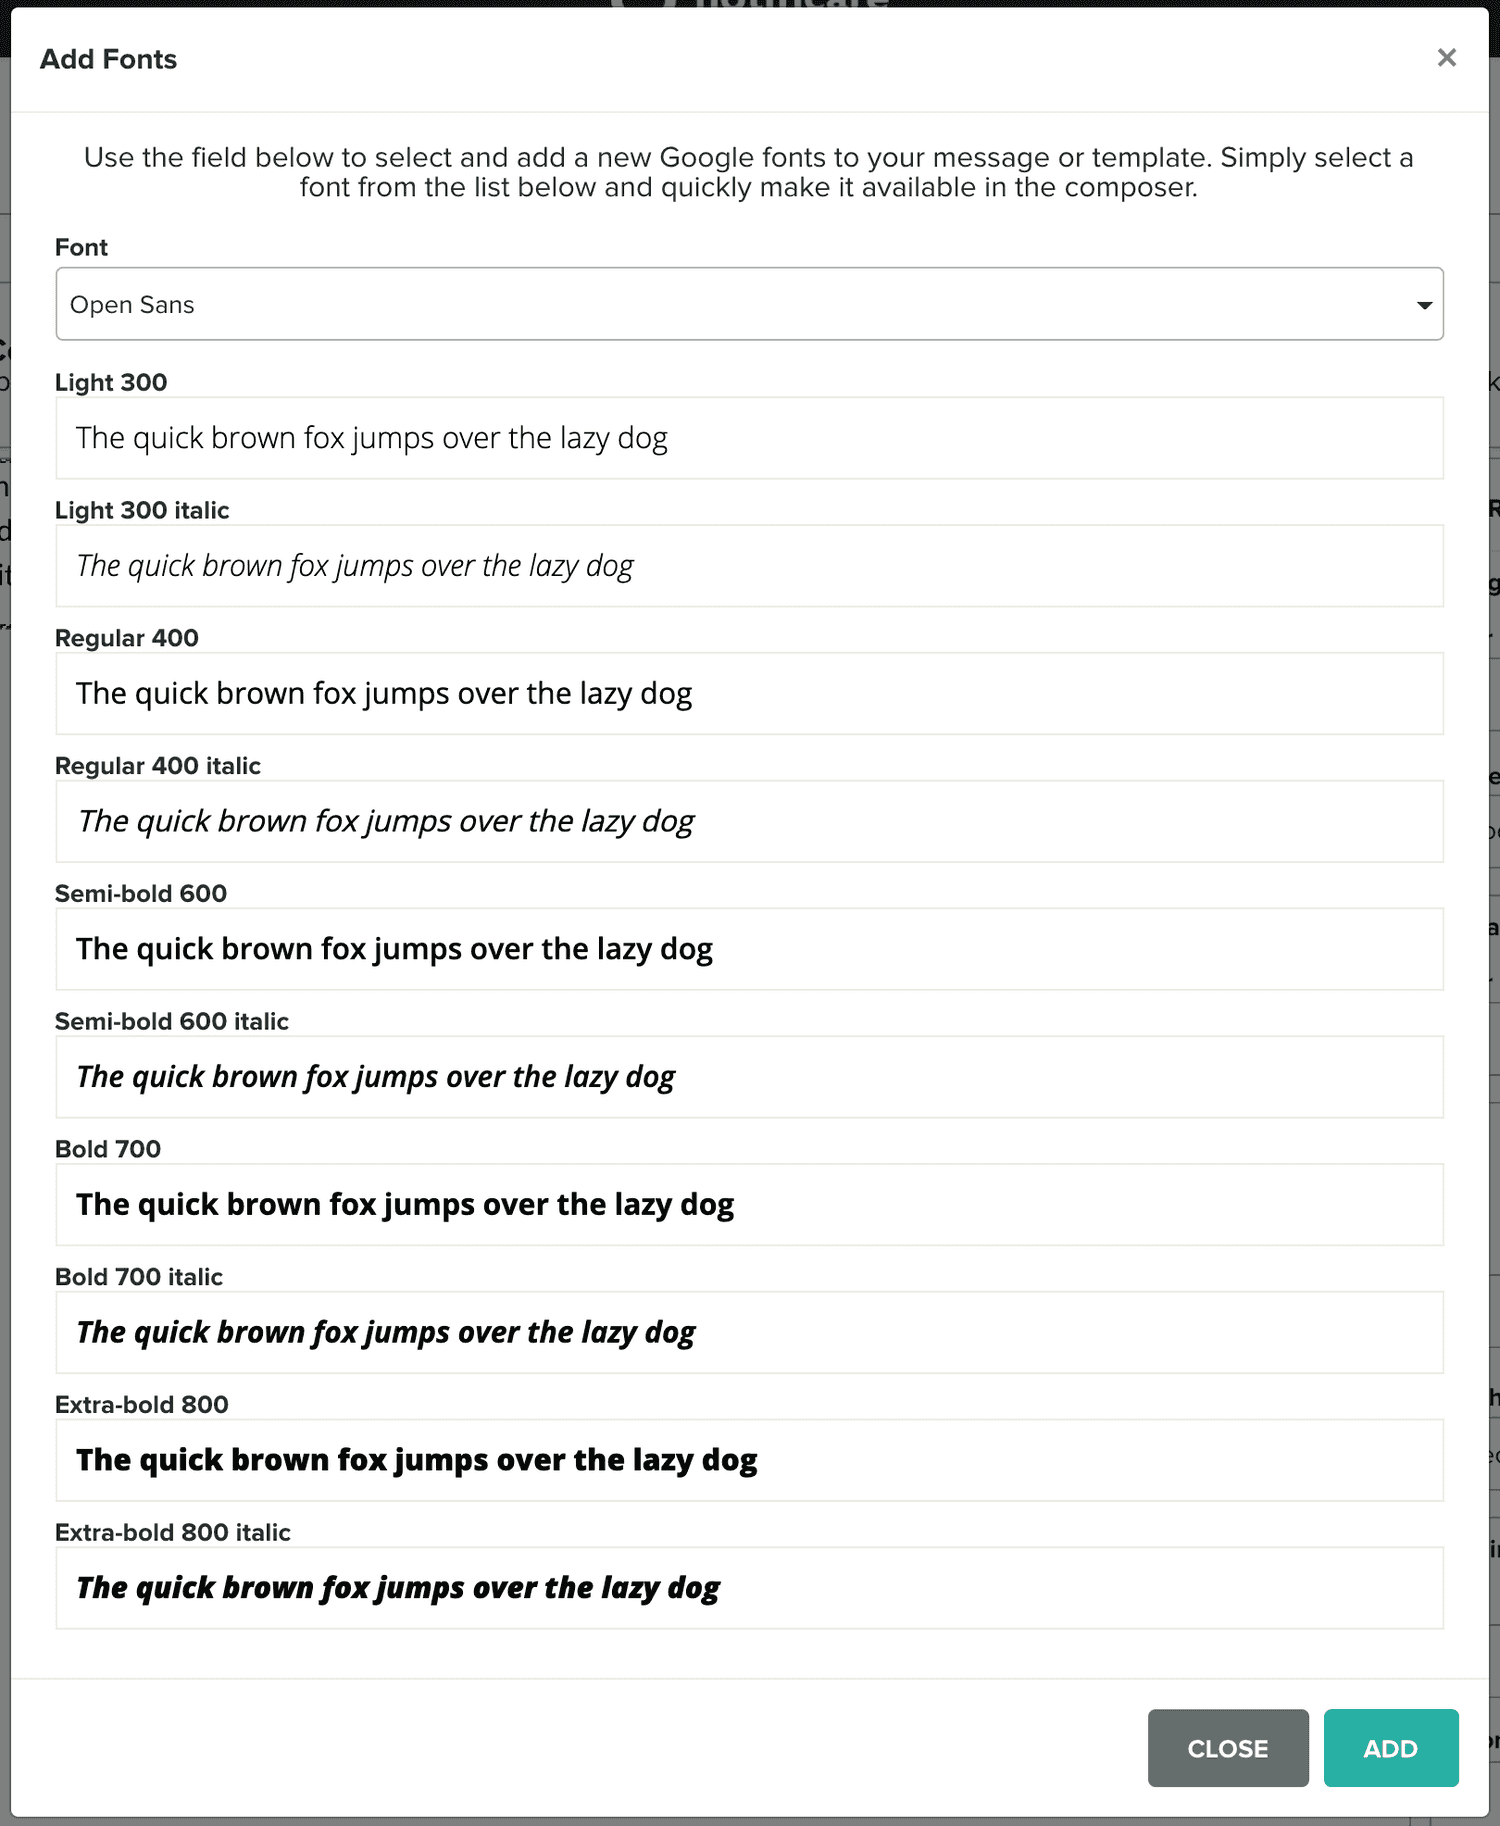
You can then choose one from the list of Google fonts and it will be added to the dropdown list of available fonts. You can add as many as you want but bear in mind that this might affect the message load times.
If did select the Use custom font option above, you can then provide a font family name instead:
You can also choose a color for the body font:
A weight:

And a style:

It is also possible to adjust the body padding by provide a number (in pixels) fot Top, Right, Bottom, Left:

Finally, you can eventually add your own CSS styles in the advanced area:
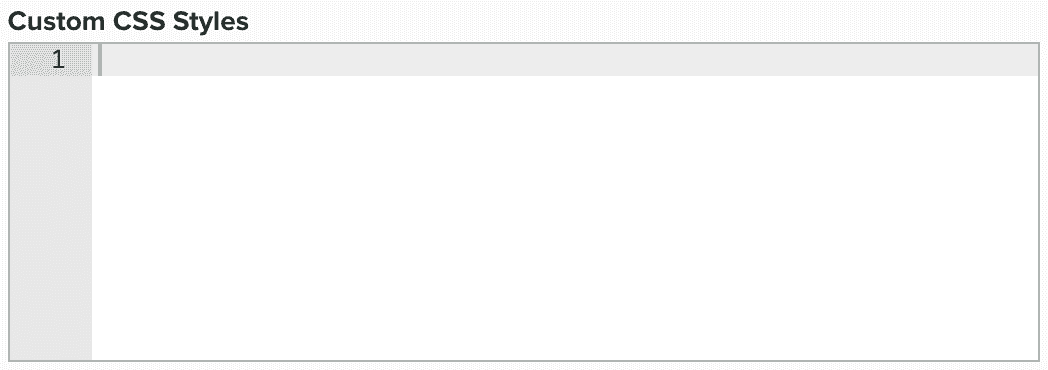
These will be added lowest in the head of your message and can be used to import your custom fonts and/or override other classes.
Custom HTML
If you already have email templates or you simply want to use a free format to compose emails, you can always select the following option:

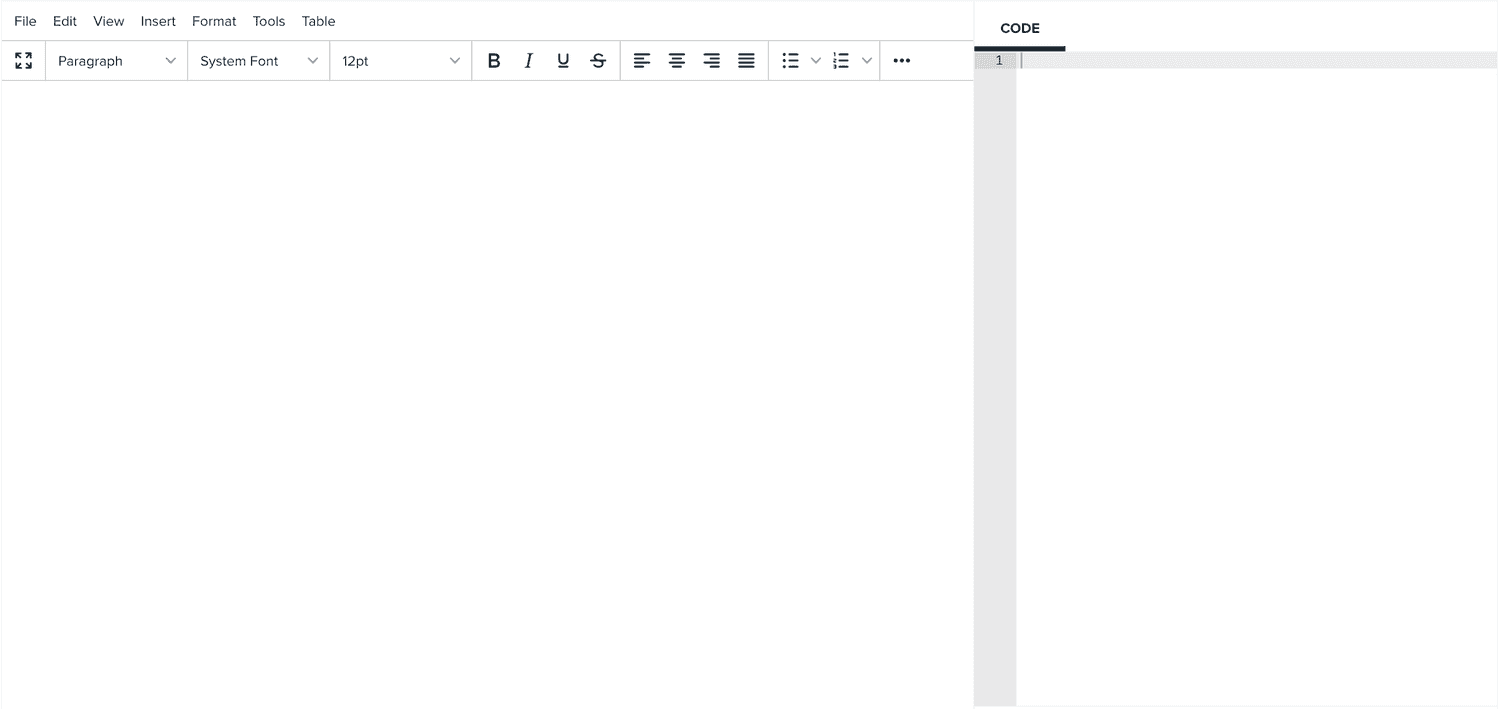
Basically with this option, you are free to use any HTML markup allowing you to use existing templates from other sources. Simply type or copy and paste your markup in the editor on the right:
Custom MJML
If you already are familiar with MJML , you can use the following option to use MJML to create email messages:

Basically with this option, you are free to use any HTML markup allowing you to use existing templates from other sources. Simply type or copy and paste your markup in the editor on the right:
Because these 2 solutions are totally customized by you, you will also need to include any system placeholder:
{{tracker}}
This placeholder makes sure we can track opens for your messages. Usually it should be included right after the opening body tag.
{{view}}
This placeholder provides you with a link to a web page containing the HTML message you create. It is used to provide a web version of your message in case email clients have any problem displaying the content of the message. Usually this is placed in an a tag in the beginning of your content.
{{unsub}}
This placeholder provides you with a link to the unsubscribe operation. It should be used to let users unsubscribe for your email messages. Usually this is placed in an a tag in the footer of your content.