Edit Campaigns
In this area you will learn how to edit an existing campaign.
To access this area, expand the Campaigns menu and click in the Campaigns item:

From the list of active campaigns, click in the campaign you wish to edit:

By default the campaign wizard will open in the Canvas tab but you'll find three tabs:

In the Setup tab, you will always be able to change the name of your campaign:

But you will no longer be able to change the campaign type, if you made a mistake you will need to delete this campaign and start over. You can however change the duration of the campaign if you wish to.
If you've selected Simple Push Campaign, Simple Email Campaign or Simple SMS Campaign, this type of campaign will required that you always provide a start and end date. In the Duration tab you can change the following:

If you've selected Location Based Campaign, you can at any time provide a start and end date:

You can also provide a time range which your triggers will be active during the length of the campaign:

And finally you can also specify if your triggers should be skipped on certain days of the week during the length of the campaign:

You can now proceed to design your campaign. Click in the Canvas tab to start adding content to your campaign depending on its type.
Simple Push Campaign
For this type of campaign, you'll need to scheduled messages within the duration of the campaign. Go ahead and click the Add Message button in the timeline:
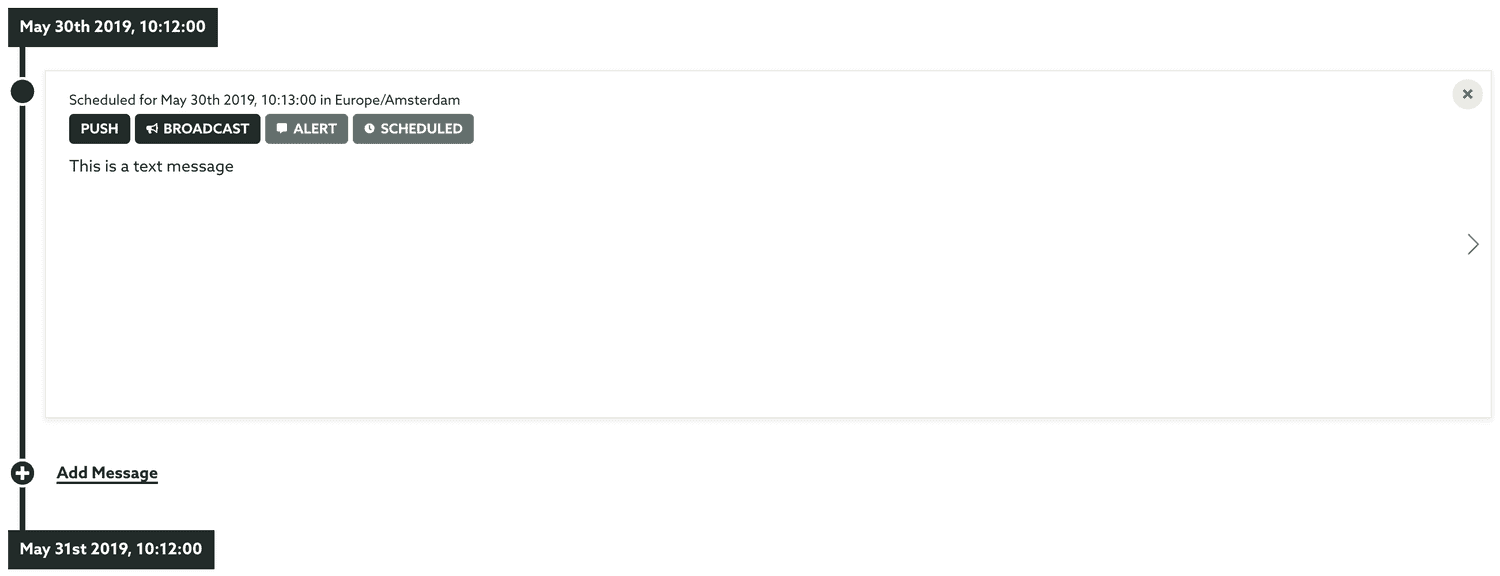
This will open a new page where you should start by providing the date when the message should be sent (must be a date between the start and end date of the campaign):

You should also provide a timezone (we will select your current timezone as the default):

You can also define if this message should respect the device's timezone. This will make sure that the message is only sent, at the desired time, in the user's timezone:

Optionally, you can also reuse a previously created template as the basis for your message:

If you toggled that option, you will need to search for an existing template:

After picking one template, your selection will look like this:

When you are done, go ahead and click in the Create button:

This will create an entry in the timeline just like this one:

You can proceed to fill the timeline of your campaign. It is also possible to change the messages you add to this timeline. Simply click in any of the timeline entries and you will taken to the message composer. There you can select a more refined audience, set segmentation rules or edit the content of the message pretty much the same way as you would in any message sent from Notificare. To learn more about composing a message please read the guides located here.
Simple Email Campaign
For this type of campaign, you'll need to scheduled messages within the duration of the campaign. Go ahead and click the Add Message button in the timeline:
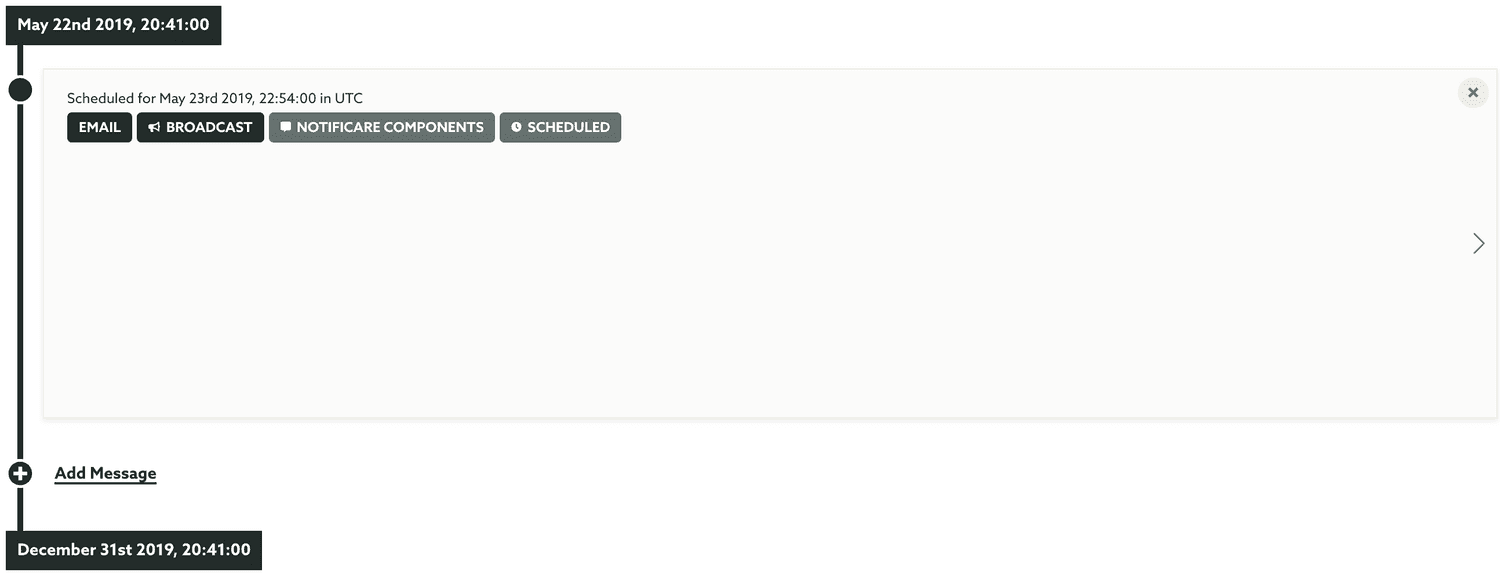
This will open a new page where you should start by providing the date when the message should be sent (must be a date between the start and end date of the campaign):

You should also provide a timezone (we will select your current timezone as the default):

You can also define if this message should respect the device's timezone. This will make sure that the message is only sent, at the desired time, in the user's timezone:

Optionally, you can also reuse a previously created template as the basis for your message:

If you toggled that option, you will need to search for an existing template:

After picking one template, your selection will look like this:

When you are done, go ahead and click in the Create button:

This will create an entry in the timeline just like this one:

You can proceed to fill the timeline of your campaign. It is also possible to change the messages you add to this timeline. Simply click in any of the timeline entries and you will taken to the message composer. There you can select a more refined audience, set segmentation rules or edit the content of the message pretty much the same way as you would in any message sent from Notificare. To learn more about composing a message please read the guides located here.
Simple SMS Campaign
For this type of campaign, you'll need to scheduled messages within the duration of the campaign. Go ahead and click the Add Message button in the timeline:
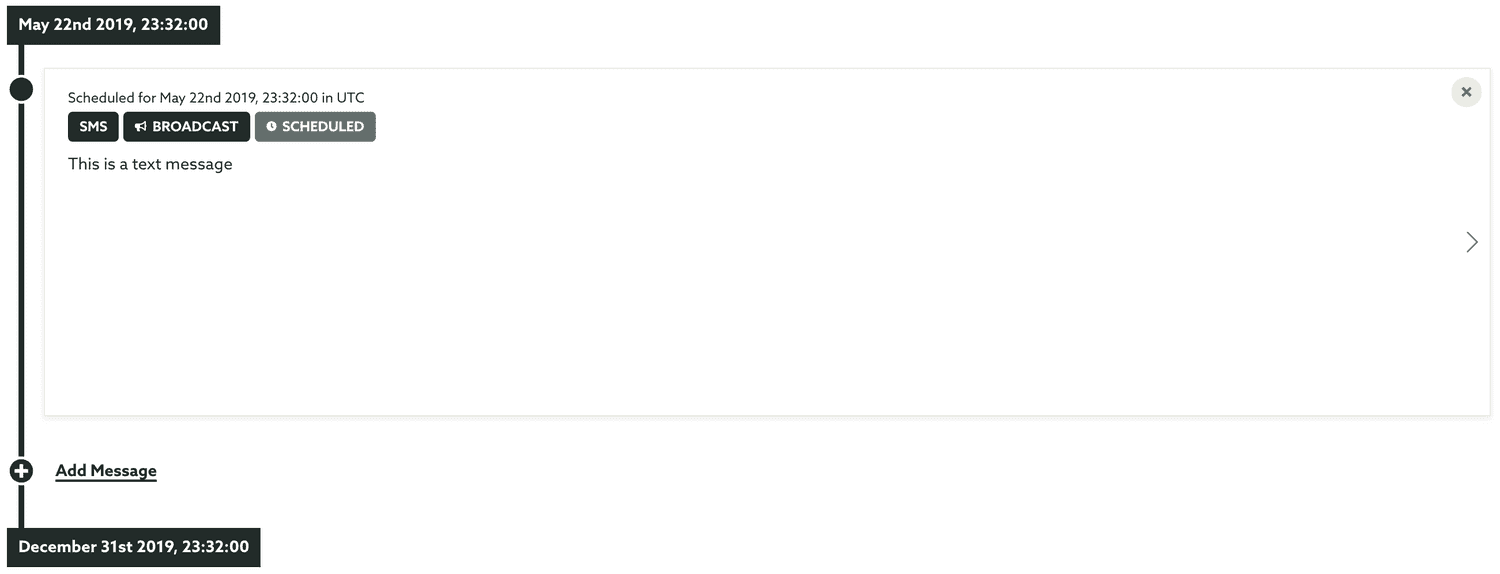
This will open a new page where you should start by providing the date when the message should be sent (must be a date between the start and end date of the campaign):

You should also provide a timezone (we will select your current timezone as the default):

You can also define if this message should respect the device's timezone. This will make sure that the message is only sent, at the desired time, in the user's timezone:

Optionally, you can also reuse a previously created template as the basis for your message:

If you toggled that option, you will need to search for an existing template:

After picking one template, your selection will look like this:

When you are done, go ahead and click in the Create button:

This will create an entry in the timeline just like this one:

You can proceed to fill the timeline of your campaign. It is also possible to change the messages you add to this timeline. Simply click in any of the timeline entries and you will taken to the message composer. There you can select a more refined audience, set segmentation rules or edit the content of the message pretty much the same way as you would in any message sent from Notificare. To learn more about composing a message please read the guides located here.
Location Based Campaign
This type of campaign will allow you to quickly create geo-triggered messages in all the regions you want in a few steps. In the Canvas tab click in the Add More Triggers button:

This will open a new page where you can setup your geo-triggers. This new wizard will initially contain two different tabs:

In the tab Locations we will first select what regions and/or beacons you want to use for this campaign:
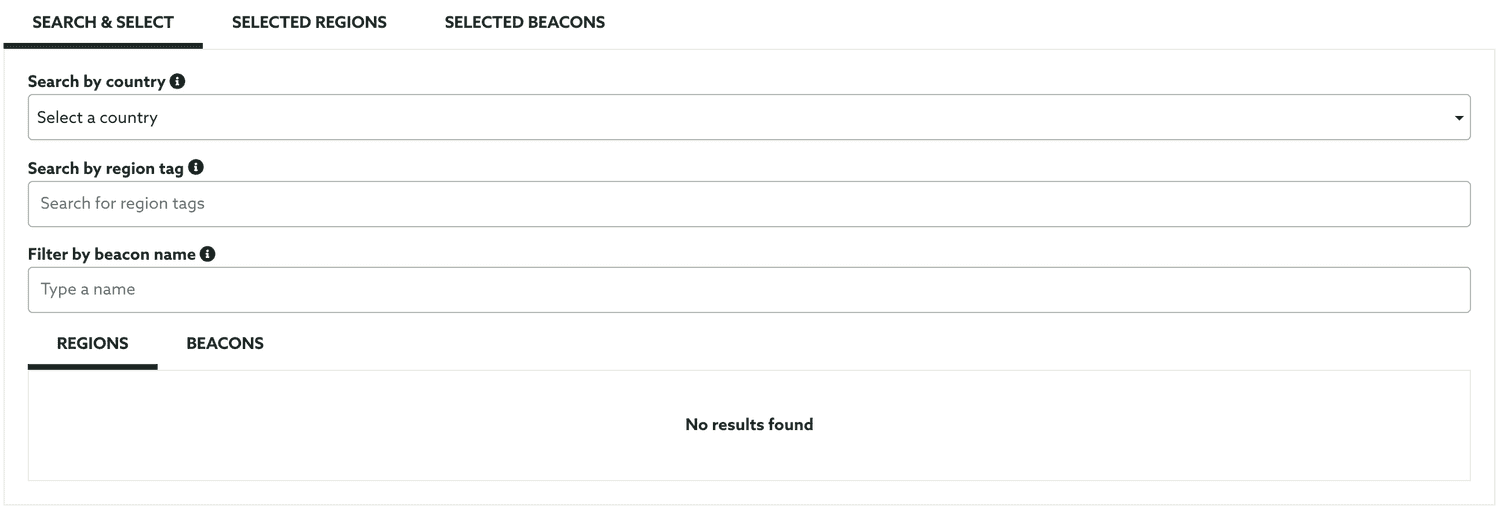
To quickly select regions or beacons, you use a country:

If you've previously assigned tags for your regions, you can also select regions based on these tags:

If you are looking to also add beacons to your campaign, you can also filter your search by the beacon's name:
![]()
As you select these options, the results will be displayed below in under the Regions and Beacons tabs. If one or more regions were found you will see something like this:
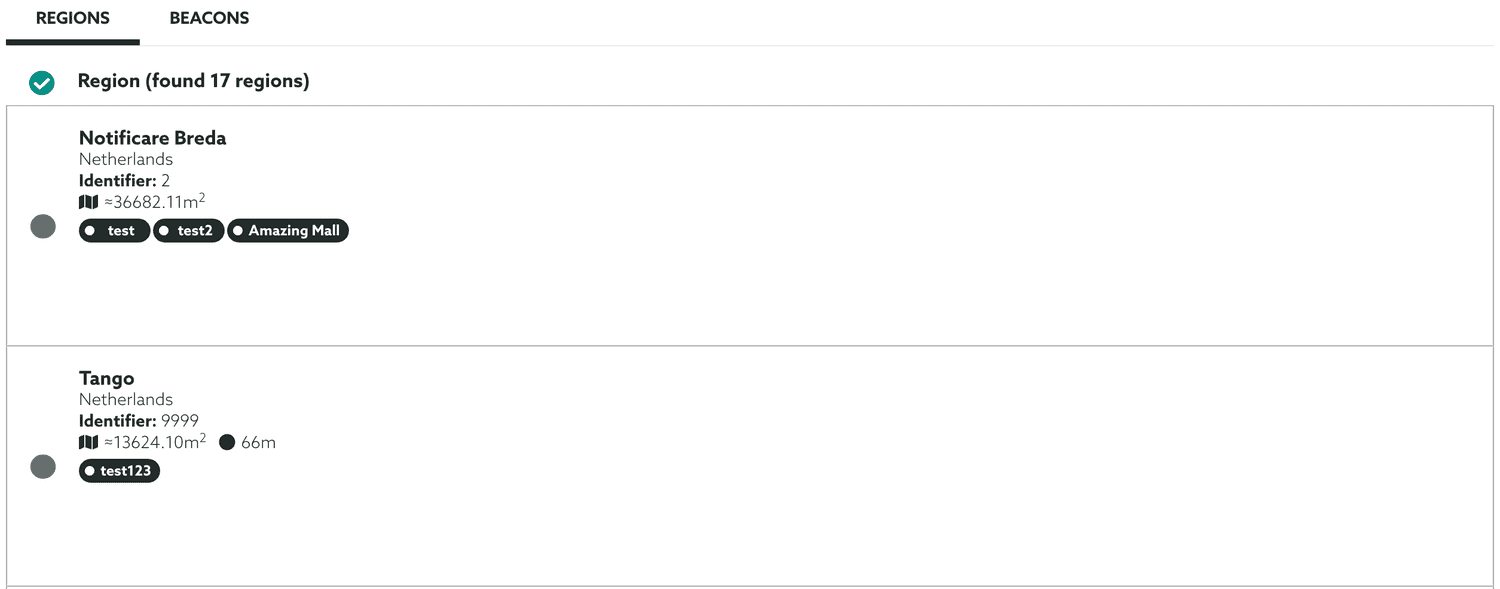
If one or more beacons were found you will see something like this:
![]()
From these tabs, you can now select which regions you want to add by clicking in each region (or by selecting them all in the check mark icon in the top):

Pretty much the same way you can also select beacons:
![]()
As you select your regions and beacons they will be added to your campaign and displayed in the selection tabs, just like this:

Once you are done with selecting the regions and/or beacons for your campaign, you can proceed to actually configure the trigger by clicking the Trigger tab. Here you'll find a new wizard that will allow you define how your trigger should behave:

Frequency
Let's start by providing the Frequency option. If you want it to be triggered only one time, select the option Only once when a user:

When you select this option, you can also define in which occasion it should be triggered. This allows you to create geo-triggers that are only triggered once on a certain occasion:

If you want this geo-trigger to be triggered every time, go ahead and select the Every time a user option:

Or if you want it to be triggered every x amount of time, select the option If a user:

When you select this option you should also provide the interval of time:

Then you should select when it should trigger, if you want it to trigger when a user enters the region or beacon vicinity:

Or if you want it to trigger when a user exits the region or beacon vicinity:

Optionally you can also define a Delay time for a trigger, this will allow you to postpone for a period of time the execution of the trigger:

If provided, this will delay the trigger for the amount of time you specify and your trigger will be cancelled if the user leaves the region/beacon before that delay (if you have selected the Enters this region or beacon) or enters that region/beacon before the delay (if you have selected Leaves this region or beacon). This will allow you to filter out users that either pass through your regions too often and too fast. It will also make sure that you only trigger messages if the user is really visiting or leaving your regions.
Filters
Optionally you can also assign filters to your trigger. Through an advanced criteria, you are able to select certain group of users or devices that are eligible for a trigger, ignoring all the rest. Go ahead and click the Filters tab to set this up:

Learn more about how to setup a criteria in our guides located here.
Segmentation
It is also possible to automatically categorize users as these triggers get executed. This is extremely powerful if you want to categorize users based on their behaviour without having to necessarily include this functionality in your apps. To add segmentation rules, go ahead an open the Segmentation tab:

Learn more about how to setup segmentation rules in our guides located here.
Content
Finally in this area you can also select if you want to present content to the user when a trigger is executed. By default this will set to None and the user will not see anything as these triggers occur. To change that, open the Content tab and expand the content types selector:

From the list of available content select the Push Message:

Optionally, you can also reuse a previously created template as the basis for your message:

If you toggled that option, you will need to search for an existing template:

After picking one template, your selection will look like this:

When you select Push Message, a new tab will appear:

In this new tab you can compose the message, even if you used a template, pretty much the same way as you would when sending a push message. This is explained in this guide.
When you're ready to create the triggers, make sure you click the Create button to save it:

This will create a list of triggers in the Canvas tab of your campaign:
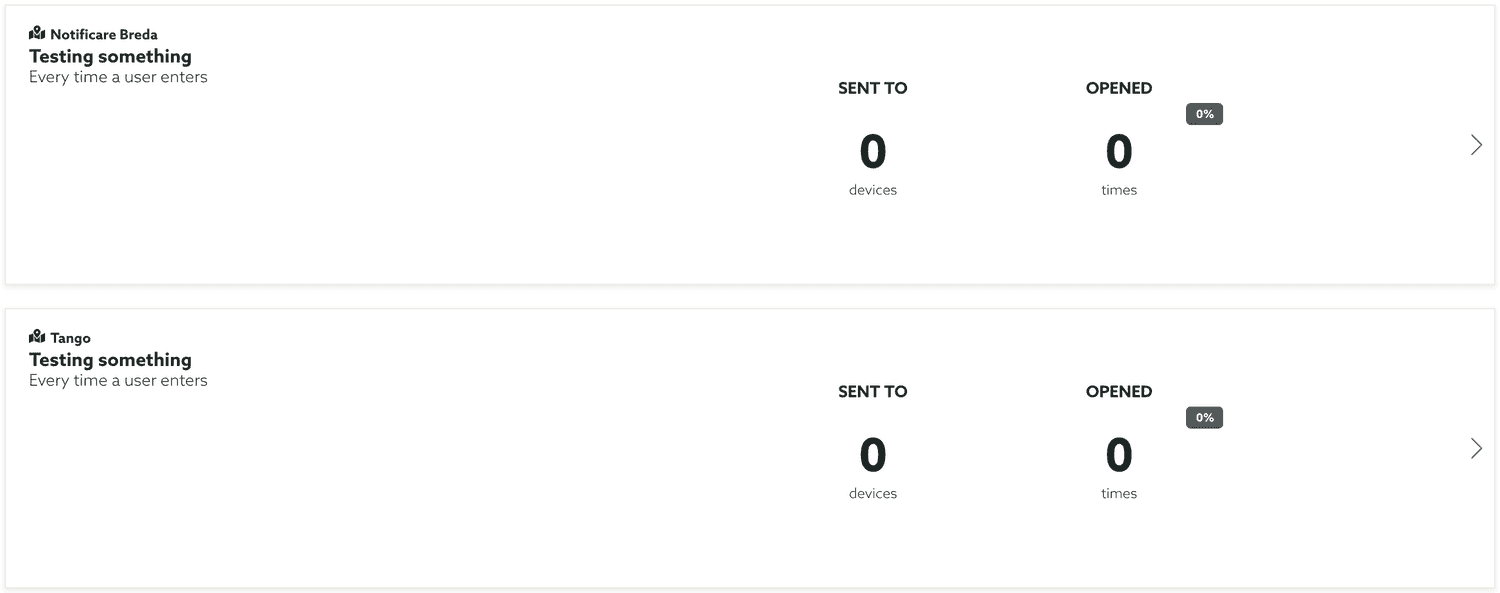
At this point you could edit every individual trigger and its content, by clicking in each trigger in this list. Also note, that by default, your campaign will not be active (to avoid campaigns start generating messages as soon you create them) so you will have to manually switch them ON. To do that from the list of campaigns you should toggle this switch:

A/B & Multivariate Testing
This type of campaign is a great way to test the content you send via a Push, Email or SMS message. In the Canvas tab click in the Add Variations button:

This will open a new page where you can define how many variations you want to create:

Please note that a campaign of this type must have at least 2 variations, up to a total of 10 variations.
Optionally, you can also reuse a previously created template as the basis of your content variation:

If you toggled that option, you will need to search for an existing template:

After picking one template, your selection will look like this:

When you're ready to create your content variations, make sure you click the Create button to save it:

This will add variations to the Canvas tab of your campaign:
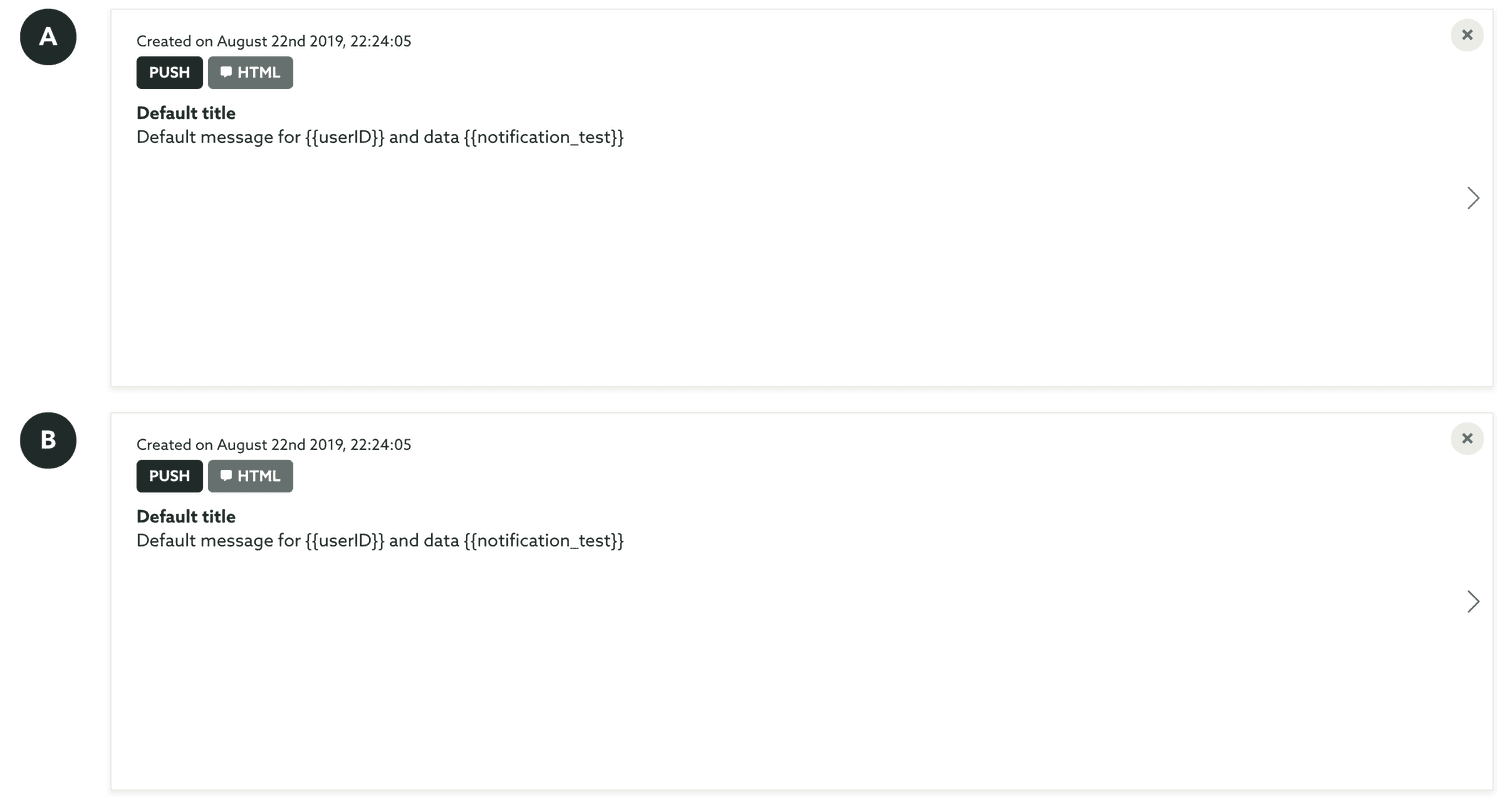
You can then edit your messages and adapt their content to your needs. This is done by clicking in each one of them individually.
Once you are done editing the content of your message variations, you can go ahead and hit the Send button to actually perform your test:
This will open a confirmation window, like the one below:
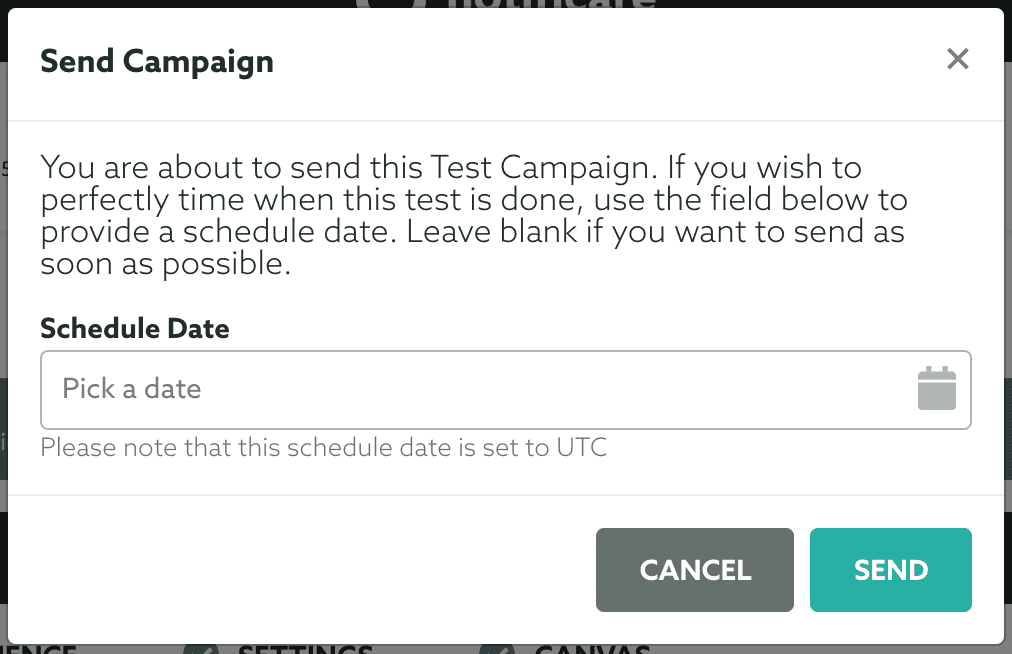
By default you can leave the schedule date blank to start the test as soon as possible. Optionally you can also schedule this test for a later moment. When you hit the Send button if no date was selected we will start processing your test immediately and you can no longer edit your variations.
If instead you have selected a schedule date, a new tab will be visible, like shown below:

You can use this new tab to change your scheduled date if needed as long as you always provide a date in the future.
Finally, in this page, you can also jump directly to the stats of a campaign or simply archive a campaign. This can be done from the Options menu, to see the stats of a campaign click in Stats:
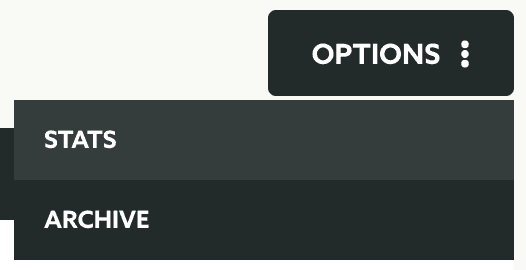
If you click in Stats, it will take you to a new page, to learn more about that, please read our guides located here.
If instead you want to archive a campaign, go ahead and click Archive from the Options menu:
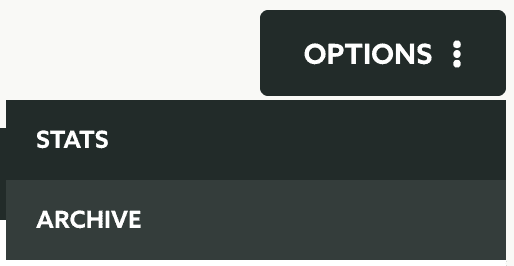
If you choose to archive a campaign, Notificare will then make this campaign inactive (to prevent any more messages from being generated) and move it to the Archive list. To lean more about archived campaigns, please read the guide located here.