Platform Configuration
Before you can start sending messages in iOS, you will have to issue an APNS certificate. This is done via Apple's Developer Portal. Keep reading this document to learn how to create an APNS certificate.
Creating an App ID
In this document we will assume you did not create an App ID yet and we will guide through this process.
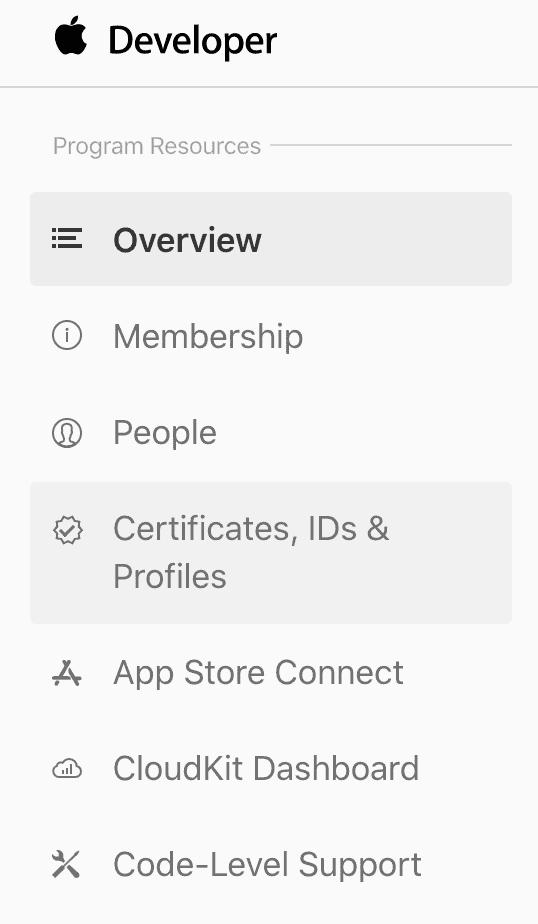
Start by signing in Apple's Developer Portal. Once you've sign in, you should click in the Certificates, IDs & Profiles menu item:
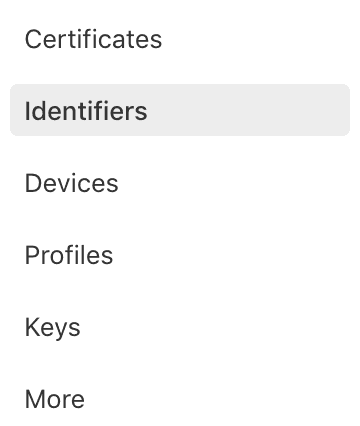
This will take you to a new page where you should locate the Identifiers menu item:
In this new page, click in the plus icon:

In this page, select the App IDs option:

Then go ahead and click in Continue:

You are now about to register a new app, start by providing a name for your app and the identifier for your app, this should take the form of a reverse DNS name (eg.: com.mydomain.myapp):

Finally you should select which capabilities your app will use. Obviously you should check all the services you want to use:
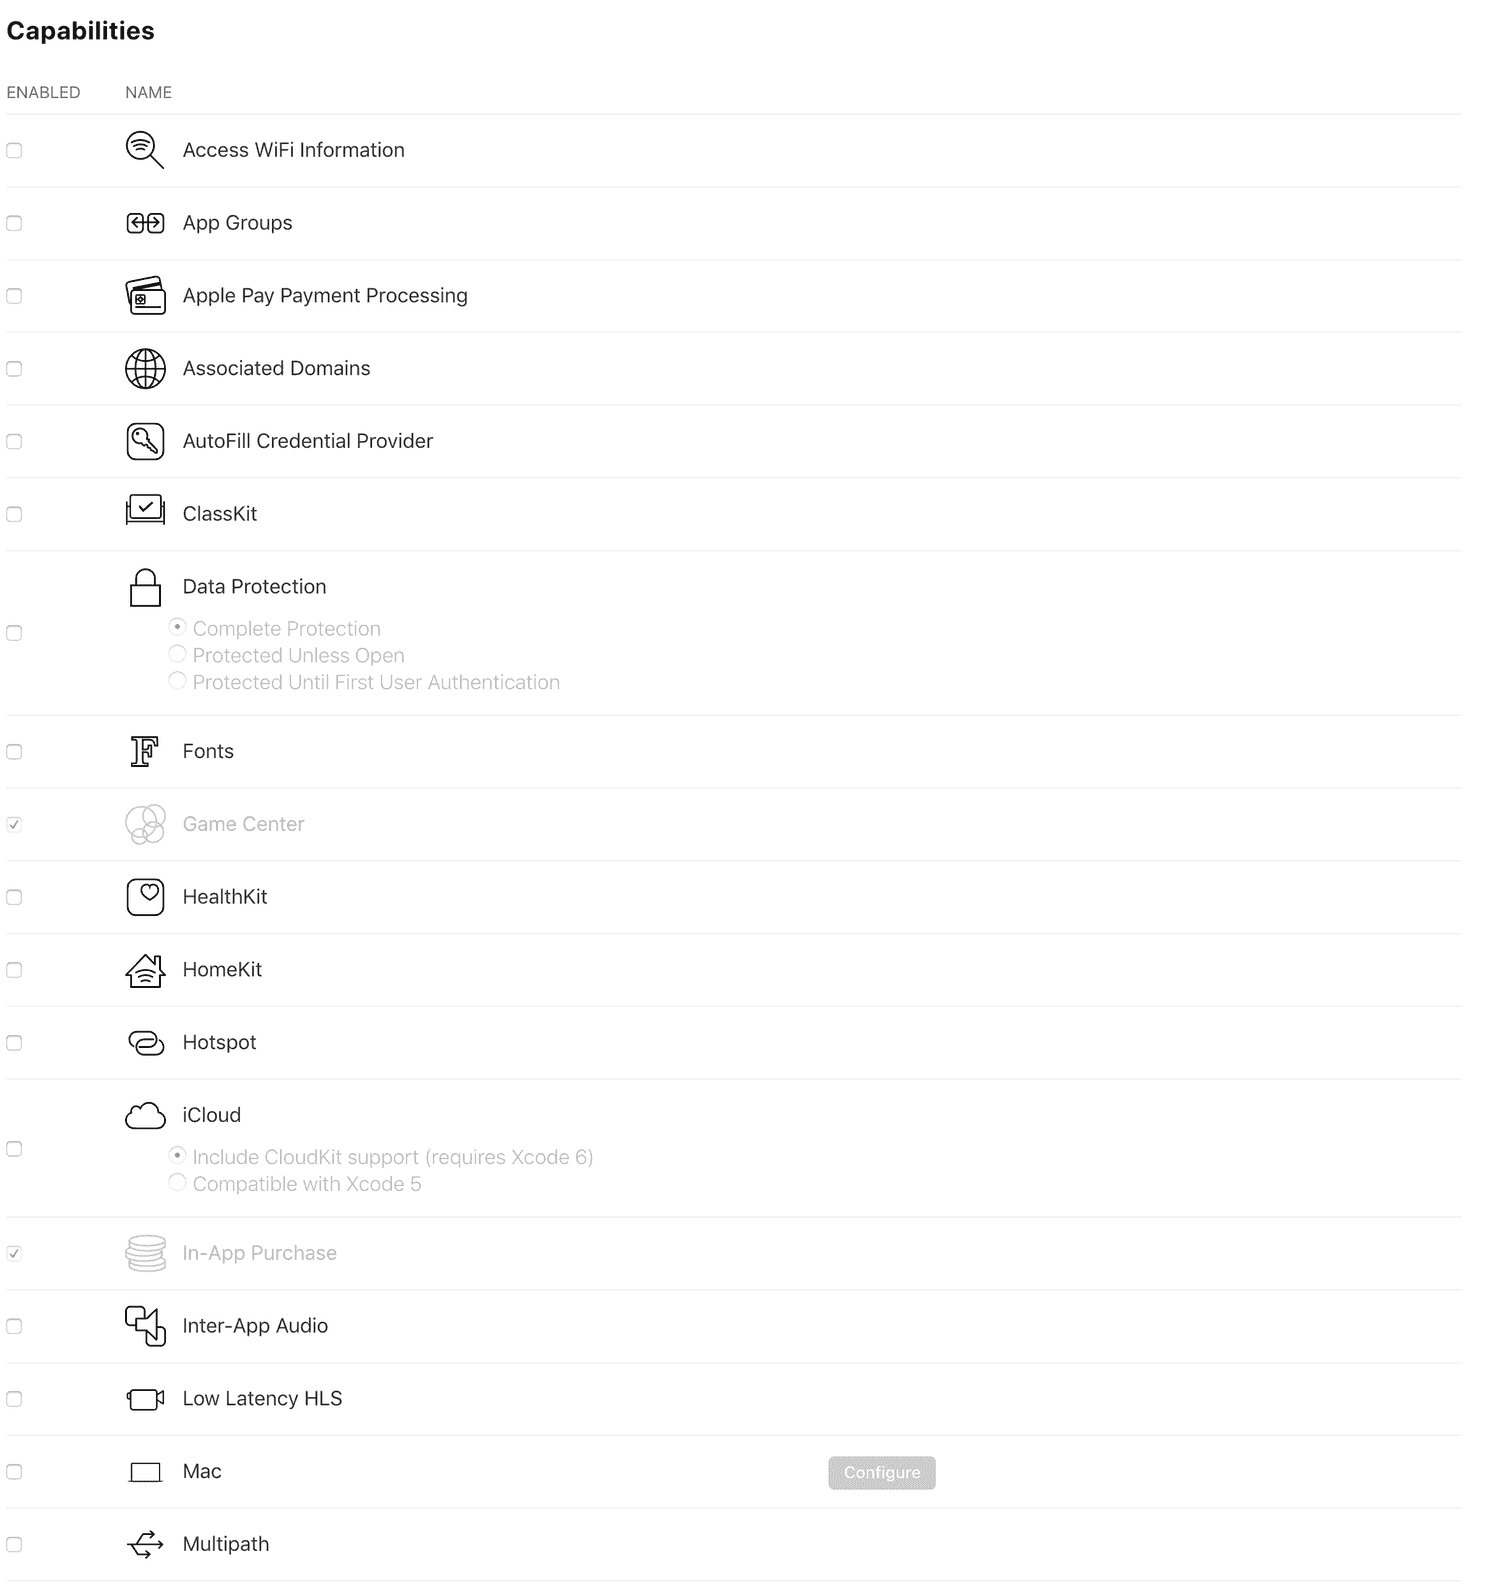
Once you are done selecting your app's capabilities, click in Continue:

You will then see the confirmation screen with all the services you've selected, if everything is OK go ahead and finish creating your App ID by clicking in Register:

After that, your app will be in the list of App IDs as shown below:

Generate an APNS Certificate
Once you've created an App ID or at least have one, you are now ready to create an APNS certificate. This certificate will allow your app to send messages to APNS.
In Apple's Developer Portal, locate the Certificates, IDs & Profiles menu item:

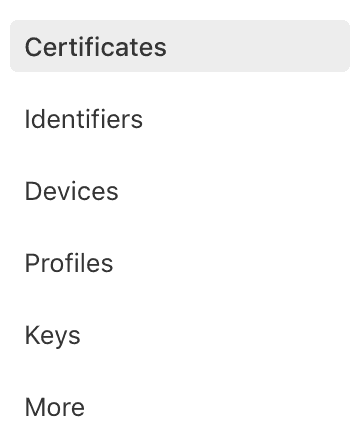
In this new page, click in the Certificates menu item:
Then go ahead and click in the plus icon:
![]()
In this page, locate the select the following option:

For the sake of simplicity, let's create an Apple Push Notification Service certificate that works for both Sandbox and Production. You can then use the same certificate for both environments in Notificare.
Go ahead and click in Continue:

In this new page, locate and select the App ID you want to use:

To proceed, click in Continue:

In this new tab, you will need to provide an existing Certificate Signing Request:

We will explain how to generate one but if you already have one previously created, just go ahead and select one and click in Continue:

If you do not have one, you will have to generate it. For that you will need to open the Keychain Access app from your applications, in your MacOS powered computer and request a signing certificate from an certificate authority by selecting the following:

You will be prompt with the following window:
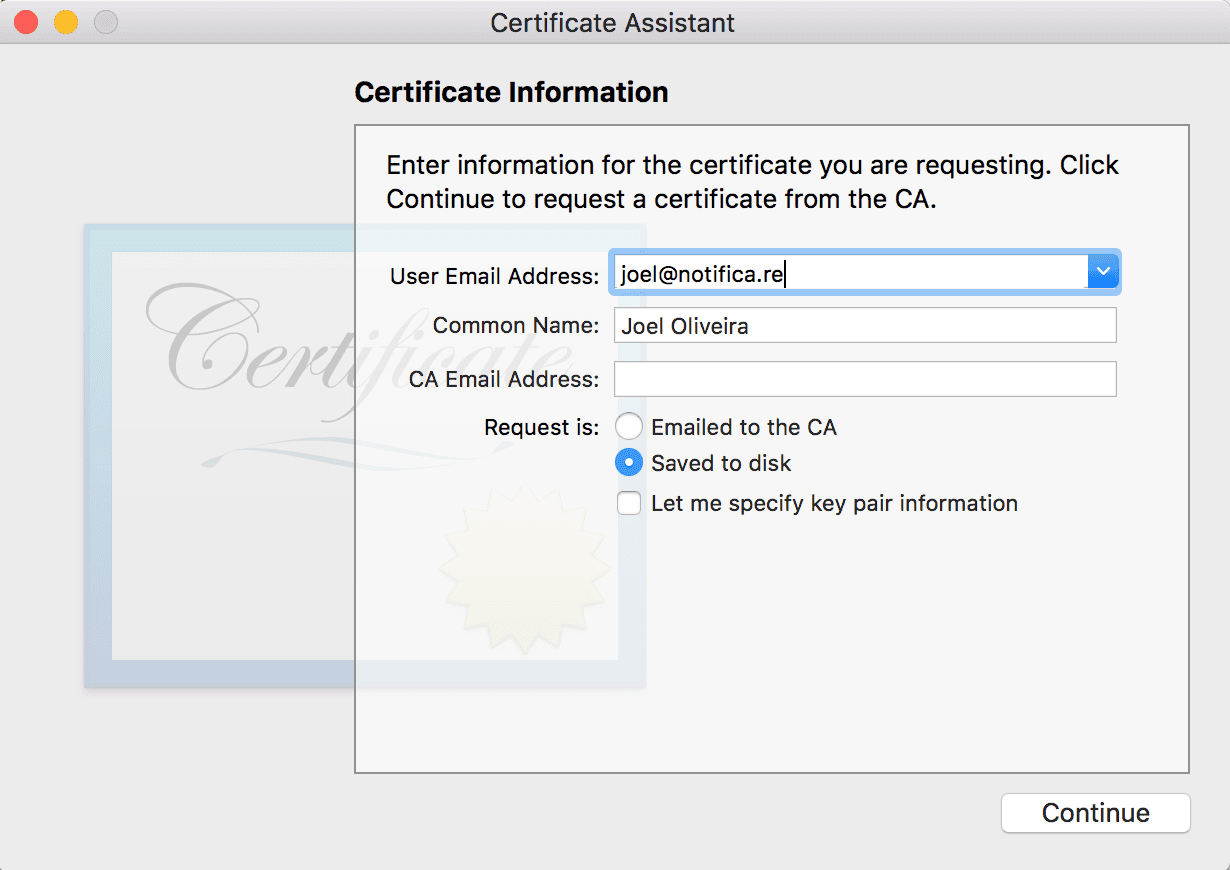
Simply provide an email and check the Saved to Disk option and then click in Continue, it will prompt you to save a file in your computer:
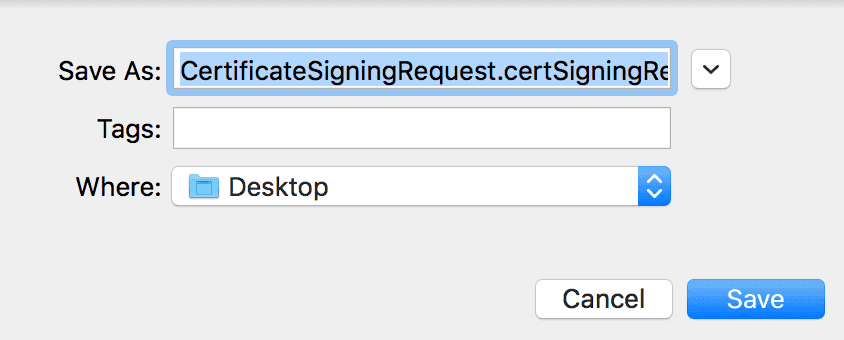
You have now generated a CSR file and you we are ready to resume our the APNS certificate creation in Apple's Developer Portal. In the screen you left off:

Click in the Continue button:

We've now generated an APNS certificate, hit the Download button to download the file to your computer:

Double-click in that file to install it in your Keychain Access app. Then locate it in the Keychain Access app:
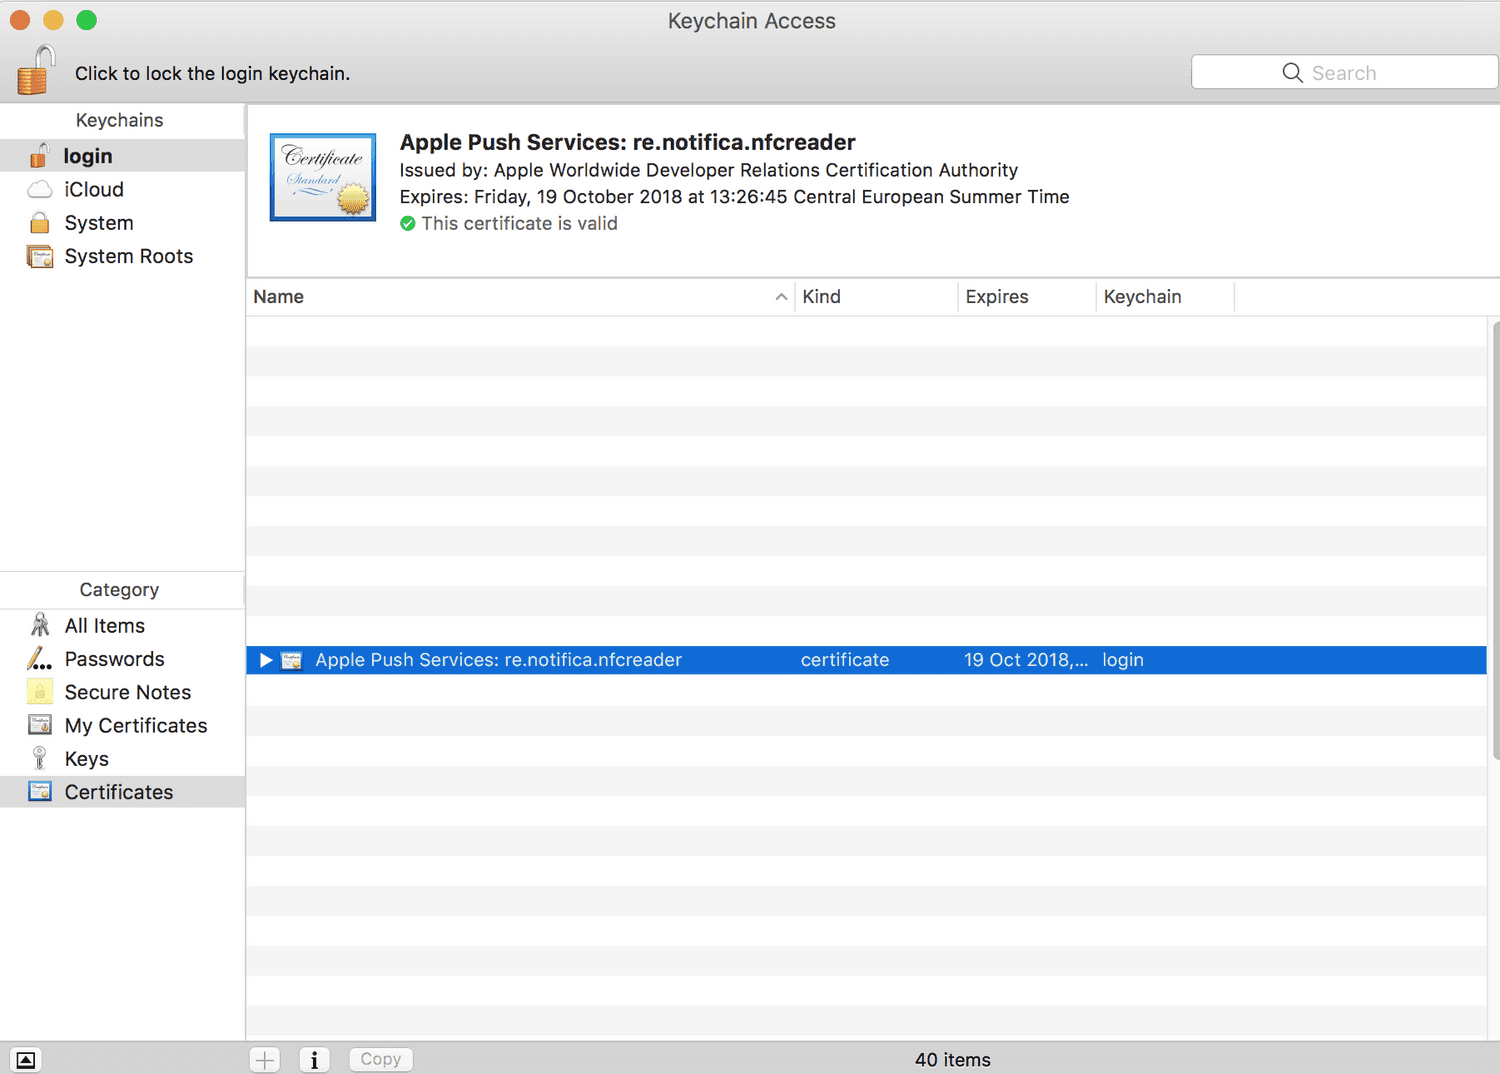
Then we will need to export this file in a .p12 format. To do that, right-click the file and select the Export option:
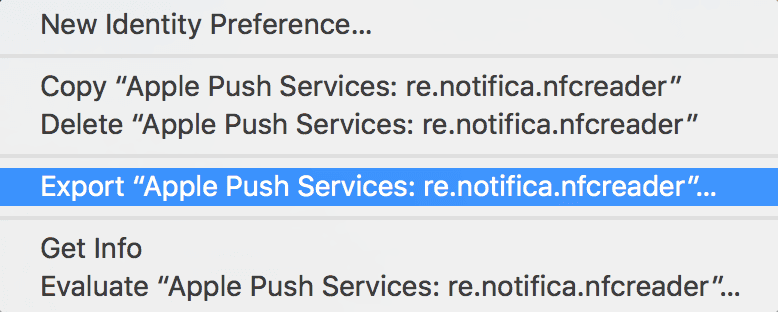
This will allow you to name your export file and select the location in your computer where you going to export it. Then click in Save:
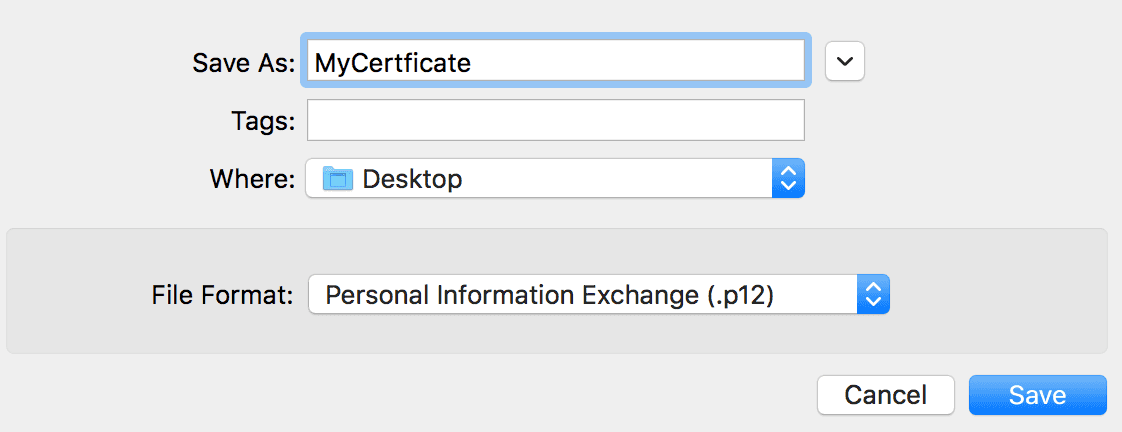
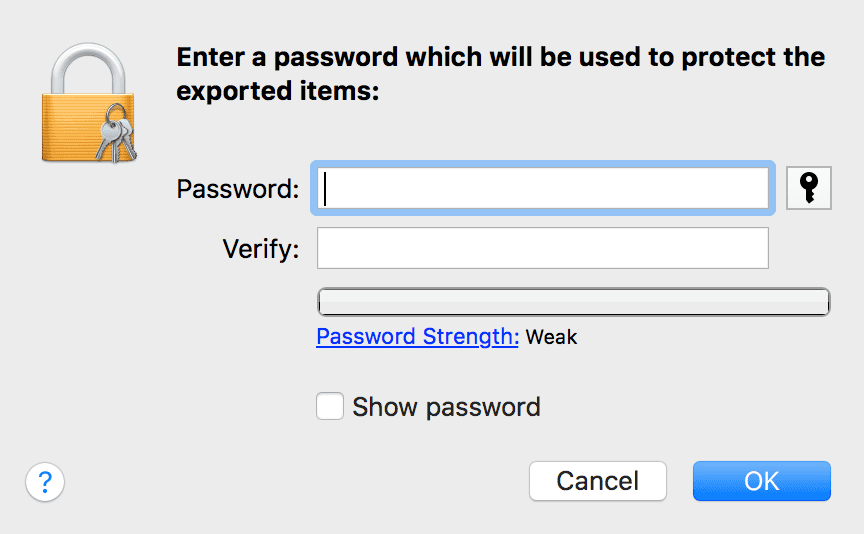
Because these files are extremely important and will give any push provider access to send notifications to your app, you will want to protect it with a password. Once you've provided a password twice, click in the OK button. This will save the file in your computer.
You now have to upload the resulting .p12 file to Notificare. This will allow us to send notifications to your application. This step is covered in the guides located here.
Once you have uploaded the certificate you are ready to proceed to implement our library. Keep reading our Implementation guides located here.