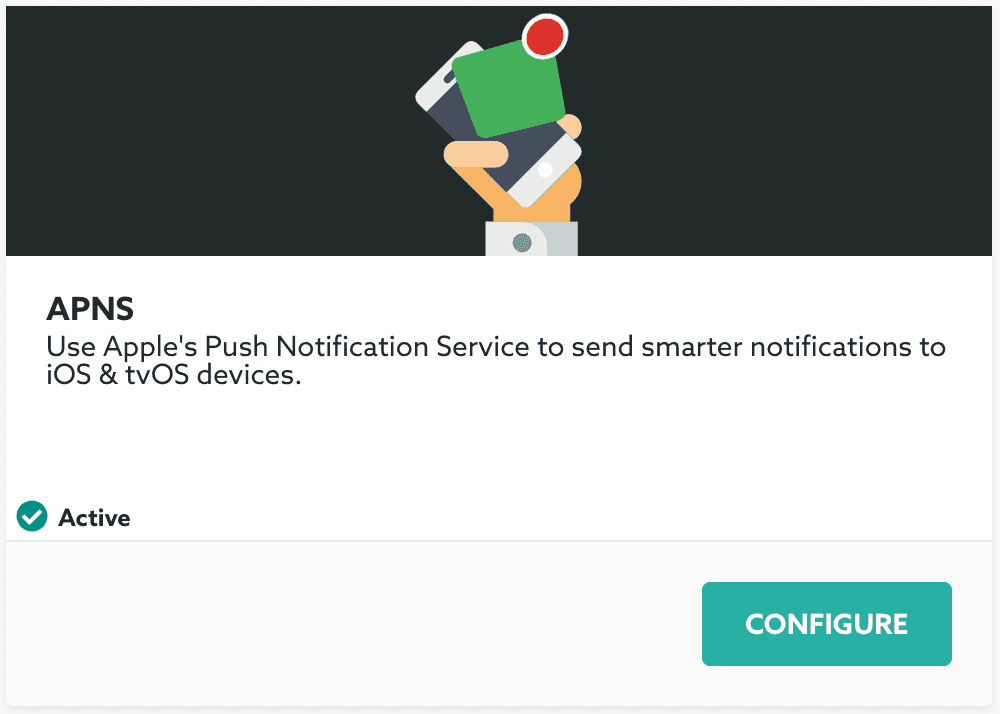
APNS
In this area you can setup Apple's Push Notification Service. This service is capable of sending remote push notifications to iOS apps. In this area you will be able to upload the APNS certificate necessary for our platform to send notifications in your behalf.
To access these pages, expand the Settings menu and click in Services like shown below:

Then you should click the Configure button in the APNS box:

Please note that before you finish successfully this setup, this service will show the Inactive sign. While inactive you will not be able to send iOS notifications at all.
Using a SSL Certificate
In the APNS configuration page, you will need to upload a .p12 file. To learn how to generate these files please visit our guide here. Once you have a .p12 file, upload it in the following field:

Because these files give access to any APNS provider to send notifications to your app, it's a good practice to create these files with a password. In the following field you should provide the password, so we can open and extract the information in the file:

Finally you should click in the Save button to make sure you store these changes:

Once you have successfully uploaded the certificate, we will display something like this:

Please note that these files have an expiration date and have to be renewed every year. When your certificate is expired it will look like this:

Using an Auth Key
In the APNS configuration page, you will need to upload a .p8 file and some relevant information about it and your App ID. To learn how to generate these files please visit our guide here. Once you have a .p8 file, upload it in the following field:

You will also need to provide your app's bundle identifier (your app identifier must be registered in the same team where you've generated the .p8 file):

Then you should also provide the team identifier:

You will also need to provide the auth key identifier (usually the .p8 file name contains this identifier or you can retrieve it in the key detail page):

Finally you should click in the Save button to make sure you store these changes:

Once you have successfully uploaded the auth key, we will display something like this:

At this point your service will also show as Active in the Services list and you are now able to start sending remote notifications in iOS.
At any point in time you can remove a certificate/auth key or upload a new one.