Edit Triggers
In this pages you'll learn how to edit a geo-trigger.
In any of your apps expand the menu item Locations and click in Geo-Zones:

Then click in the geo-zone you would like to manage from the list of geo-zones:

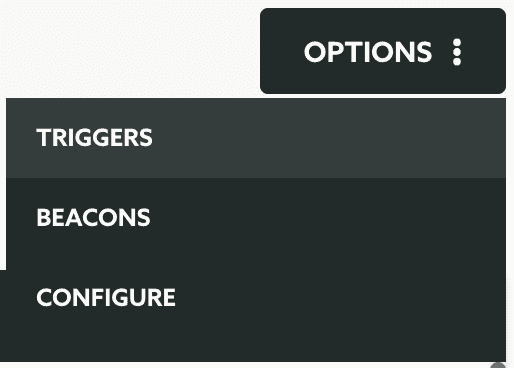
Then expand the Options menu and click in Triggers:

In this page you'll find all the triggers you've created so far, click in the trigger you wish to edit:

This will open the geo-trigger composer, where you'll be able to change the interaction with a user that visits the geo-zone or a beacon in that geo-zone. This area is divided by the following tabs:

Setup
You can always change the name in the following field:

If you've previously create the trigger using beacons, you no longer can change this. The following information will be read only:
![]()
Frequency
In this tab, you can change the information for when and how often this trigger should be executed. Go ahead and select the frequency in the following field:

If you want it to be triggered only one time, select the option Only once when a user:

If you select this option, you can also provide the occasion when it should be triggered. This allows you to create geo-triggers that are only triggered once on a certain occasion:

If you want it to be triggered every time, select the option Every time a user:

When you select this option, you can also define in which occasion it should be triggered. This allows you to create geo-triggers that are triggered every time on a certain occasion:

Or if you want it to be triggered once every x amount of time, select the option If a user:

When you select this option you should also provide the interval of time:

Then you can also modify when your trigger should be executed. If you want it to trigger when a user enters or leaves the geo-zone or in case you've selected to trigger based on a beacon, if it enters or leaves the beacon vicinity:

You can also change the Dwelling time for a trigger:

If provided this will delay the trigger for the amount of time you specify and your trigger will be cancelled if the user leaves the region/beacon before that delay (if you have selected the Enters this region/beacon) or enters that region/beacon before the delay (if you have selected Leaves this region/beacon). This will allow you to filter out users that either pass through your regions too often and too fast. It will also make sure that you only trigger messages if the user stays for a certain amount of time inside or outside your geo-zone or beacon.
And finally you can also modify which days your trigger should be skipped:

Duration
This is an optional setup for your trigger. If you wish to provide time restrictions for your trigger, click in the Duration tab. Then to add a date limit to your trigger, you can provide a start and end date:

You can also provide a time range during which your trigger will be active throughout the day:

Please note that dates and times used in these fields will be saved and used according to the region's timezone.
Filters
Optionally you can also change the filters you add to your trigger. Through an advanced criteria, you are able to select certain group of users or devices that are eligible for a trigger, ignoring all the rest. Go ahead and click the Filters tab to set this up:

Learn more about how to setup a criteria in our guides located here.
Segmentation
It is also possible to automatically categorize users as these triggers get executed. This is extremely powerful if you want to categorize users based on their behaviour without having to necessarily include this functionality in your apps. To change your segmentation rules, go ahead an open the Segmentation tab:

Learn more about how to setup segmentation rules in our guides located here.
When you're ready to save the changes, make sure you click the Save button:

Content
Finally in this area you can get the information of the content used in your trigger. Please note that you will not be able to change the type of content you've previously selected. If it is set to Push Message you can quickly jump to the message editing by clicking in the following box:

You can learn how to compose messages by reading the guides located here.
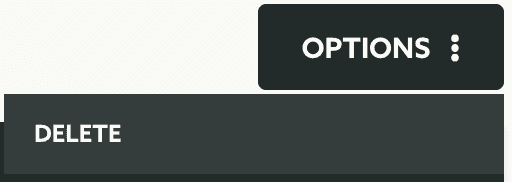
In this page you can also delete the trigger. To do that expand the Options menu and click in Delete:
