Pass Templates
In this area you can create pass templates that you can use to create digital passes. To access this area, you will need to expand the Loyalty menu and click in Pass Templates:

In this area, you will find all the pass templates you create:

You can also search pass templates using the section below:

You can create a new pass template by clicking in the following button:

Setup
In this tab, you should provide a name and type for your pass template:

The type defines the style and purpose of your template. You can select from Flight, Transit, Event Ticket, Offer, Loyalty, Gift Card and Generic. Some other tabs will only be available when you've selected a type. You can read more about styles in this page.
Additionally, you can also configure your passes to support NFC, by switching the following option ON:

But you can only use this option, if you've previously configured the Loyalty service to use passes with NFC support, as described in this page. If your app is not ready to create cards with NFC support, you will see the following warning when you switch this option ON:

You will also not be able to create a pass template with NFC enabled, if this is the case.
Fields
In this tab, you can define the data your passes will contain.
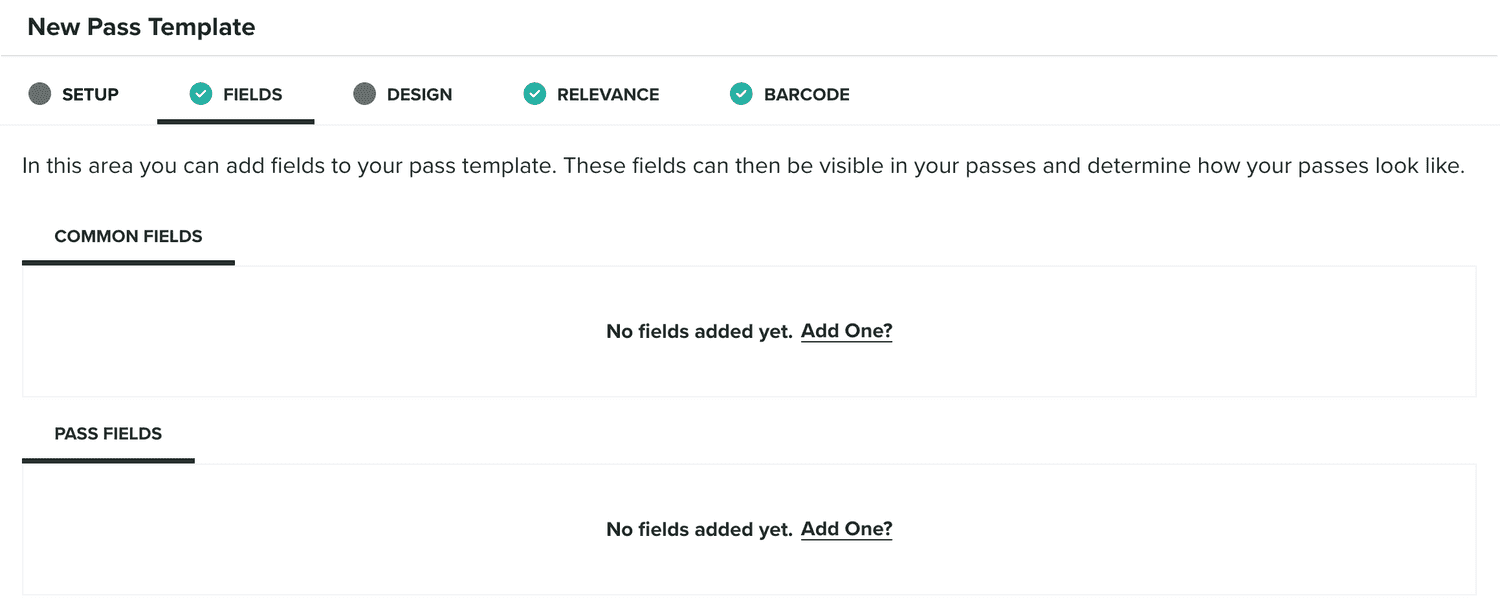
There are two different types of fields you can add to your templates, Common Fields and Pass Fields. Although they are pretty similar, they serve different purposes. These fields also allow you to use the same values for different platforms, allow you to edit them in one single place. However, you can also provide custom values for all the fields needed for Apple or Google Wallet passes, but using Common or Pass fields just make this process much easier and maintainable.
In common fields, you should define fields and data that will be the same for all your passes. For example, in a Flight pass, the flight number or airline should be a common field. An Event Ticket's common fields would probably be the name of the event and the venue.
On the other hand, you have pass fields, which are the fields that will be unique for each pass you generate from a template. For example, in a Flight pass, those would probably be the passenger name or the seat. An Event Ticket's pass fields would include the ticket holder and number.
For Common Fields you will need to provide:

You will need to select a Type, a Key and a Value.
For Pass Fields, you will provide a Type, a Key and a Default Value:

As you can see, a common field will hold the value displayed in the pass, while a pass field will contain a placeholder value, which can be changed whenever you create or update passes. There are also several types of fields you can use. You can choose between String, Blob, Date, Number, Money, Color, Image, JSON and Boolean. You can add as many fields as you need. You might even include fields that are not visible in your passes. All fields you add, will then be selectable in the Design tab for each specific platform. Depending on the requirements of each fields in the pass, you will have to select the appropriate type.
Design
This tab will only be editable after you've selected a type for your template:

Once you've selected a type for your template, you will then be required to define how your passes will look like in both platforms:
Apple Wallet
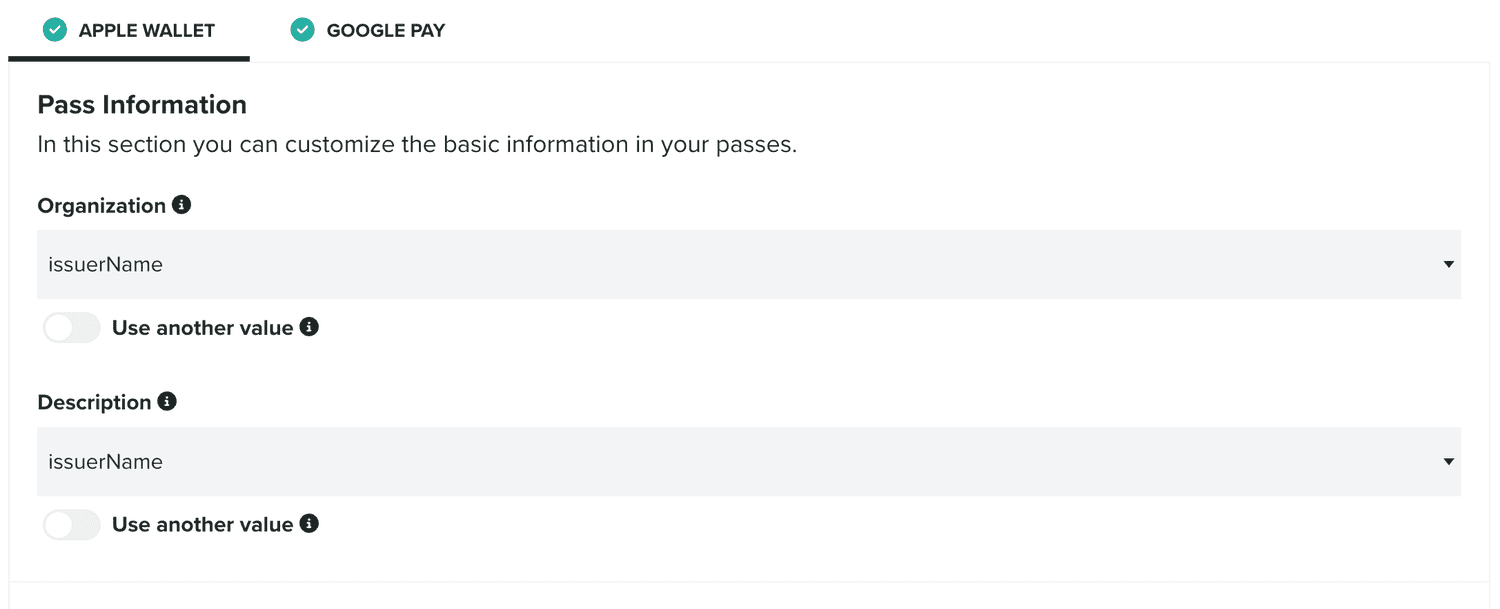
In this tab you will define how your Apple Wallet card will look like. The Apple Wallet format is a bit more flexible than Google Wallet and although some fields are required, there aren't many requirements about what and where data should be displayed in the card.
For every field of an Apple Wallet card, you can then select any of the fields you've previously created in the Fields tab:
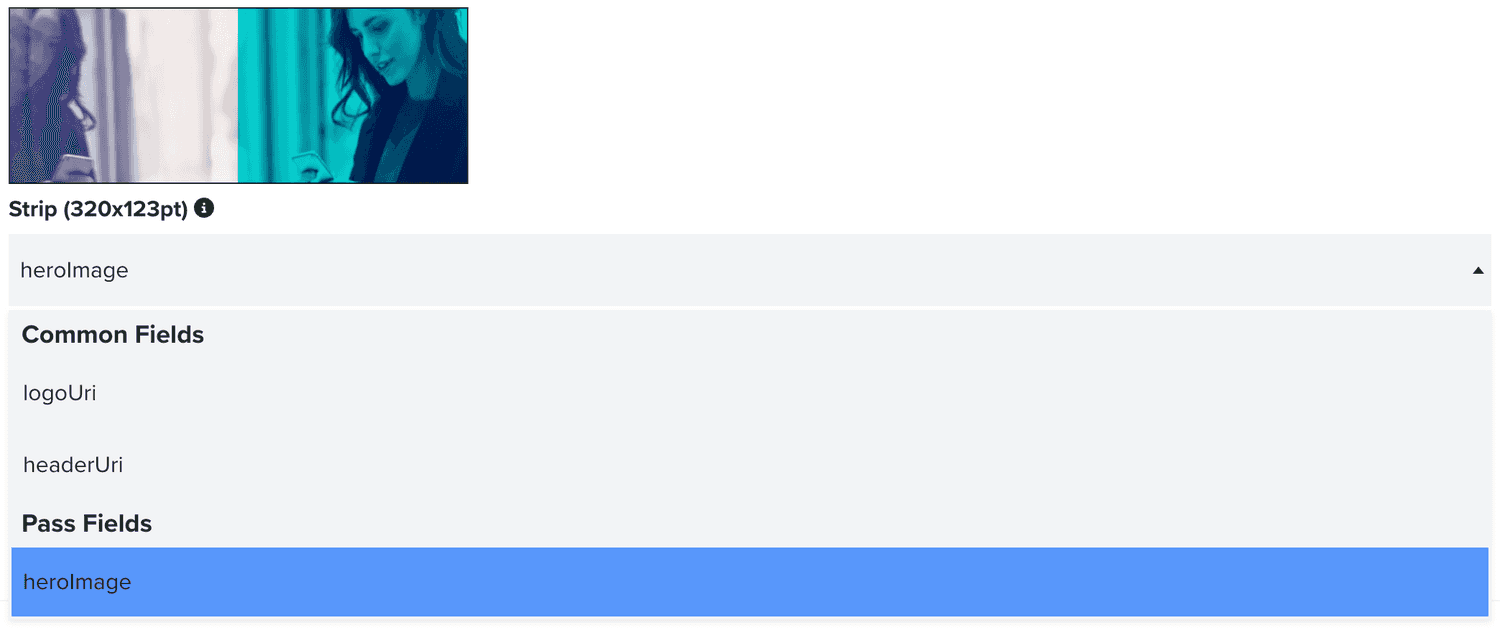
You will however only see fields that match the same type that is required. For example, for images you can only select image fields, for colors only color fields, etc.
You can also provide custom values, and not use fields at all:

When you do provide static values like this, you will not be able to change them later when updating your cards via our API.
Any errors, while designing your cards, will be displayed as follows:
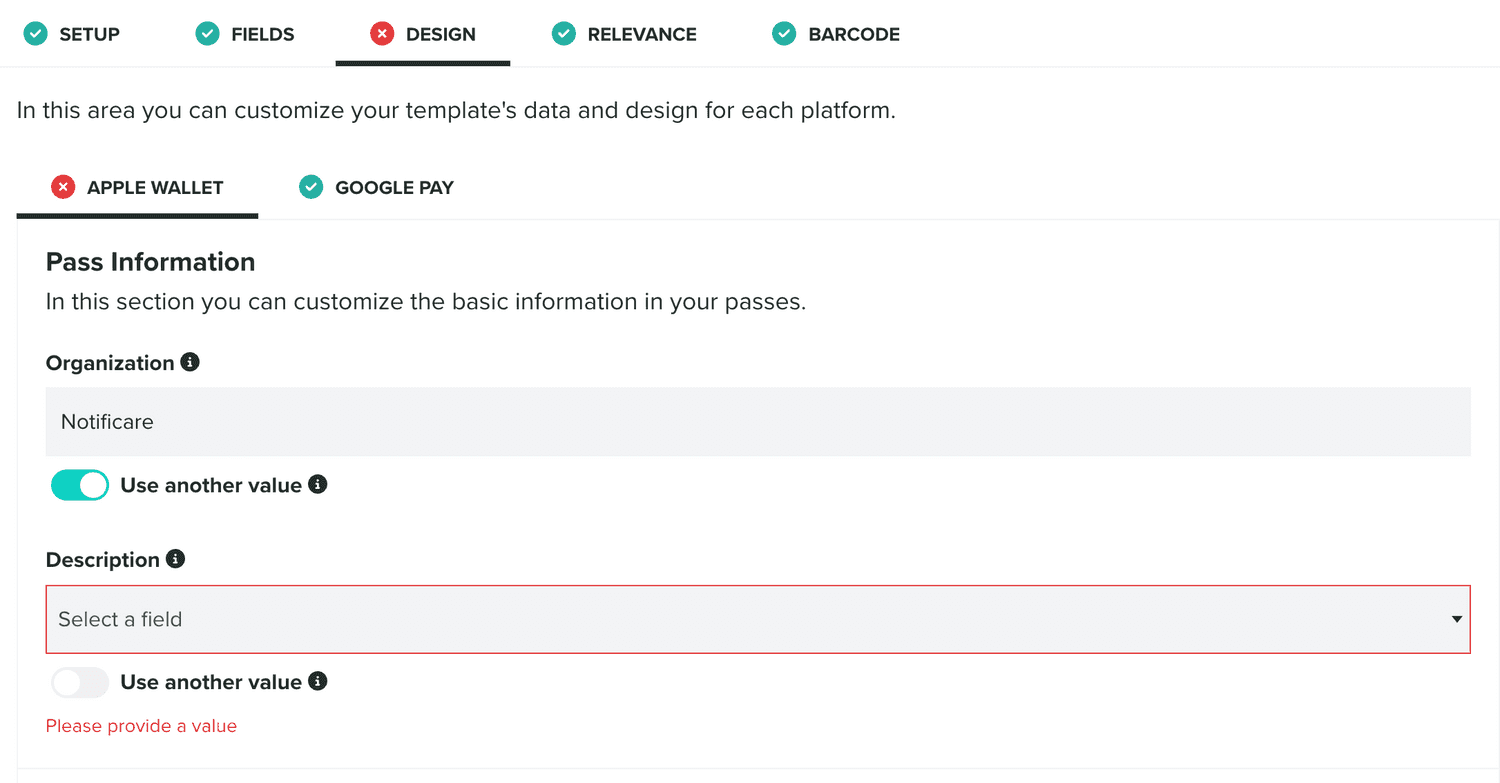
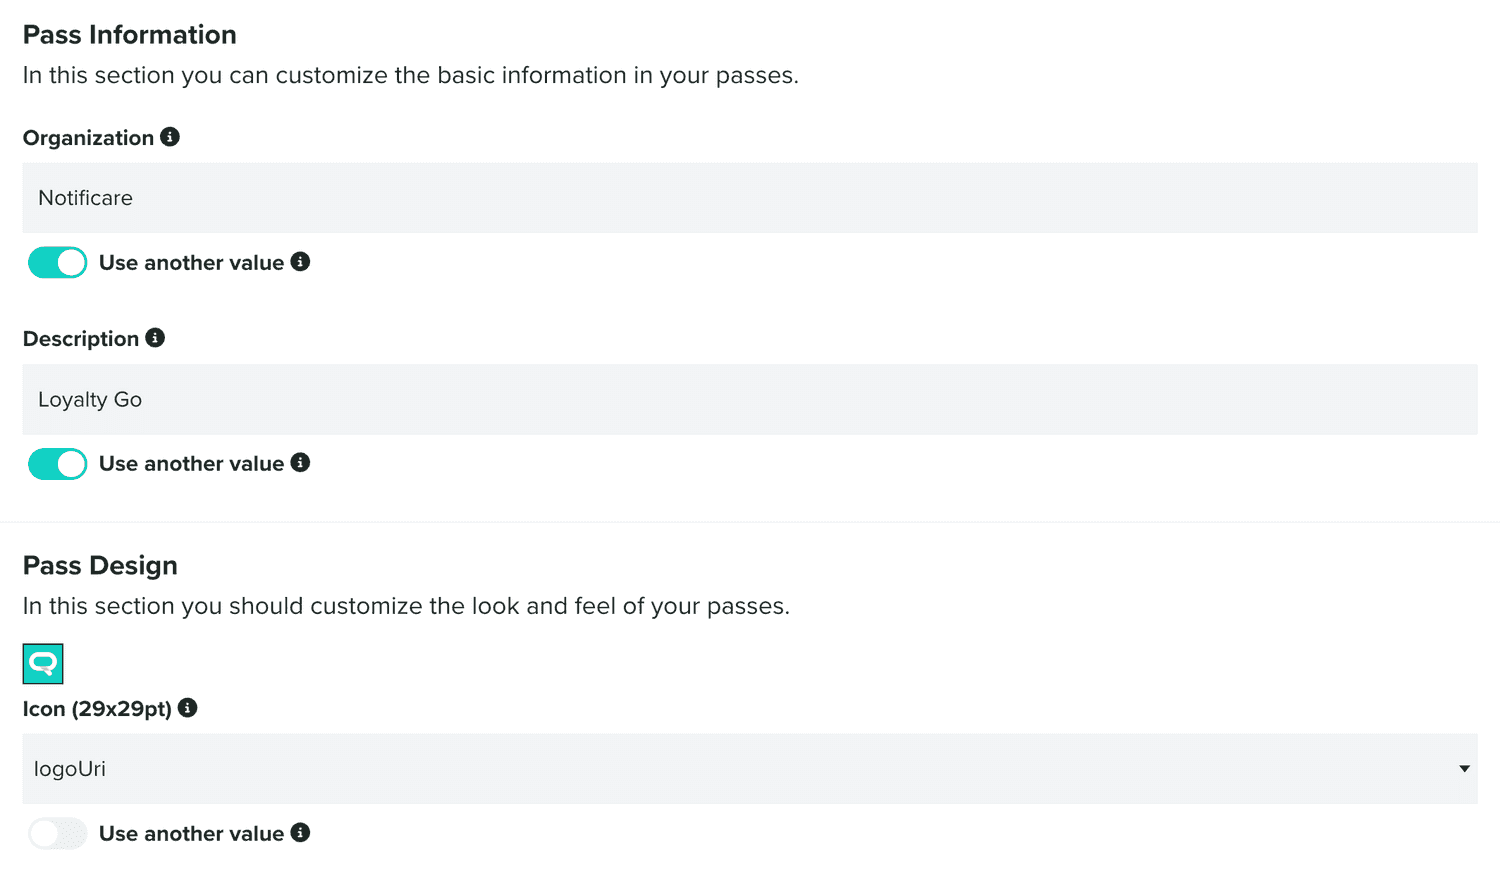
For Apple Wallet cards, you will always need to provide some information in the Pass Information section:
In the Pass Data section, you will then define what data should be visible in your pass and where it should be visible:
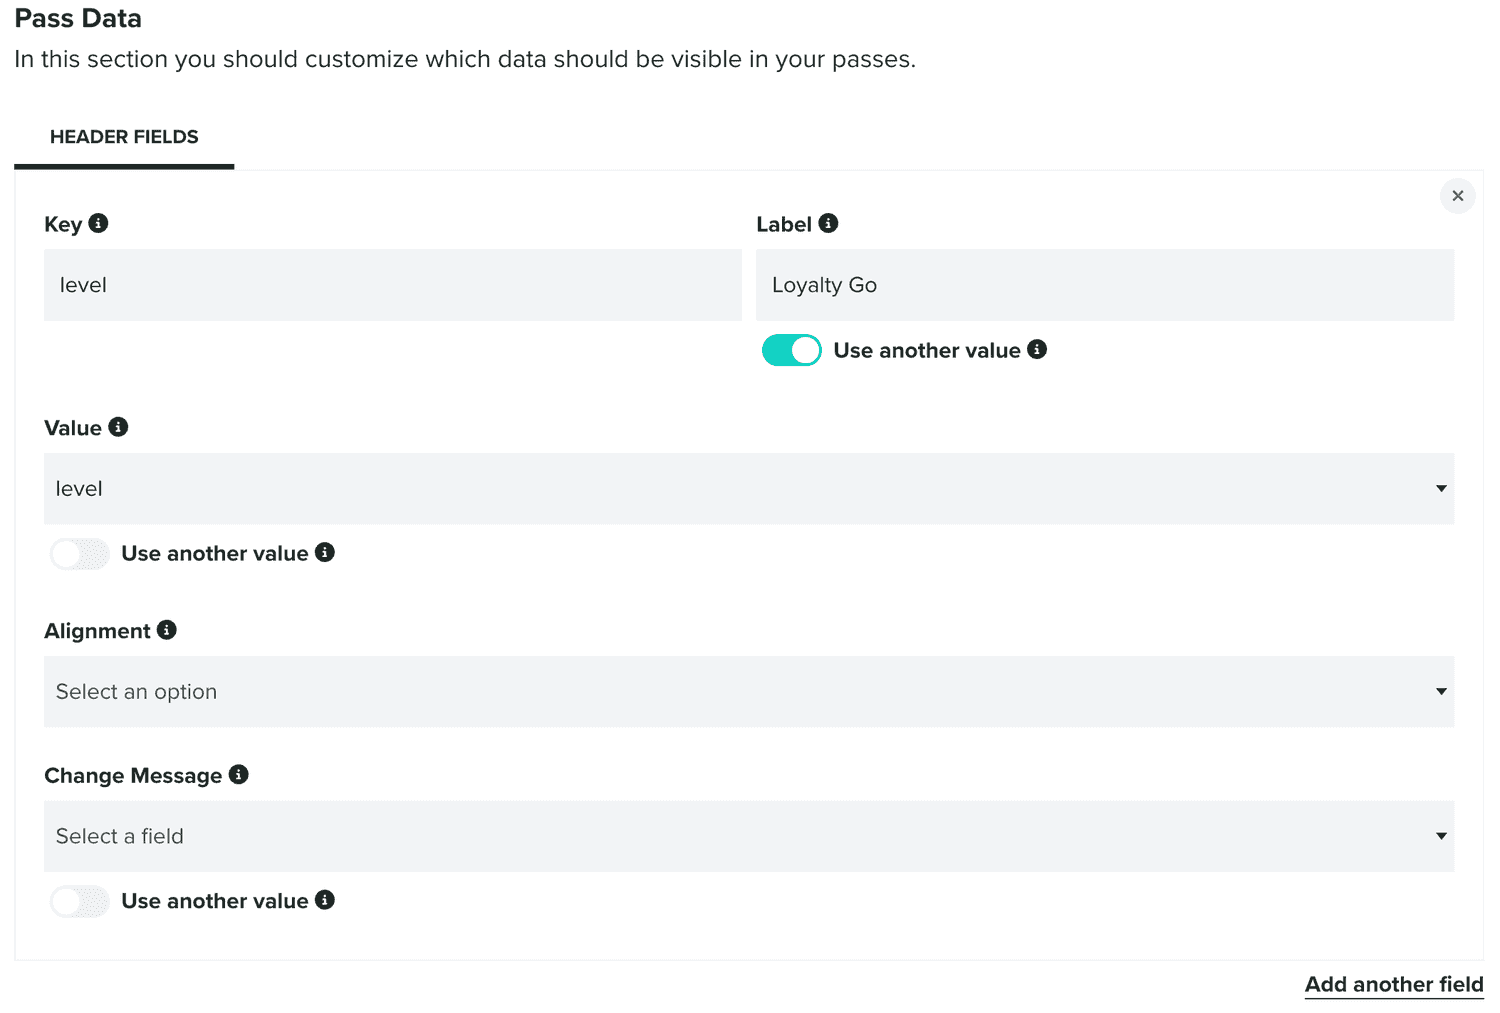
There are different types of fields for Apple Wallet cards, Header Fields, Primary Fields, Secondary Fields, Auxiliary Fields and Back Fields. The type of your pass will define what those fields should contain and where they will be positioned. You can read more about styles in this page.
Optionally, you can also provide information in your pass template, that will provide system-wide suggestion and actions in features like Siri:
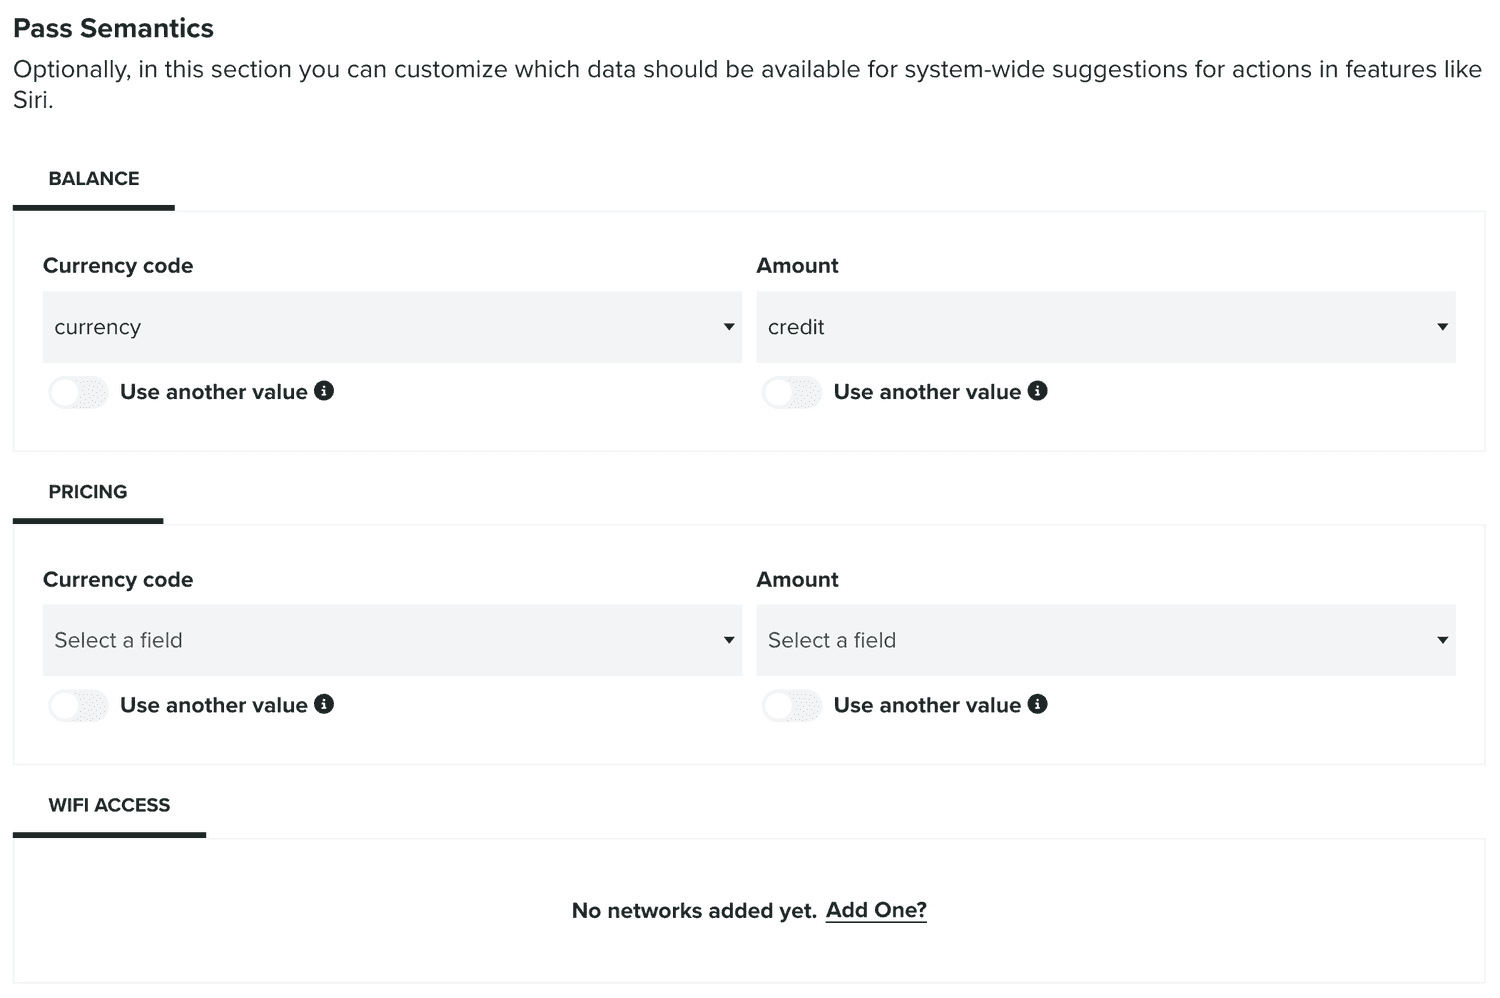
Depending on the type of template you select, this area will display different possibilities.
Google Wallet
In this tab you will define how your Google Wallet card will look like. Google Wallet cards requirements are a bit more restrict than Apple Wallet, and you will need to comply to some conventions namely about what and where data should be visible in your pass.
For every field of a Google Wallet card, you will need to select the appropriate field type you've previously created in the Fields tab:
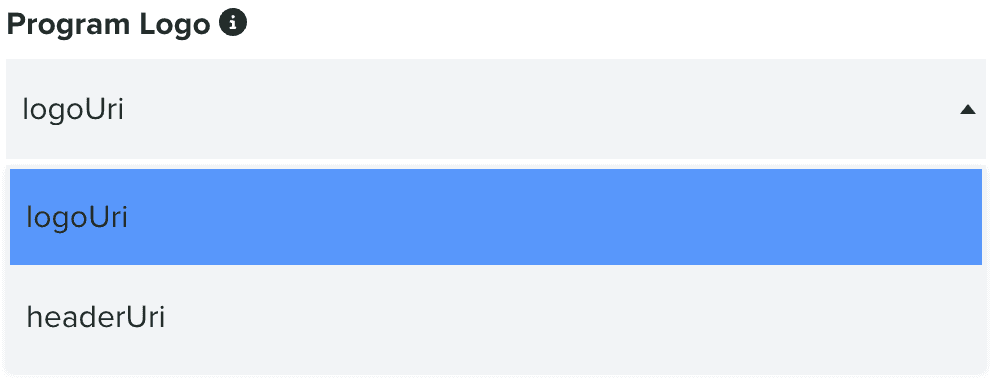
You will also only see fields that match the same type that is required. For example, for images you can only select image fields, for colors only color fields, etc.
You can also provide custom values, and not use fields at all:

When you do provide static values like this, you will not be able to change them later when updating your cards via our API.
Any errors, while designing your cards, will be displayed as follows:

For Google Wallet cards, providing an image or color is optional:
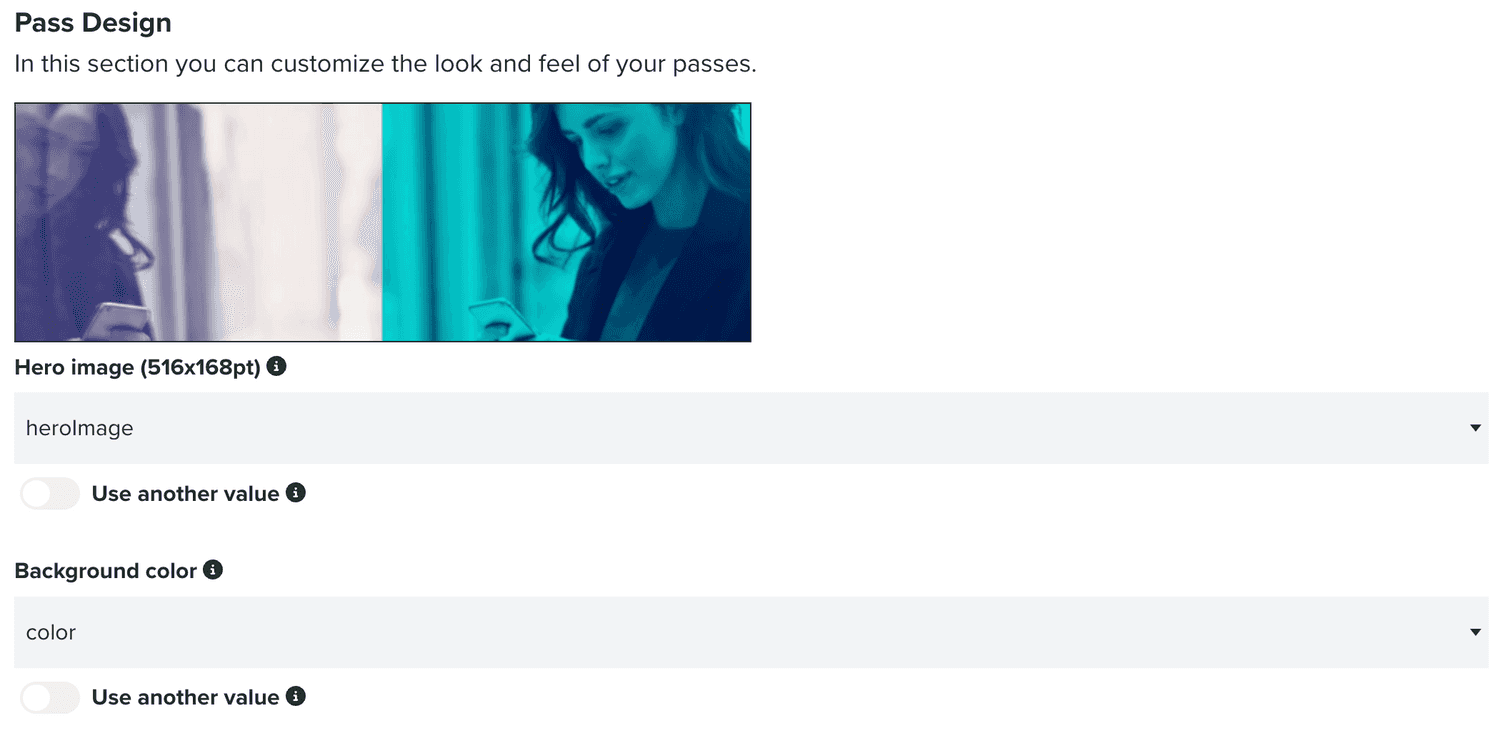
Data displayed in your card is also divided in two different sections, the Common Data:
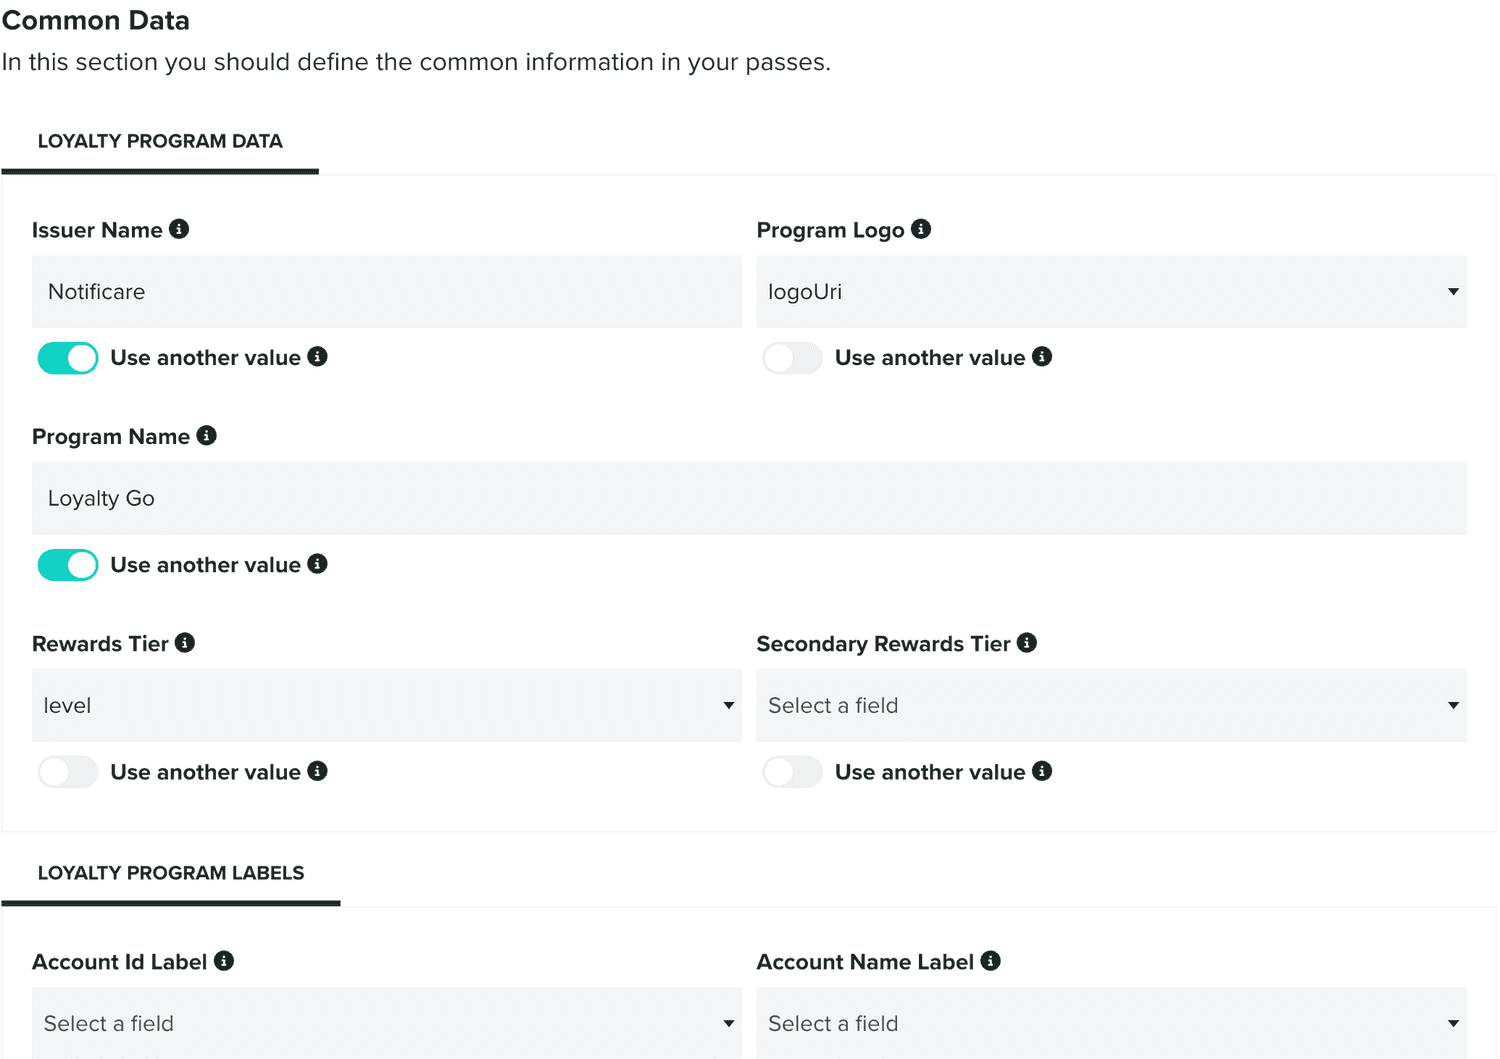
Where you can only select Common Fields from the Fields tab, and the Pass Specific Data section:
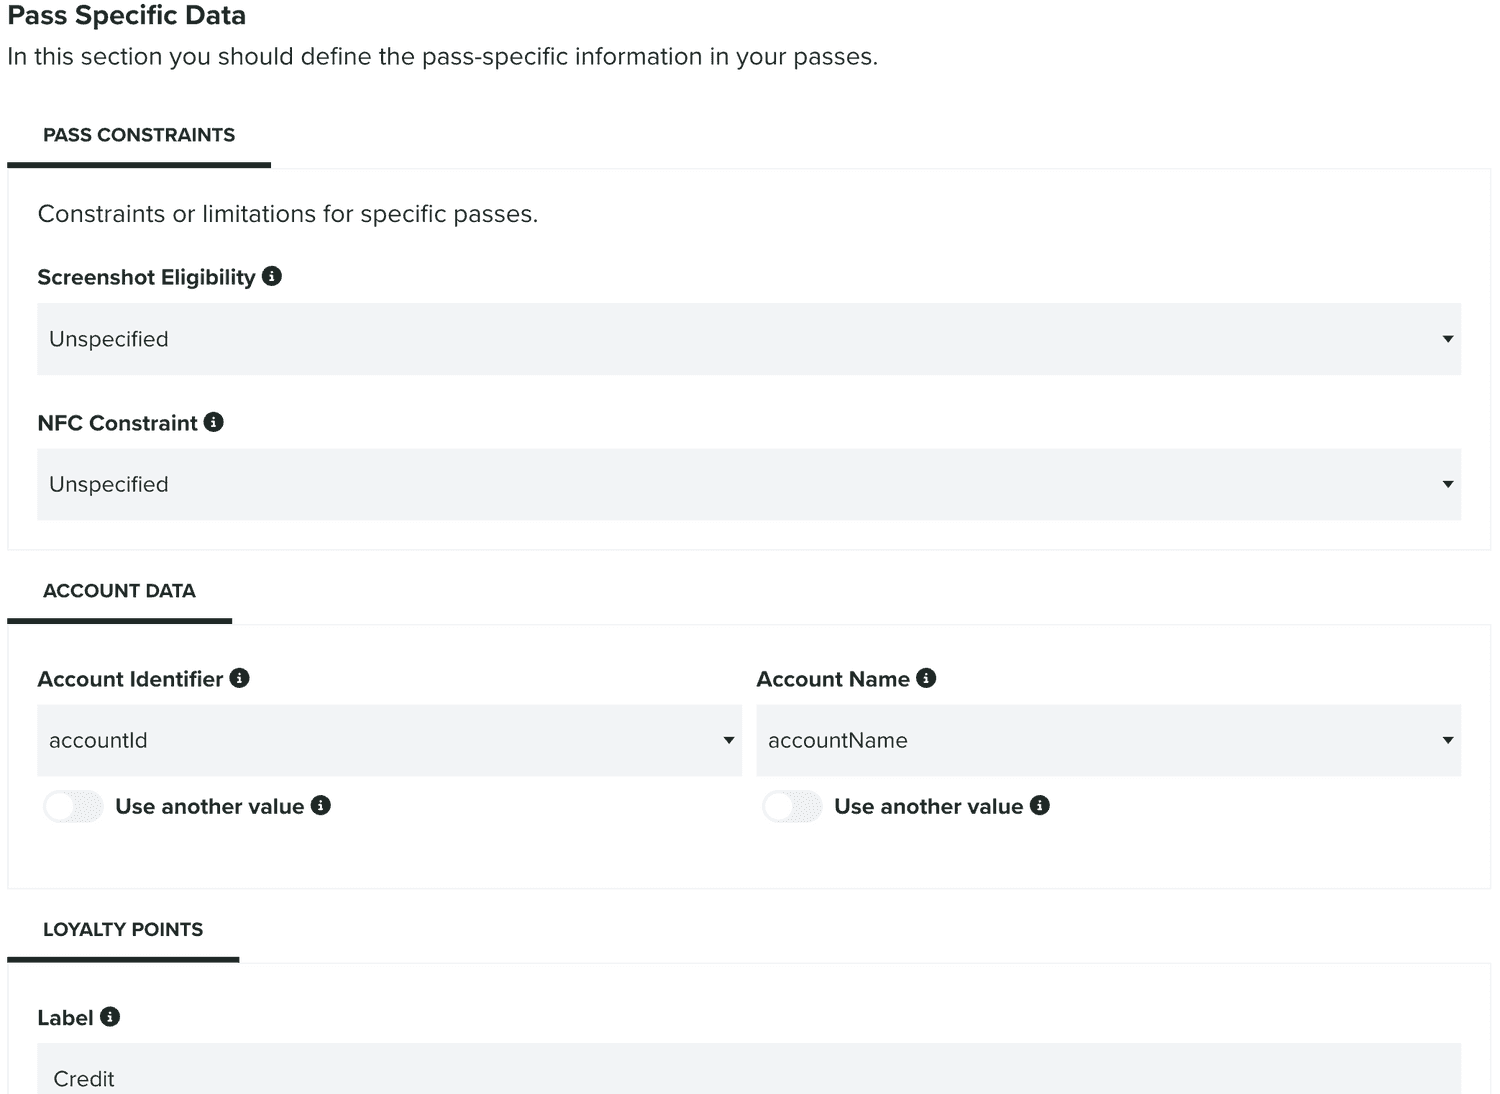
Where you can only select Pass Fields from the Fields tab. Each type of Google Wallet cards, will require different data.
Relevance
In this tab, you can define what to display to users when your passes are relevant. Some of these features are platform-specific or their behavior might differ in each platform. For example, you can provide locations and beacons (Apple Wallet only) where your passes should be displayed in the lock screen or display messages (Google Wallet only) in the back of the passes.
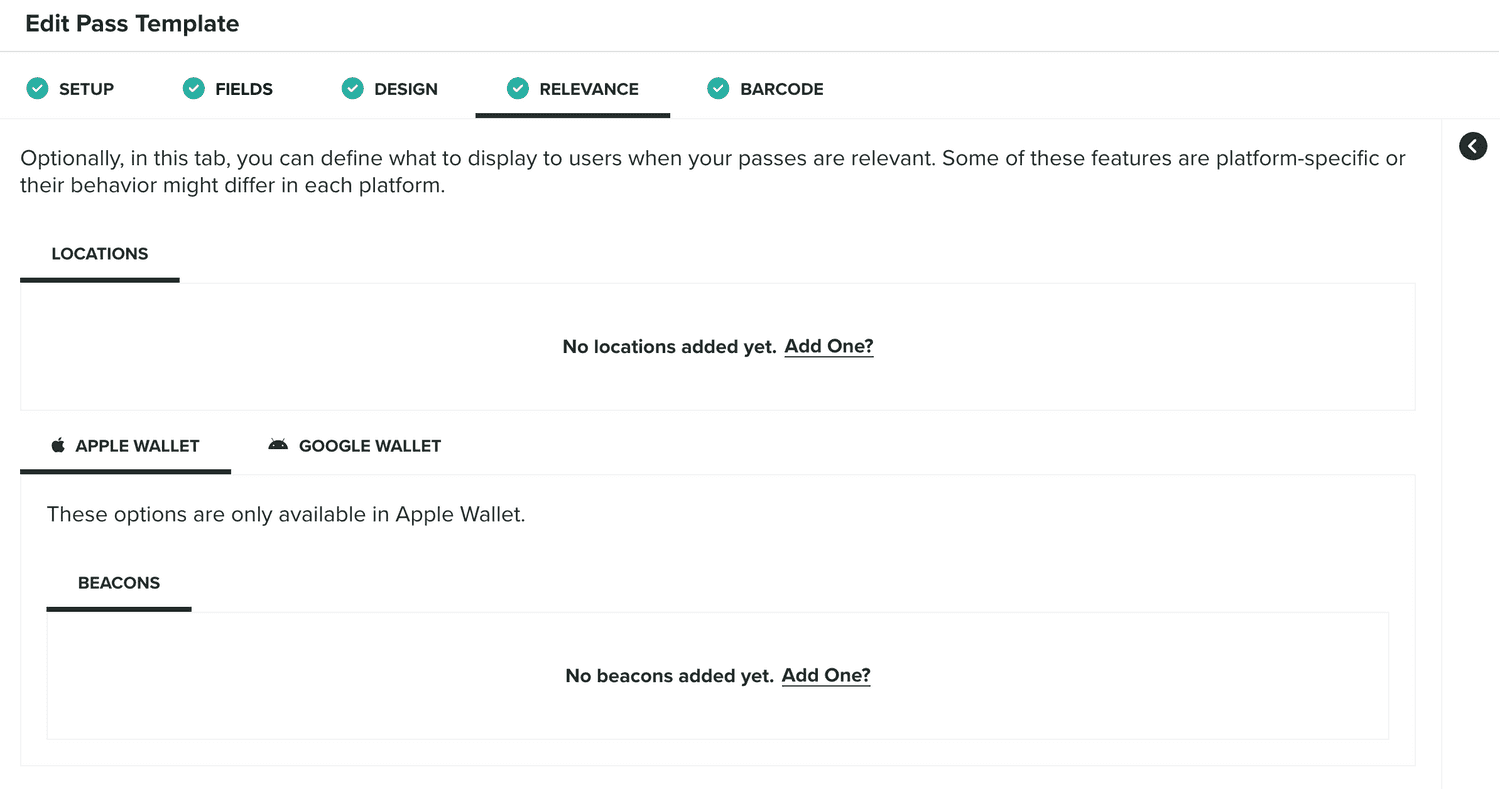
You can add as many locations and beacons as you want but only the first 10 will be considered in your passes.
You can add locations by clicking in the following link:

Which will open the following window:
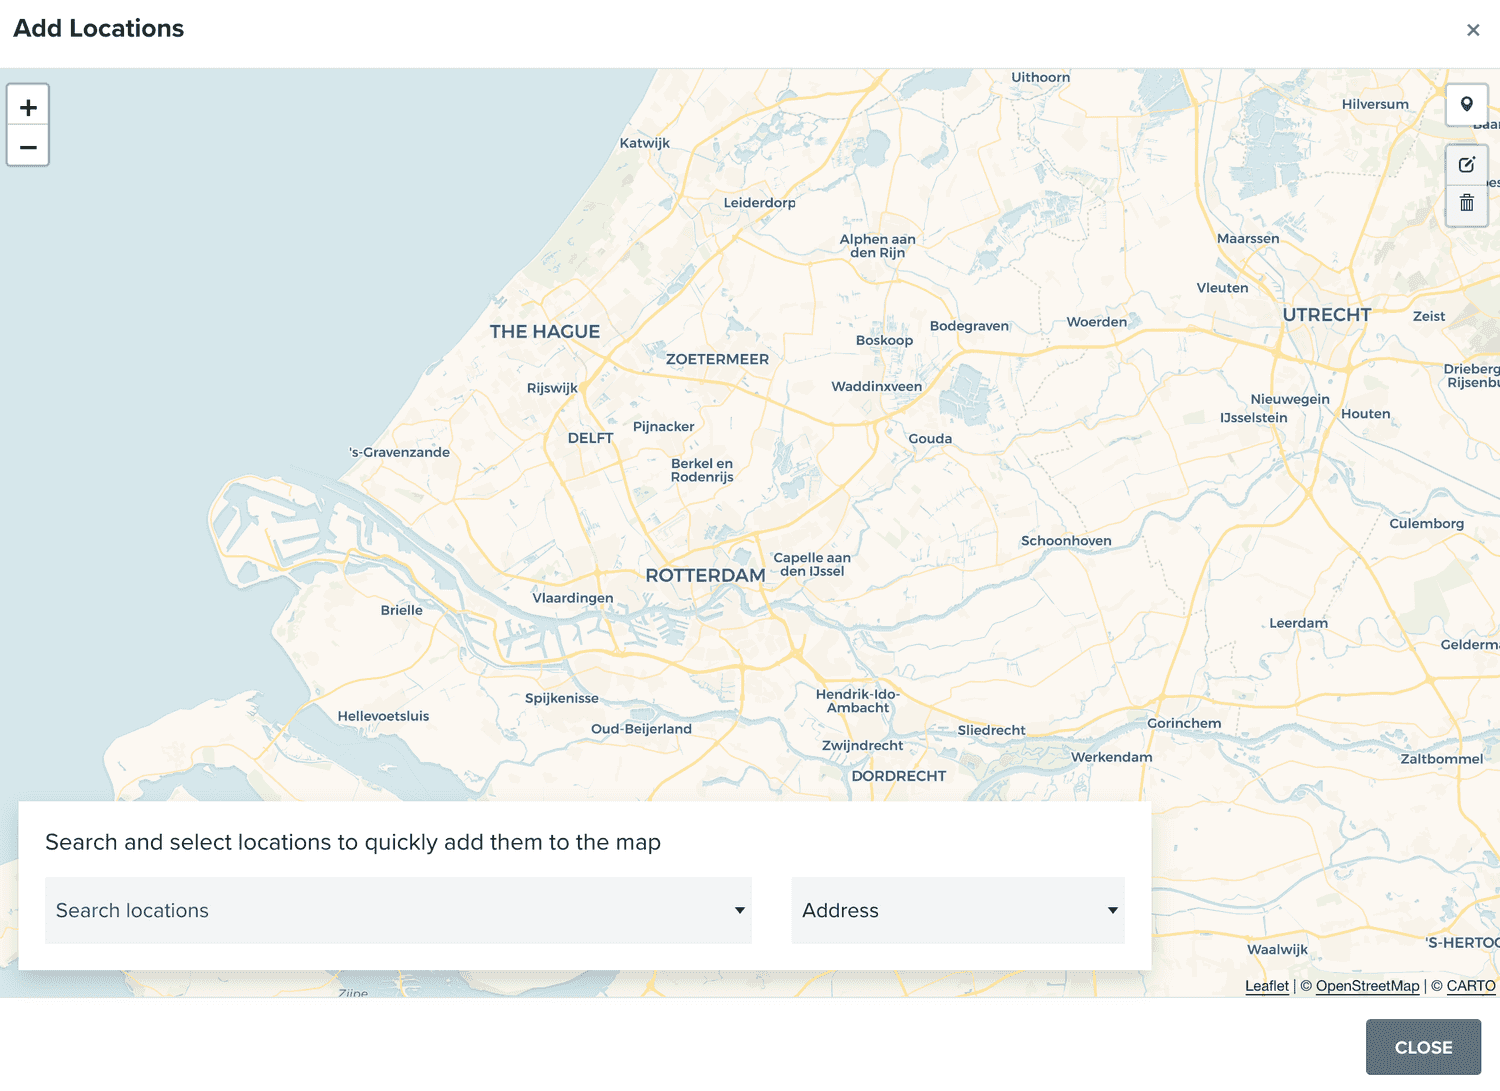
Where you can add locations either by adding markers to the map or by searching addresses, Geo-Zones, POIs, cities and countries. You can also provide a relevant text and an altitude for all the locations you add:

You can also provide a relevance text and an altitude for all the locations you add. The relevant text will be shown when the pass is displayed in the lock screen while altitude will be used in combination with the location to provide some precision to this geo-triggered alert.
You can also add beacons, in the Apple Wallet tab, by clicking in the following link:

Which will add an entry to your beacons list as follows:
![]()
For each beacon, you should provide the Proximity UUID, Major and Minor, as well as a relevant text that will be as an alert in device's the lock screen.
When editing a pass template, you can also add messages, in the Google Wallet tab, by clicking in the following link:

Which will open a window as follows:
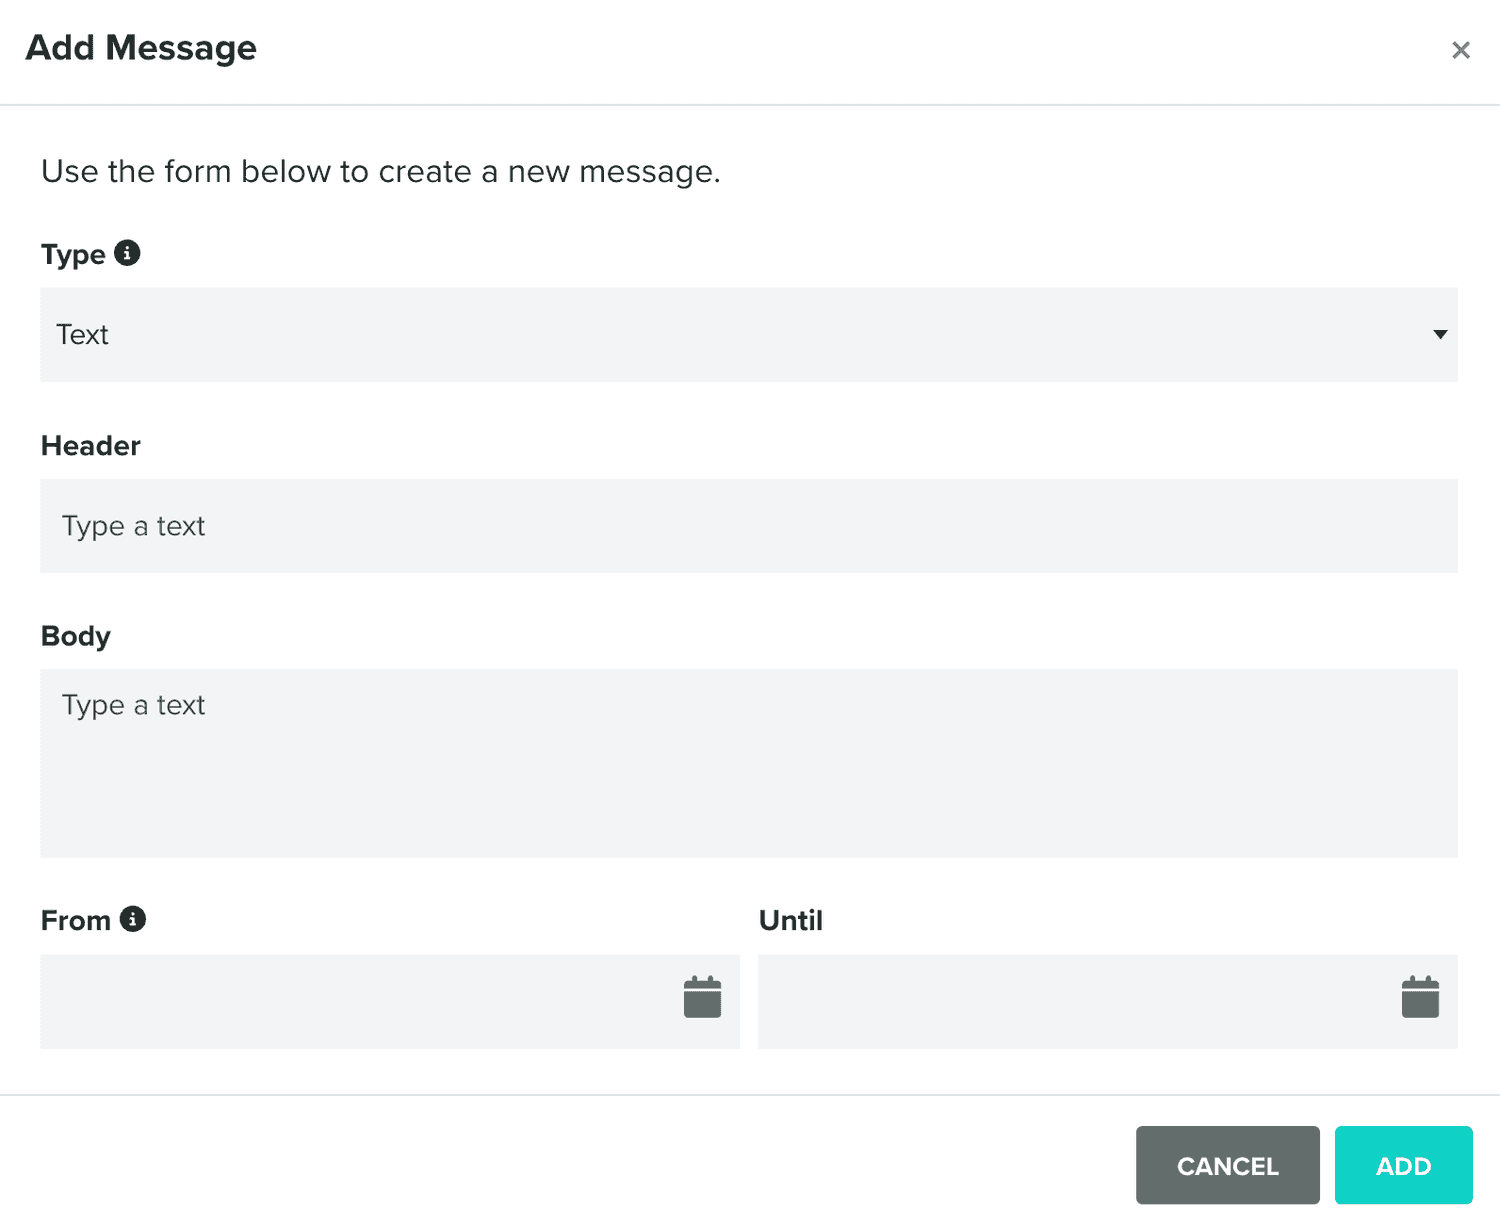
You can create two types of messages:
- Text: Displays the message on the card details screen.
- Text & Notify: Displays the message on the card details screen and generates an Android notification.
You must provide a header and a body. You can also set a display interval for each message, specifying From and Until dates. This flexibility ensures that messages are shown at the right time, and they remain visible in the message list indefinitely if no Until date is set.
You can clear all messages in a pass template by clicking in the following button:

Barcode
In this tab, you should define what type of barcode, if any, passes generate with this template should display.

If you choose to use one, there are several type of barcodes you can use, and you should verify which ones can be scanned by your POS terminals or whatever hardware you will use. You can choose between QRCode, PDF417, 1D (Code128) or Aztec.
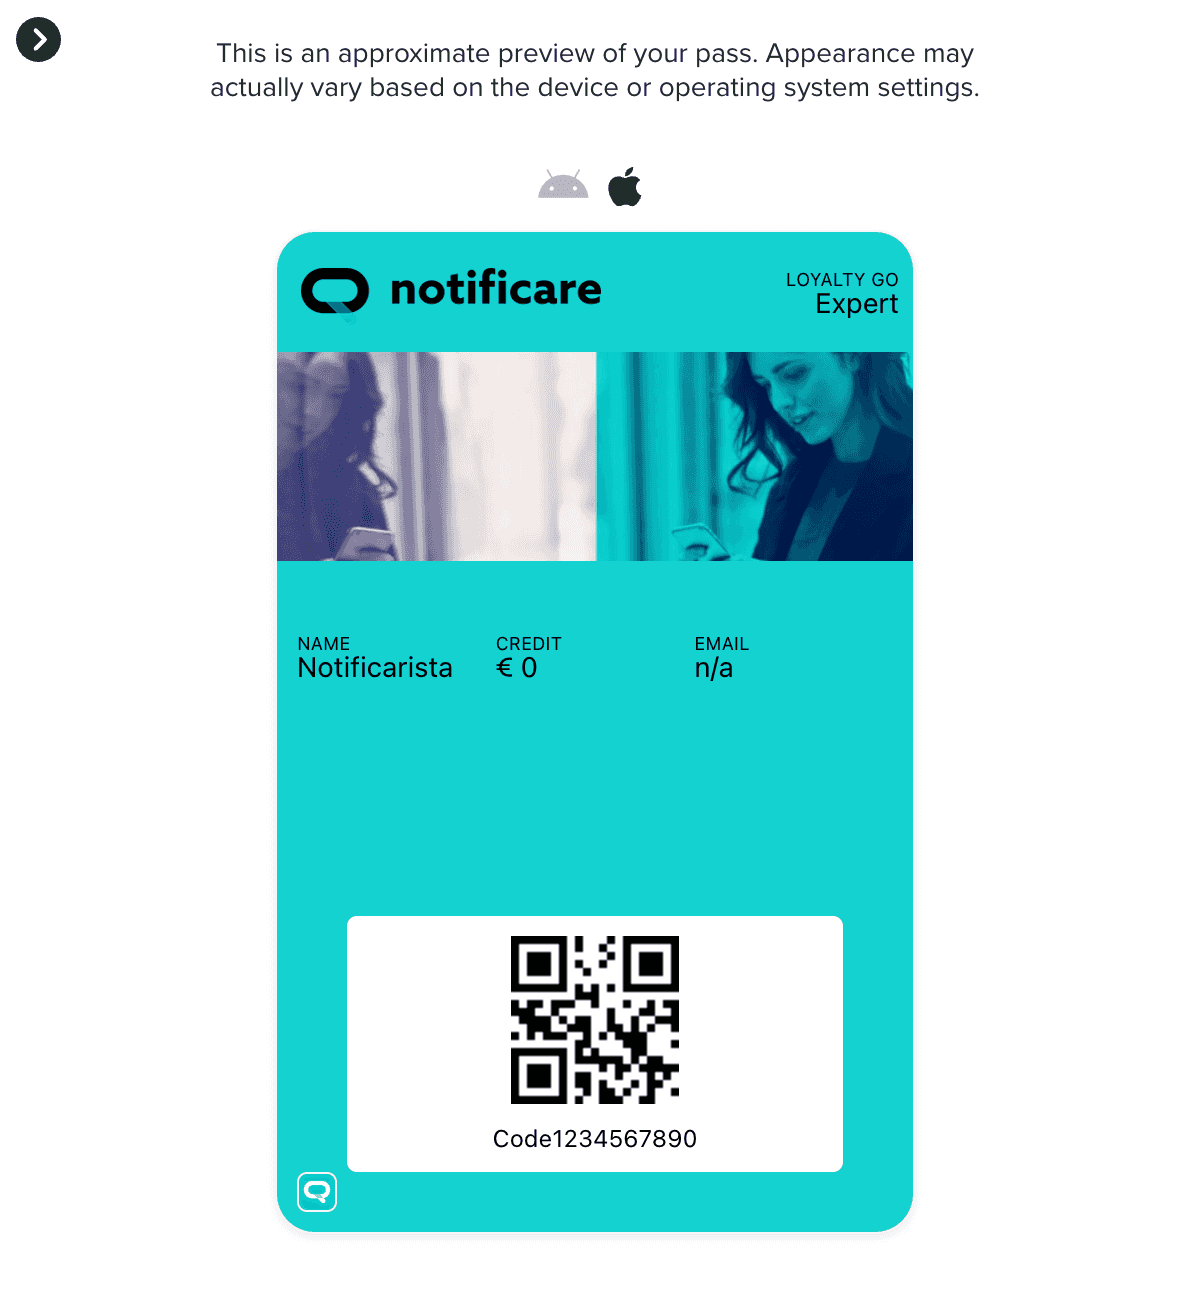
While you design your pass template you can also see a preview of what it will look like, by expanding the following area:
Once you've created a pass template, you will be able to edit it, by clicking on each entry in the pass templates list:

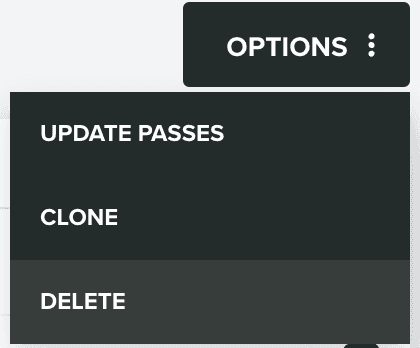
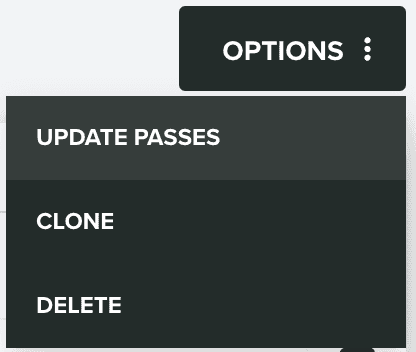
In this area, whenever you make changes to the template, you can also trigger an update to all the passes generated with a template. You do this by expanding the Options menu and click in Update Passes:
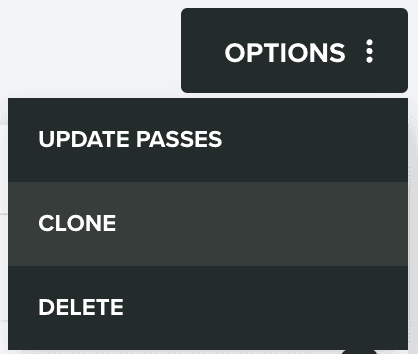
You can also clone a template by expanding the Options menu and click in Clone:
And you can delete templates by expanding the Options menu and click in Delete:
