Loyalty
In this area you can configure the Loyalty service. This service is an add-on feature of our platform. Before you can subscribe this add-on you will need to be enrolled in a paid plan.
This add-on will allow you to create Apple Wallet and Google Wallet passes and loyalty and reward programs at scale. From boarding passes to event tickets, coupons or membership cards your business can harness the power of this technology that works natively in both iOS and Android. If a device does not support this functionality, we provide a web fallback version of your passes too.
Under the Settings menu, you should start by clicking in Services:

You should then click in the Configure button from the following box:

Apple Wallet
For Notificare to be able to create passes you will need to upload a Pass Type ID certificate. More information about how you generate these certificates can be found here.
Once you have a .p12 file, upload it in the following field:

You will also need to provide us the password you used when you've exported this certificate from your Keychain Access app:

Finally, hit the Save button to store your SSL Certificate:

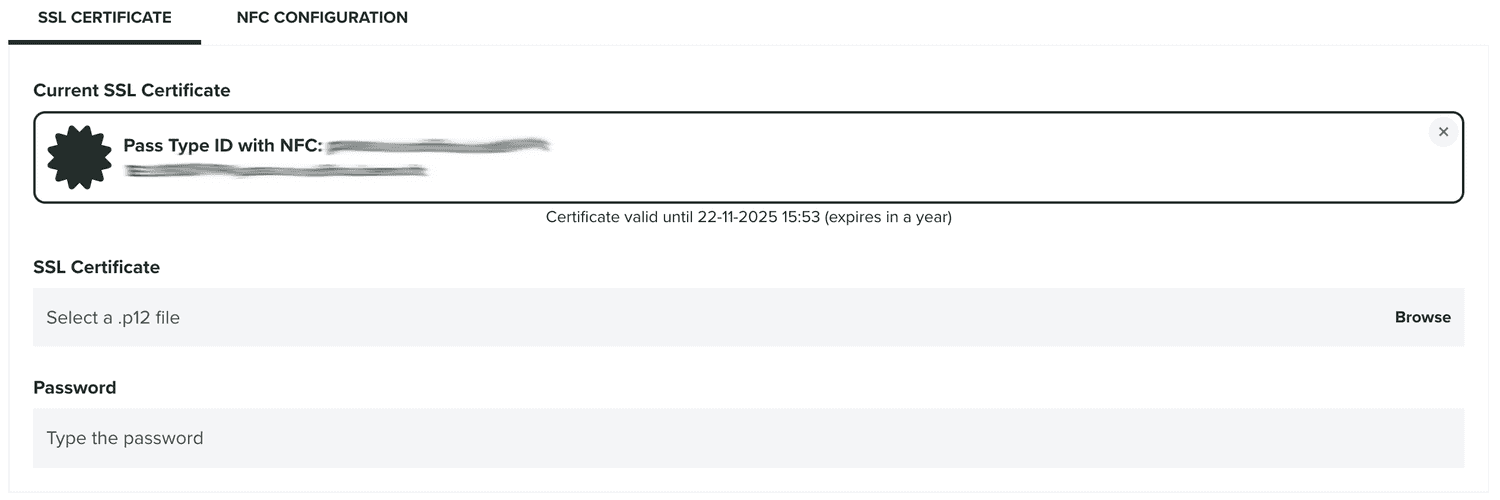
If everything is correct, you will then see your stored SSL Certificate as follows:

At this point, you should be able to create Apple Wallet passes. You can also delete your current SSL Certificate, by clicking the button in the top right corner. SSL certificates have an expiration date, when they are expired, you will see something like this:

If your certificate is expired, we will not be able to create Apple Wallet passes, so your service will display the following state:
![]()
SSL Certificates with NFC
Apple Wallet cards that support NFC require a different entitlement from Apple, which you can request here. However, this might be a lengthy process, and you need to provide information about your use case and NFC terminal specifications (You will need this from your terminal provider or payment provider) before you get access to this functionality.
When you do have access to this entitlement, you will be able to generate SSL certificates that support NFC. They are basically the same as the ones described above, and you can upload them the same way as any SSL certificate.

These certificates will also expire, and you need to renew them in order to continue generating cards that support NFC. Additionally, when you upload an SSL certificate with NFC, you will also be able to provide the Encryption Public Key. We will use it to create an Apple's Value Added Services (VAS) compatible card.

This key will be included in every card generated with NFC support.
Google Wallet
Additionally, if you use the Loyalty v2 add-on, you can also configure this service to create Google Wallet passes. To obtain a Google Wallet merchant account and assign a service account to it, please read more about it here.
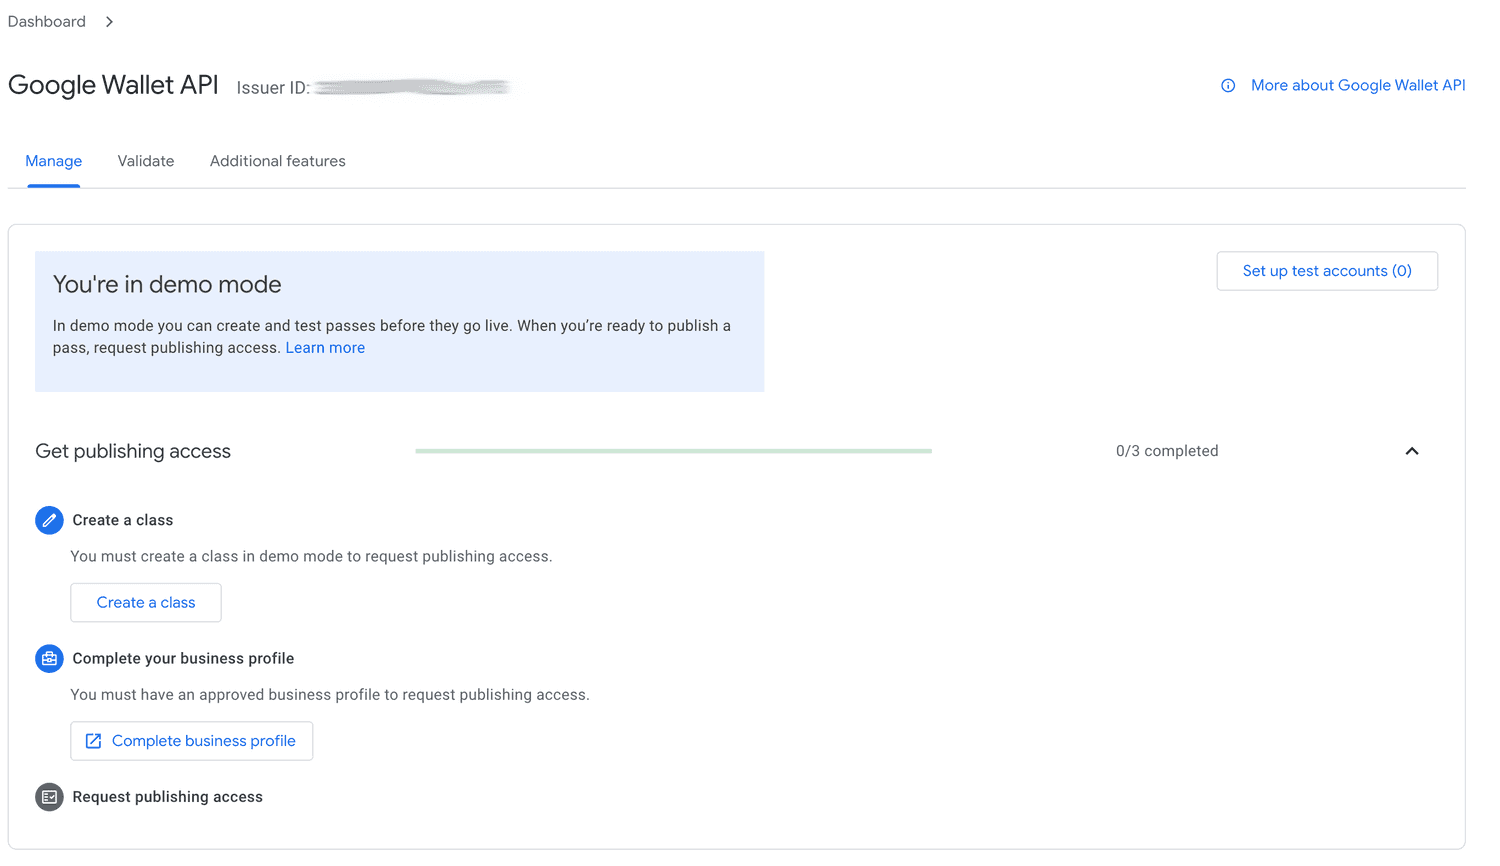
You should follow Step 1 to Step 4 (you can ignore Step 5 because we will create your passes dynamically). Initially your account will be in Demo Mode:

In this mode you can only create passes for testing purposes, we strongly recommend you complete the remaining steps as soon as possible to have publishing access.
Once you have access to the Google Wallet REST API and a service account, you should be able to provide us the Issuer Identifier:

And a JSON configuration file with the credentials for you service account. This file can be uploaded using the following field:

Finally, hit the Save button to store your data:

After saving these, you will see those stored credentials as follows:

At this point, you should be able to create Google Wallet passes. You can also delete your current Service Account, by clicking the button in the top right corner.
Smart Tap enabled cards
Just like Apple Wallet, Google Wallet cards can also be generated with NFC support. However, this configuration is done in your own Google Wallet Console. We strongly recommend you to use the same encryption key for both Apple and Google Wallet.
Lastly, it is important to remind you that you will need a terminal that supports both Apple's VAS and Google's Smart Tap. Notificare can provide guidance when it comes to select a supplier for such terminals too. For more information, please contact our support team.