Geo-Triggers
In this area you manage geo-triggers for a Geo-Zone in your app. Geo-triggers allow you to automatically categorize or send messages to users whenever they enter or leave your Geo-Zones.
To access this area, you will need to expand the Location Services menu and click in Geo-Zones:

And click a Geo-Zone from the list you find in this area:

You should then expand the Options menu and click in Geo-Triggers:
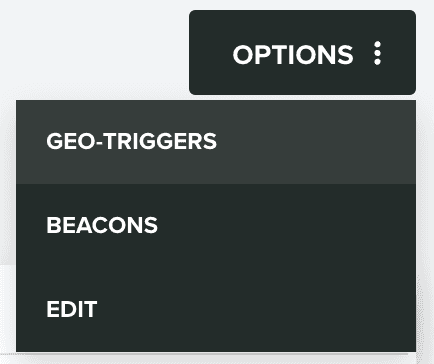
Which will take you to a new page where you find all the geo-triggers you've created:

You can also search geo-triggers in a certain Geo-Zone, if you use the following section:

You can create geo-triggers by first clicking in the following button:

Which will take you to a new page where you can define the behavior of your geo-trigger.
Setup
In this tab you will simply need to provide the name for your geo-trigger:

This is purely informational and useful when you want to search geo-triggers. Additionally, if your Geo-Zone is configured with an identifier, and you've already added some beacons, you can also choose to create a geo-trigger for a specific beacon:
![]()
This option will not be visible, when you create geo-triggers in a Geo-Zone without an identifier.
Frequency
In this tab you will define the frequency and behavior of your geo-trigger.
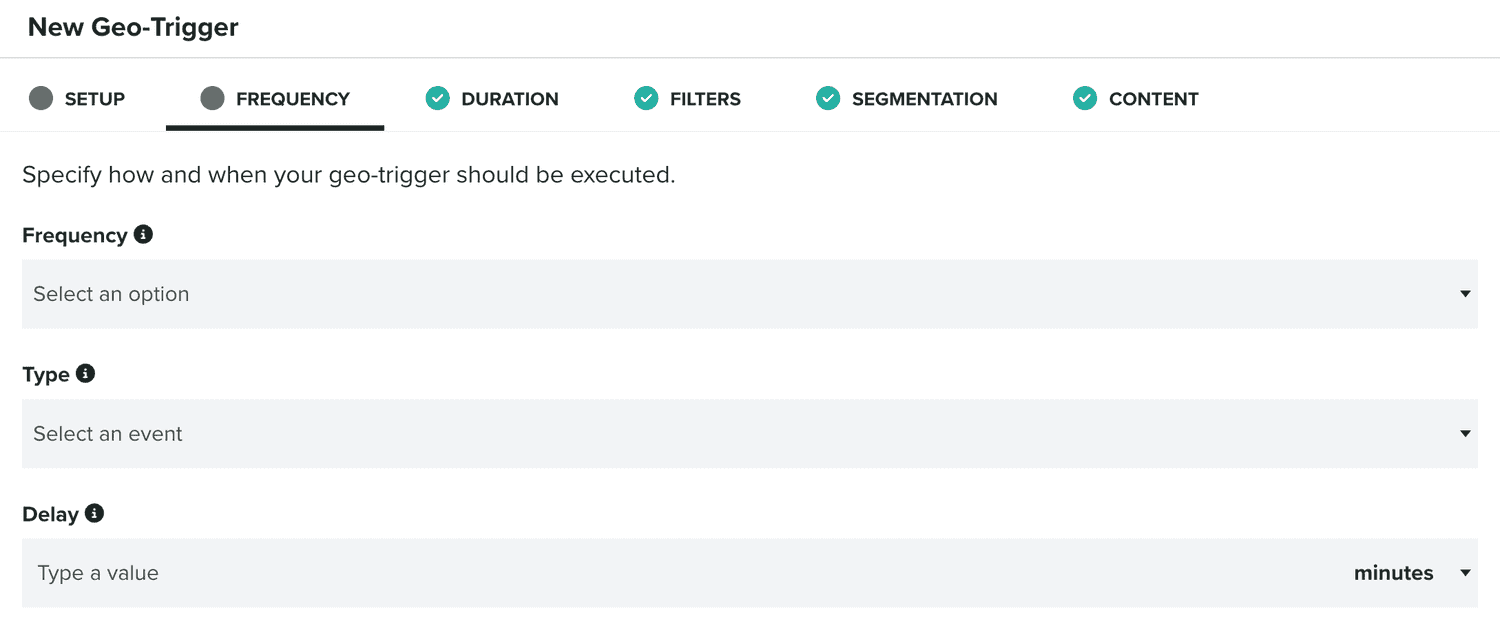
First you need to select what the frequency should be:

You can choose between Only once when a user, Every time a user and If a user.
You should also select the type, which will let you select between the Enter or Exit events of a Geo-Zone or a beacon:

If you selected Only once when a user, then you can provide which occasion this geo-trigger should be executed:

Similarly, if you've selected Every time a user, you can define at which time it should trigger:

And finally, if you've selected If a user, you should define an interval of time between each trigger:

Each one of these options, will allow you to define a cadence for the geo-trigger, which defines the kind of interaction it will create.
Optionally, a geo-trigger can also be delayed:

When you provide one, we will delay the trigger for that amount of time. If an opposite event is trigger during that period, the geo-trigger will be cancelled. This option will allow you to create geo-triggers that target users that dwell inside the Geo-Zone for some time and prevent triggering interactions for users that are just passing by.
Duration
This tab is not mandatory. If you do not want to restrict your geo-trigger based on date or time, you can simply ignore it. If you do want to provide a date period, time of the day or days of the week, you should then define these in this area.
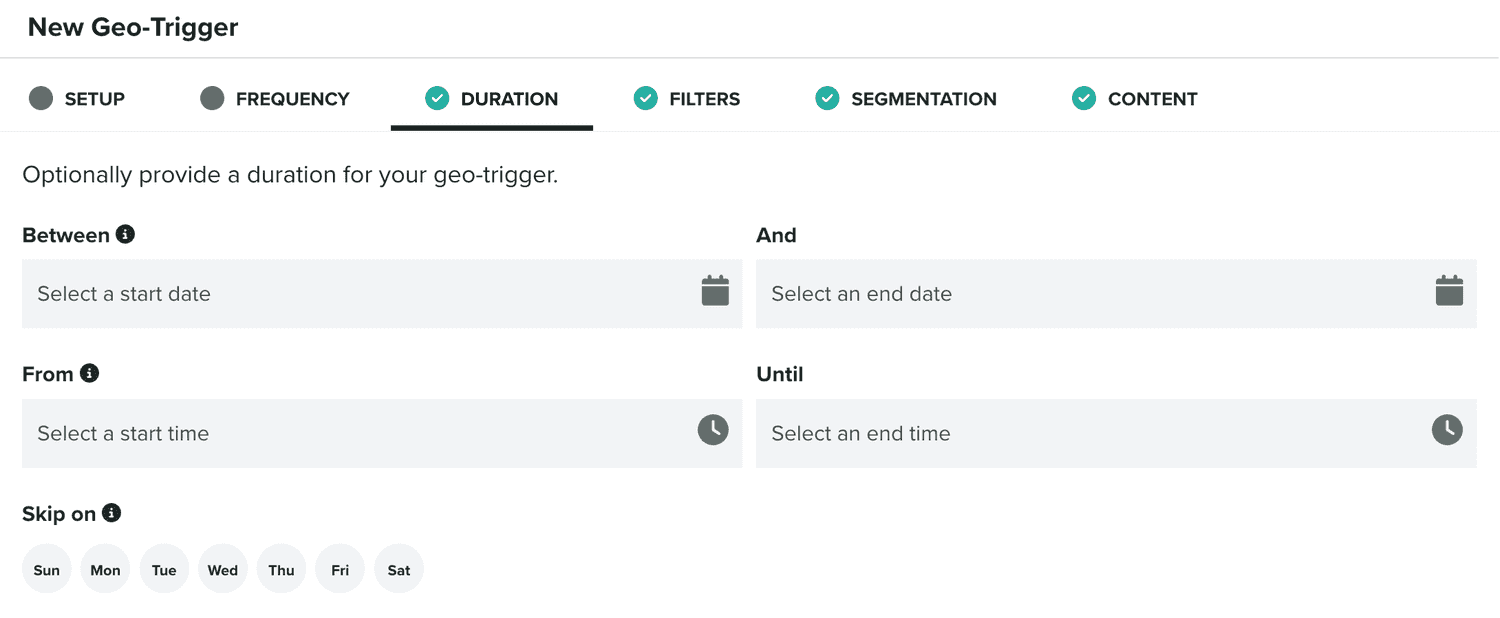
You can always change this period afterwards as you see fit.
Filters
This tab is also not mandatory. You can use to define if the geo-trigger should be triggered based on certain properties of the user or device.
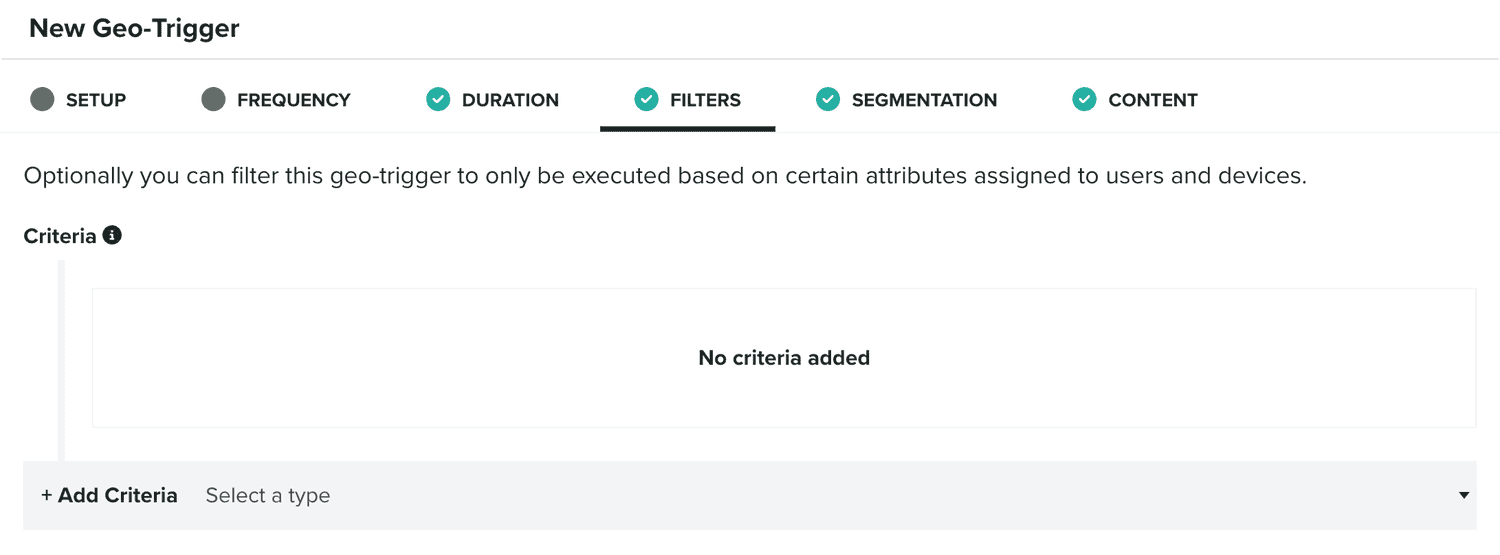
Filters use our advanced criteria component, which you find in several other features of our platform. To learn more about this component, please read these guides.
Segmentation
In this tab, which is also not mandatory, you will find how you can automatically categorize users whenever this geo-trigger is executed.

You can basically define if the user or device that executed the trigger should be added or removed from a certain segment or tag. This might become useful, if you want to eventually target or exclude those users or device in a follow-up geo-triggers or other push messaging campaigns.
Segmentation Rules is also a component you'll find throughout our platform. To learn more about this component, please read these guides.
Content
Finally, in the content tab, you should define if the geo-trigger should generate a push message or not. This can only be defined once, at the time of creation.

By default, we will use None as the content type, which will mean no push message will be generated. This type is useful, if you simply want to add segmentation rules to your geo-trigger.
But you can also choose to create a Push message:

When you do choose Push message as your content, you can also use a template as the starting point for the message we will assign to a geo-trigger:

If you don't use a template, we will use a default text. For both cases, you can always edit the content your message after the geo-trigger is created. To learn more about messages, please read the guides located here.
Once, you've created a geo-trigger, you can also edit it by clicking in each entry in the geo-triggers list:

Please note that geo-triggers will only be active if the toggle on the right is turned ON. By default, when you create a new geo-trigger, this options will be inactive.
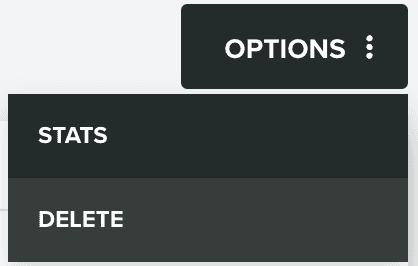
Inside the geo-trigger, besides being able to edit it, you can also find access to its performance metrics, by expanding the Options menu and click in Stats:
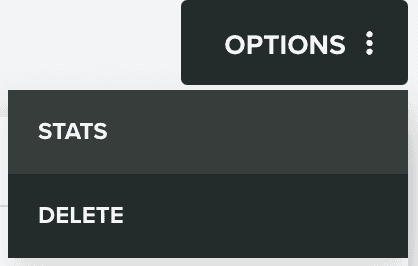
Or you can delete a geo-trigger, by expanding the Options menu and click in Delete:
