Push Messages
In this area you can send iOS, Android and Web push messages using Notificare's powerful push composer.
You start by expanding the Engagement menu item, then the Messages menu item and finally click in New Push Message:

In this area you will find our powerful composer for push notifications. This composer will be used throughout our dashboard whenever you need to send or edit push notifications.
Audience
In this tab you will define the recipients of your message which you can select in different ways:
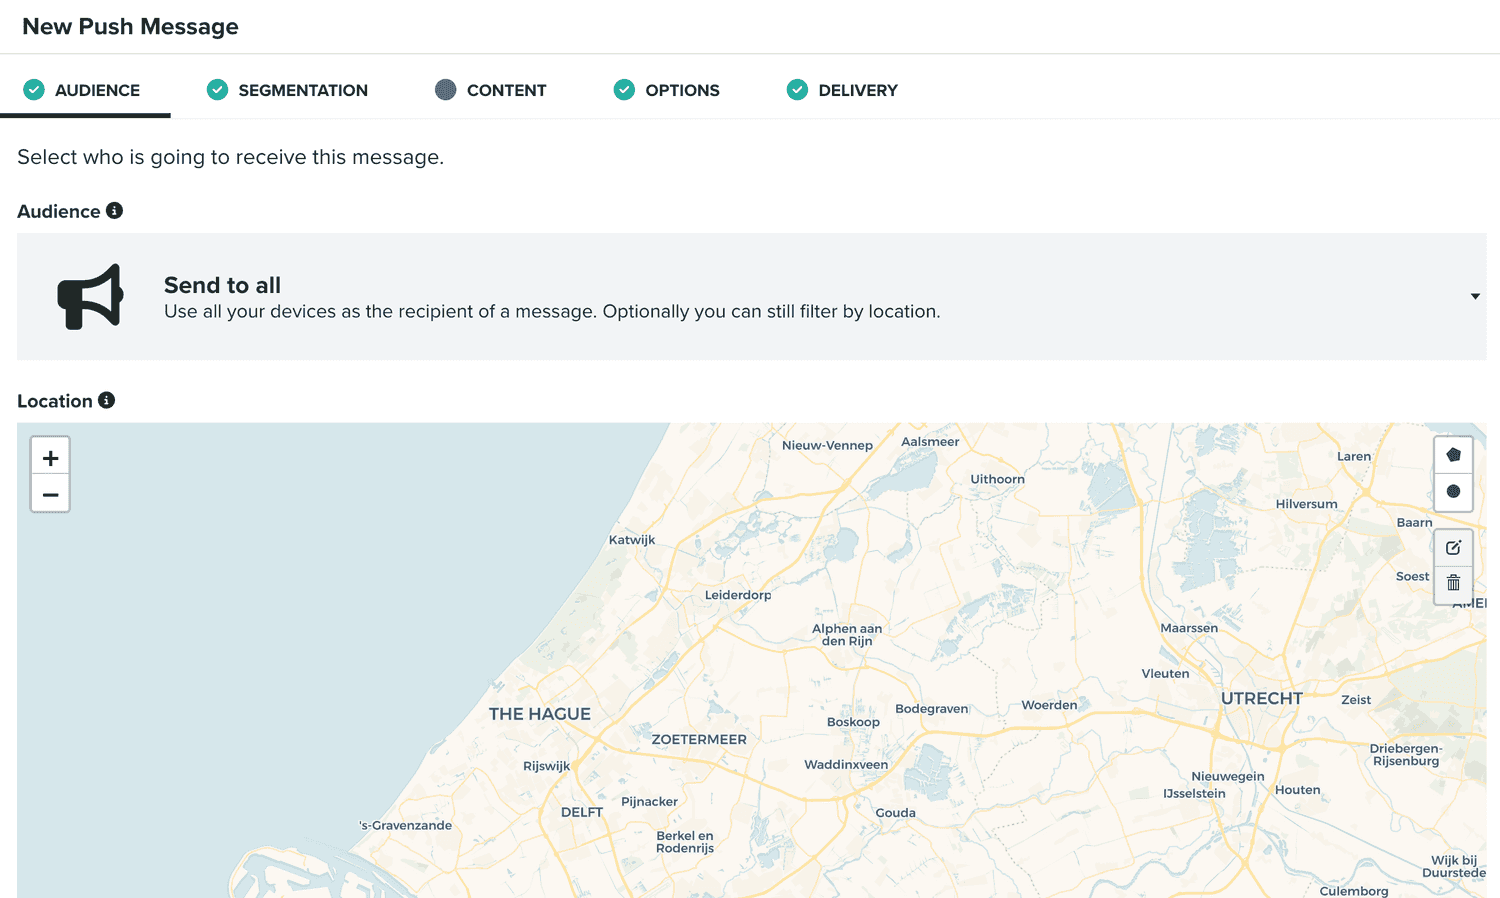
This tab will not be visible for triggered messages (e.g. geo-triggers or event-based). For non-triggered messages, the default selection is Send to all:

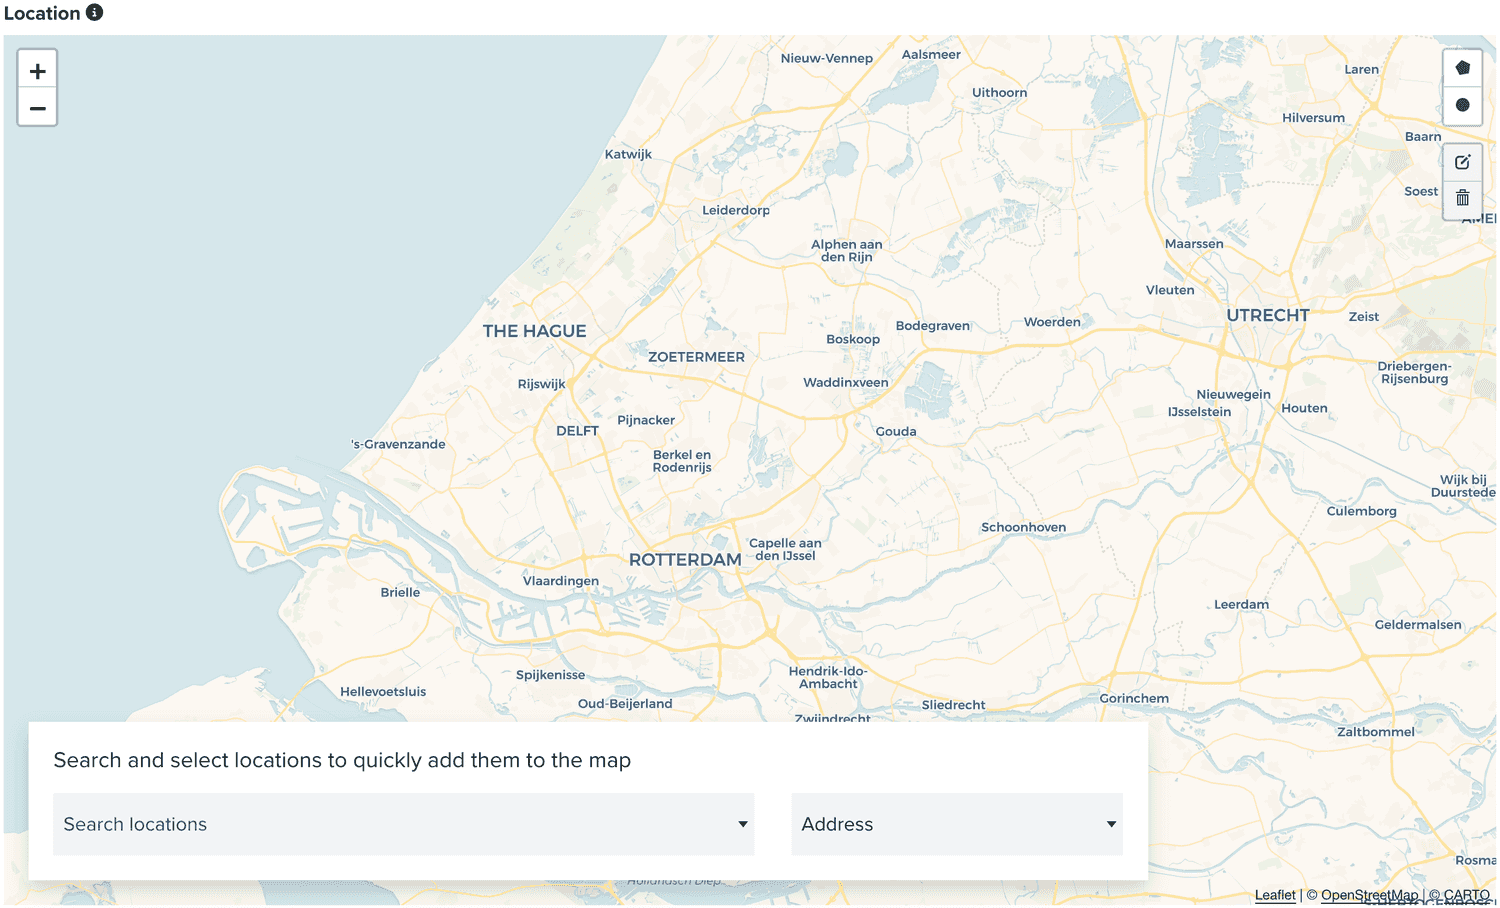
Which like the name says, it will basically allow you to target every push device in your audience. Additionally, if you also collect your user's location (you must have a plan that supports Location Services), with this option, you can also filter the audience based on a location, which you define in the following area:
There are different options you can use, for example, you can also send a private message to a specific user, by selecting the following option:

When you select this option, you must also search and select a user in this field:

This will target all the push devices of that user.
You can also send a private message to s specific device. Simply select the following option:

Where you will need to search and select a device in the following field:

You can also target groups or users, using segments. To do that, you need to select the following option:

You can then define which segments you want to use by searching and selecting one or more segments in the following field:

Similarly, you can also target groups of devices, using tags. Simply select the following option:

And search and select one or more tags in the following field:

Sometimes you just want to retarget users that interacted previously with your app. When that's the case, we offer an option where you can target users that executed an event on a given period of time:

Where you will need to select at least an event and start and end date:

If the event you choose, is a custom event, you will also need to select the custom event you want to target:

Some events allow you to also define a filter based on the data included in the event, allowing to further filter your selection:

To learn more about data filters, please read the guides located here.
Additionally, you can further filter the results of this selection, by using a criteria:

Which allows you to define filters using a combination of Segments, Tags, Location, Device Properties and User Data Fields.
To learn more about criteria, please read the guides located here.
Finally, your last option will allow you to combine Segments, Tags, Location, Device Properties and User Data Fields, by using a criteria to filter your audience:

Where obviously you will need to define your criteria:

To learn more about criteria, please read the guides located here.
When this tab is available in the composer, you will also see a section as follows:

That will display information about the users or devices you will reach with your selection.
Filters
This tab is only visible, when you are creating or editing a triggered push message (e.g. geo-triggers, event-based campaigns).
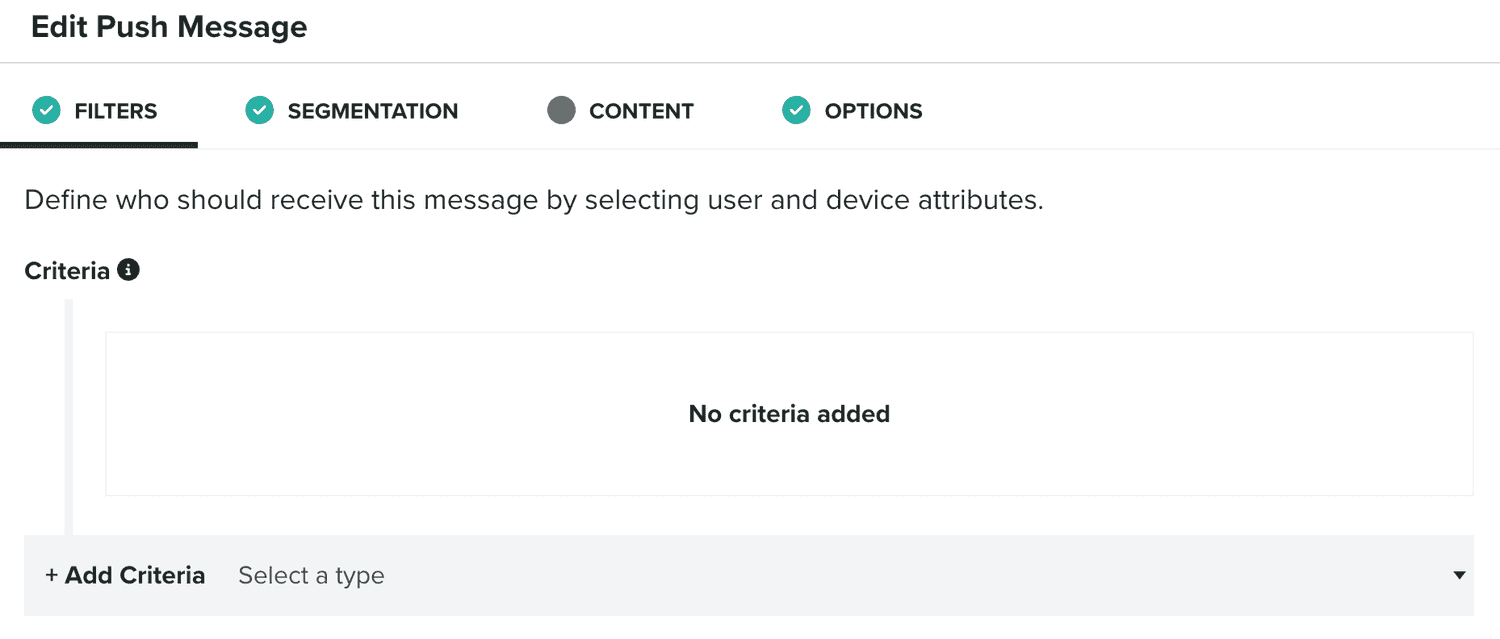
When that's the case, this is the area where you define who is eligible to receive the content of that trigger. You define that using our criteria component:

To learn more about criteria, please read the guides located here.
Segmentation
In this tab, you will be able to define rules that automatically categorize users when the message is opened, allowing you to track engagement and behavior that you can later target on follow-up campaigns.

You will use our segmentation rules component to define those rules:

To learn more about segmentation rules, please read the guides located here.
Content
In this tab you will actually define what is the content of your push message:
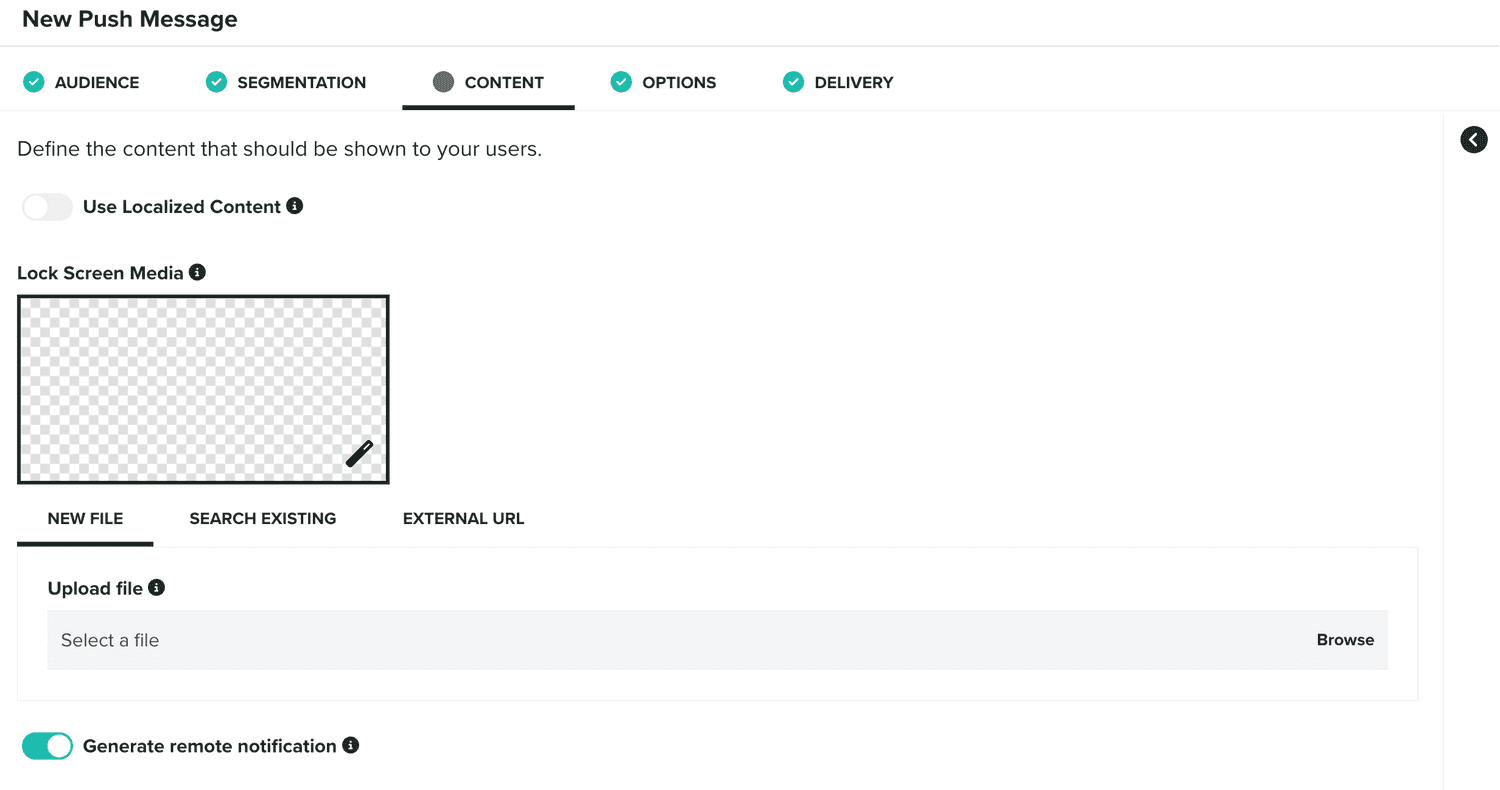
Push messages can be localized in different language/region combinations. When you want to use localized content, please toggle the following option ON:

You can learn more about localized content in our guides located here.
Push messages can have a lock screen image, which will be displayed in the notification center or lock screen of your device. You define it in the following field:
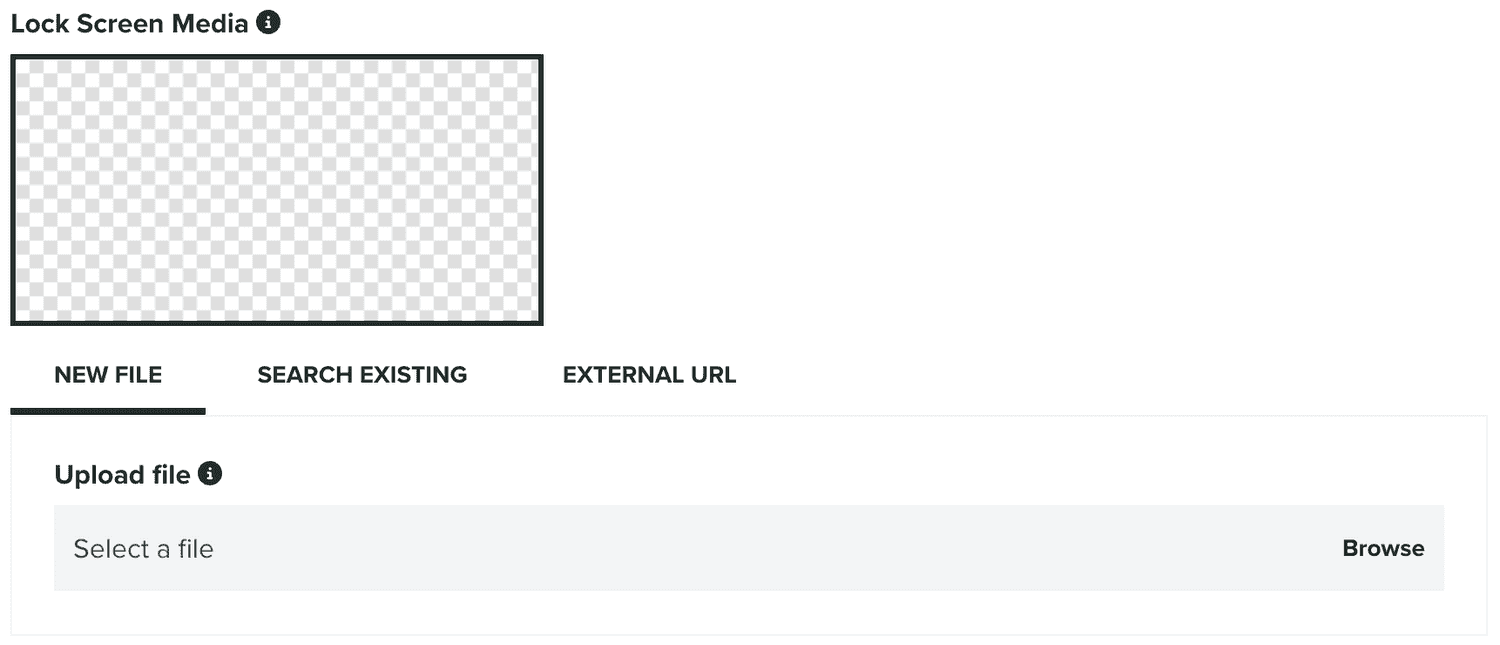
You can upload a PNG, JPEG or GIF file or provide one hosted somewhere else. If you've subscribed our Storage add-on, you can also select an image previously uploaded in Notificare. For best results this image should not be bigger than 300KB and have an aspect ratio of 2:1 (512x256, 1024x512, etc).
If you've enabled our Inbox service, you will see the following option. By default, all messages created will generate a remote push notification, but you can disable that by toggling the following option OFF:

When that's the case, this message will only be visible in the in-app inbox.
Optionally, a push message can contain a title:

And a subtitle:

But it should always contain a message:

Which will be the text users see, when they receive a notification. You will also need to select the Rich Push Content type you want to use:

There are different option you can choose from, to learn more about them, please read this page.
Finally, depending on the content type you choose, you can also add one or more actions to your message:

To learn more about actions, please read this page.
In this tab, it is also possible to preview the content of your message, by expanding the following section:
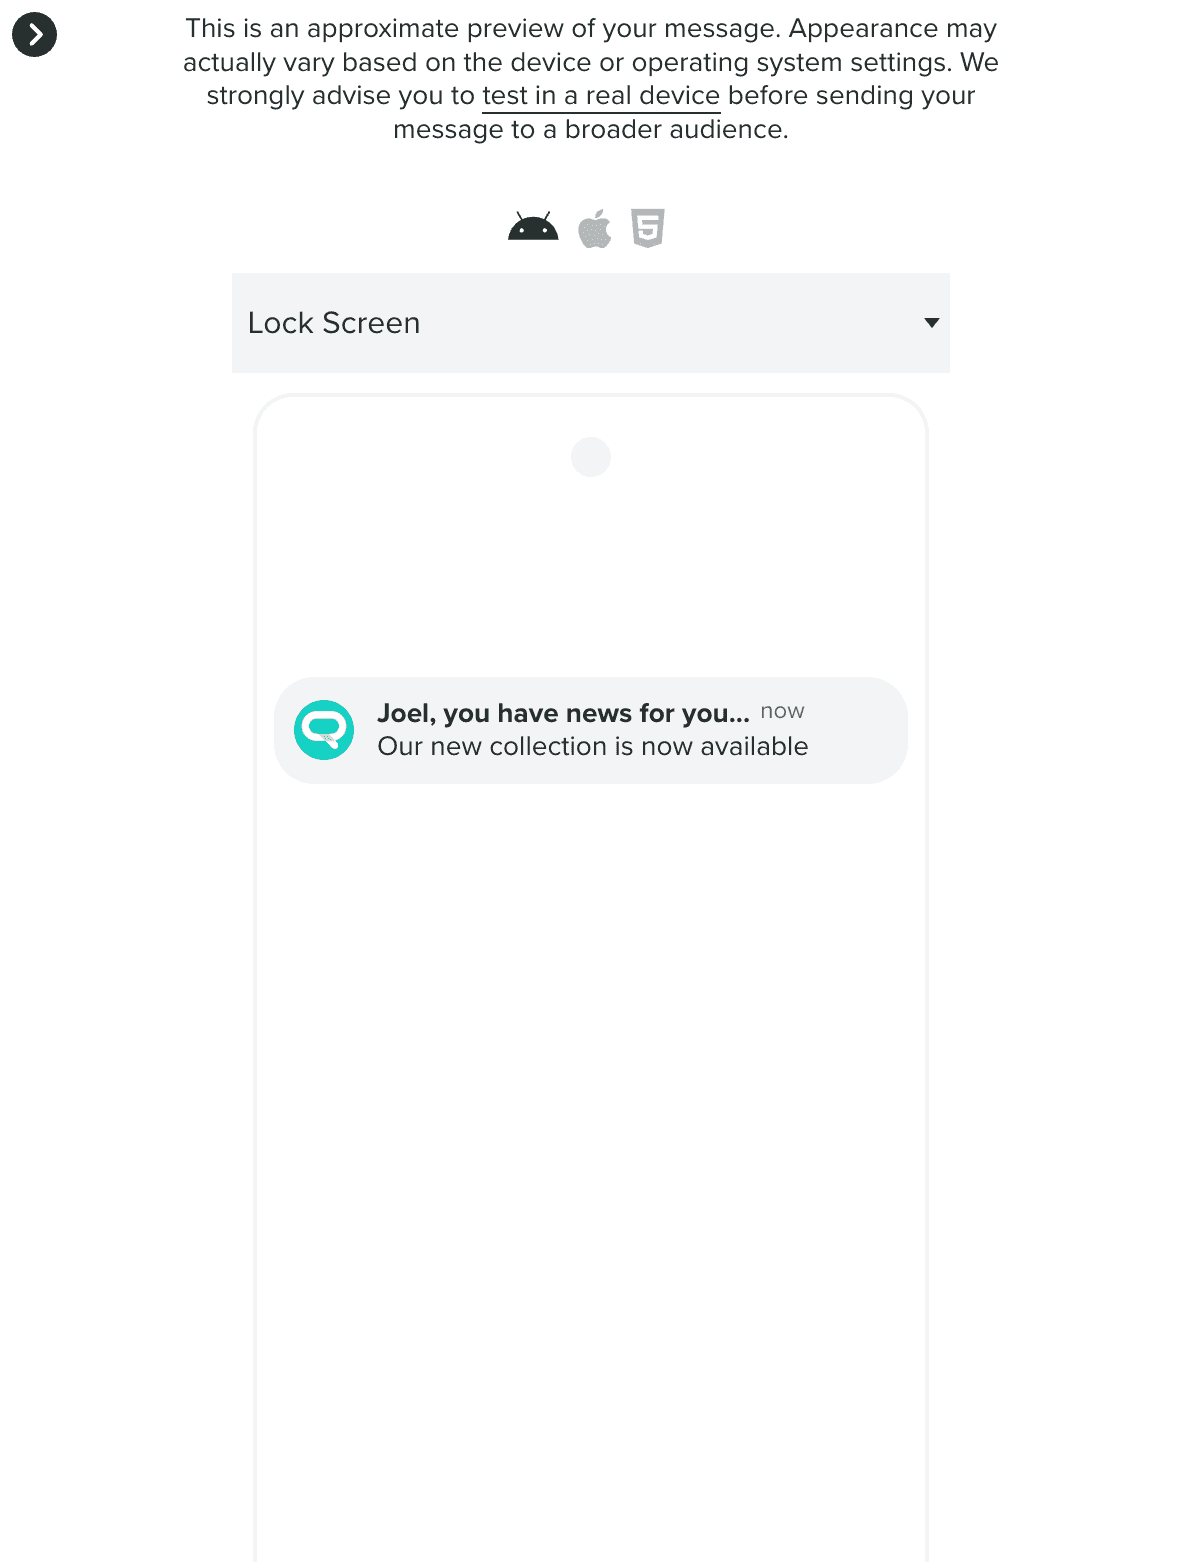
In this section it is also possible to test a message in a real device, by clicking in the test in real devices link, which will open the following window:
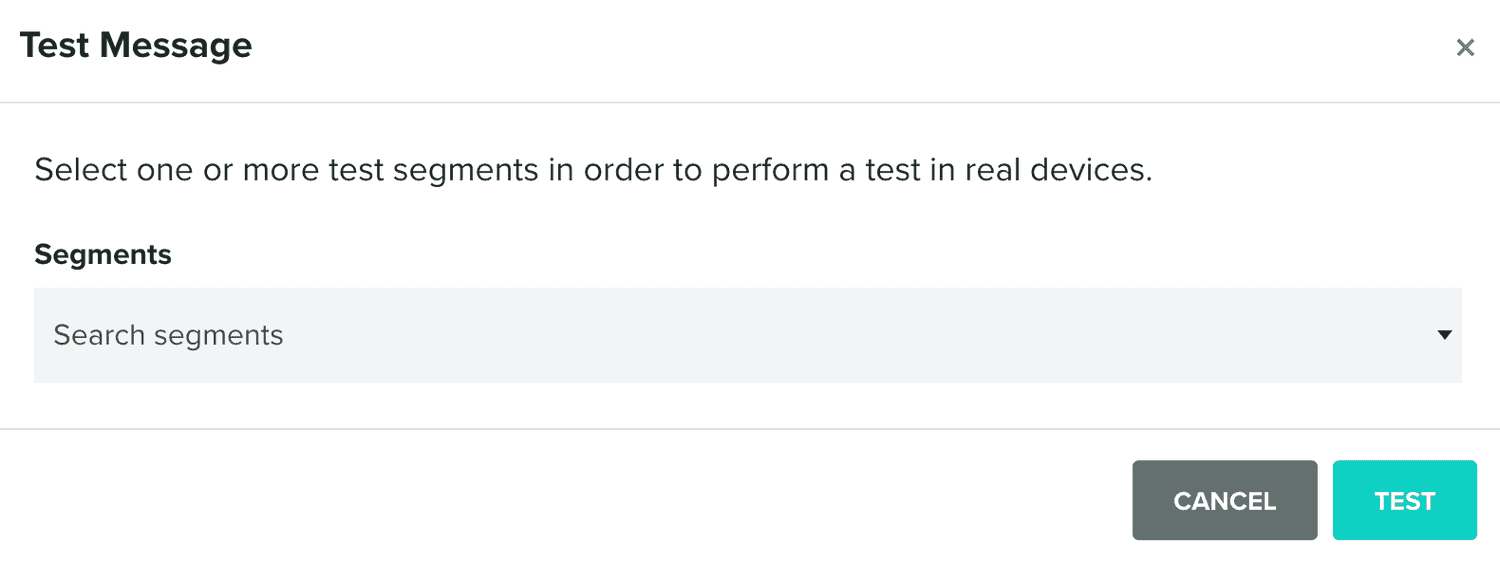
You can then target test segments and send this message to a group of test users before sending it to your selected audience.
Finally, in this area you will also see an icon as follows, when at least the message is provided:
![]()
When clicked, it will open a window as follows:
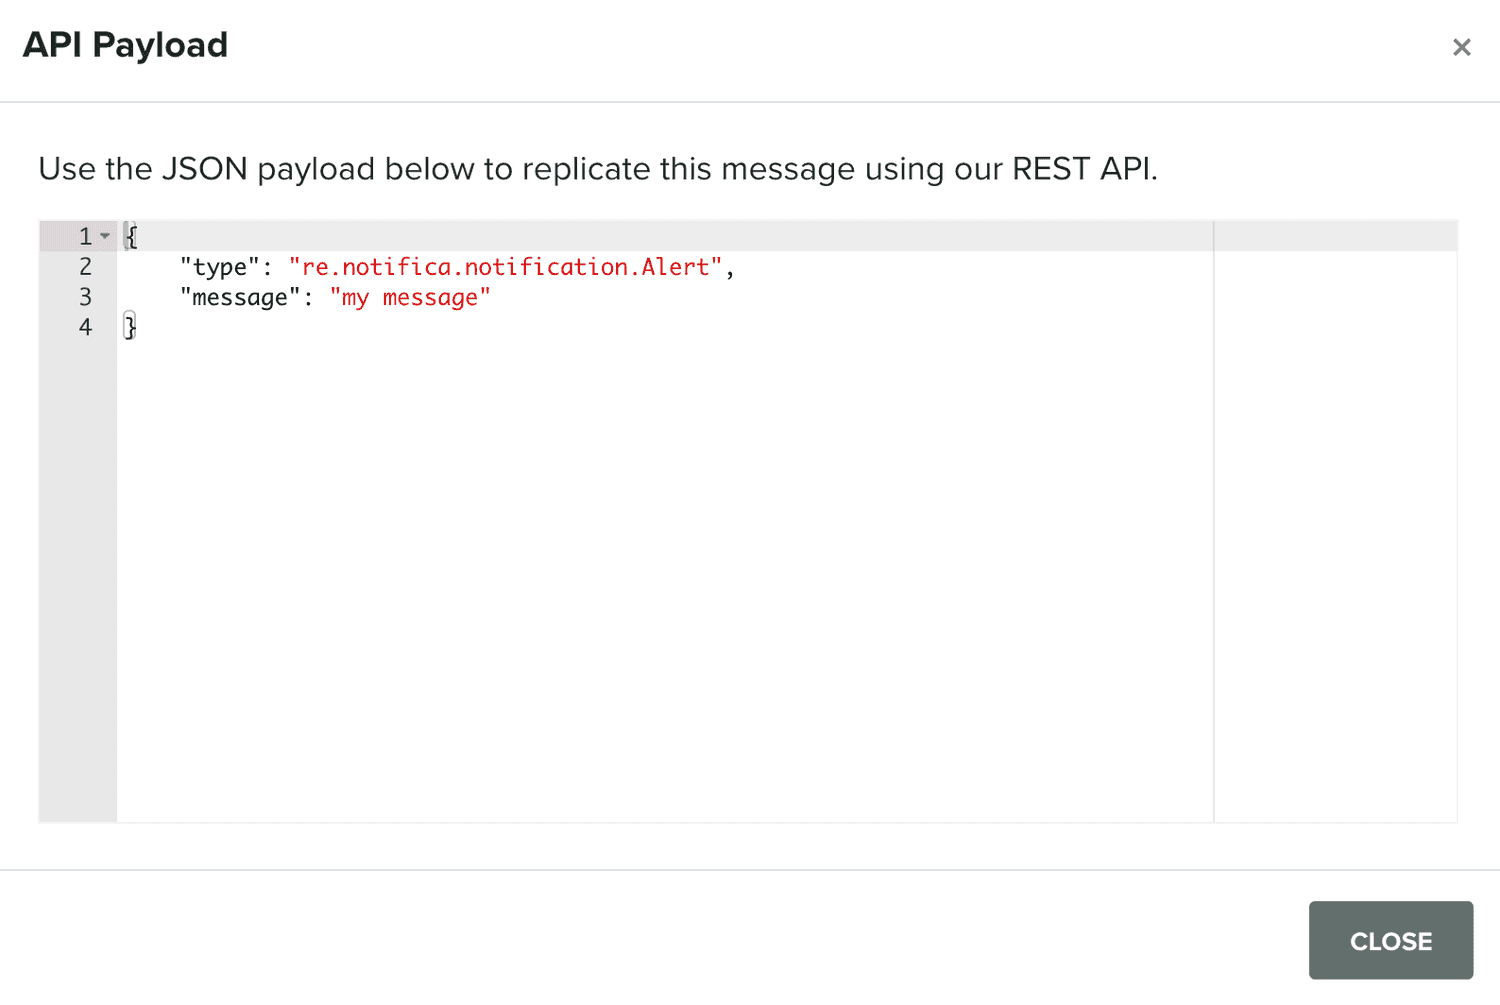
Which contains the payload necessary to replicate the message when using our REST API directly.
Options
In this tab, you can define advanced options for your push messages:
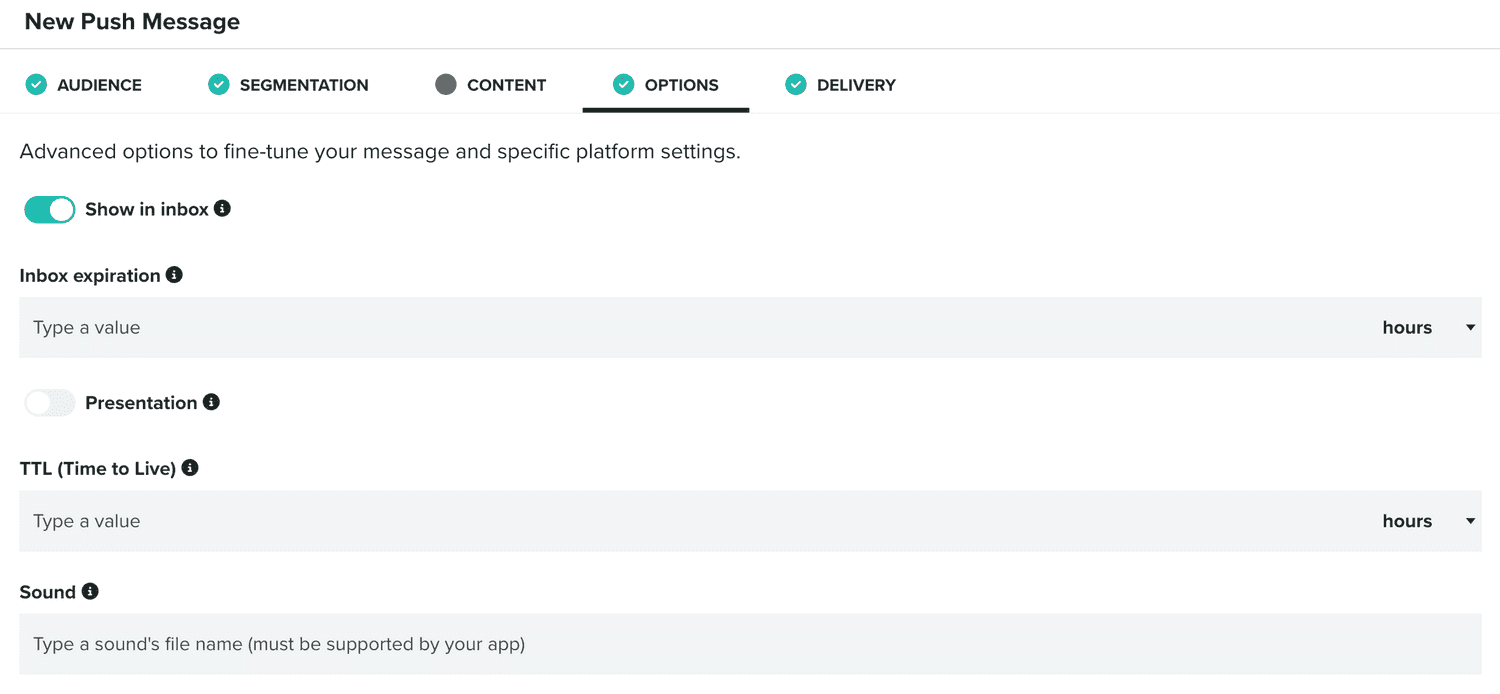
For example, if you've enabled the Inbox service and defined your message to generate a push notification, you can define if the message should be visible in the inbox too:

By default, this option will be toggled ON. If you toggled it OFF, a message will only generate a remote push notification, and it won't be displayed in the in-app inbox. If toggled ON, you will also see the following option:

Which will allow you to define for how long a message should be displayed in the inbox.
Optionally, you can also define the presentation mode of a remote notification, when received while the app is being used:

When this option is toggled ON, an app will display a small banner on top of your app, if the app is opened. Please note, that this option is not available for web push and in Android, this requires development.
Another option available for push notifications is the ability to discard a message, if the device is not available during a certain period of time:

This might be useful for messages that are time-sensitive and its content won't make sense if delivered after a certain date. You should leave this option blank if you want to use the maximum date of 28 days. Any value bigger than 28 days will be capped.
Push messages can also trigger sounds when received by a mobile device. You can provide the name of a sound in the following field:

Both iOS and Android allow you to trigger the default sound by simply using default as the value for this field. If you include custom sounds in your application (.caf for iOS and .mp3 for Android), you can also provide its name in this field. However, since Android 8, sounds for notifications are managed by users and their settings of notification's channels.
Push notifications can also contain machine-readable data, which you define in the following section:

In this section, you can provide key/value pairs as follows:
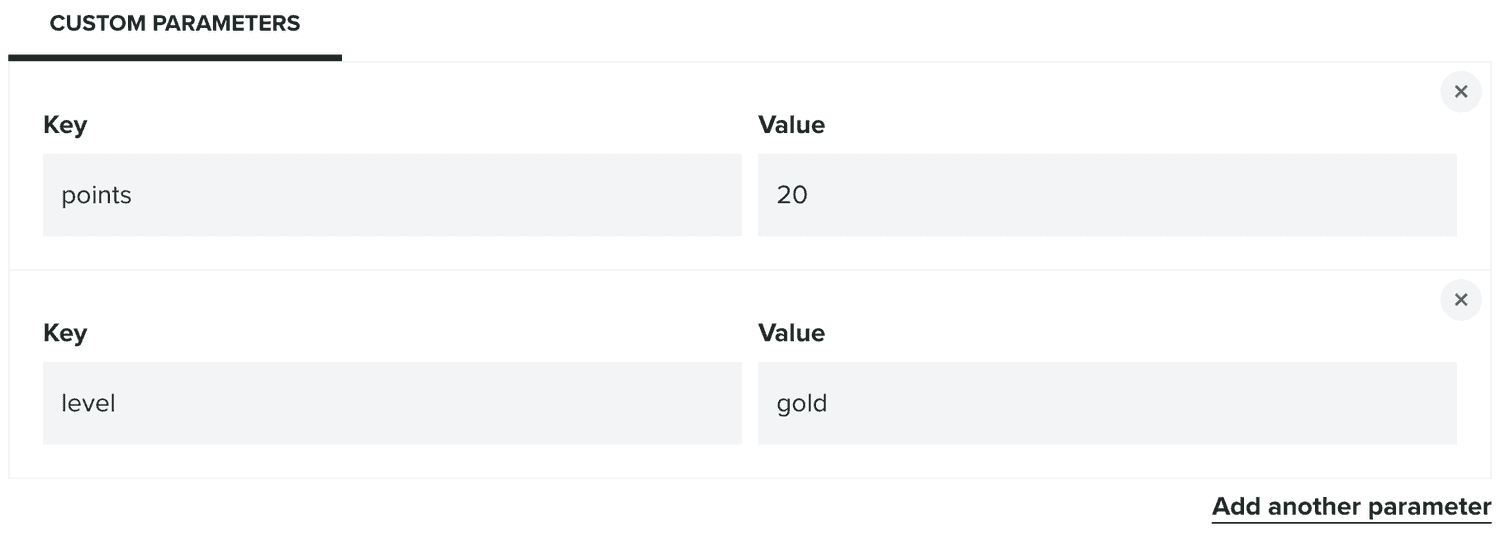
Apps can use this to customize UI or provide functionality when notifications are delivered in the device.
Finally, there are also platform-specific options you can define in this tab. For example, in Android:

You can define which Android channel you use for a message. This is useful if your application provides more channels than the default one (created by our SDK). Additionally, in this section, you can also define the LED behavior (if available in the device) by providing the color and the ON and OFF duration.
There are also several platform-specific options for iOS:
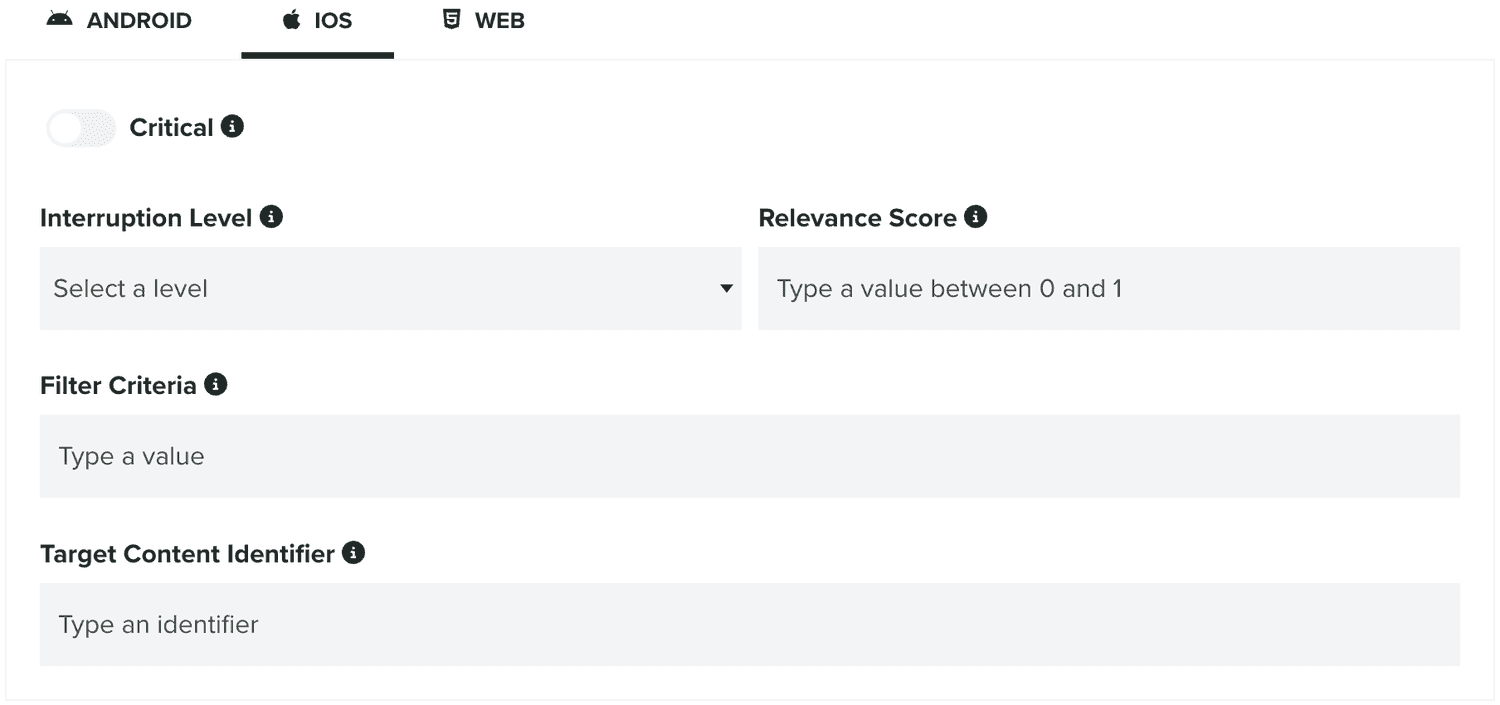
If your app supports critical notifications (reserved for emergency or health app) you can send critical alerts by turning the following option ON:

When that option is ON, you can only provide the critical alert sound volume used by the device. If that option is OFF, you can then use define the following options:

The Interruption Level is available since iOS 15, and allows you to define the importance and timing of a notification. Please note that your app must include an entitlement for time-sensitive notifications work. Also since iOS 15, your notifications can provide a Relevance Score, which will help iOS sort and display notifications in the Notification Summary (when enabled by users).
Additionally, since iOS 16, you can use a Filter Criteria to help iOS determine if a notification is applicable for the current Focus mode. Finally, since iOS 13, your notifications can include the Target Content Identifier which helps iOS determine which UIScene it should activate when a notification is received. This same property, is used in iOS 14 and up, to activate an App Clip.
You can also define platform-specific options for web push notifications:

For example, when enabled, Require Interaction will make sure that a web push notification displayed in a desktop browser, remains visible until the user interacts with it. Additionally, Renotify which is ON by default, will make sure that the user is notified even when the notification received replaces an old one in the notification center. This becomes extremely important for geo-triggered or event-based notifications.
Delivery
In this tab, you will define the delivery options for a message. This tab is not visible for triggered messages (e.g. geo-triggers or event-based).

When you want to send a notification right away, you should toggle the following option:

If instead you would like to schedule a message for a date in the future, you should select the following option:

You can learn more about the schedule component in our guides located here.
Lastly, you can also save a message as draft, by selecting the following option:

If you save a message in this mode, your message will then be available in the Drafts area, where you can edit and eventually send or schedule it.
In this area you can also define a throttle rate for your message:

By default, our system will deliver your messages as fast as possible. However, it can potentially disrupt your servers or any 3rd party services used in your apps. By providing a maximum number of messages we send per second, you can minimize this issue.
For non-transactional messages, when you provide a throttle rate, we will estimate the delivery time for your message according to your selected audience, and displayed it as follows:

Finally, for non-transactional messages, you can also send a copy of your message to one or more push devices (up to 10). This is defined by using the BCC option found in this area. To create a BCC list toggle the following option ON:

Then simply search and select up to 10 push devices, using the following field:

Additionally, you can also add push devices by searching for segments, tags or users. This is done by first clicking in the More search options link, which will prompt the following window:
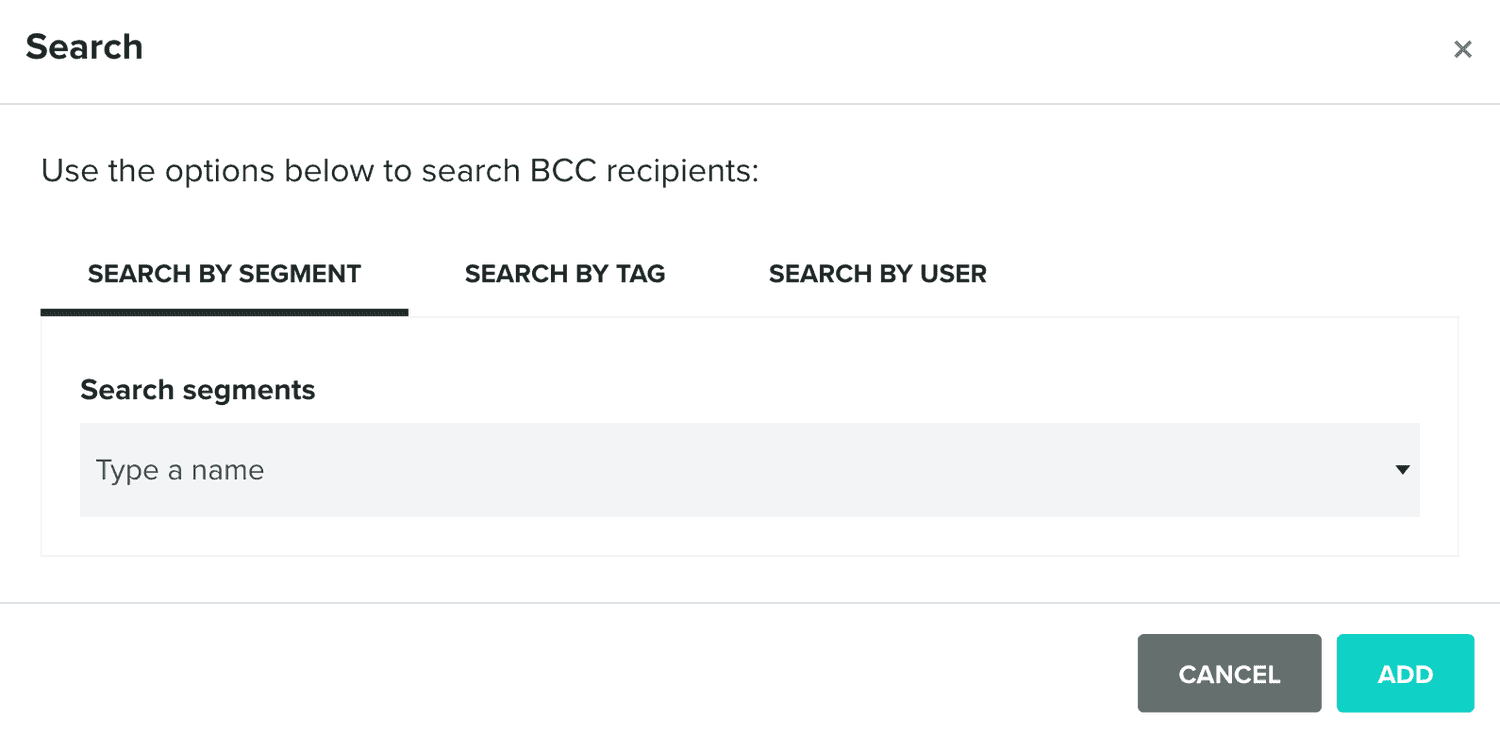
Where you can search segments, tags or users and add their push devices to the BCC list.
If you choose to schedule or send your message right away, you wil be prompted with the following window:
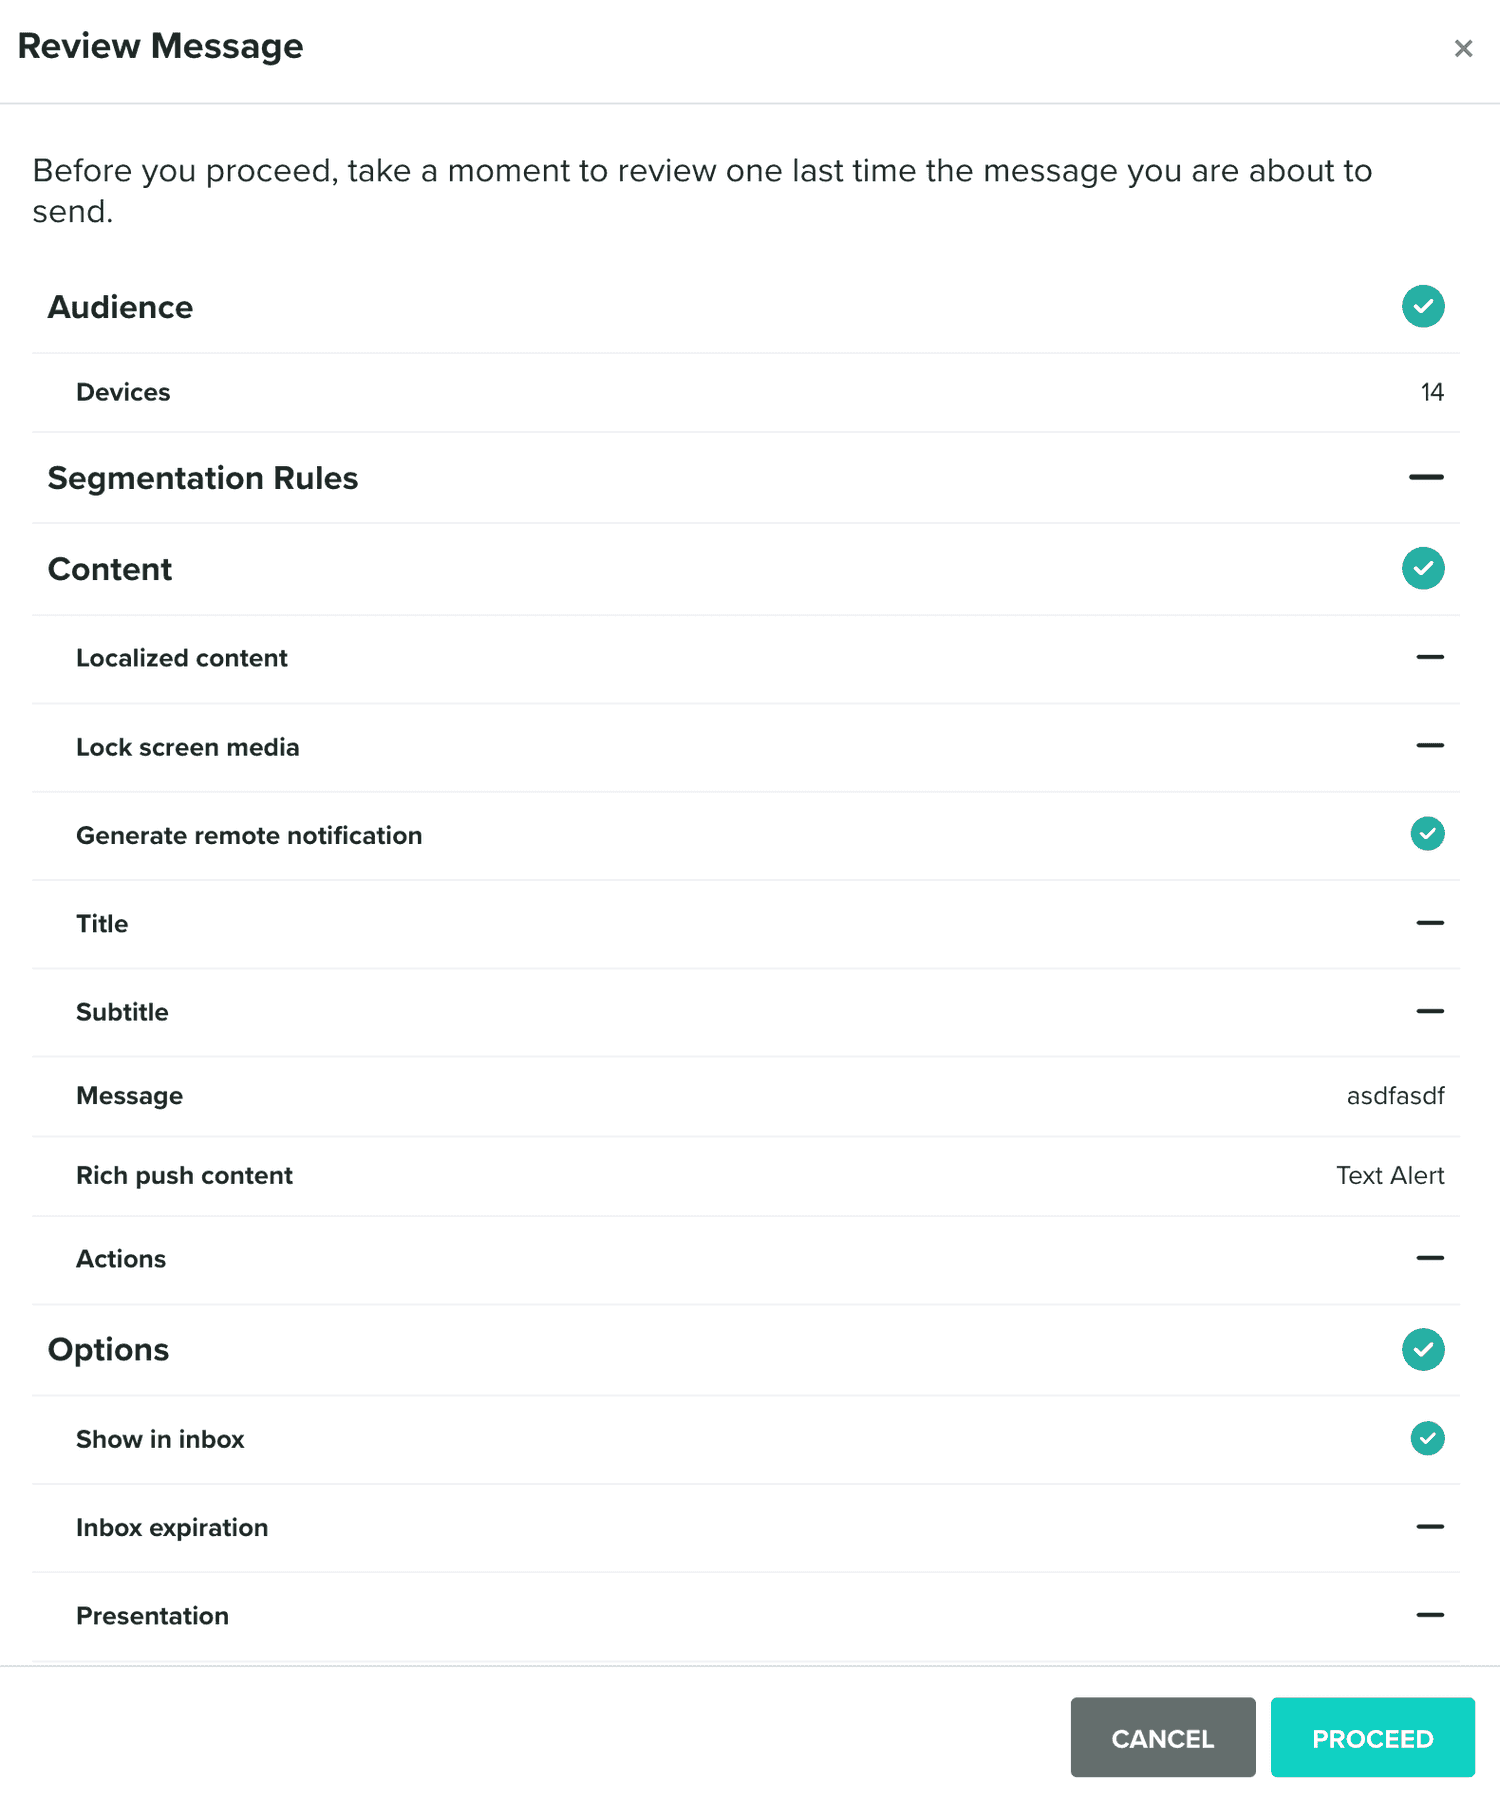
If you are sending or scheduling a non-private message, we will request you to authenticate that using 2FA (if enabled):
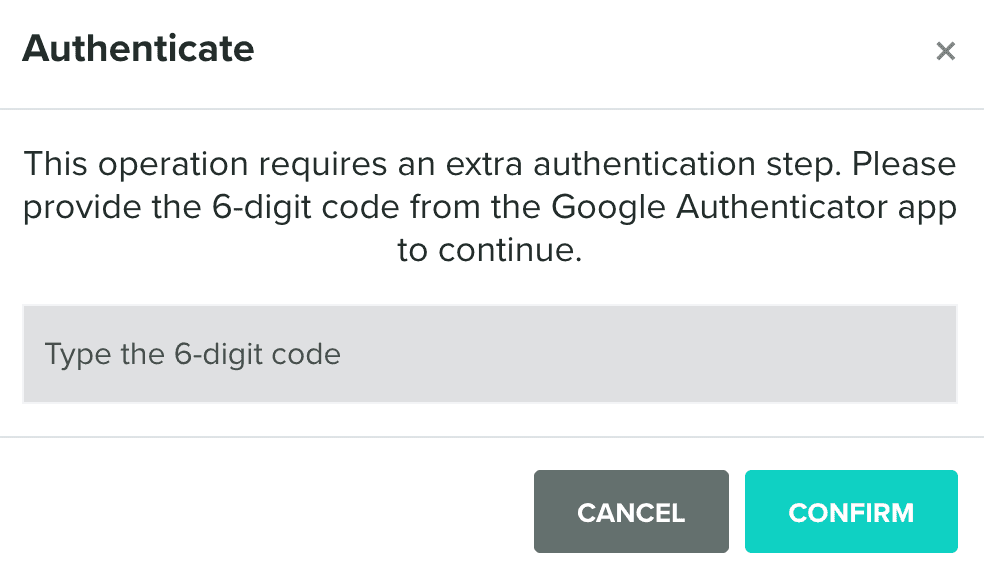
Or your password:
