Email Messages
In this area you can send email messages using Notificare's powerful email composer.
You start by expanding the Engagement menu item, then the Messages menu item and finally click in New Email Message:

In this area you will find our powerful composer for email messages. This composer will be used throughout our dashboard whenever you need to send or edit email messages.
Audience
In this tab you will define the recipients of your message which you can select in different ways:
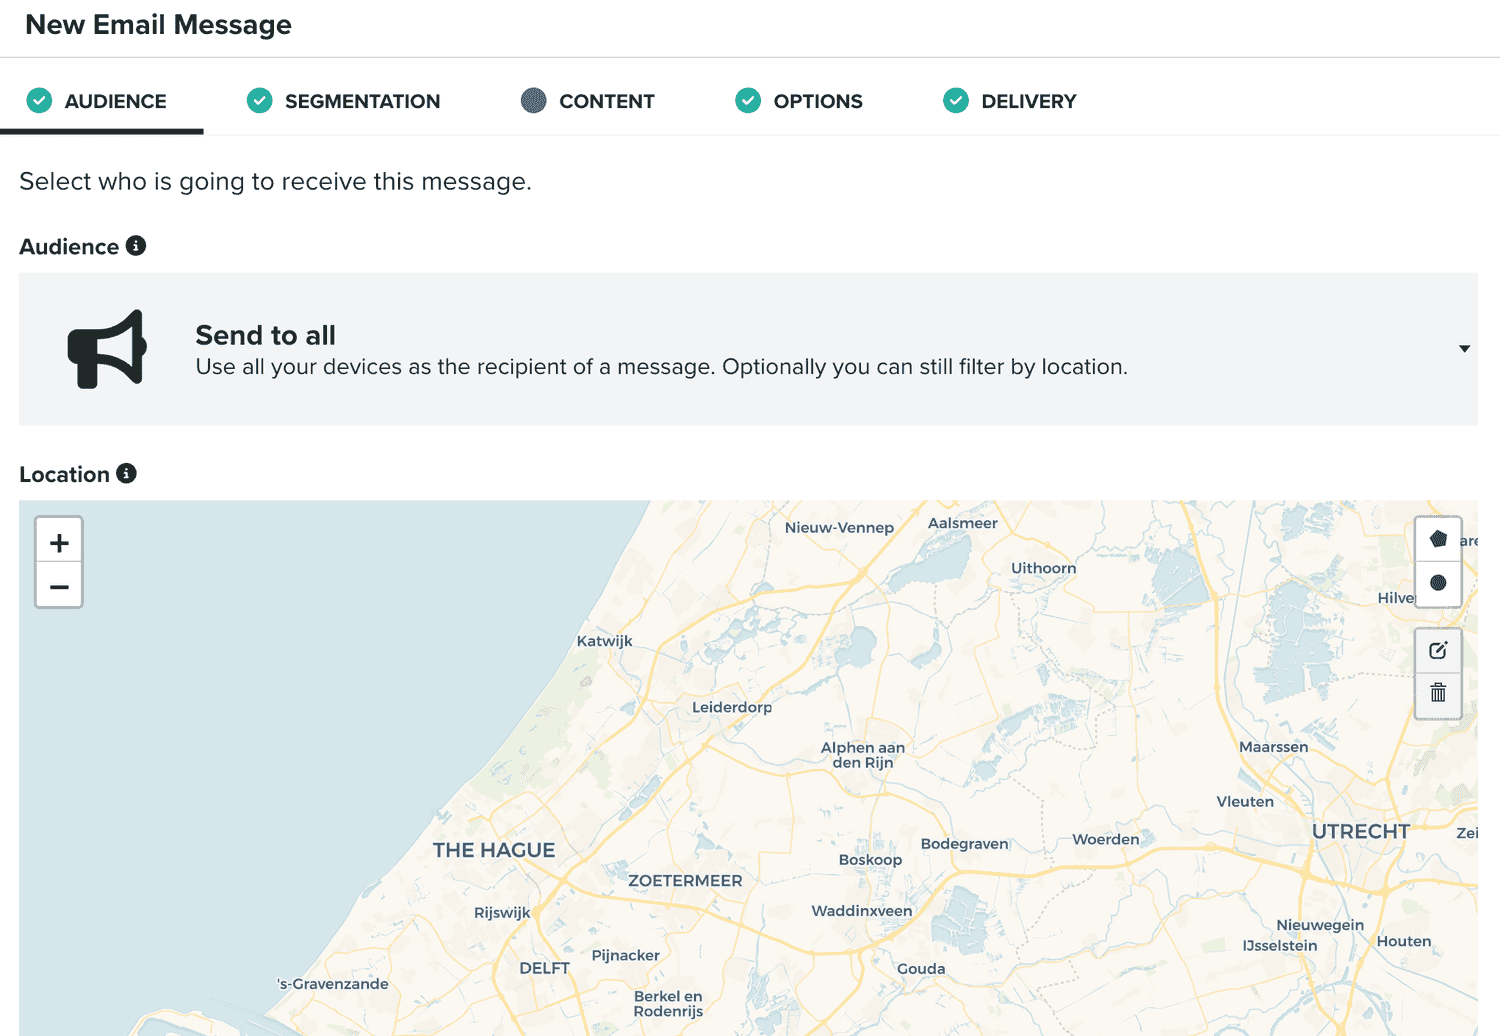
This tab will not be visible for triggered messages (e.g. event-based). For non-triggered messages, the default selection is Send to all:

Which like the name says, it will basically allow you to target every email address in your audience. Additionally, if you also collect your user's location (you must have a plan that supports Location Services), with this option, you can also filter the audience based on a location, which you define in the following area:
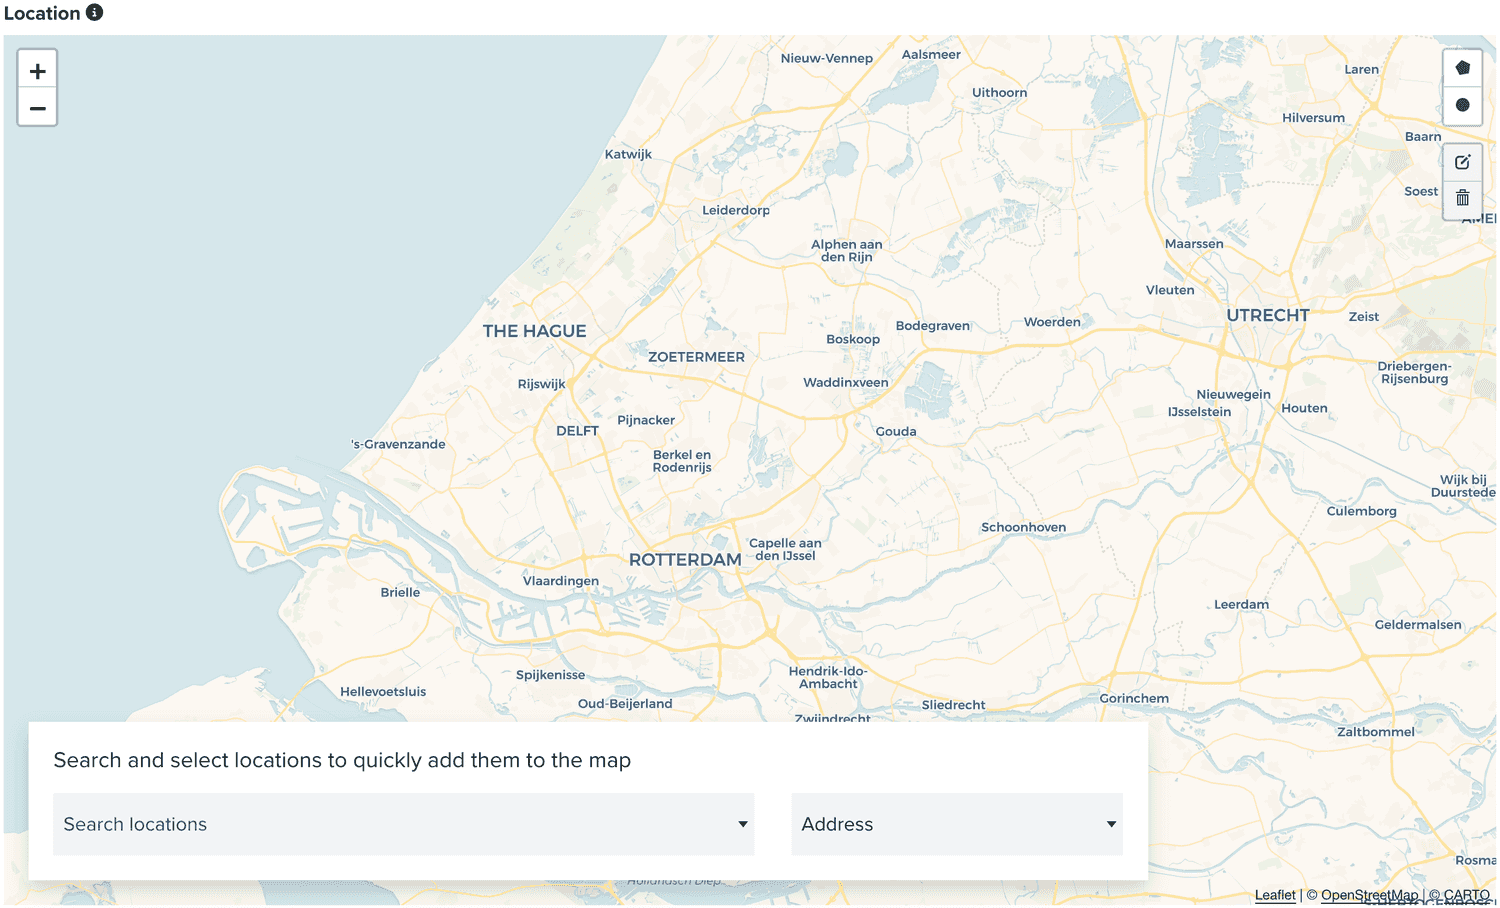
There are different options you can use, for example, you can also send a private message to a specific user, by selection the following option:

When you select this option, you must also search and select a user in this field:

This will target all the email addresses of that user.
You can also send a private message to s specific email address. Simply select the following option:

Where you will need to search and select an email address in the following field:

You can also target groups or users, using segments. To do that, you need to select the following option:

You can then define which segments you want to use by searching and selecting one or more segments in the following field:

Similarly, you can also target groups of devices, using tags. Simply select the following option:

And search and select one or more tags in the following field:

Sometimes you just want to retarget users that interacted previously with your app. When that's the case, we offer an option where you can target users that executed an event on a given period of time:

Where you will need to select at least an event and start and end date:

If the event you choose, is a custom event, you will also need to select the custom event you want to target:

Some events allow you to also define a filter based on the data included in the event, allowing to further filter your selection:

To learn more about data filters, please read the guides located here.
Additionally, you can further filter the results of this selection, by using a criteria:

Which allows you to define filters using a combination of Segments, Tags, Location, Device Properties and User Data Fields.
To learn more about criteria, please read the guides located here.
Finally, your last option will allow you to combine Segments, Tags, Location, Device Properties and User Data Fields, by using a criteria to filter your audience:

Where obviously you will need to define your criteria:

To learn more about criteria, please read the guides located here.
When this tab is available in the composer, you will also see a section as follows:

That will display information about the users or email addresses you will reach with your selection.
Filters
This tab is only visible, when you are creating or editing a triggered email message (e.g. event-based campaigns).
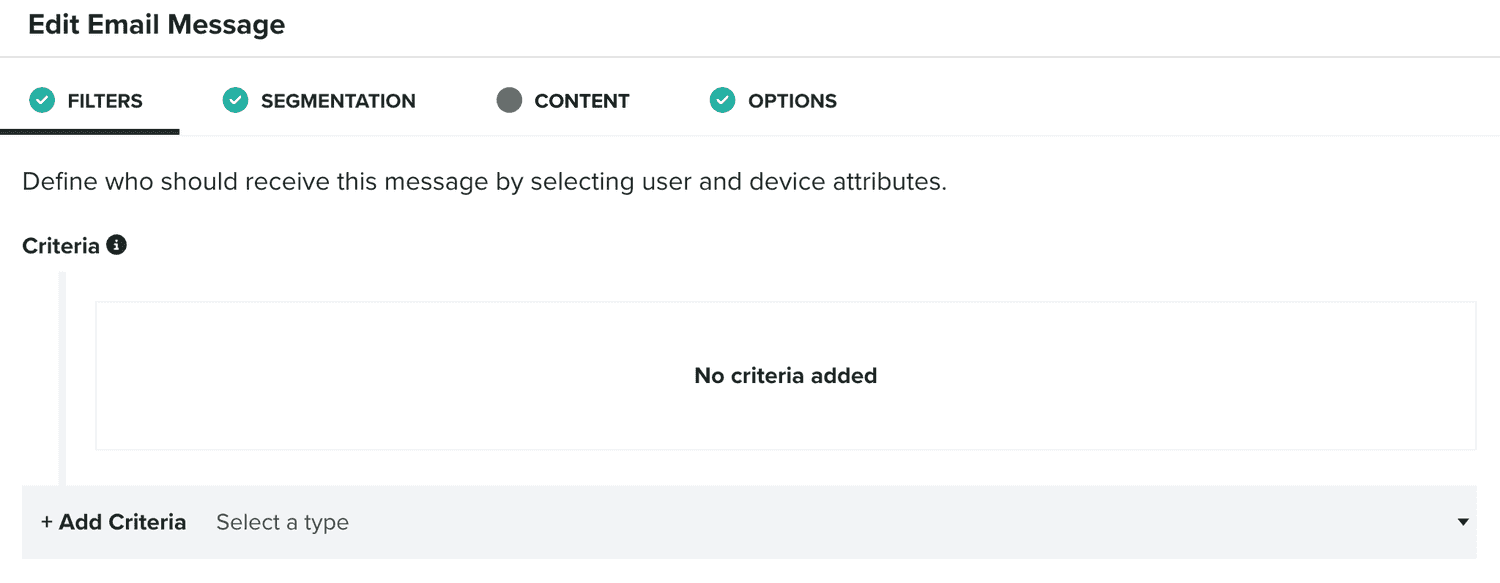
When that's the case, this is the area where you define who is eligible to receive the content of that trigger. You define that using our criteria component:

To learn more about criteria, please read the guides located here.
Segmentation
In this tab, you will be able to define rules that automatically categorize users when the message is opened, allowing you to track engagement and behavior that you can later target on follow-up campaigns.

You will use our segmentation rules component to define those rules:

To learn more about segmentation rules, please read the guides located here.
Content
In this tab you will actually define what is the content of your email message:
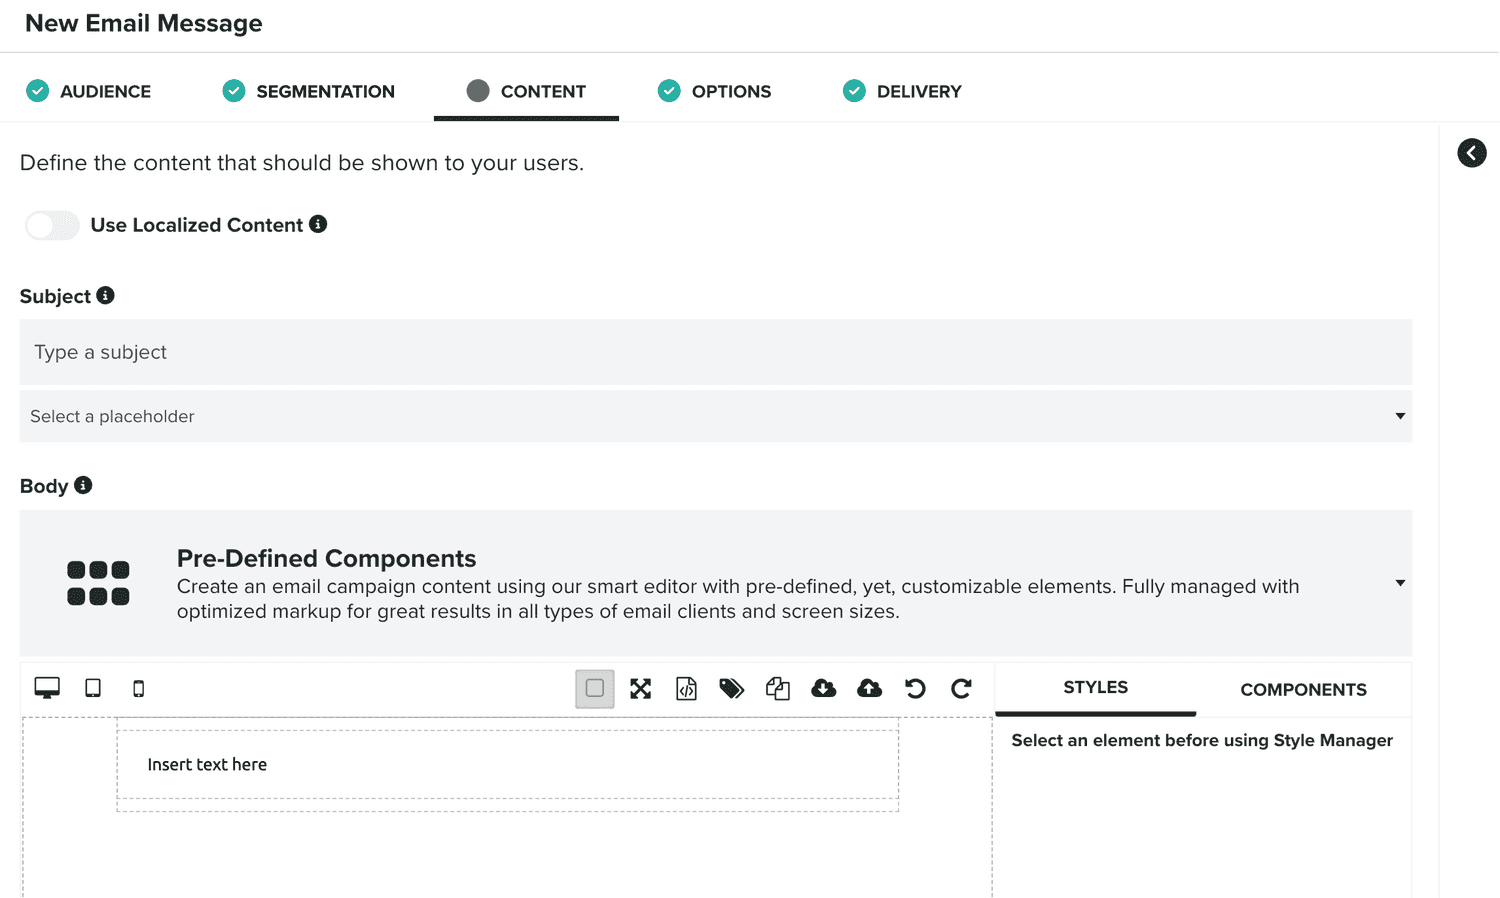
Email messages can be localized in different language/region combinations. When you want to use localized content, please toggle the following option ON:

You can learn more about localized content in our guides located here.
An email message will always require a subject:

And a body, which you can compose using our Pre-Defined Components drag & drop editor, or using our Custom HTML and Custom MJML editors:

You can learn more about them, please read this page.
You can also provide a custom text-only fallback for your message:

When you don't provide one, we will automatically generate one using only the text in your message.
Email messages can also contain attachments. You can provide one or more attachments in the following section:
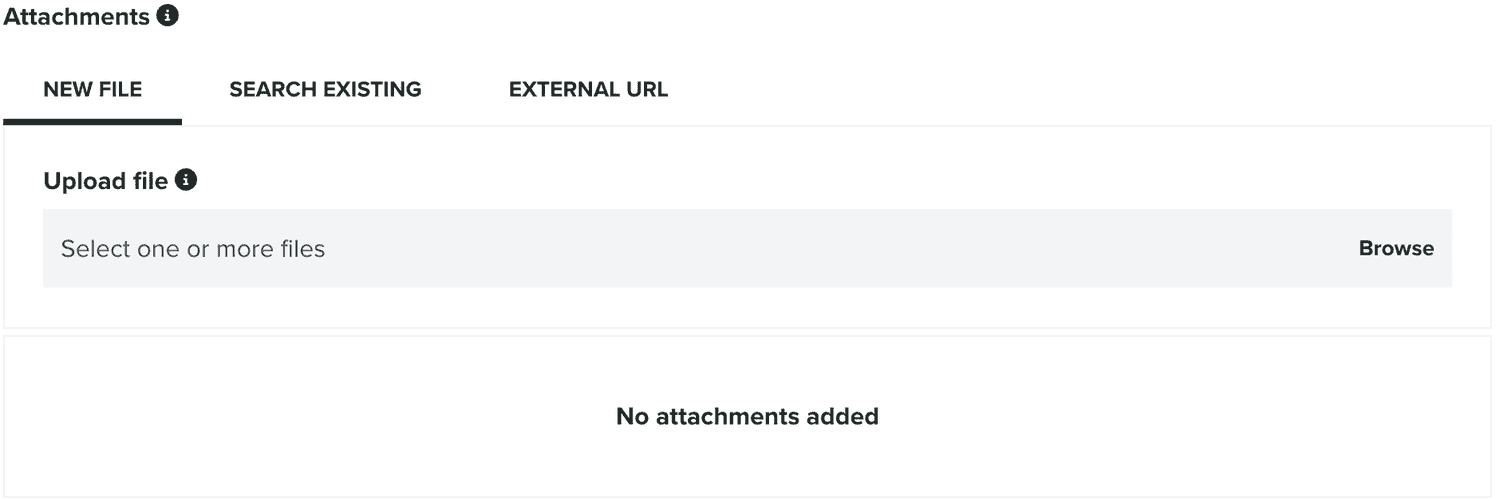
In this section you can upload files or include URLs to files stored somewhere else. If you have our Storage add-on, you will also be abel to select previously uploaded files.
Finally, you can define if your email message should use tracking links:

When this option is toggled ON, we will replace all the links in your content with tracking links. These tracking links will allow us to collect CTR metrics. When disabled, those metrics won't be collected.
You can also disable link tracking for specific links, using the notificareLinkTracking=false query parameter in your link.
When that's the case, we will still be able to track CTR metrics for all other links while allowing you to use the original URL of specific links.
In this tab, it is also possible to preview the content of your message, by expanding the following section:
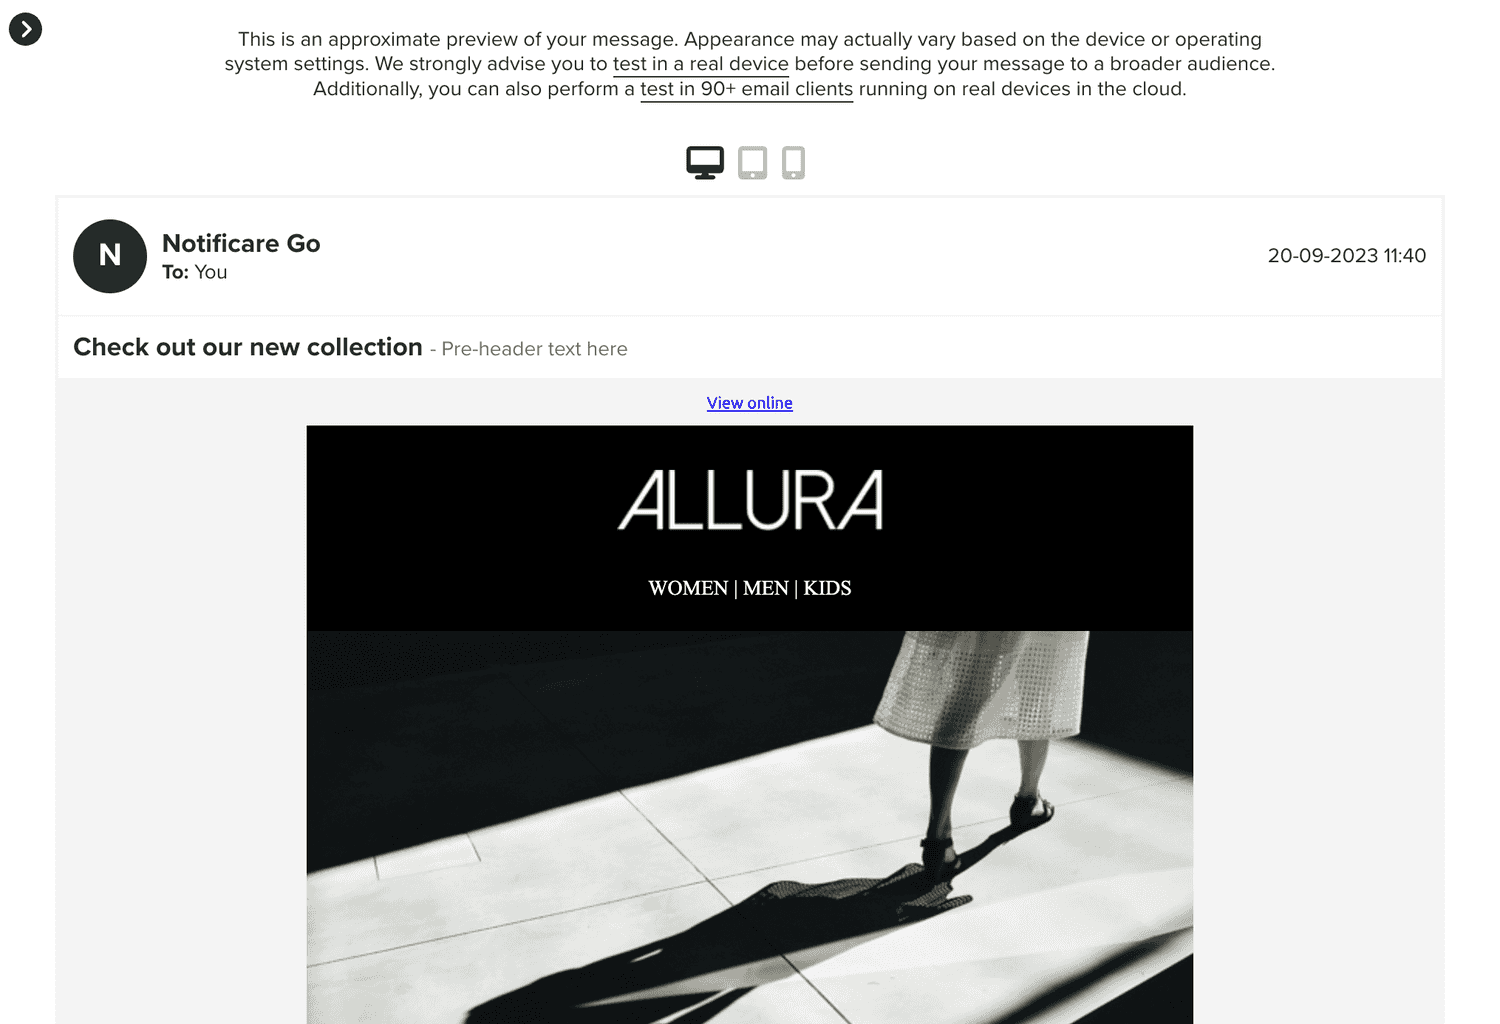
In this section it is also possible to test a message in a real device, by clicking in the test in real devices link, which will open the following window:
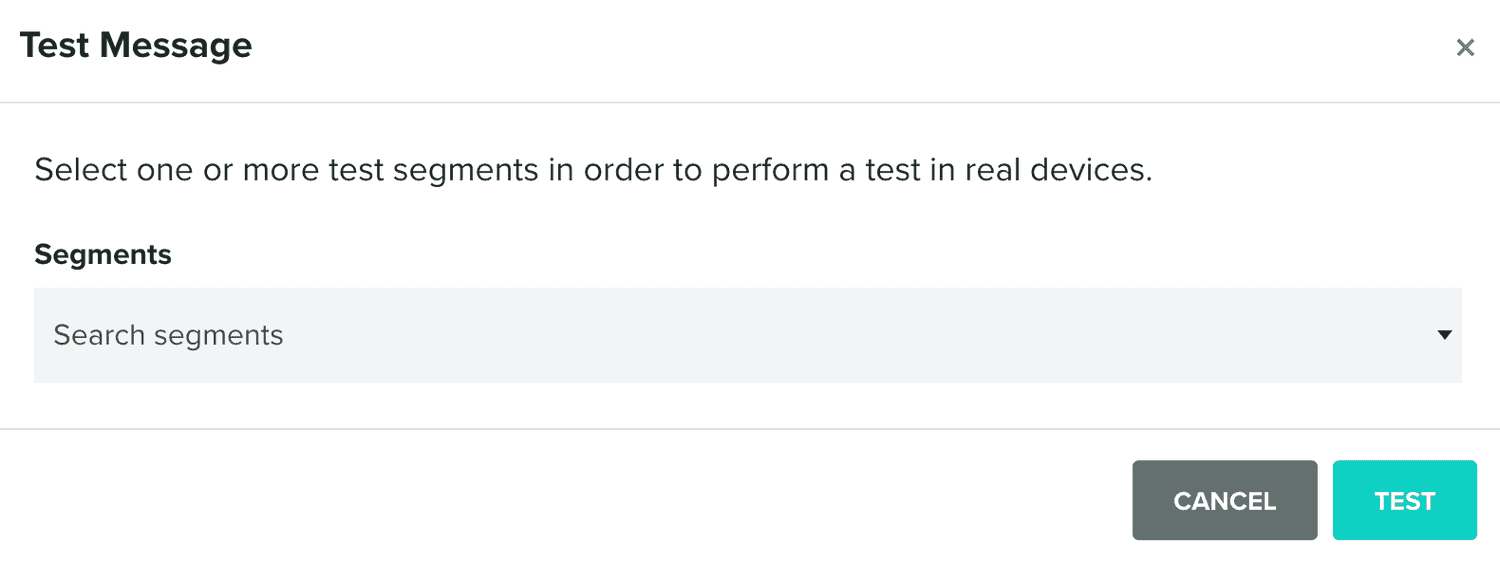
You can then target test segments and send this message to a group of test users before sending it to your selected audience.
Additionally, you can also perform an email proofing report before sending your message to a broader audience. To do that, simply click in the test in 90+ email clients link.
Finally, in this area you will also see an icon as follows, when at least the message is provided:
![]()
When clicked, it will open a window as follows:
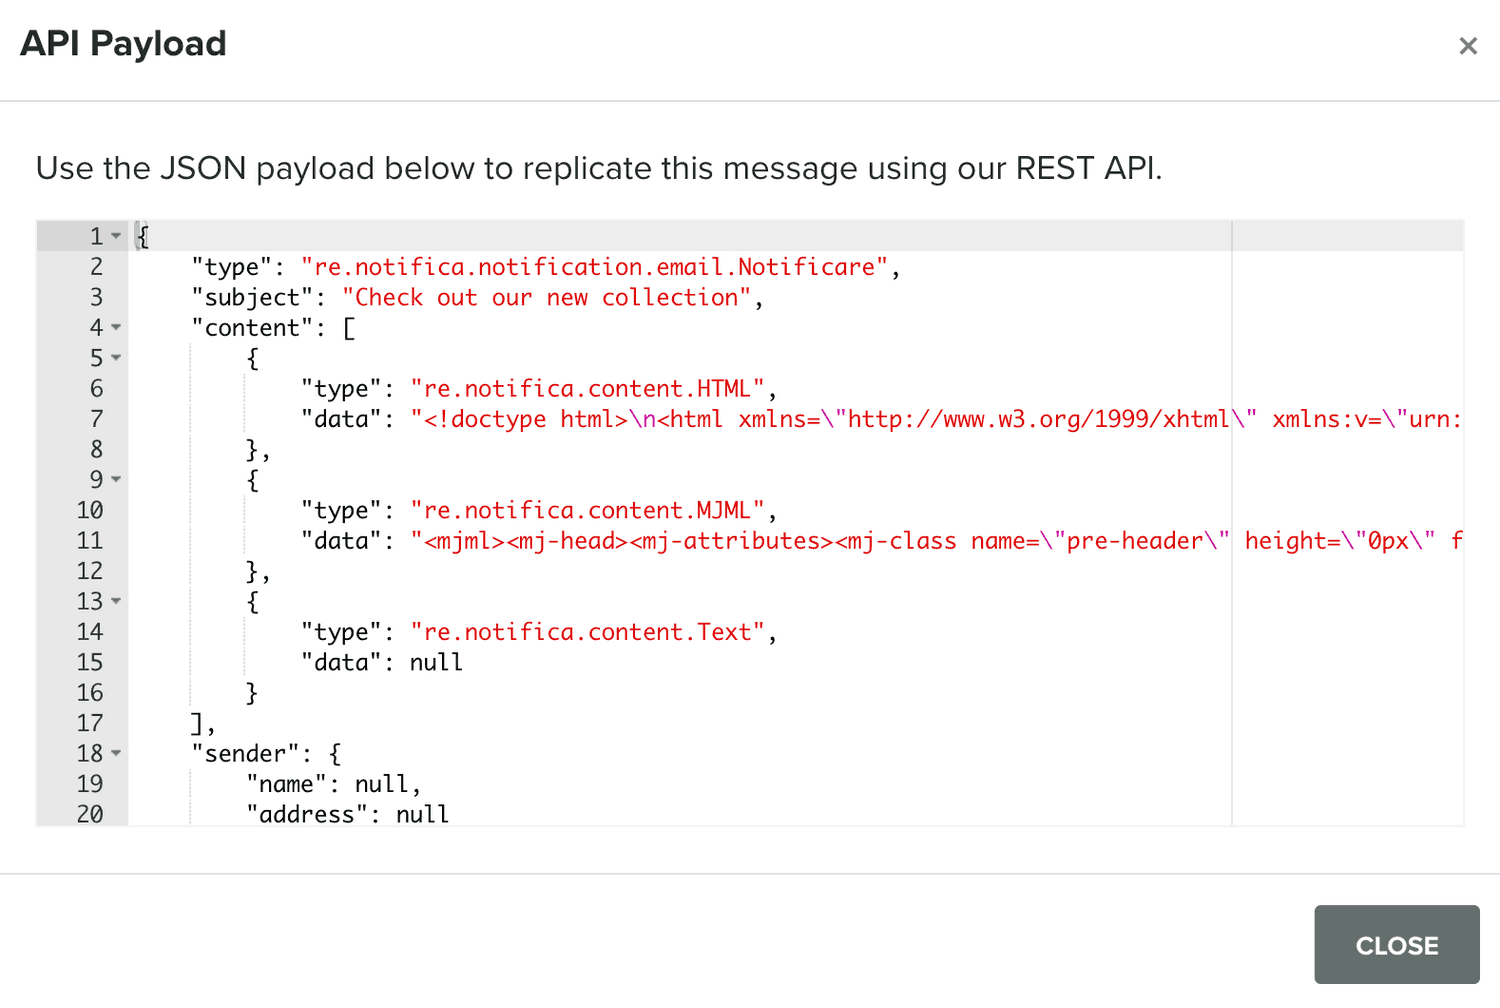
Which contains the payload necessary to replicate the message when using our REST API directly.
Options
In this tab, you can define advanced options for your email messages:
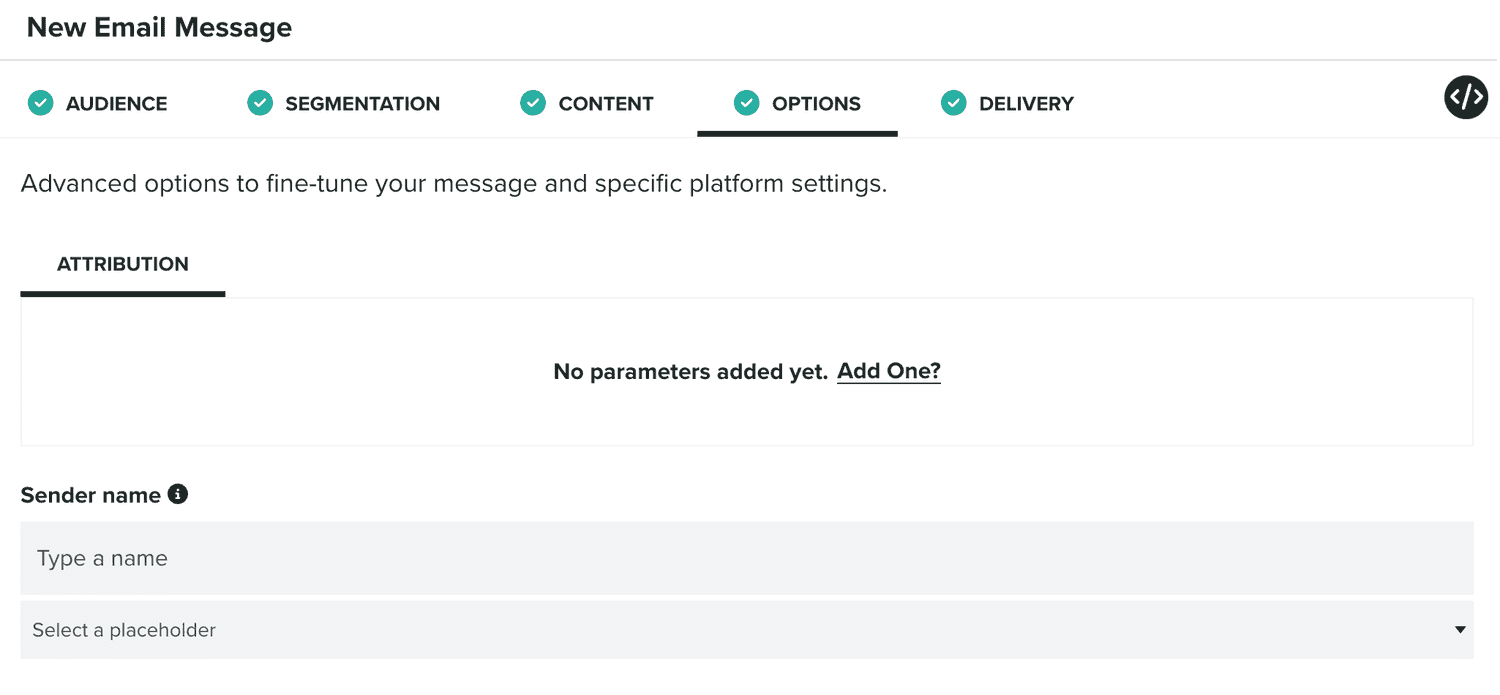
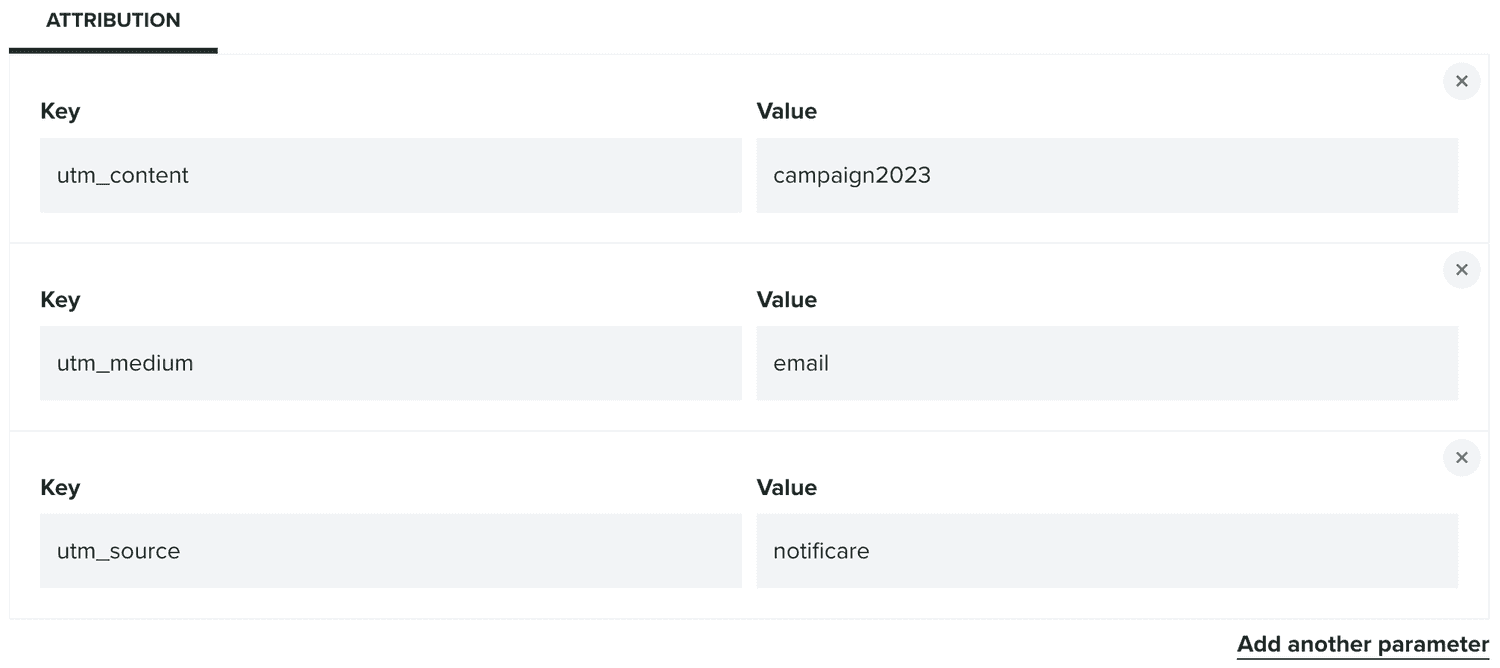
For example, you can augment all your links with UTM parameters (or any query parameter) using the section below:
You can also customize the sender of your message, by providing a sender name:

And the sender address:

By default, if none provided, we will use whatever you've configured in the Email service.
Additionally, you can also customize the Reply-To field of your message:

And finally, you can also define if your email message should contain the One-Click List Unsubscribe:

This will include the necessary headers that email clients use to provide an easier unsubscribe mechanism. However, you should still include an unsubscribe link in your content, because not all email clients support this feature.
Finally, when you enable One-Click List Unsubscribe, you will also be able to define a Mailing List for the message. This will help you provide a customized behavior for your opt-out process. You should select a previously created Mailing List:

You can learn about Mailing Lists in this page.
If none is provided, both the {{unsub}} and the One-Click List Unsubscribe will deactivate the user.
Delivery
In this tab, you will define the delivery options for a message. This tab is not visible for triggered messages (e.g. event-based campaigns).
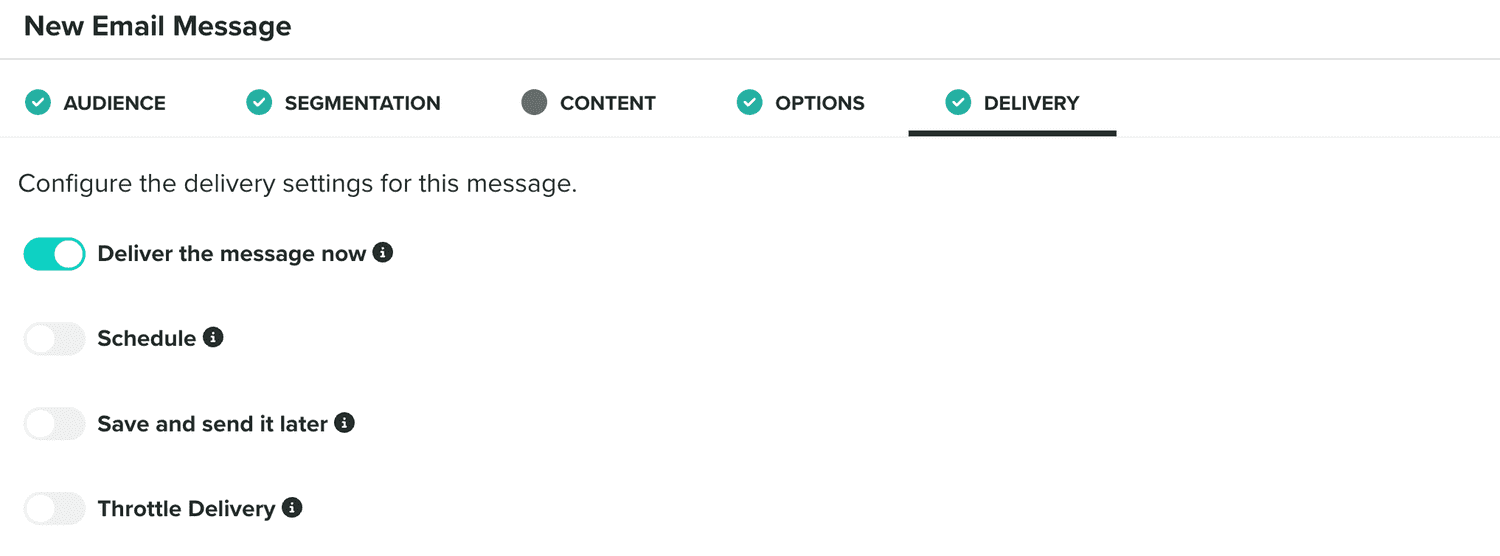
When you want to send a notification right away, you should toggle the following option:

If instead you would like to schedule a message for a date in the future, you should select the following option:

You can learn more about the schedule component in our guides located here.
Lastly, you can also save a message as draft, by selecting the following option:

If you save a message in this mode, your message will then be available in the Drafts area, where you can edit and eventually send or schedule it.
In this area you can also define a throttle rate for your message:

By default, our system will deliver your messages as fast as possible. However, it can potentially disrupt your servers or any 3rd party services used in your website or apps. By providing a maximum number of messages we send per second, you can minimize this issue.
For non-transactional messages, when you provide a throttle rate, we will estimate the delivery time for your message according to your selected audience, and displayed it as follows:

Finally, for non-transactional messages, you can also send a copy of your message to one or more email addresses (up to 10). This is defined by using the BCC option found in this area. To create a BCC list toggle the following option ON:

Then simply search and select up to 10 email contacts, using the following field:

Additionally, you can also add email contacts by searching for segments, tags or users. This is done by first clicking in the More search options link, which will prompt the following window:
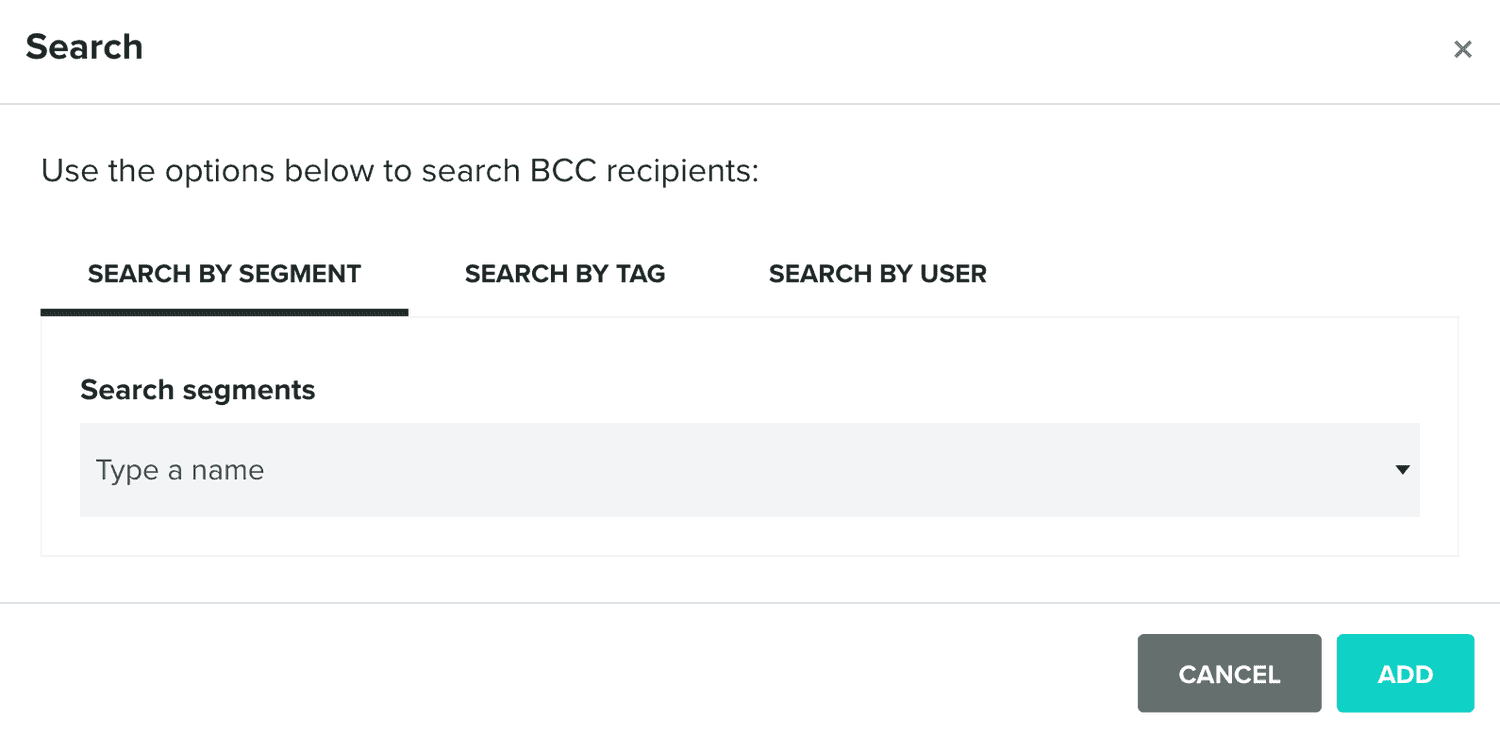
Where you can search segments, tags or users and add their email contacts to the BCC list.
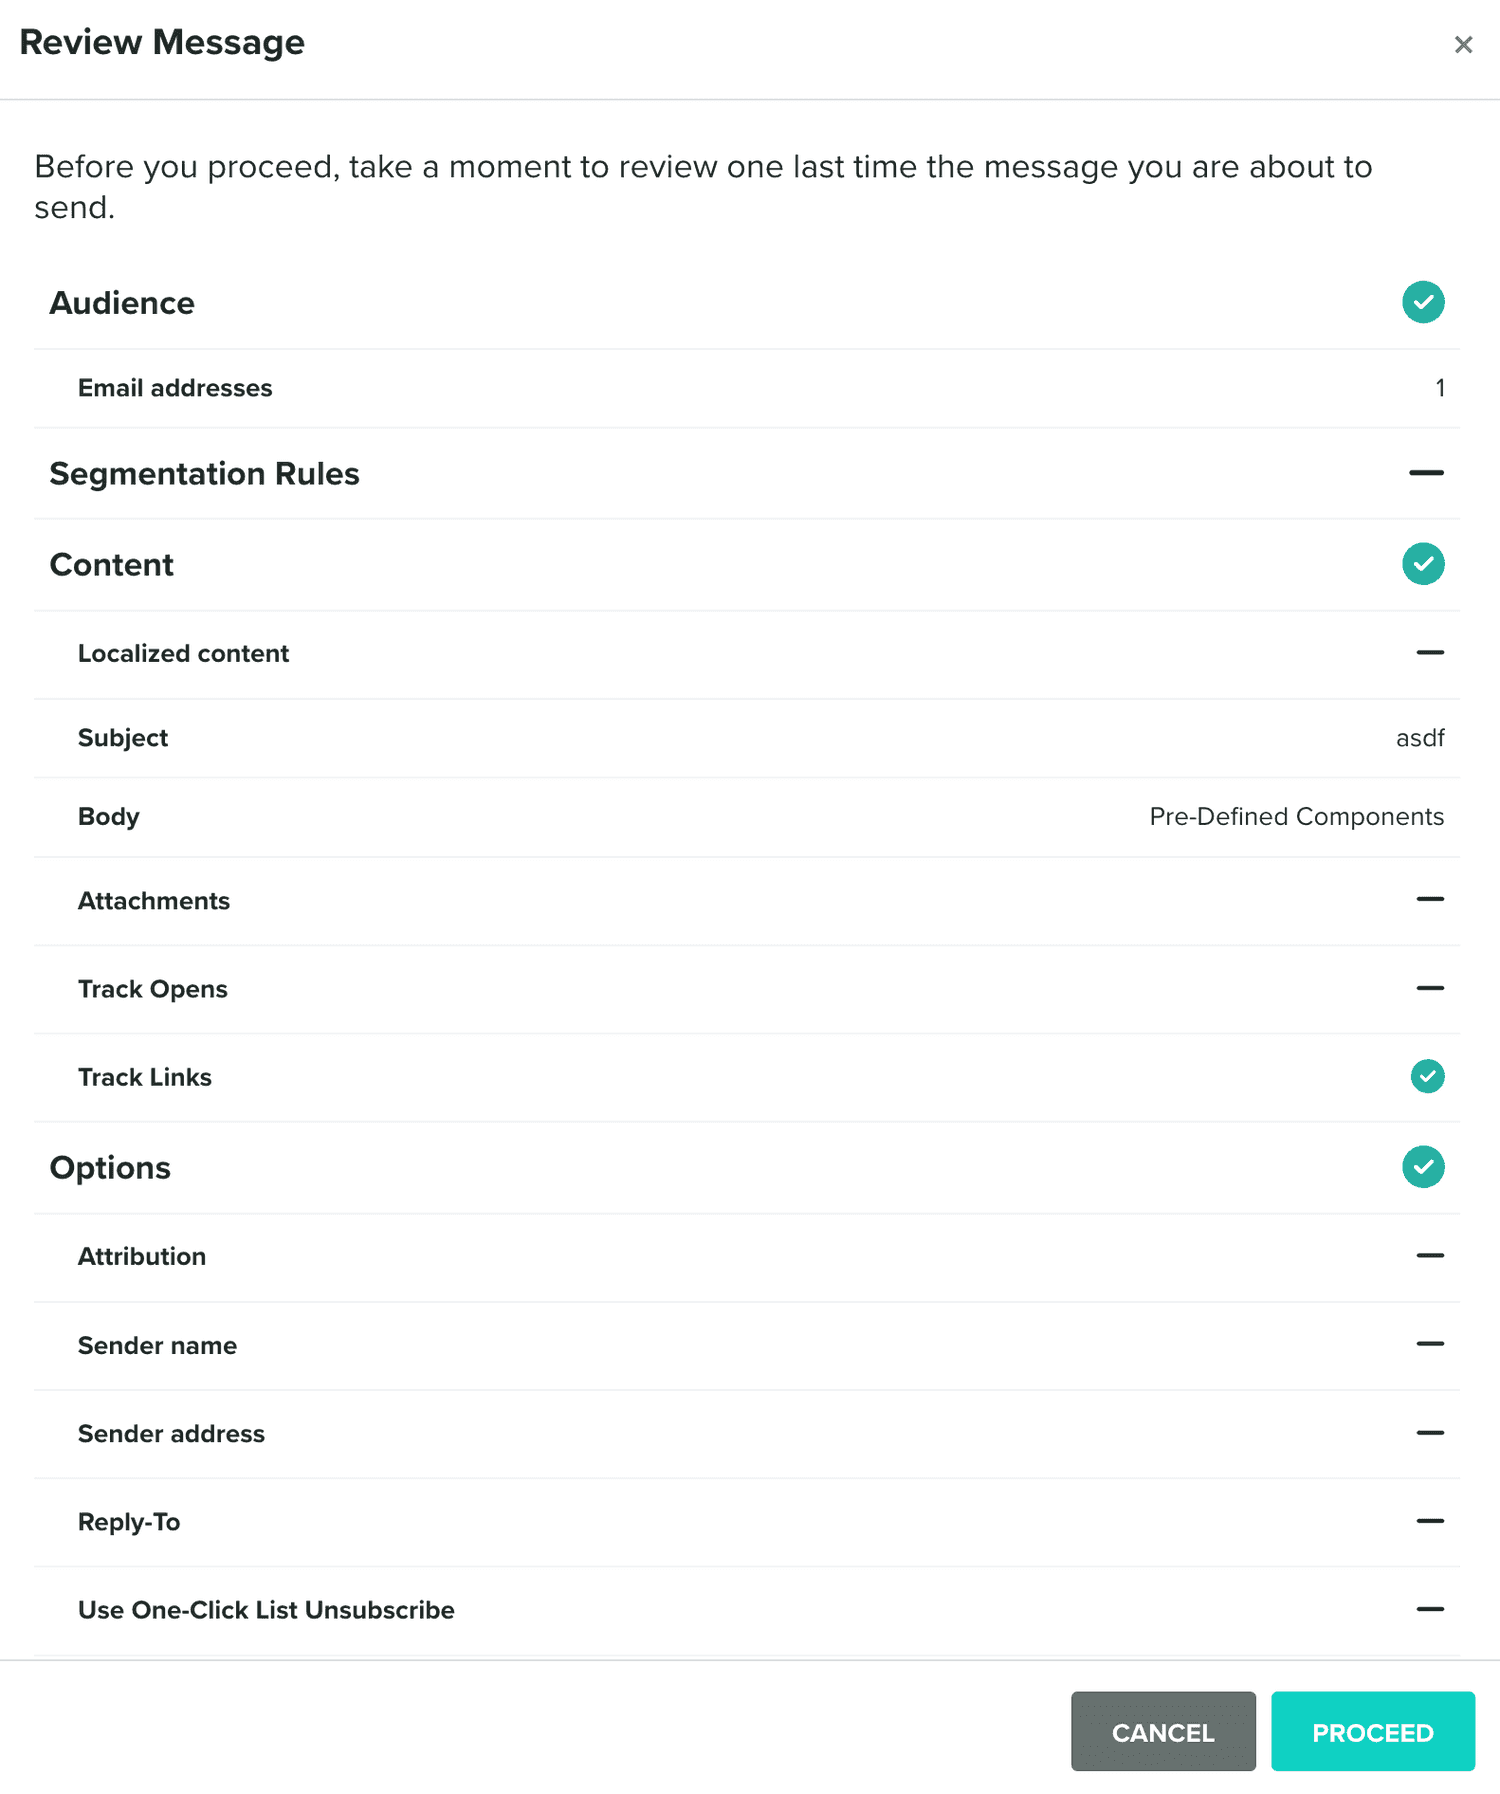
If you choose to schedule or send your message right away, you wil be prompted with the following window:
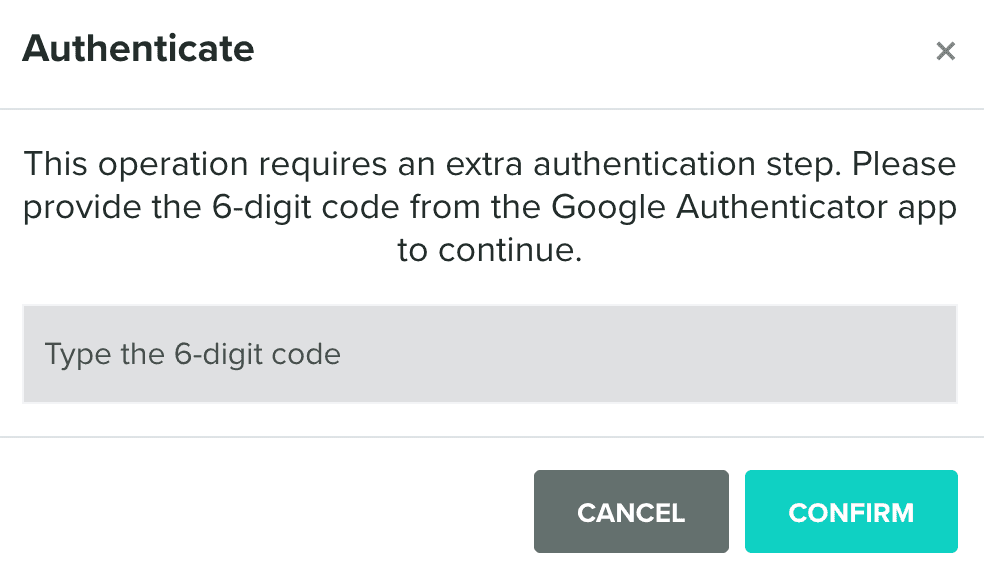
If you are sending or scheduling a non-private message, we will request you to authenticate that using 2FA (if enabled):
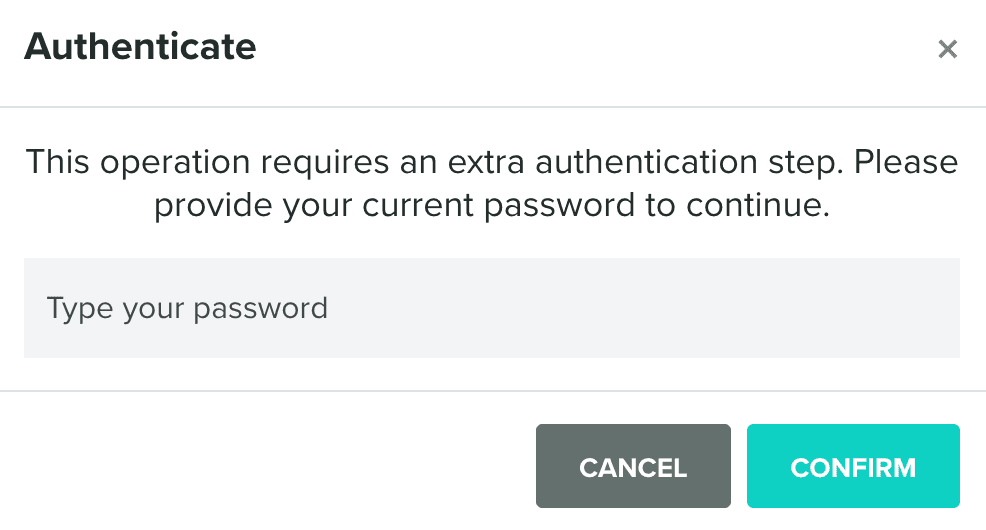
Or your password:
