Location Based Campaigns
In this area you can create location based campaigns.
Location based campaigns allow you to create multiple geo-triggers for as many geo-zones as you want with a few steps. Although you can also create individual geo-triggers for each geo-zone you create, with location based campaigns you can deploy these at scale. Our platform will then gather each individual geo-trigger's performance as well as global performance metrics of all geo-triggers in the campaign.
You start by expanding the Engagement menu item, then the Campaigns menu item and finally click in Location Based:
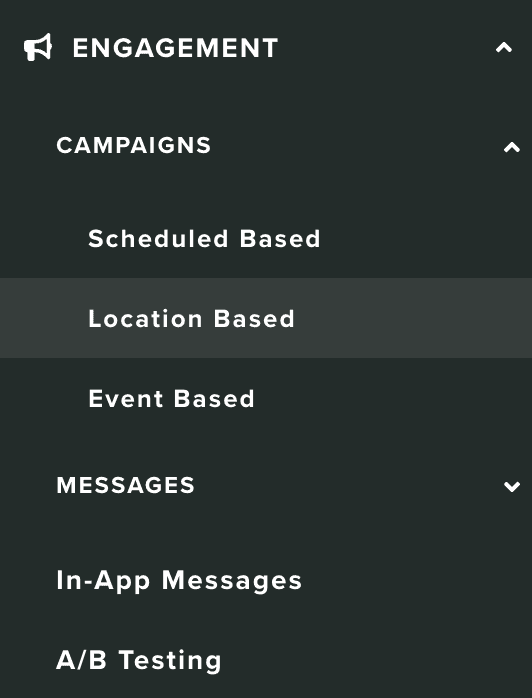
In this area you will find all the location based campaigns previously created:
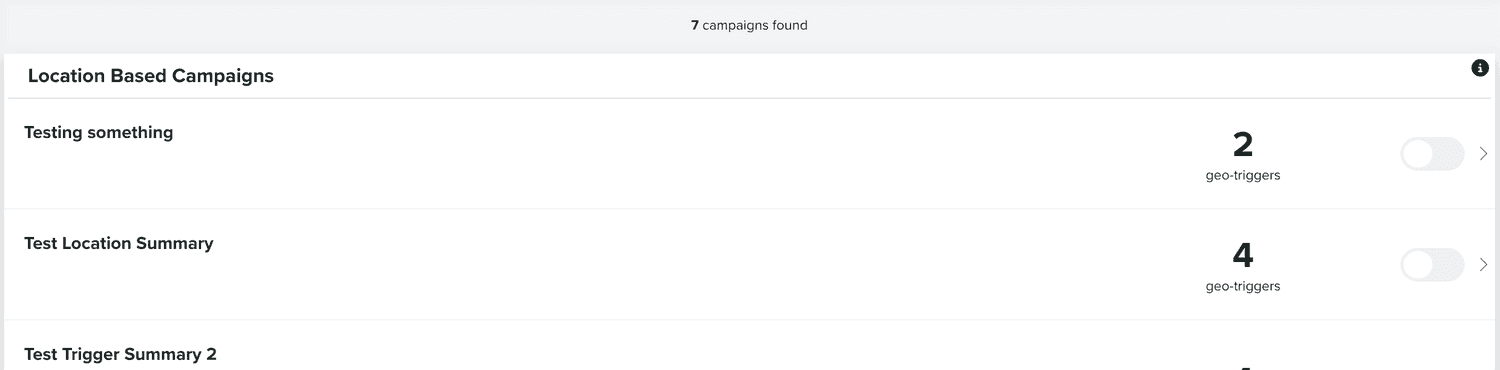
You can use the search section to filter results in your list of location based campaigns:

Clicking in each row of this list will take you to each specific campaign, where you can edit a campaign and all its individual geo-triggers and messages (if applicable):

Campaigns can also be toggled ON and OFF as you see fit. Disabling a campaign will automatically prevent any geo-triggers from being triggered.
From this area you can also create new campaigns, simply click in the New Campaign button in the top right corner:
Setup
In this tab of the location based campaign composer you should provide basic information for your campaign.
You will always need to provide a name for your campaign and define if you want to combine its stats:
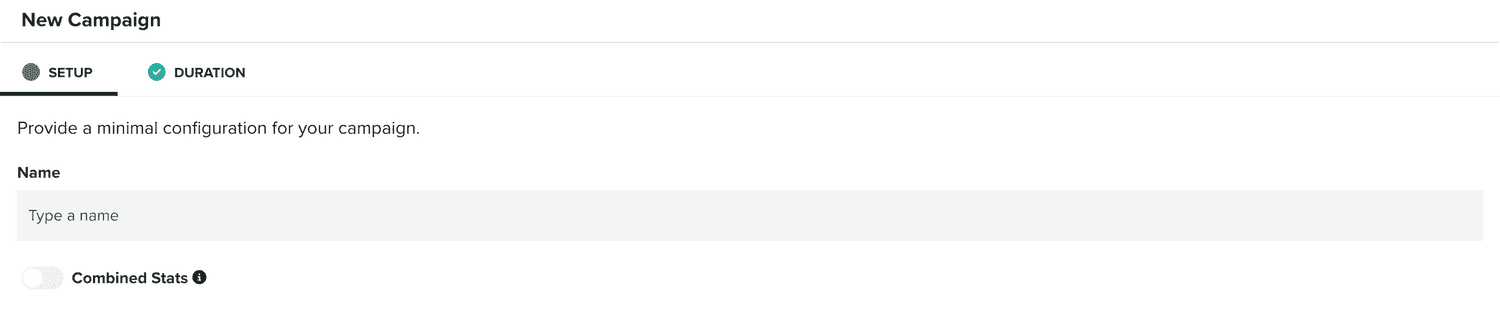
By default, the stats will be individually generated for each geo-trigger in a campaign. By toggling this option ON, we will generate combined stats for all the geo-triggers added in the campaign, making it impossible to see stats for each individual geo-trigger. Make sure you define this option before creating the campaign as it cannot be changed afterwards.
Duration
This tab of a location based campaign composer is not mandatory. If you do not want to restrict your campaign based on date or time, you can simply ignore it. If you do want to provide a date period, time of the day or days of the week, you should then define these in this area.
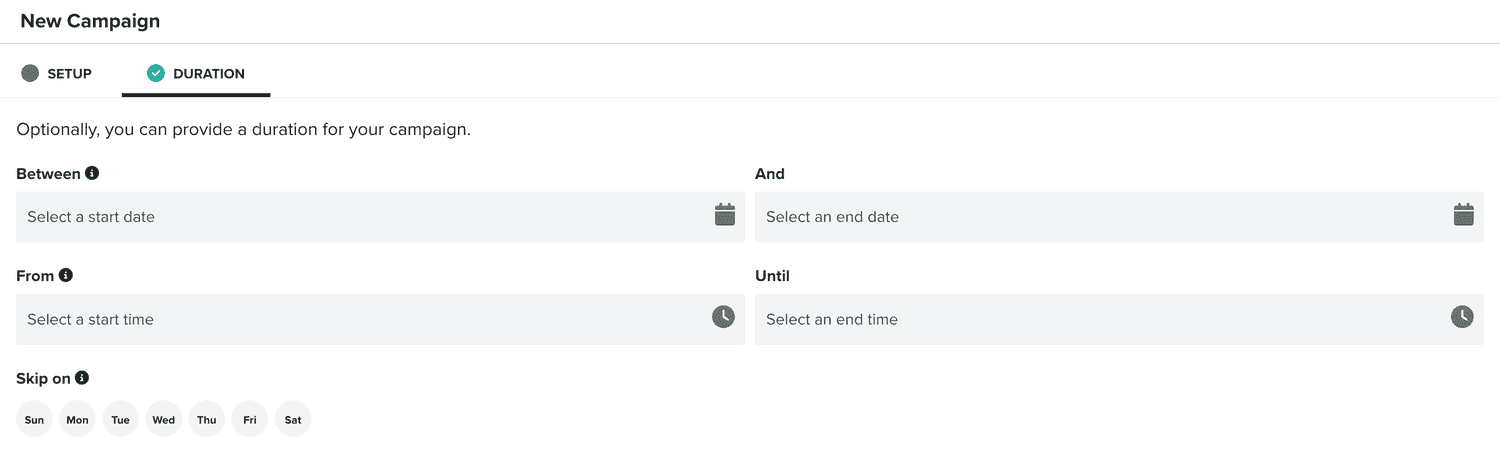
You can always change this period afterwards as you see fit. Geo-triggers will inherit these properties, so you should define these before creating geo-triggers.
Canvas
In this tab of the location based campaign composer, you will find all the geo-triggers created for this campaign. This tab is only visible after you've created a campaign.
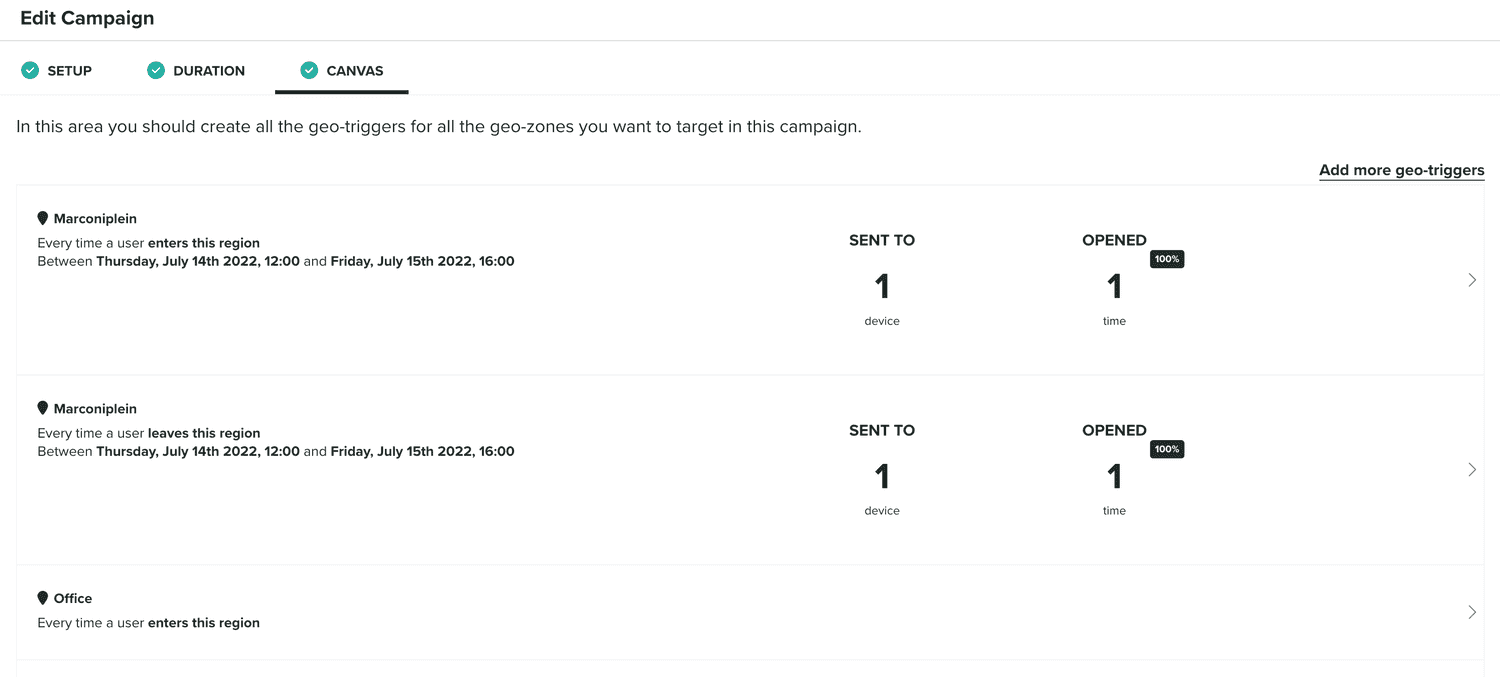
You can add as many geo-triggers as you want in a campaign. To add one or more geo-triggers to your campaign, simply click in the following button:
This will open a window as follows:
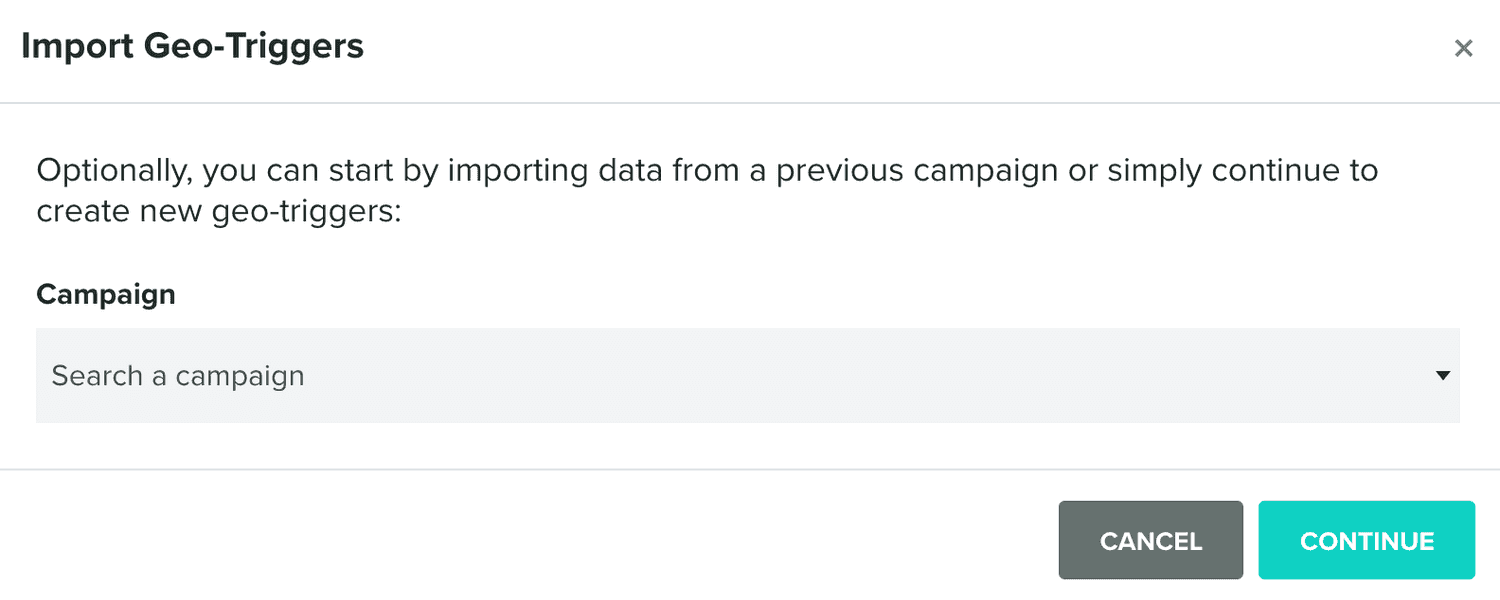
You can kickstart a location based campaign by copying a previous campaign. If you do the next steps will already be populated with that campaign's data.
If you don't, and continue without selecting a campaign, you will then see a window as follows:
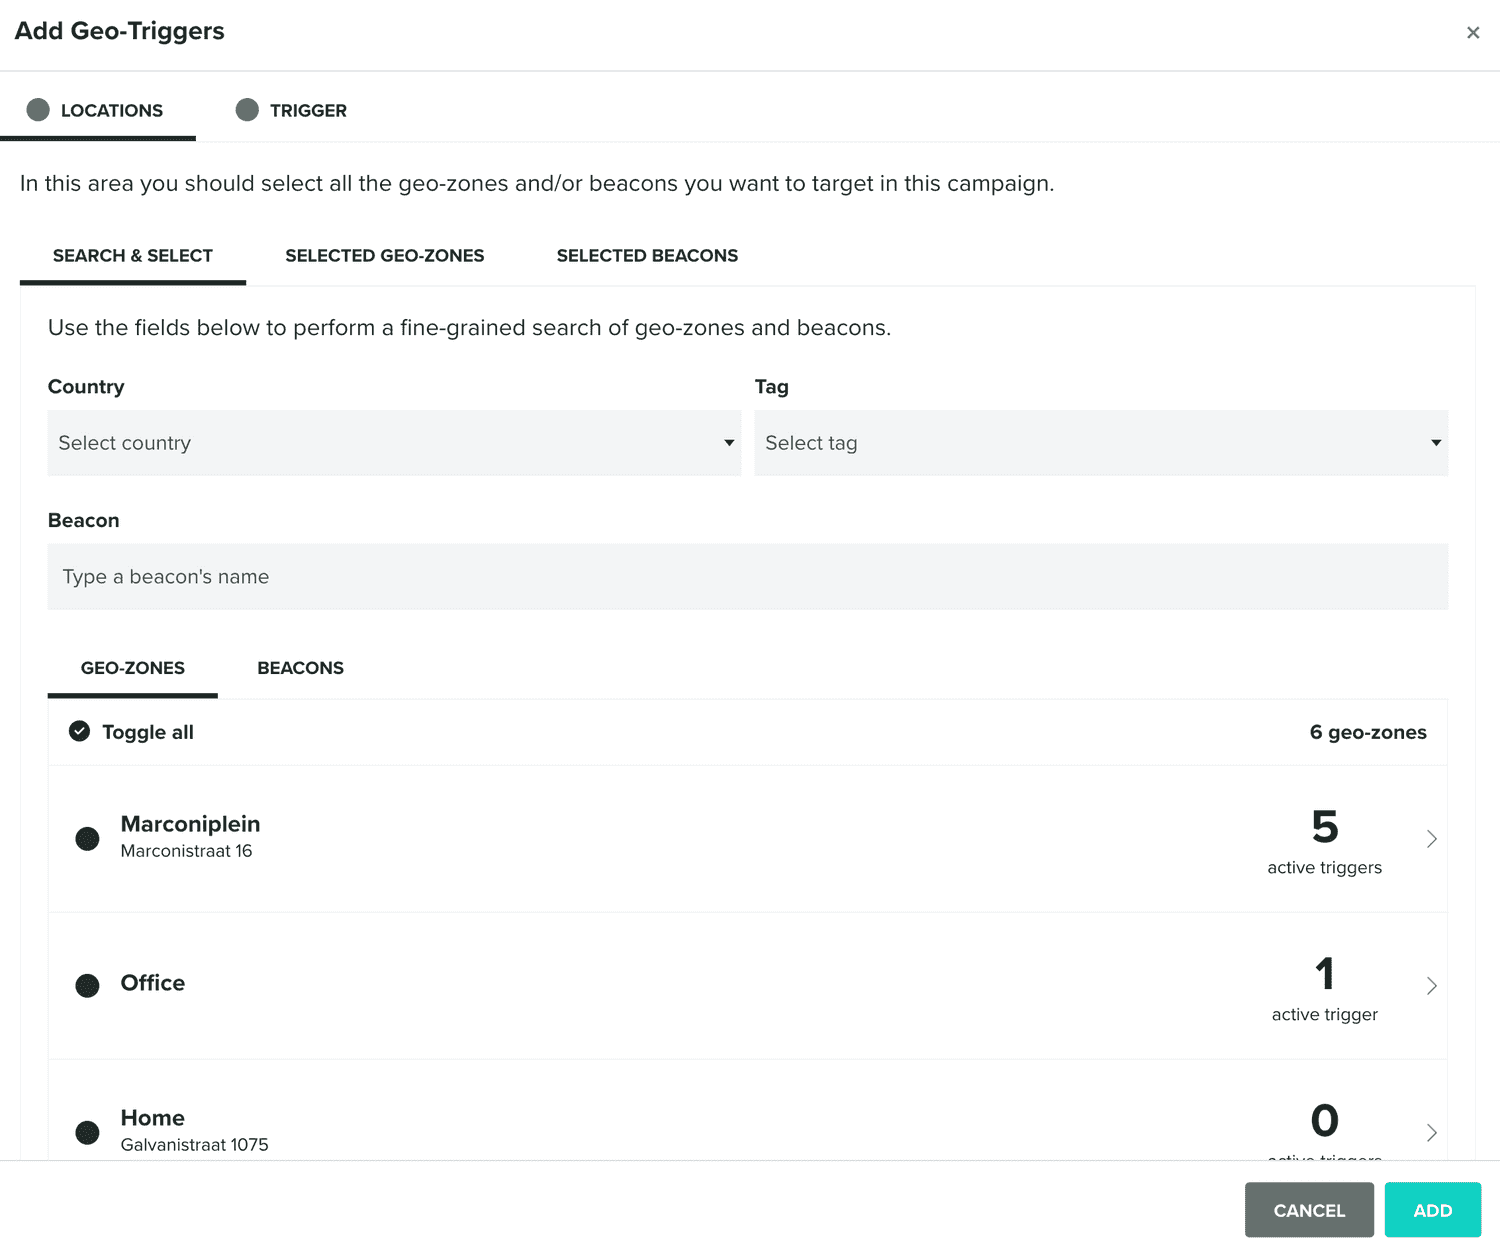
You should start by searching and selecting which geo-zones or beacons you want to select for this campaign (these must be previously created):
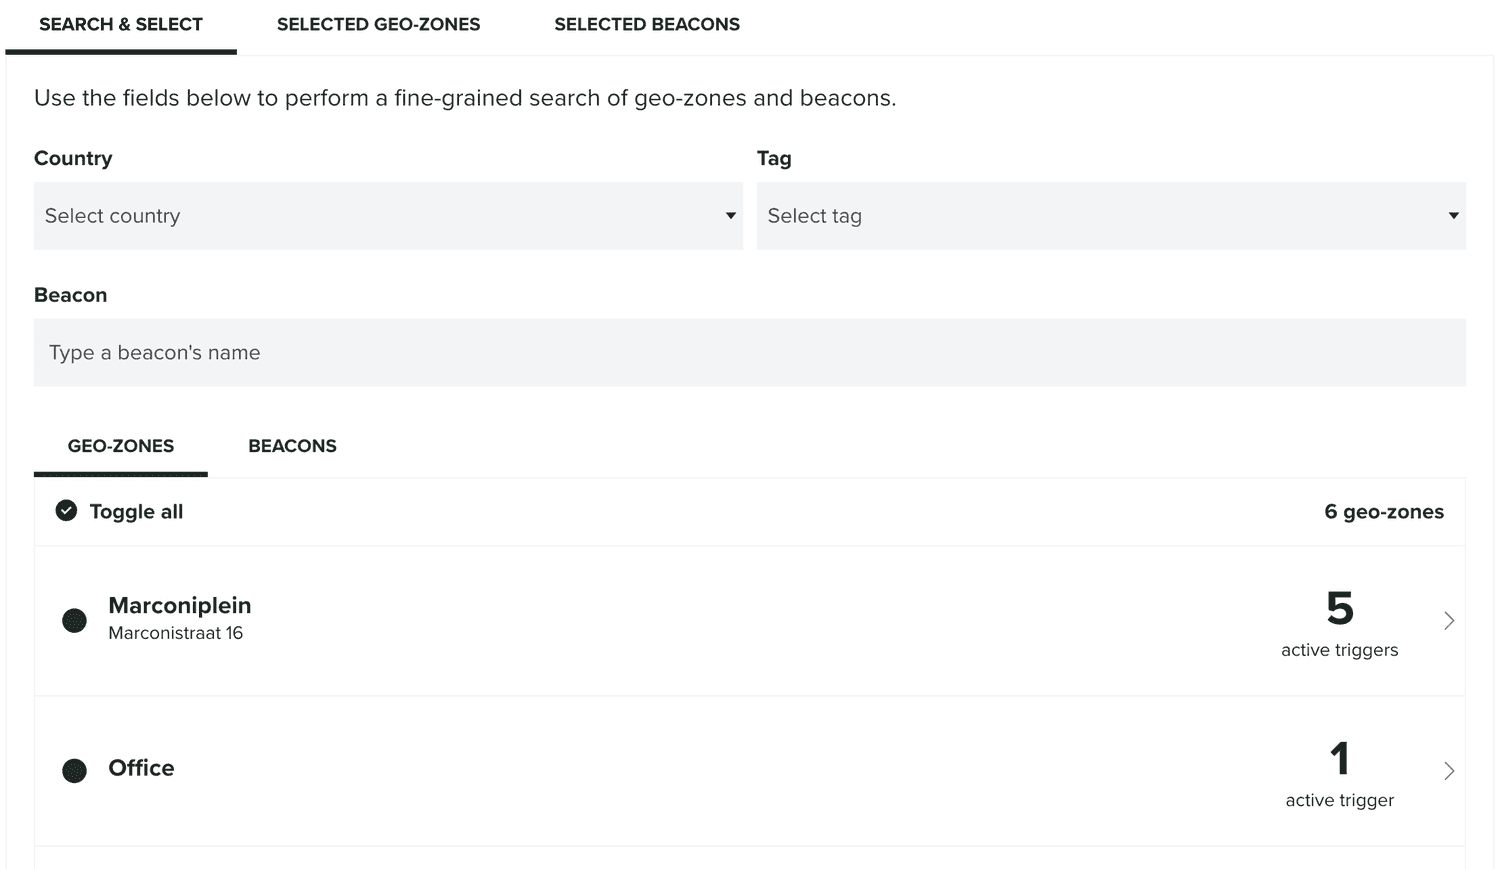
When you select geo-zones or beacons, they will be displayed as follows:

You can then define what kind of trigger this campaign should use in the following tab:
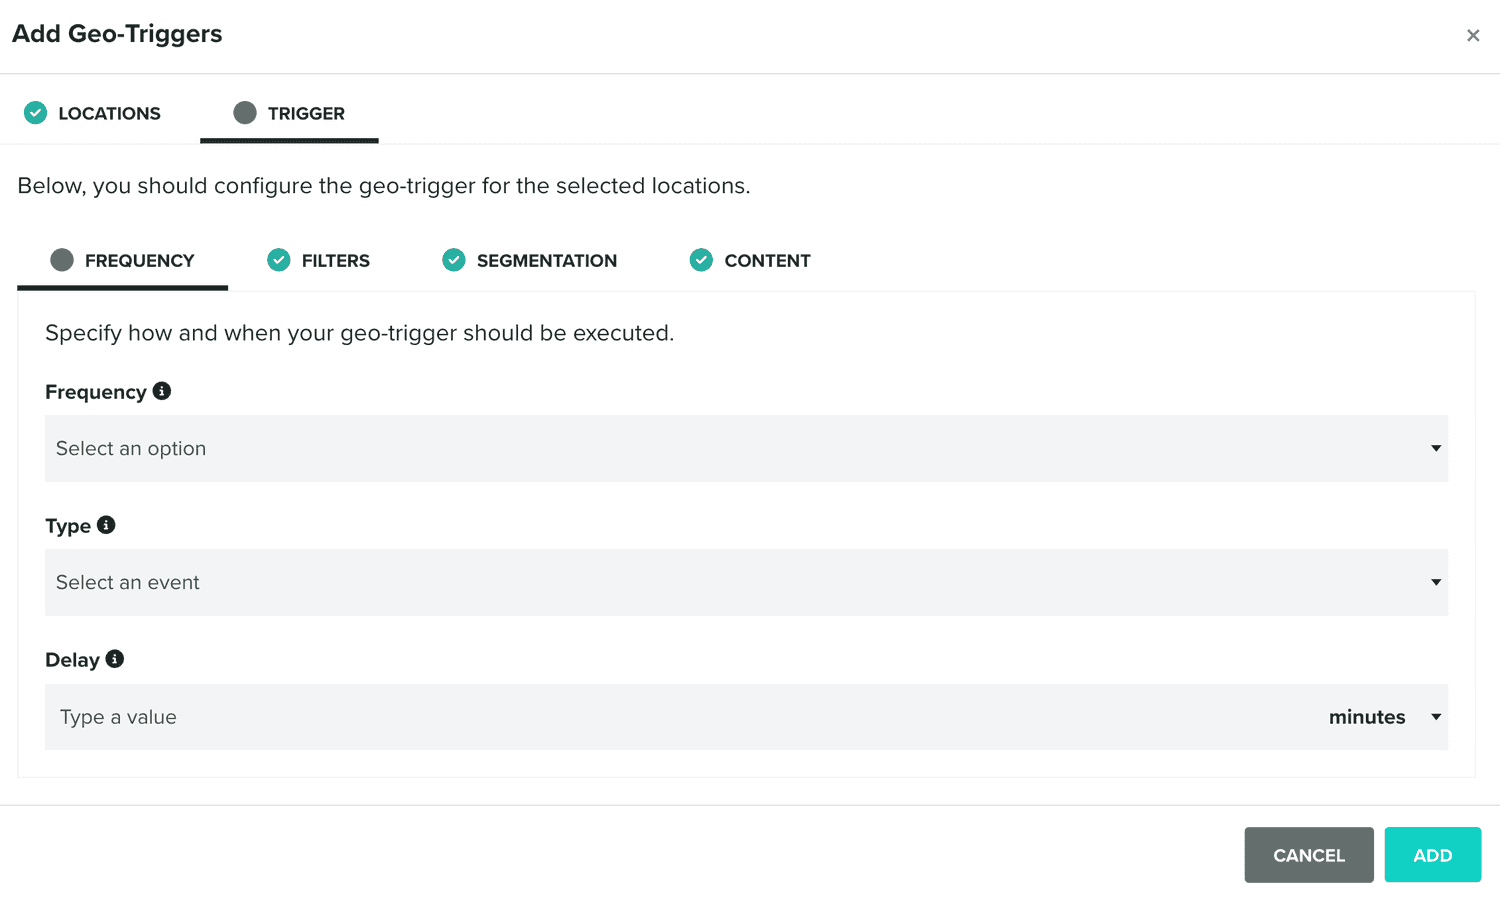
To learn more about geo-triggers, please read the guides located here.
If your geo-triggers are defined to send a push message, then you should also design what your push message should look like in the following tab:
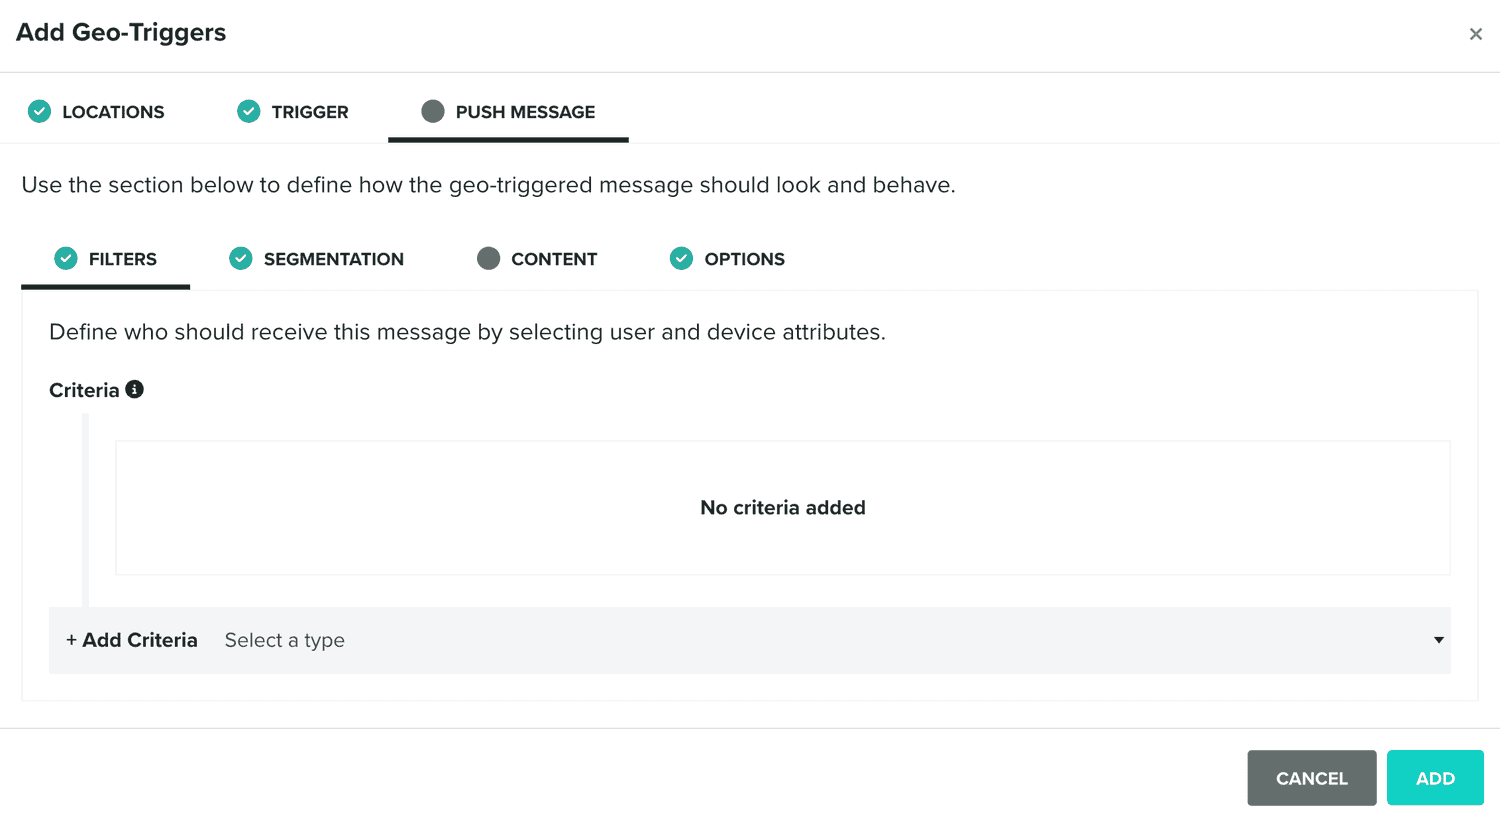
To learn more about push messages, please read the guides located here.
All geo-triggers you add to your campaign, will be displayed in the Canvas tab as follows:

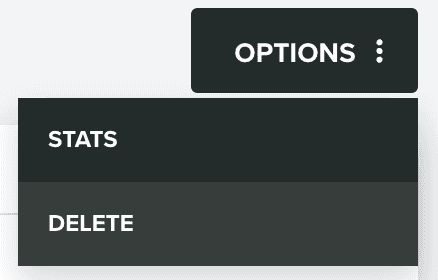
For each campaign you create, besides each individual geo-trigger's performance metrics, we will also gather campaign's performance metrics. You can find this option inside each campaign in the Options menu by clicking in Stats:
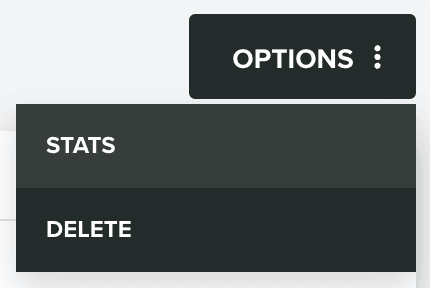
Clicking this option will take you to the campaign's stats page:
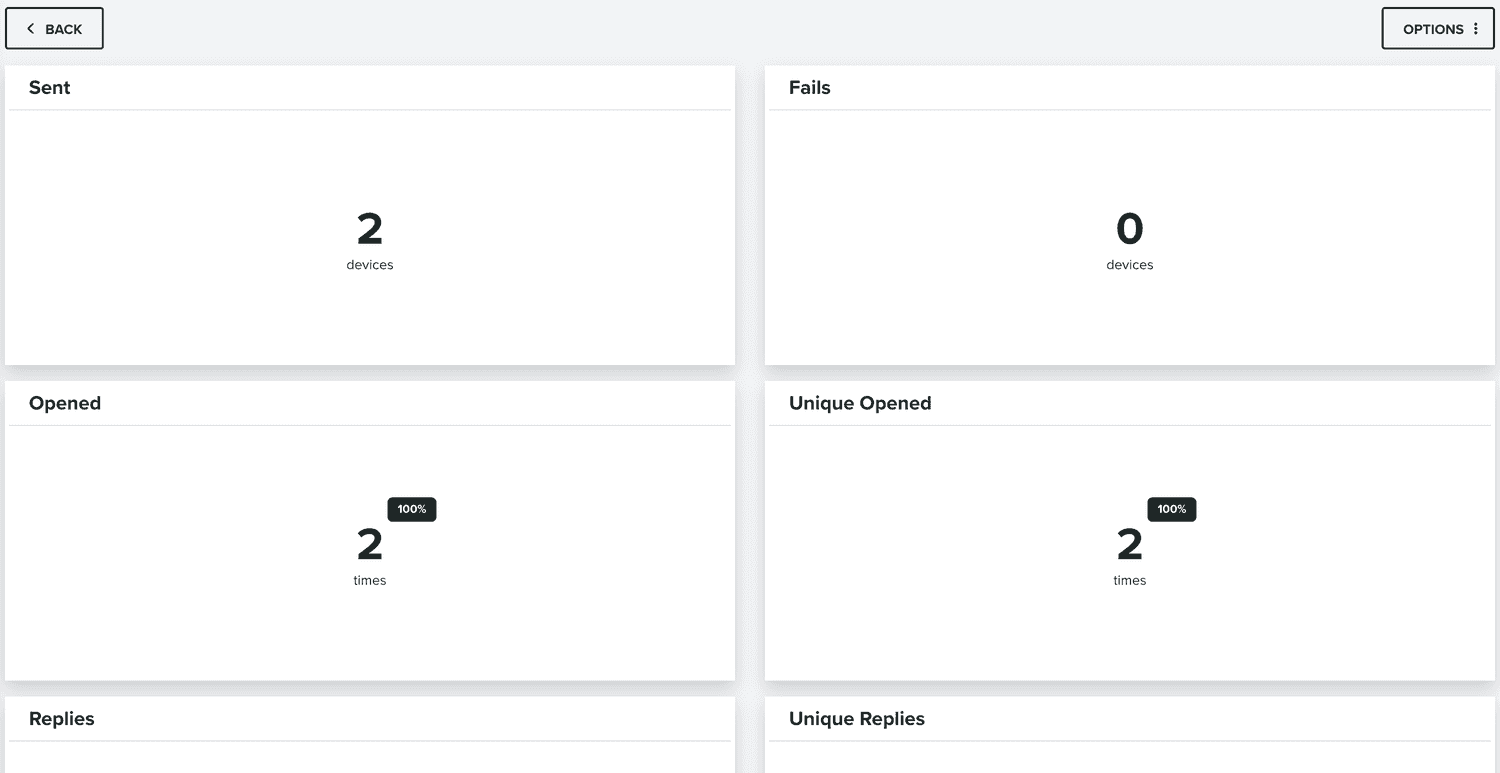
In this page, besides displaying all the important performance KPIs generated by your campaign, we will also make it possible for you to export all this data. You do this by expanding the Options menu and clicking in Export:
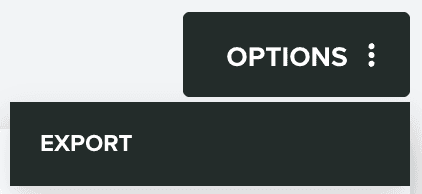
This will open a window as follows:
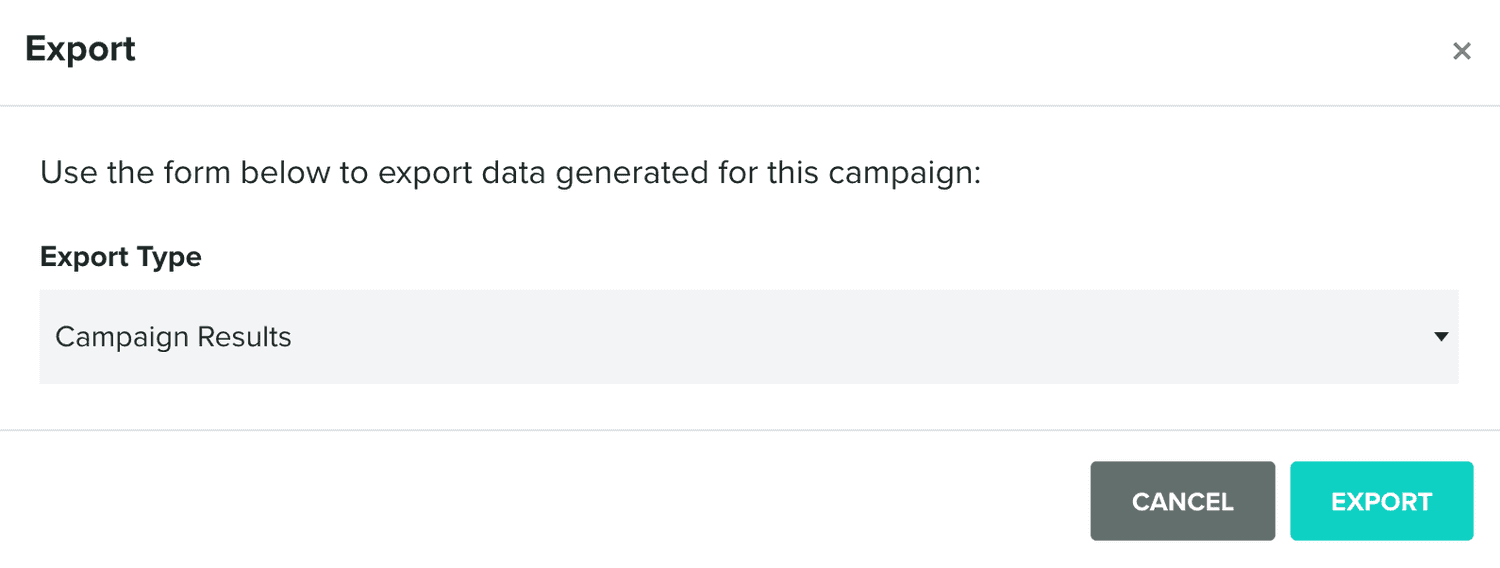
There are several types of exports available for you. To learn more about each type of export job, please read this page.
Finally, whenever you want to delete a campaign you can do that from the Options menu, by clicking in the Delete option: