Event Based Campaigns
In this area you can create event based campaigns. You must subscribe our Automation add-on to have access to this area.
Event based campaigns allow you to create highly relevant and personalized interactions with your users. From welcome messages to abandoned cart reminders or purchase confirmation or shipping alerts, event based campaigns are engine behind our actionable analytics. This is the mechanism that allows to turn the metrics you track and care about into powerful and engaging interactions.
You start by expanding the Engagement menu item, then the Campaigns menu item and finally click in Event Based:

In this area you will find all the event based campaigns previously created:

You can use the search section to filter results based on the name of your campaign or the event it uses:

Clicking in each row of this list will take you to each specific campaign, where you can edit a campaign and all its content (if applicable):

Campaigns can also be toggled ON and OFF as you see fit. Disabling a campaign will automatically prevent it from being triggered.
From this area you can also create new campaigns, simply click in the New Campaign button in the top right corner:

Setup
In this tab of the event based campaign composer you should simply provide a name for your campaign:

Frequency
In this tab of the event based campaign composer you will select how often this campaign is triggered and what event should trigger it:
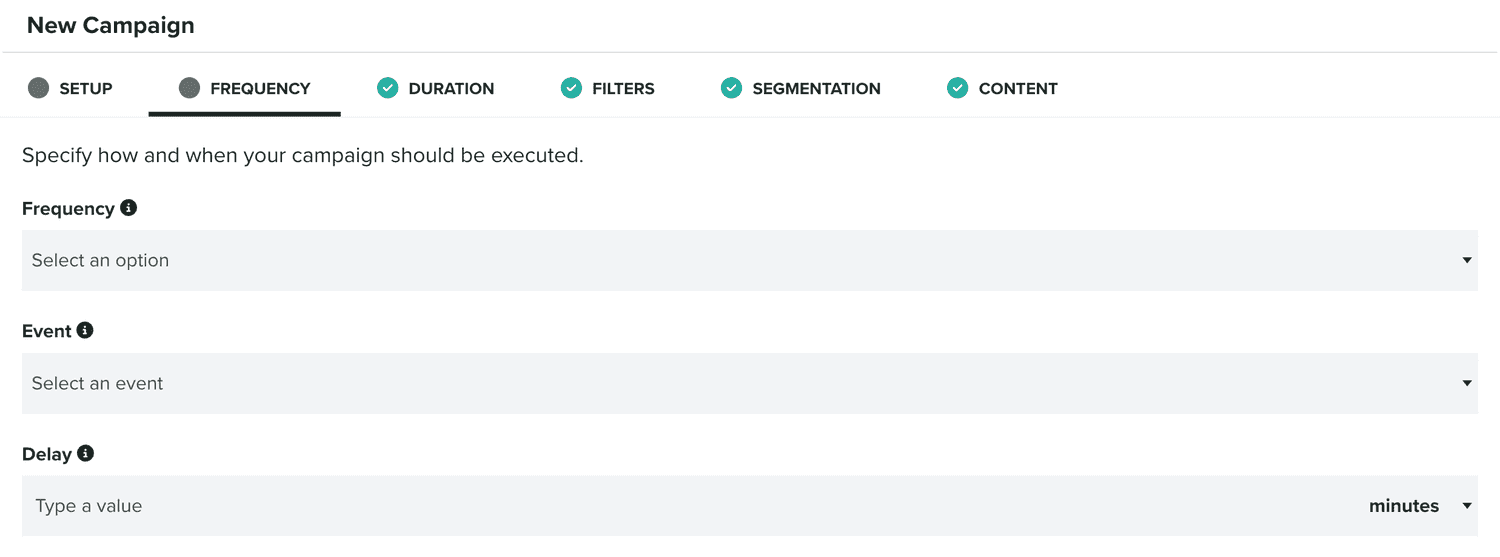
Additionally, it's important to note that if you select a custom event, you can also select which distinct value of an event's data object you should use to trigger this campaign:

This might be useful, if you want to trigger this campaign based on the distinct value of a property in the event's data object, allowing you to create one simple campaign for a multitude of possible values.
An event based campaign can also be delayed for a certain period of time after an event is executed. This alone might be useful if you don't want to disturb users right after the event is executed. But you can also provide a cancelling event when you provide a delay period:

When you do provide a cancelling event, our platform will cancel this campaign, if the cancelling event is executed during the delay window. This mechanism is extremely useful if you want to create campaigns where a certain event invalidates the interaction you want to create (e.g. An abandoned cart campaign should only be executed if users add products to a shopping cart but don't make a purchase after x amount of time).
Duration
This tab of an event based campaign composer is not mandatory. If you do not want to restrict your campaign based on date or time, you can simply ignore it. If you do want to provide a date period, time of the day or days of the week, you should then define these in this area.
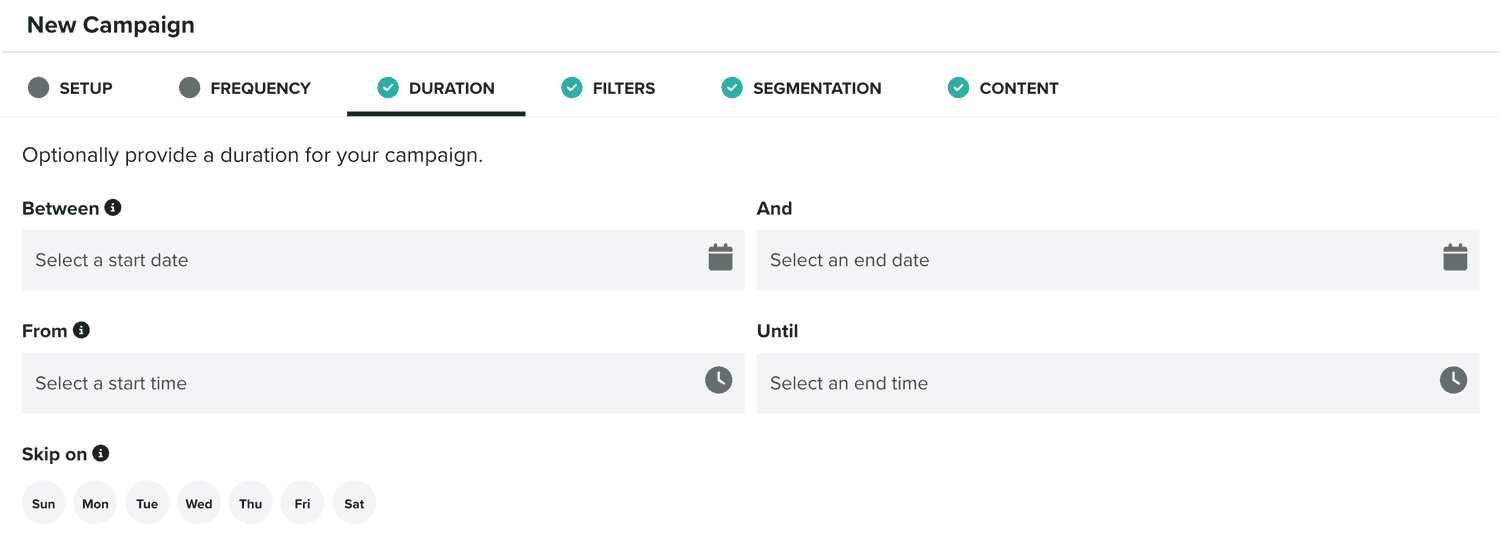
You can always change this period afterward as you see fit.
Filters
This tab of an event based campaign composer is also not mandatory. You can use to define if the campaign should be triggered based on certain properties of the user or device.

Filters use our advanced criteria component, which you find in several other features of our platform. To learn more about this component, please read these guides.
On top of that, if you select an event that contains additional data values, you can also define if the campaign should be triggered if that data contains a certain value:

Data Filters are also a component you'll find throughout our platform. To learn more about this component, please read these guides.
Segmentation
In this tab of the event based campaign composer, you will find how you can automatically categorize users whenever this campaign is triggered.

You can basically define if the user or device that executes an event should be added or removed from a certain segment or tag. This might become useful, if you want to eventually target or exclude those users or device in a follow-up campaign.
Segmentation Rules is also a component you'll find throughout our platform. To learn more about this component, please read these guides.
Loyalty
In this tab of the event-based campaign composer, you can define how an event will trigger changes in a loyalty program. This tab is only visible when you have the Loyalty add-on (v2) and at least one program.

You should first select the type of program you want to interact with. You can choose between Tier-Based and One-Time Offer programs:

You will then need to search and select a program:

If you choose a Tier-Based program, you will then need to provide a rule:

This will define how you update the balance in a loyalty pass, whenever an event is registered. You can choose between Set if you want to set the balance in the card to a specific value, Add or Subtract to add/subtract a value to the current balance of the card, and Increase or Decrease to increase/decrease the current balance by a percentage.
If you choose a One-Time Offer program, you might also want to provide an expiration for your offer:

You can do that in two different ways: By providing the Expires In, a value in days, that we will compute into an expiration date based on the date when the event occurs. And/or by providing the Max. expiration date that we will use as the expiration date if no Expires In is provided or if the computed Expires In is after the Max. expiration date. If none of these fields is provided, your offer will never expire.
Additionally, for Tier-Based programs, the {{loyalty.balance}} placeholder is available in the content of the event-based campaign. For One-Time Offer, the {{loyalty.barcode}},{{loyalty.expirationDate}}, {{loyalty.googlePay}} and {{loyalty.appleWallet}} are available instead.
These placeholders will allow you to include essential data from your loyalty programs in the messages generated by your event-based campaigns.
Content
In this tab of the event based campaign you will define if your campaign should actually generate a Push, Email or SMS message. Sometimes, you simply want to use event based campaigns to automatically categorize your users. When that's the case, you will use the None option in this tab:

When you do want to use an event based campaign to generate a message, you can choose Push, Email, SMS or Multiple Channels in this tab. If you choose one of those options, you can also select if you want to bootstrap the content of your message with a previously created template. You can do that by selecting the Use a template toggle, available for each option, and search an existing template:

If you do not use a previously created template to bootstrap your content, we will create the campaign with a default basic content which you can change afterward. To learn more about messages, please read the guides located here.
Finally, you can also define if this campaign should generate distinct messages:

By default, we will use the same message identifier every time the campaign is triggered, toggling this option ON will make sure a new message identifier is created every time the campaign is triggered. This will become useful, if you provide some form of in-app inbox in your mobile app or website, where messages received with the same identifier replace older ones. This option makes sure that all messages from this campaign become a unique message in the in-app inbox.
Delivery
This tab will only be visible whenever you define content for your event-based campaign. By default, we will immediately deliver any messages defined as the content of even-based campaigns as soon as the campaign is executed. But in this area you can define a period of time during which we will postpone the delivery of those messages until the end of the quiet period or, if defined, a preferred time.
If you want to define a quiet period you need to toggle the following option ON:

If you enable this option, you will need to provide at least a start and end time:

Optionally, you can also provide a preferred time, as long it is a time outside the quiet period. Campaigns with a quiet period will not deliver Push, Email or SMS messages during that period and instead any messages generated will be only delivered on the end time or, if defined, on the preferred time.
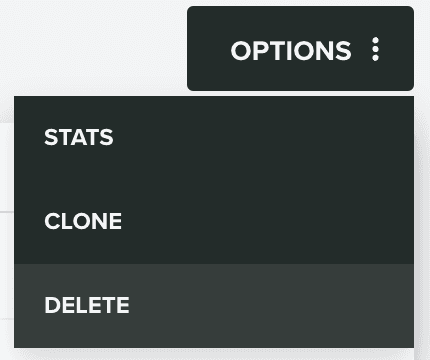
For each campaign you create, we will also gather campaign's performance metrics. You can find this option inside each campaign in the Options menu by clicking in Stats:
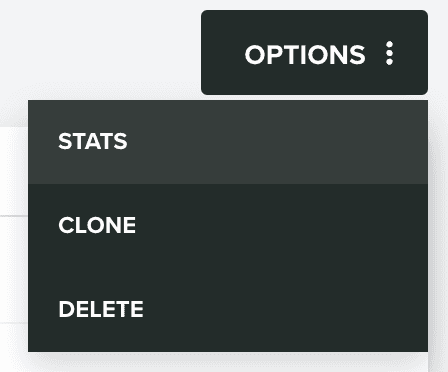
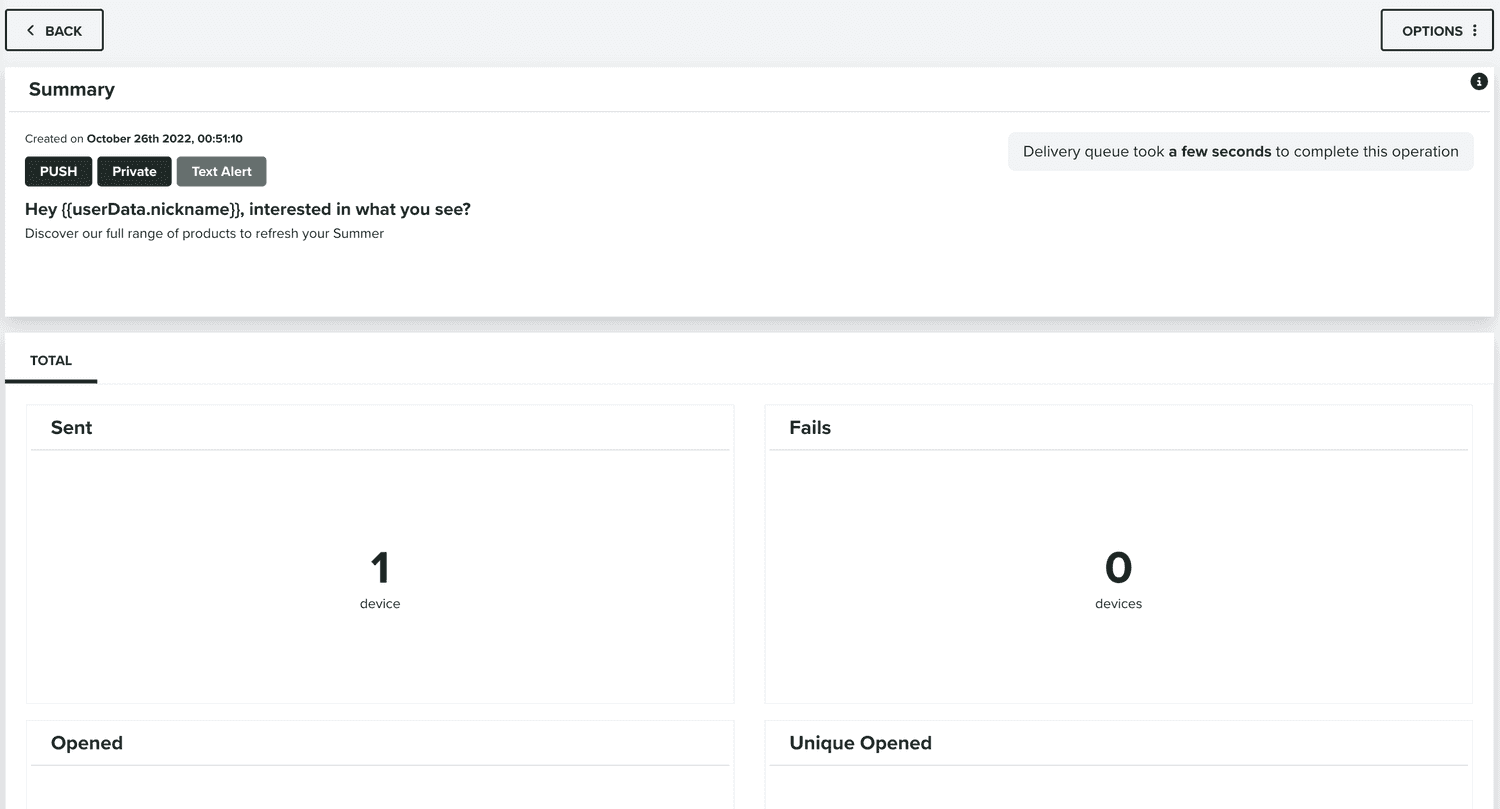
Clicking this option will take you to the campaign's stats page:
You can also clone each campaign by expanding the Options menu and clicking in Clone:
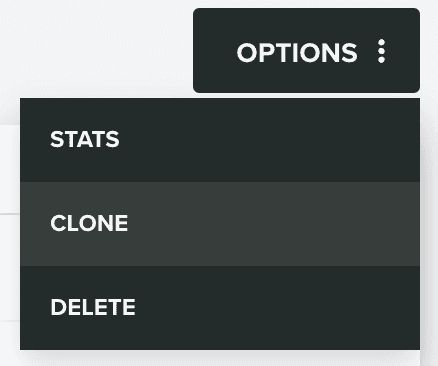
This will allow you to quickly create a new event based campaign from a previously created one.
Finally, whenever you want to delete a campaign you can do that from the Options menu, by clicking in the Delete option:
