Edit Asset Groups
In this page we'll cover how to edit an asset group.
To access this area, expand the Storage menu and click in Assets as shown below:

In this page select the group you wish to edit:

From the list of asset groups, click in the asset group you wish to edit:

In the asset group page, you can always change the name:

You can also, at any moment, change the priority value:

Higher numbers have priority over lower numbers.
You can also add or remove the duration of an asset group:

To make these groups even more powerful you can, at any moment, provide an advanced criteria to target certain segments, tags, users in a certain location or using certain devices. This will allow you to create content that is highly relevant and contextual. To change the criteria use the area below:

Learn more about how to setup a criteria in our guides located here.
Finally you can add or remove assets in the area below:

Note the following icon:
![]()
You can use to drag and drop assets into a new position.
You can also delete an asset by clicking in the cross icon in the top right corner of each asset:

Every group can have one or more assets, to add more assets simply click in the Add Another Asset button like shown below:

When you're done editing your asset group, make sure you click in the Save button to actually store your changes:

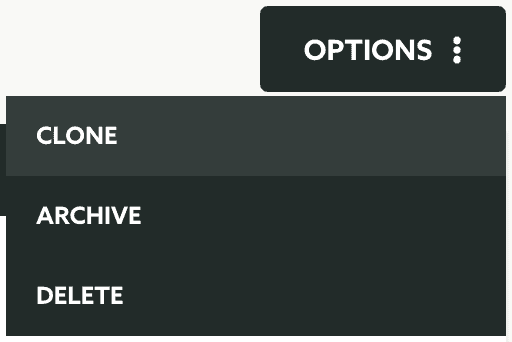
In this page you can also clone an existing group. For that expand the Options menu and click in Clone:

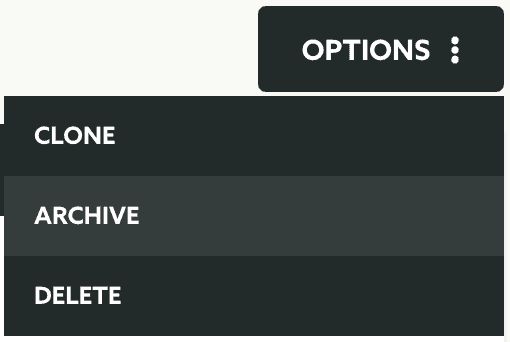
In this page you can also archive an existing group. For that expand the Options menu and click in Archive:

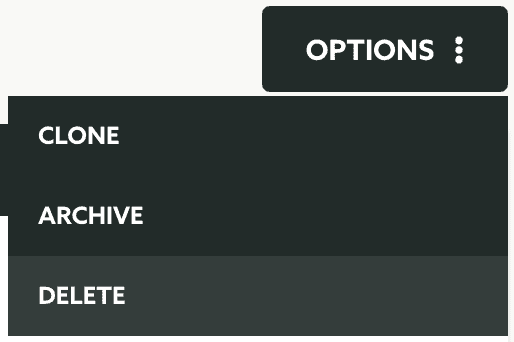
Finally, in this page you can also delete an existing group. For that expand the Options menu and click in Delete:
