Create SMS Message
In this area you'll learn how to send a message using Notificare.
To access this area, in your app's menu, expand the Messages menu item and click in New SMS Message:

This will take you to a wizard divided in five different tabs like shown below. Some sections are optional and you will notice that they are marked as ready by default.

Additionally, once you have reach a minimal message configuration, you can check the actual API payload that will be sent to our servers. To do that, click the following icon:
![]()
It will show the resulting JSON object for your content:

This can be a great jump start if you will ever need to compose messages via our REST API.
Audience
Start by selecting who you are going to send the message to, by opening the Audience tab. In this tab you start by selecting the scope of your audience by pick one of the several options available in our platform.
You'll notice that as soon as you select an option, we will automatically show you the number of devices you will be reaching:

This will be calculated with every change you make to your audience selection.
Broadcast
If you want to send to all your users select the option shown below:

For this type of audience you can also define a specific location:

If you do add a location, you will send to all the devices inside that location and ignore all the rest. To add a location you can manually draw a shape in the map or simply search for an Address or a previously created Geo-Zone, POI, city or Country.
Private User Message
If you want to send to single user and all its phone numbers, select the option shown below:

Then search for a user by using its name or ID:

And finally select the user you wish to send the message to:

Private Phone Number Message
If instead you want to send to single phone number, select the option shown below:

Then search for the email address you are looking for:

And finally select the address you wish to send the message to:

Segments
If you wish to send a message to a group of users that belongs to a certain segment, select the following option:

You can select one or more segments, first you need to search for segments like shown below:

You can then click in one or more segments to select them:

When you are done selecting segments, click in Done and your selection will look like the following:

For this type of audience you can also define a specific location:

If you do add a location, you will send to all the devices inside that location and ignore all the rest. To add a location you can manually draw a shape in the map or simply search for an Address or a previously created Geo-Zone, POI, city or Country.
Tags
If you just need to send to a group of devices in one or more tags, you should select the option below:

Then search for one or more tags you wish to send the message to:

Then in all the tags you want to select them:

When you are done selecting tags, click in Done and your selection will look like the following:

Event Based Criteria
If you want to send a message to all the devices that executed a certain event during a period of time, select the option below:

This can be extremely useful if you want to create a follow-up message to all the users that previously interacted in some way with your campaigns, app or website.
For this type of audience you will need to select which event you want to use:

Learn more about events by reading our guides located here.
Then select the start and end date for your criteria:

For this type of audience we will automatically fetch all devices that executed the event between those dates and use it as the recipients of the message.
Additionally, for this type of audience, you can further provide fine-grain audience selection by using a custom criteria:

Learn how to set up a custom criteria by reading our guides located here.
Custom Criteria
With this type of audience selection, you can combine tags, segments, location and device properties to achieve a fine-grained selection. Start by selecting the option below:

Additionally, for this type of audience, you can further provide a fine-grained selection using a custom criteria:

Learn how to set up a custom criteria by reading our guides located here.
Content
To actually create the content your users will see when you send a SMS message, click in the Content tab. If you are using our inbox functionality, you may localize your content in multiple languages. For that toggle the switch Use localized content to start creating content in other languages:

Automatically a new tab called Default will appear, which will allow you to create the content that we will use as a fallback when the device that receives the message does not have a language provided by the localized content you create.

Make sure you create the default content before proceeding to add more languages, as other localized content must share the same message you use in the default content. When you are ready to add more languages, go ahead and click in the following button:

This will open a new window where you can select a language/region combination. Note that region is a property that is only available in SDK 2.0 or higher, so it's important your apps use this version if you would like to have use a language/region combination. If your apps do not support this version or you simply don't need to create content based on a language/region combination, you can leave the region option unselected.
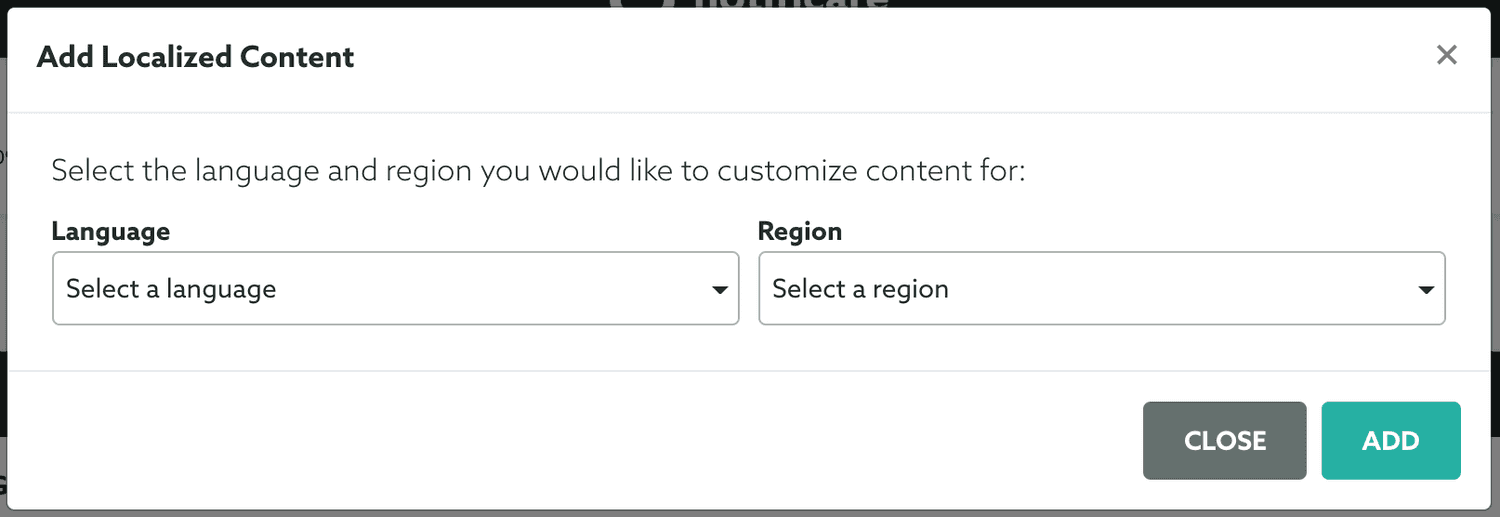
Adding languages will eventually add new tabs to the message composer, as shown below. Make sure you localize all fields accordingly in each tab:

A text message should only have a message (please note that this field allows placeholders):

SMS Character Limit
The character limit for a single SMS message is technically 160 characters. However, most modern phones and networks support message concatenation: they split large messages into individual SMS messages (called "segments") and then re-create the large message at the receiving end. Notificare supports long messages up to 1600 characters. However, we recommend sending messages that are no more than 320 characters to ensure the best deliverability and user experience.
The 160-character limit is for messages encoded using the GSM-7 character set. Messages not encoded with GSM-7 are limited to 70 characters. If you include non-GSM characters, such as Chinese script or Emojis, those messages have to be sent using the UCS-2 encoding.
When you send a message with more than 160 GSM-7 characters, it will be split into segments of 153 characters. This means that 7 characters are sacrificed per segment to help with concatenation. On the other hand, messages sent using UCS-2 with more than 70 characters will be split into 67-character segments. This means that 3 characters are sacrificed per segment to help with concatenation. Notificare will bill you per segment used.
Emoji support has not been standardized across carriers, as a result we cannot guarantee support for Emoji across all carriers. Using Emojis in text messages will force messages to be encoded as UCS-2, reducing message segments to 70 characters. Older 16-bit Emojis count as a single character and newer 32-bit emojis count as two characters in a message.
Options
In this tab, you can use the following option to ignore the messaging limit you've previously defined for your app:

This can be useful for time-sensitive messages or particularly important communication.
Delivery
Finally, you can configure the delivery of this message by clicking in the Delivery tab:
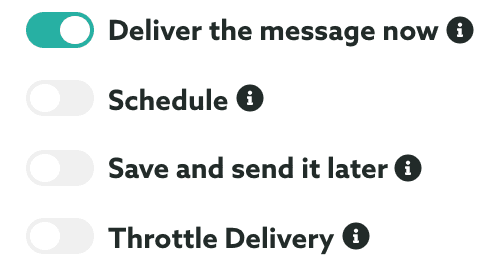
If you wish to send the message right away, select the option below:

If you wish to schedule a message to a date in the future, select the following option:

Then you have to options, send to all users at the same time by providing a date and a timezone:

Or by sending to each user at their local device time:

This delivery mode also supports recurrent scheduled messages. To repeat your message, toggle the following option:

You can then select if you want to repeat it hourly (except if you have chosen to use the device's local time):

Optionally you can select the specific hours and even the days of the week when the message is sent.
You can also select it to be sent daily:

Optionally you can increase the interval to repeat the message every x days.
You can also select it to be sent weekly:

Optionally you can increase the week interval to repeat the message every x weeks or select more days of the week.
You can also select it to be sent monthly:

Optionally you can increase the month interval to repeat the message every x months and select between sending it on that same day or that same day of the week each month.
Finally, you can also select it to be sent yearly:

Optionally you can increase the year interval to repeat the message every x years.
You can also specify an end date for your recurrent schedule, by selecting a date in the following field:

As you configure your recurrent scheduled message, you will see a human-friendly summary describing your recurrent schedule job, like the one below:

If instead you wish to save this message and send it later, select the option below:

This option will simply save the message in the drafts area. To learn about drafts read our guides located here.
Finally, if you wish to throttle the delivery of a message, you can check the box below:

This will allow you to specify the rate of how many messages should sent per second:

We will estimate for you the approximate delivery time based on the audience you've selected. This option might be useful to avoid messages from flooding your servers as users will open your app or website in response to a remote notification.
Before you roll out a message to your selected audience, you can always test it first by sending it to one or more test segments:

This will open a window like the one below:
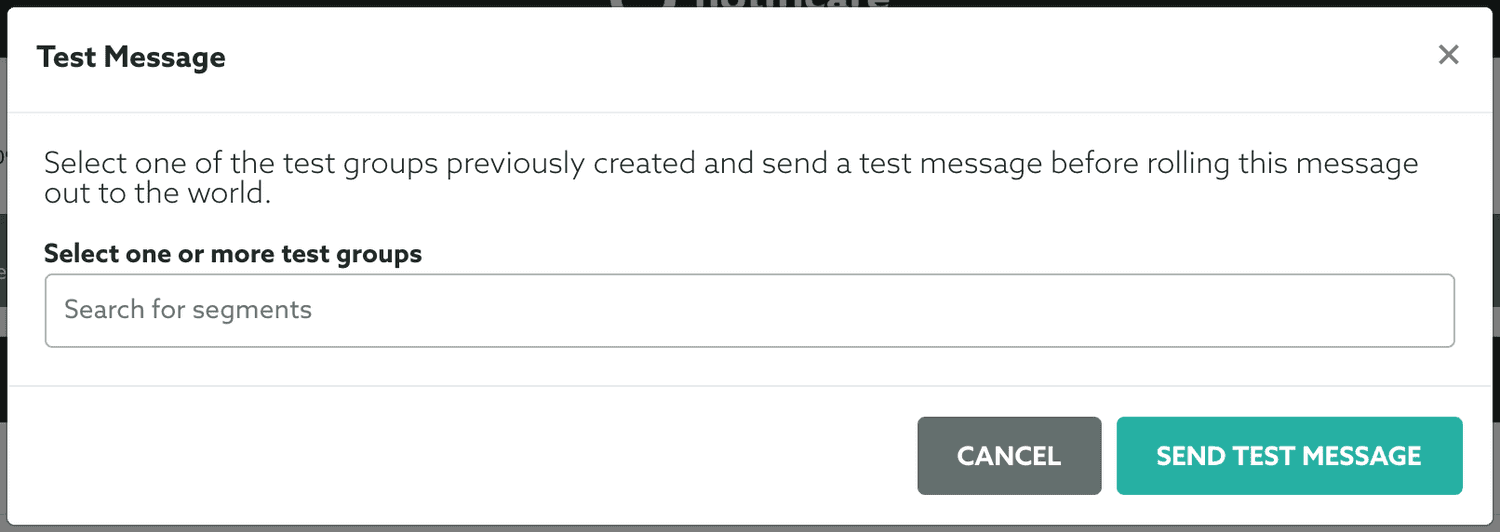
In this window, you should search for test segments previously created:
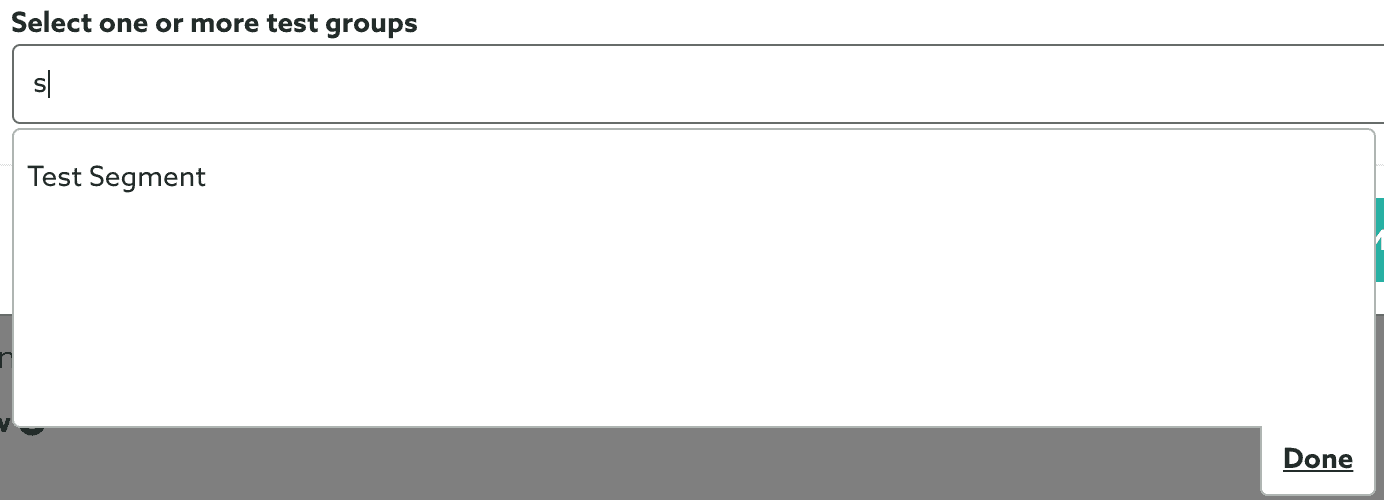
You can select one or more segments, by clicking on them:
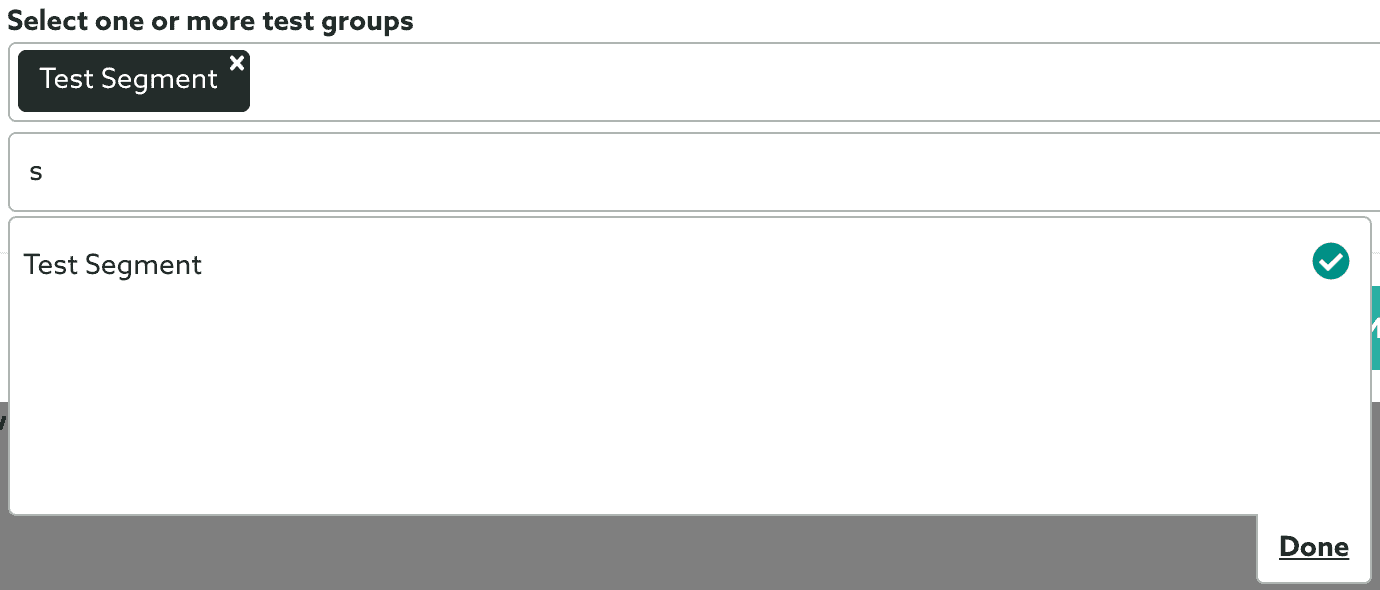
Once you select all the test segments you want to use, go ahead and click in the Done button. Your selection will then look like this:

And go ahead and send a test message by clicking in the Send Test Message button:

When you feel confident that your message looks exactly like you want and have performed from tests, click in the Send button:

You will have one last chance to review your message:
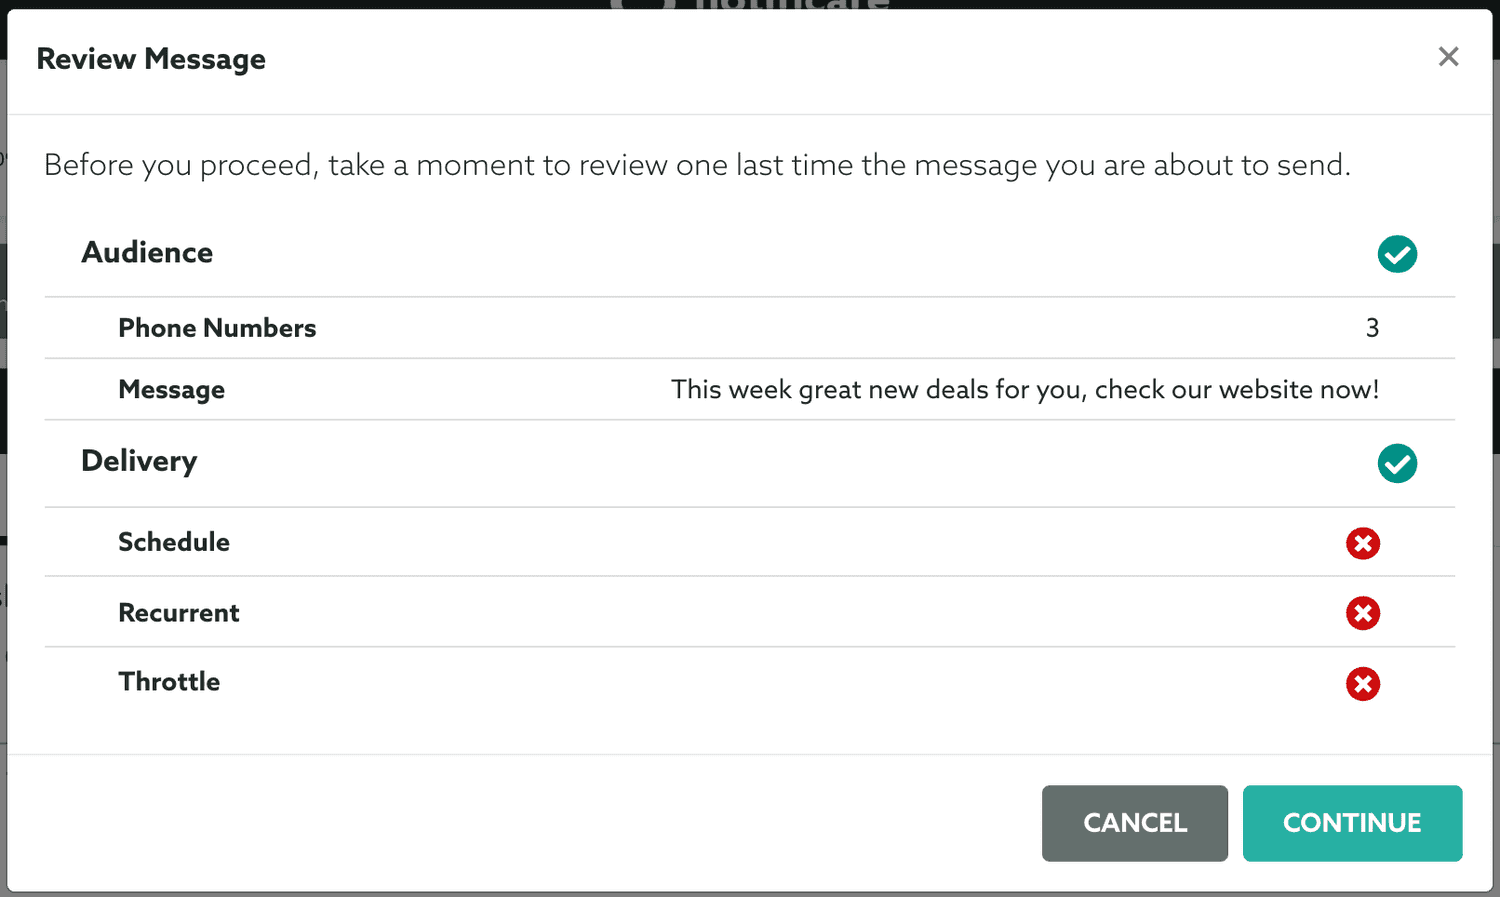
If everything is OK and you want to proceed, go ahead and click the Continue button:

As a security measure, if you are trying to send or schedule a message to more than one user or device, we will request your authentication before actually send it. If you use 2FA, you will need to provide the 6 digit code:
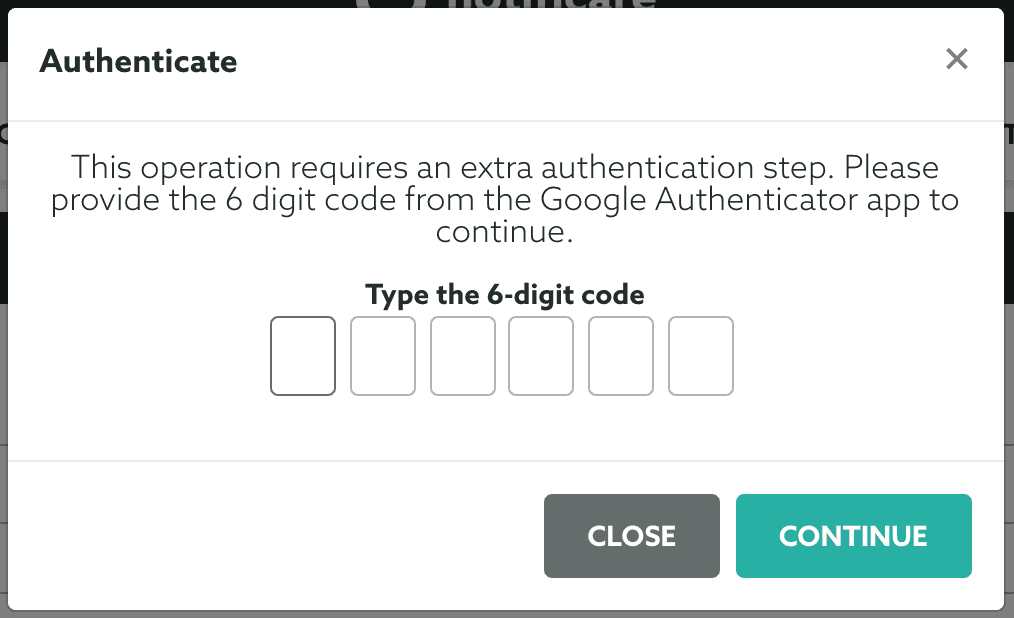
Otherwise you will be required to authenticate this operation with your password:
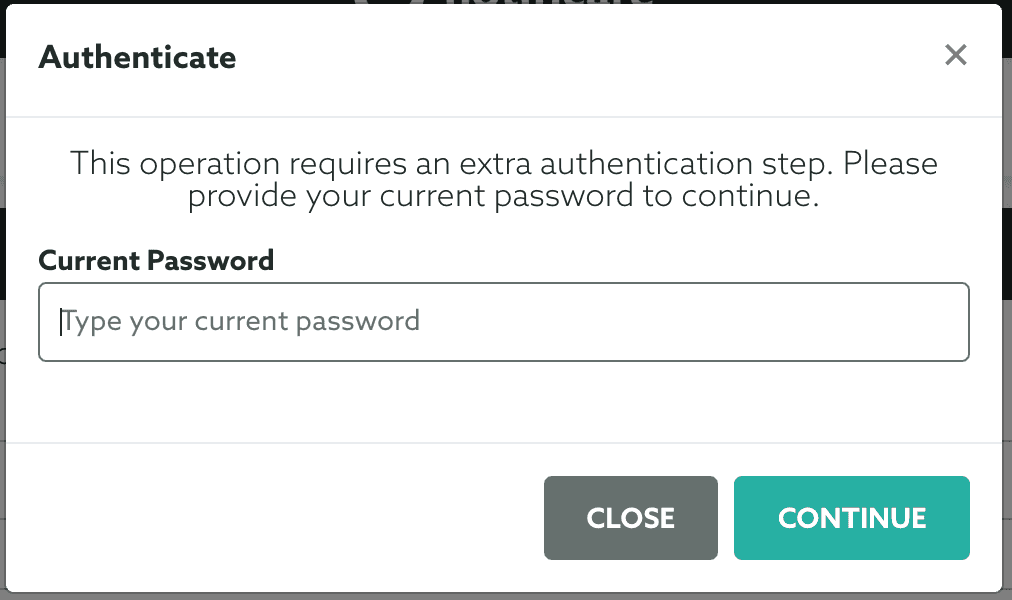
After this your message will be sent or scheduled and shown in the Sent list where you can check its performance.