Create Templates
In this page you'll learn how to create a pass template.
Pass templates support both Apple Wallet and Google Wallet for Passes. We strongly recommend you to read more about these technologies in their respective websites.
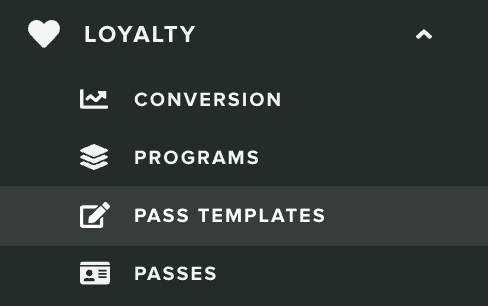
To start creating templates, expand the menu item Loyalty and click in Pass Templates:
Then click in the New Template button from the list of pass templates:

In that page you'll find the pass template wizard, which is divided in five different tabs like shown below:

Setup
In this tab you will need to provide a name for your template:

And the type of your template:

The type will determine the style and functionality of your passes. You can selected between Flight, Transit, Event Ticket, Offer, Loyalty, Gift Card or Generic.
Fields
In this tab you will need to define all the fields available in your pass. These fields will make it easier to define default values and pass specific data in your passes. Therefore they are divided in two different types of fields, Common Fields and Pass Fields.
Common Fields
These are fields that are available in all passes. They should be used to define default values that are present in all passes. You use these to define the organization name, basic flight data, event data, etc. Any change to these values will require all passes to be updated:

To add one, you should click in Add Another Field, which will add an entry in the list:

You should then select the type of field (you can choose between String, Blob, Date, Number, Money, Color, Image, Boolean or JSON), a key (which should be a unique string) and depending on the type you've selected a value which will be effectively the data that will be visible in your passes.
Passes Fields
These are fields that are specific in each pass. They should be used to define values that are unique to each pass you generate from this template. Only pass fields can be updated via our dashboard or API. You use these to define the user's name on the card, design elements like images or colors that might change according to certain requirements, or any other field that might change on a per-pass basis:

To add one, you should click in Add Another Field, which will add an entry in the list:

You should then select the type of field (you can choose between String, Blob, Date, Number, Money, Color, Image or Boolean), a key (which should be a unique string) and depending on the type you've selected a default value which will be used as a placeholder when no pass-specific value is provided.
Both these types of fields will then be selectable (according to its type and nature) when designing your passes for each platform in the Design tab.
Design
In this tab you will define how you pass looks like, what data is visible and what should be used in system features like Siri (iOS only). Depending on the type of template you pick and the platform you are customizing it for, certain fields will be required. To learn more how a template's type affects its design, please read our guides about Styles.
When a required field is not completed or is invalid, an error will be displayed as shown below:
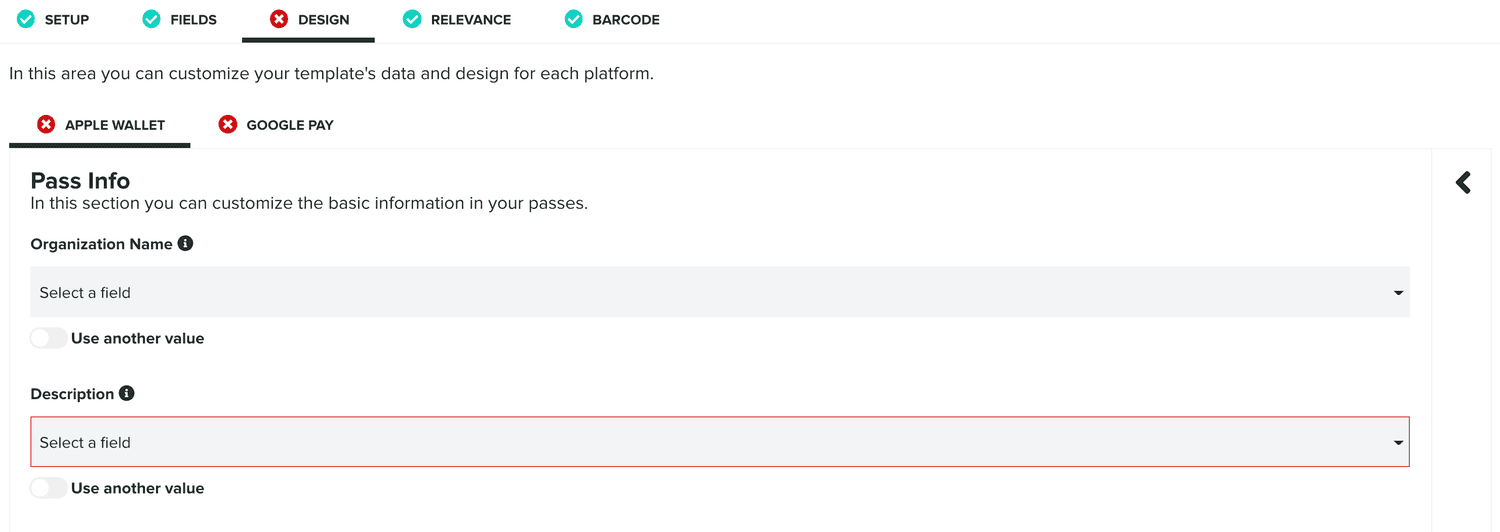
Before you can create a template you must define all required fields. It is also important to note that in this area you will be able to use all the fields you defined previously in the Fields tab. This is done by simply picking one of the fields available in each dropdown selector:

Or if you simply want to use static values you can use the option below:

Obviously, these values will always be same for all passes created with this template and you will not be able to update them later on. This might be enough for certain fields in the pass, but in certain cases, you will be better off using either Common Fields or Pass Fields.
Apple Wallet
For passes compatible with Apple Wallet, your template's Design tab will be divided in four different sections. Not all sections are mandatory and due to its flexible nature, only a few fields are required. Obviously, you will need to define those mandatory fields and in most certainly you will also want to display data in both the front and back of the pass.
Pass Info
In this area you will need to define basic information for your passes, more specifically you will always need to define the description of the pass.
Pass Artwork
This section will allow you to customize the visual components your pass, the images and colors they will use. Depending on the type of template you pick, the artwork available might be different, but for all types you will always need to define a Icon and a Logo. Because you might want to change all images and colors at a certain point, it's always a good idea to define Pass Fields as the values of these fields.
Pass Data
In this section you will define the visible data in your pass. These are divided in Header Fields, Primary Fields, Secondary Fields, Auxiliary Fields and Back Fields. All these fields share the same format:
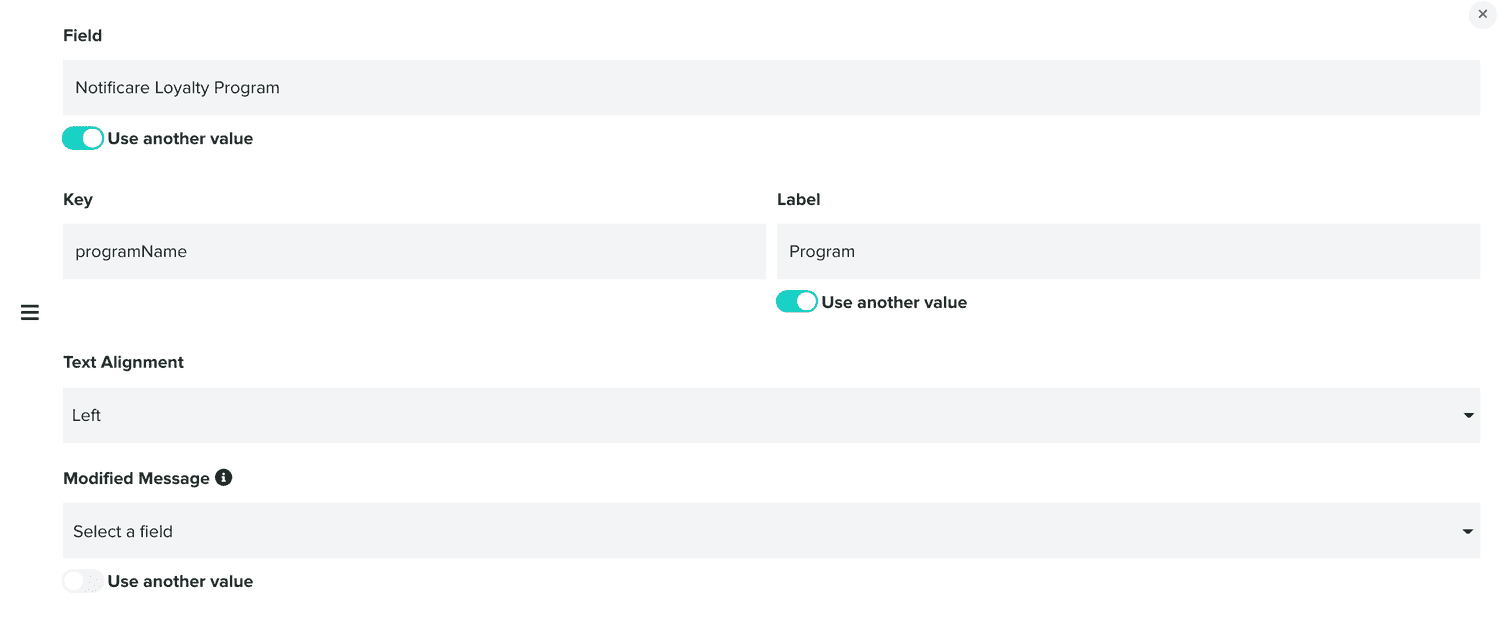
You should define the field you will use, the unique key and a label. Optionally, you can also select its alignment and provide a text that will be used in the device's lockscreen if the value of such field changes.
Additionally, in this area, you can also define a text for your Logo area, misc. user information field ( in a machine readable format) and if the pass can be shared among users. Thanks to the flexible format of Apple Wallet passes, none of these fields are mandatory.
Pass Semantics
In this area you will be able to define fields that will be used by features like Siri to provide suggestions to users. Although these are not mandatory, they are a good way of providing powerful functionality to you passes, by augmenting user visible data with machine readable metadata that helps devices better understand your passes.
In most cases you can simply reuse fields that are already visible in pass and quickly define these semantic tags. The data available in this area will depend on which type of template you pick.
Google Wallet
For passes compatible with Google Wallet, your template's Design tab will be divided in three different sections. Each section will contain mandatory fields and its data will vary based on the type of template you pick.
Pass Artwork
This section will allow you to customize the visual components your pass, the images and colors they will use. Depending on the type of template you pick, the artwork available might be different, but for all types you will always need to define a Icon and a Logo. Because you might want to change all images and colors at a certain point, it's always a good idea to define Pass Fields as the values of these fields.
Common Data
This section will contain fields that are shared by all passes you create with that template. Because of that, you will only be able to provide statically defined values for these fields. Basically only the Common Fields you created in the Fields tab, will be selectable in this area. Alternatively, you can also use static values.
Pass Data
In this section you will find pass-specific fields and their values should be unique per pass. Therefore, you should use Pass Fields created previously in the Fields tab. Alternatively, you can also use static values but that will basically prevent you from creating personalized passes.
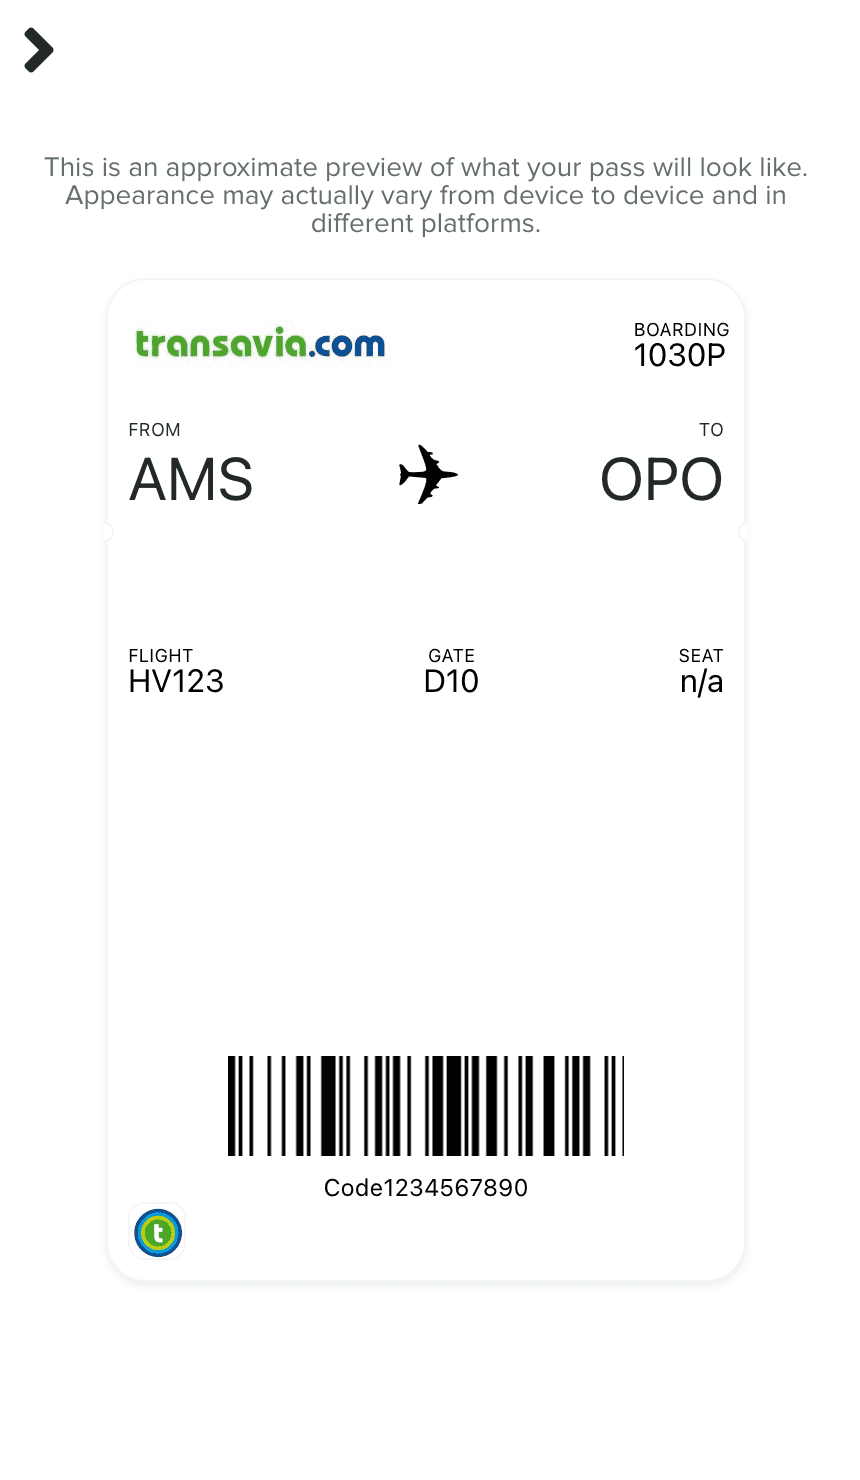
As you design and add data to your template, a preview for both platforms is available, at all times, from the right side section in this area:
Relevance
In this tab you can optionally provide a list of of locations and/or beacons (iOS only) where your passes should become relevant. Both platforms will take this into consideration and show it in the device's lockscreen, when applicable.
You can add up to 10 locations. These can be addresses or geo-zones, POIs, cities or countries you previously created in Locations (if your plan support Location Services).

To add location select the type of location you want and type in the search field:

If the desired location is found you can simply click on it to add an entry in the locations list:

Additionally for each location you add, you can also define a relevant text (iOS only) which will replace the generic system message used in the lockscreen and an altitude (in case your location location above ground, e.g. in a skyscraper).
You can then also do the same for beacons (iOS only) and add up to 10 beacons:
![]()
Clicking in Add a beacon will add an entry as follows:
![]()
Only Proximity UUID is mandatory and will be pre-filled with whatever UUID you already defined for your application (if any). Additionally, if you want to target specific beacons, you should then provide the Major and Minor identifiers. Finally, for each beacon you add, you can also define a relevant text, which will replace the generic system message used in the lockscreen.
Barcode
In this tab you can optionally define which type of barcode you'll use. By default, you can use the None type and that will make sure no barcode is displayed in your cards:

If you select any other option (you can select between QR Code, PDF417, Code 128 or Aztec) you can then also define the encoding format:

And if the encoded data should be visible in the card:

And once you are ready to create your template, click in the Create Pass Template button:

Pass templates are based on Apple's Wallet technology, if you wish to learn more about it, please read their guides here.
To start creating templates, expand the menu item Loyalty and click in Pass Templates:

Then click in the New Template button from the list of pass templates:

In that page you'll find the pass template wizard, which is divided in four different tabs like shown below:

Setup
In this tab you will need to provide a name for your template:

Optionally you can provide an organization name. This text will be shown in the lock screen and notification center messages your passes might generate. If left blank we will use the organization name in the Pass Type ID certificate:

Optionally you can provide a description. This text will be shown as the title of your pass, if left blank we will use the app's name:

And you will have to select one of the pass styles available for you:

To learn more about these styles please read our guides located here.
If you select the Boarding style, you will also need to provide the transit type you want to use:

If you select the Ticket type, you can optionally define if it should have a thumbnail:

Design
In this tab you will be uploading the artwork needed for your template as well as selecting the colours used in your pass. Depending on your pass style you will need to provide a certain number of images for your template:

You will also need to provide the colours we should use for the template:

Please note that you should upload images that fill the allotted space available for each one of them. Sizes are presented in points so you will want to convert to pixels and optimize them for high density screens (usually 2 or 3 times bigger).
Fields
Optionally you can add fields to your pass. This is the only way you have to present data in your passes so in most cases and depending in the style you choose, you'll want to add them strategically.
If you wish to provide a text to be displayed next to your logo, use the following field:

Then you can add one or more fields for each type available: Header, Primary, Secondary, Auxiliary or Back fields. Once again, understanding pass styles is crucial before deciding what fields to create.
Each one of them will let you add a field from a selector like the one below:

There are three types of fields, String, Date and Number. For all types you'll always have to provide a Key, this should have a unique value for each field you create:

relevant_date
expiration_date
voided
barcode_message
barcode_alt_text
barcode_show_alt_text
barcode_format
barcode_message_encoding
description
beacon_proximity_uuid
beacon_major
beacon_minor
beacon_relevant_text
location_latitude
location_longitude
location_altitude
location_relevant_text
location_region_id
location_region_major
message
title
subtitle
user_info
app_launch_url
associated_store_identifiers
max_distance
background_color
foreground_color
grouping_identifier
label_color
logo_text
suppress_strip_shine
nfc_message
nfc_encryption_public_key
transit_type
redeem_type
redeem_limit
You will also have to always provide the Label, which will be visible to the user:

And you should always provide the alignment of field, which can be Left, Right, Center, Natural:

Optionally every field will support a Modified Message, when provided it will generate a lock screen message whenever the value of the field changes. Use the placeholder %@ in your text to show the new value:

If you choose Date as your field type, you should also provide the Date Style and Time Style:

For Date fields you can also make sure the date displayed is shown in the device's timezone by ignoring the timezone included in its value. To do that toggle the following option:

And finally, for Date fields you can also show a relative date instead of an absolute one. For that toggle the following option:

If you choose Number as your field type, you should also provide the Number Style, which can be Decimal, Percent, Scientific or Spell Out:

For the Number field type, if you using it to display a money value, you should instead provide the ISO 4217 currency code in the following field. Adding a Currency Code will hide the Number Style:

Also note that the order of the fields in each list can be changed by simply dragging the following icon and dropping the field into the new position:
![]()
Barcode
In this area you will be specifying which kind of barcode you will want to use for your passes. Your choice will depend in the type of scanners your company will use to scan these passes. Select one of the available options in the following field:

You can choose between QR Code, PDF417, 1D (a.k.a. Code128) or Aztec. You should obtain information about your scanning capabilities before choosing the type of barcode to use in your passes.
You can also provide a text encoding for the value of the barcode. By default we will use iso-8859-1 but depending on your scanning infrastructure you can choose another encoding format:

Finally if you wish to show a human readable text of the barcode in your pass, check the following option:

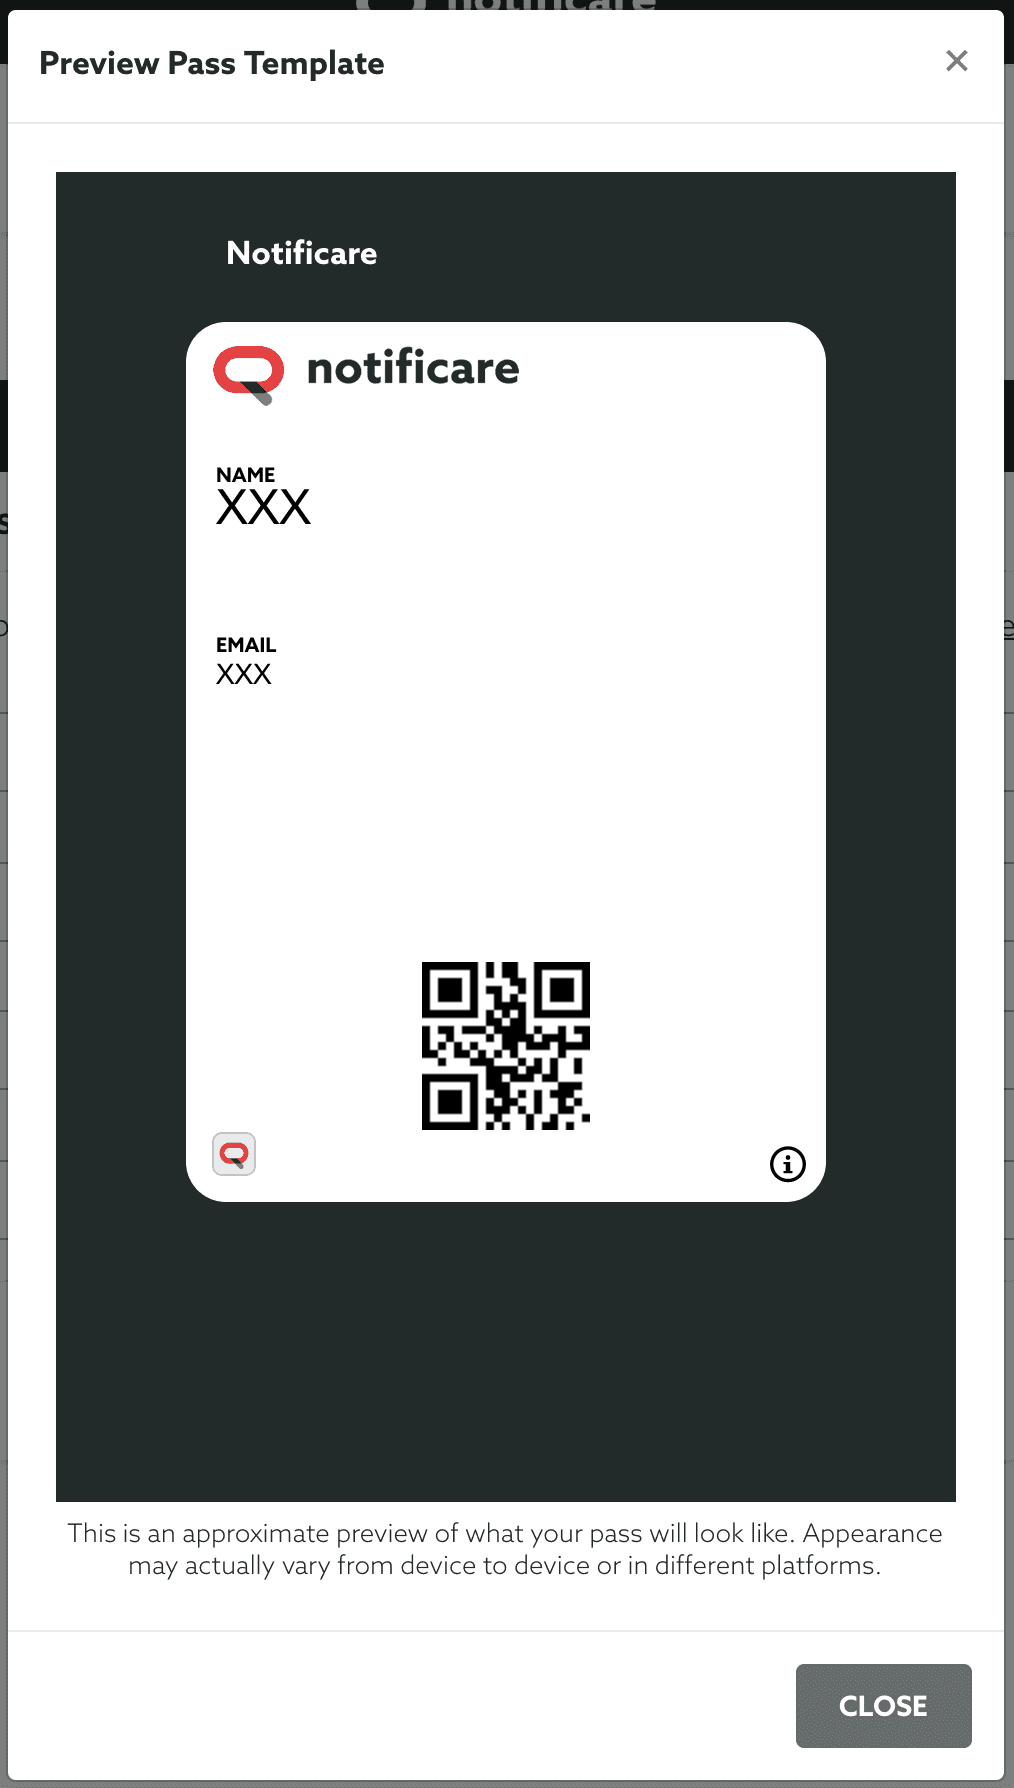
As you create your template, you can obtain a preview by clicking in the Preview button:

This will open a window like the one below, allowing to preview how you template will look like:
And once you are ready to create your template, click in the Create Pass Template button:

Keep reading our guides to learn how to edit a pass template.