Edit Geo-Zones
In these pages you'll learn how to edit a Geo-Zone.
In any of your apps expand the menu item Locations and click in Geo-Zones:

Then click in the geo-zone you would like to manage from the list of geo-zones:

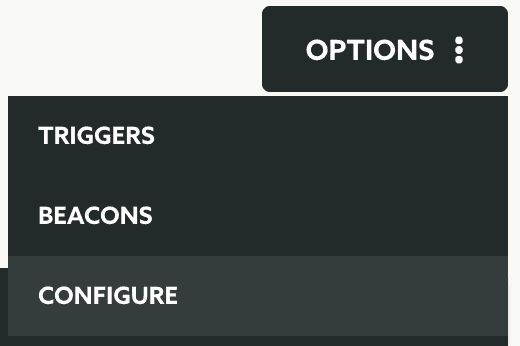
Then expand the Options menu and click in Configure:

Now you can start editing your region. At any time you can upload a new icon:
![]()
If you've setup your app to use iBeacons (like described here) you can also chnage the identifier to matches with your beacon's major:

You can also change the name for your region:

Optionally you can assign one or more region tags to your geo-zone. This can help you later filter out geo-zones based on your own categories. This can be done in the following field:

To add a one or more tags, simply search for an existing tag:

You can select one or more tags for your geo-zone by clicking in the ones you want to select:

And click the Done button when you are ready to proceed, it will look like this:

In case you did not create the tag yet and you can not find one that you want, you will be able to create it on-the-fly by simply clicking in the Create it? link:

Optionally if you have your own identifier for regions, you can provide it in the following field:

You can also change the address in your region:

And you can also change the description of your region:

Finally you can also change the position and shape used for your geo-zone. This is not recommended on a production app, but in case you made a mistake setting up the position of your region, this is where you should adjust it:

Once you are done editing your region, simply click in the Save button to save it:

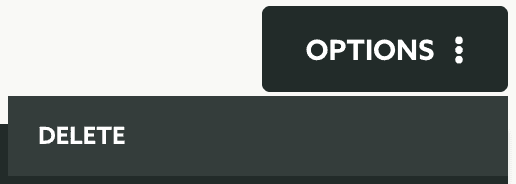
In this page you can also delete the region. For that simply expand the menu Options and click in the Delete button:
