Setup
To start creating products for Google Play, you will need to configure Notificare's Monetize add-on and create products in both Notificare and Google's Play. We also advise that you read the Google's guide about In-App Billing.
Upload your License Key
In order for Notificare to validate and process your transactions, you will need to provide us with your app's In-App Billing License Key. To get that key, sign in to Google Play Console and expand the menu Development Tools and click in Services & APIs:
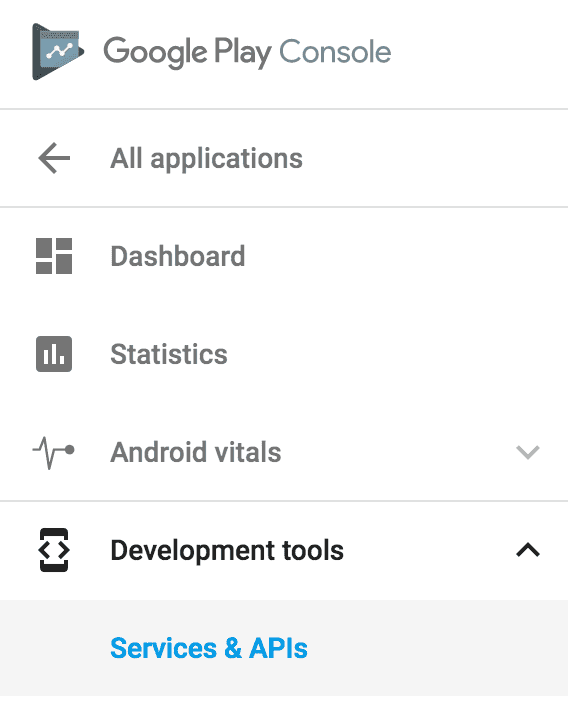
In that page, locate the Licensing & in-app billing section and copy the key assigned for your application:

Then open our dashboard and select your app. In your app's menu, expand the Settings menu item and click in Services:

If you have subscribed to the Monetize add-on, to configure your service, you should click the Configure button in the Monetize box:
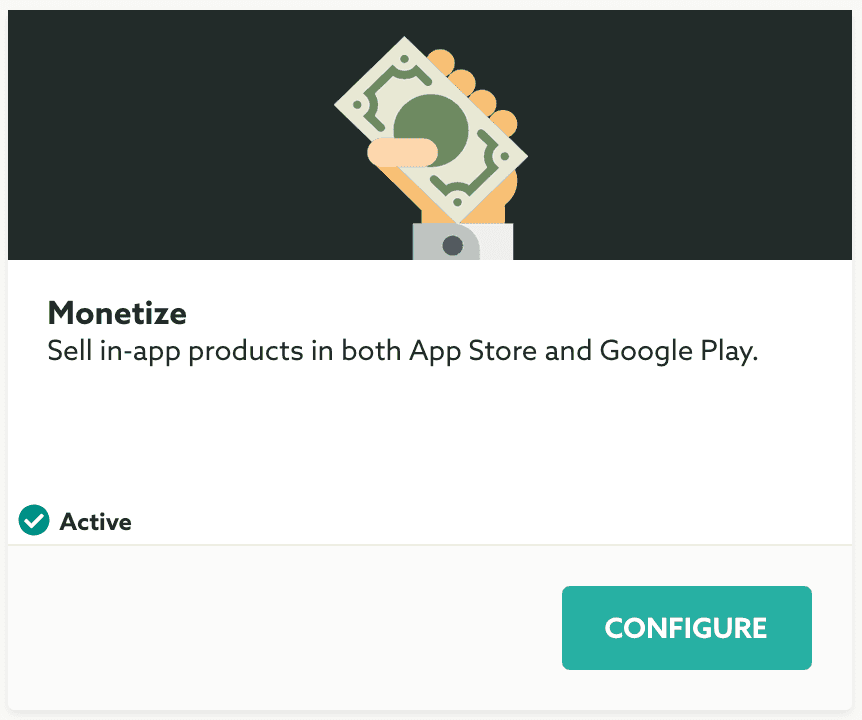
Locate the License Key field and paste the key you've copied earlier:

You are now ready to create products in both Notificare and Google Play.
Designing your Products
It is important that before you create your products you understand what you can sell in Google Play. Google Play allows you to sell content, functionality and services in your Android app. Notificare SDK supports the following types of products:
Consumables
These products must be purchased every time they are downloaded. As an example, this would be ideal for selling food in a Tamagochi app. You as a developer will be responsible to provide this content as soon as you get successful transactions' information from our SDK.
Non-Consumables
These products must be purchased only once. You could think of this as new content added to your game like a new level. Once every transaction is completed you are also responsible to provide the content for this purchase. This product can never be bought anymore so it is important that you make sure the user can always access whatever he/she bought.
In Google Play Console, expand the Store presence menu item and click in In-app products:
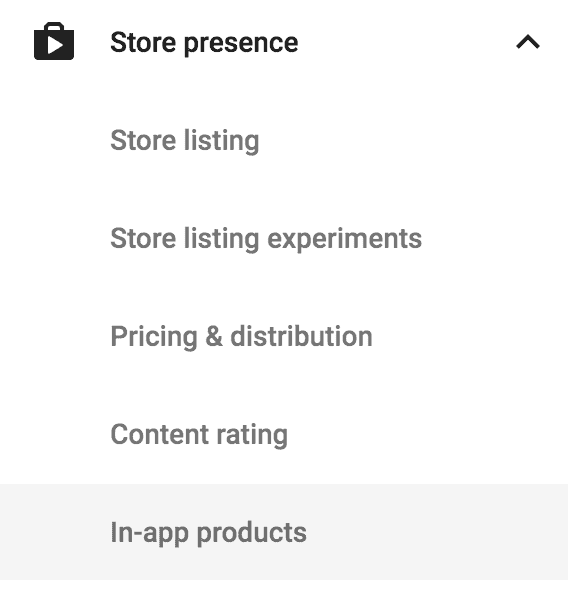
In the list of products you can go ahead and click in Add new product button:

This will prompt you to fill a window like this one:
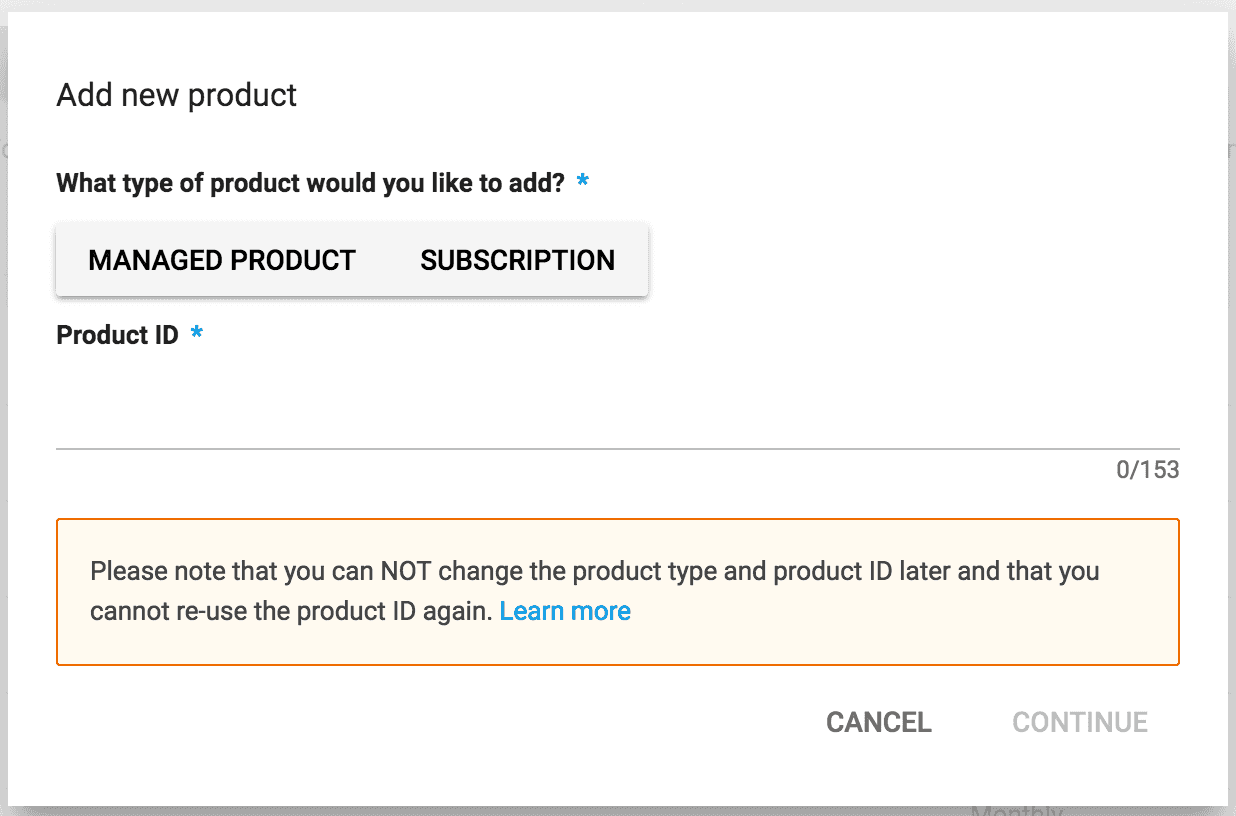
Select Managed product as shown below:

And insert the Product ID:

When you are ready to create your product, go ahead and hit the Continue button:

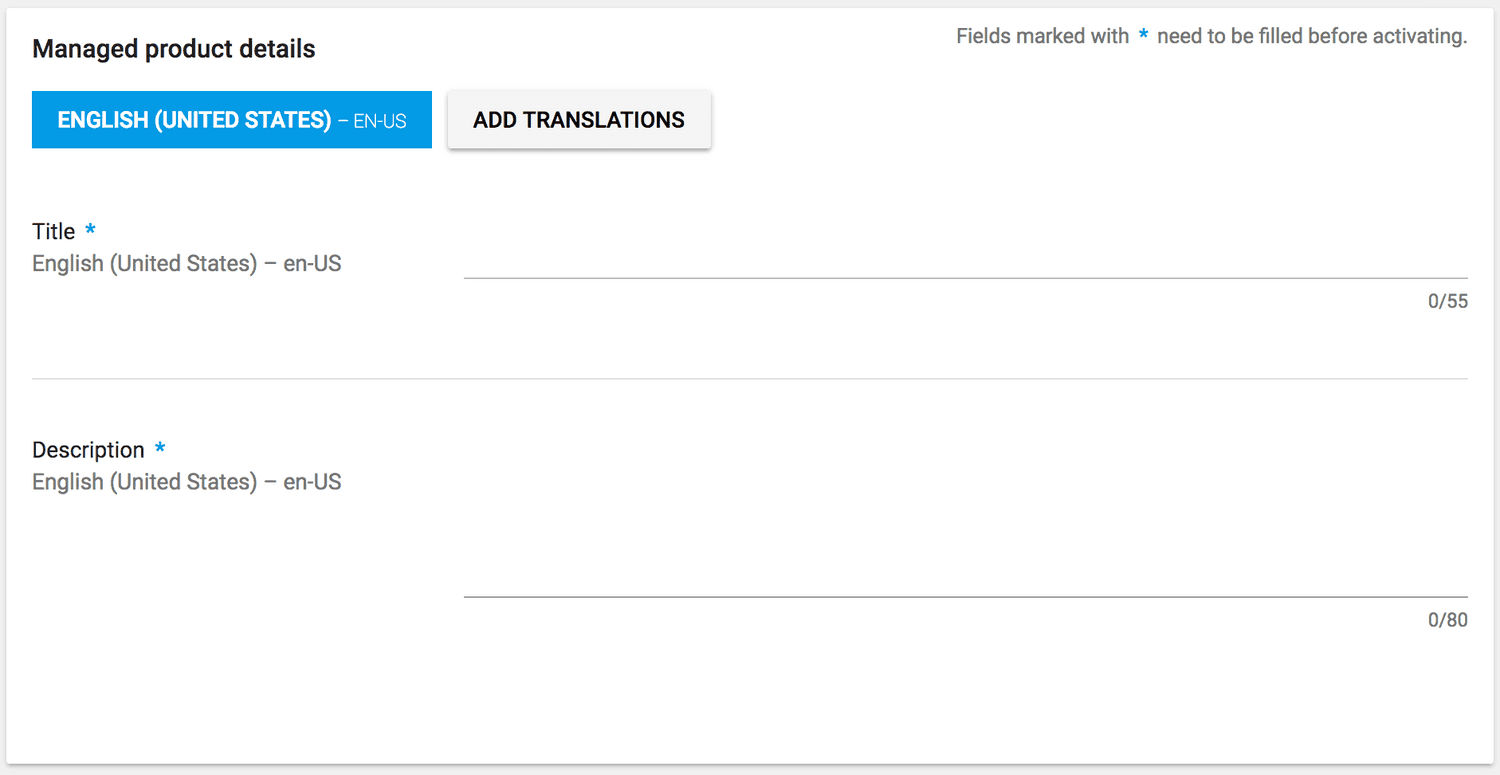
This will take you to a page where you will need to complete with details for Google Play:
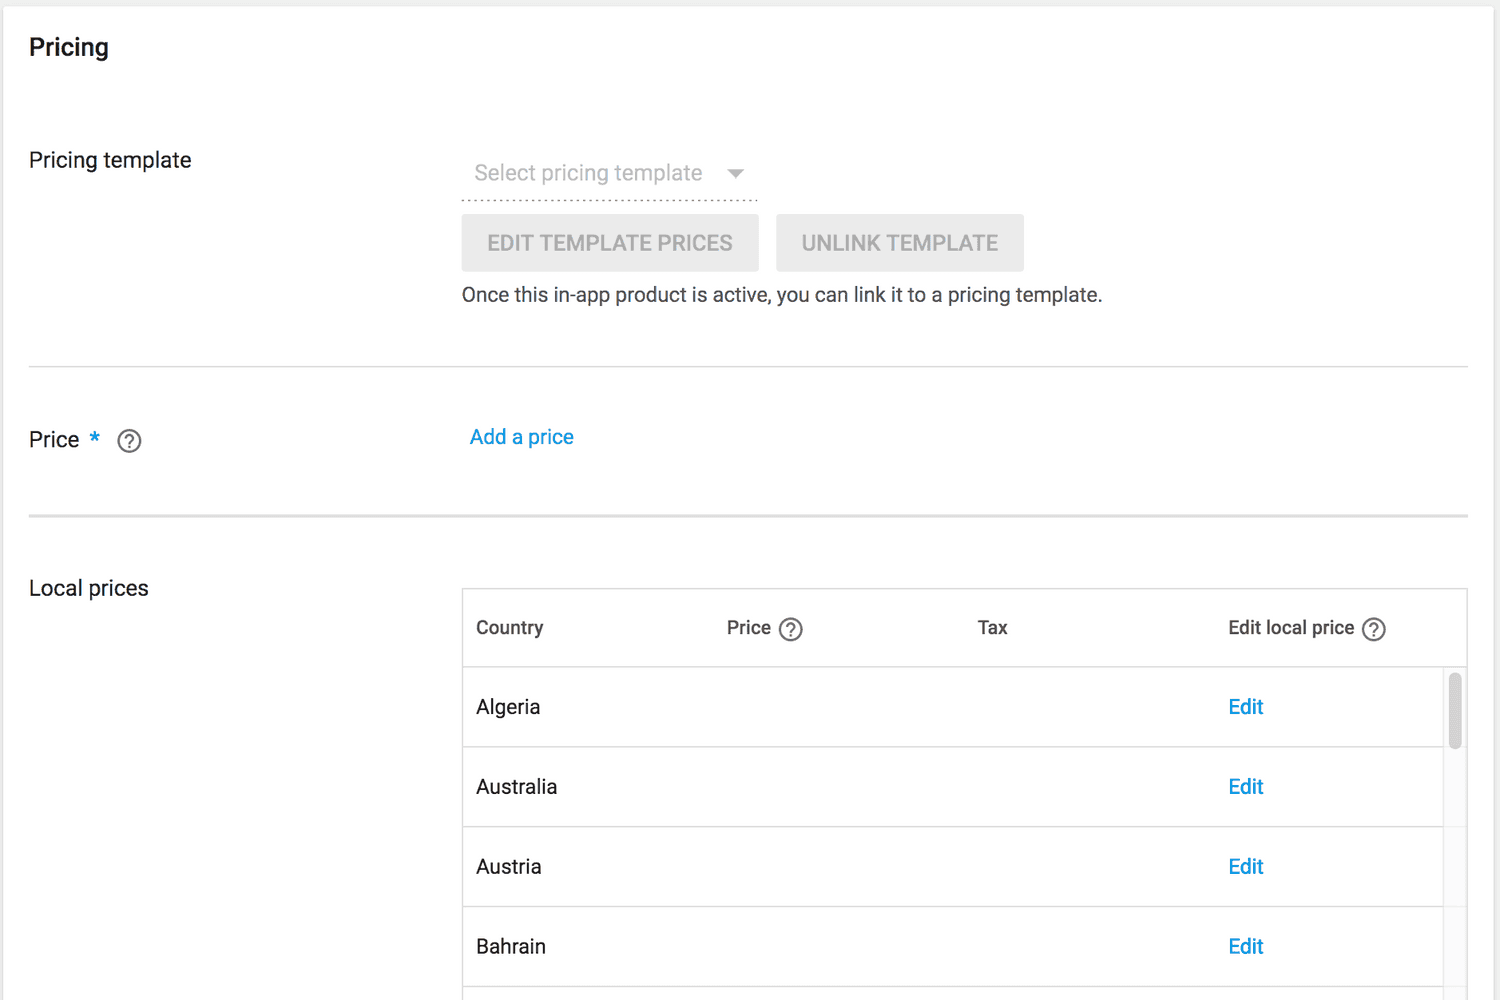
And where you will provide the pricing and country availability of your product:
When you've successfully created one or more products, you can go ahead and create it also in Notificare as described here.
After you've created correctly the same products in Notificare, you can proceed to read our guides in how to implement In-App Billing.