Setup
To start creating products for Apple’s AppStore, you will need to sign in to App Store Connect. Please make sure you create internal testers if you wish to complete a transaction while using sandbox servers. The scope of this tutorial will not cover these steps. We also advise that you read the Apple’s guide about In-App Purchases.
Upload your Shared Secret
In order for Notificare to validate and process your transactions, you will need to provide us with your app's Shared Secret. To get that identifier, sign in to App Store Connect and click in My Apps:
In the My Apps page, click in the application you wish to configure:
In your app's page, click in the Features tab:

In the Features page, click in In-App Purchases:
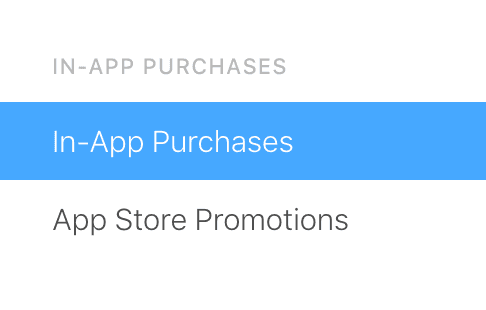
In that page, locate and click in App-Specific Shared Secret:

It will open a window like the one below, click in the Generate App-Specific Shared Secret link:
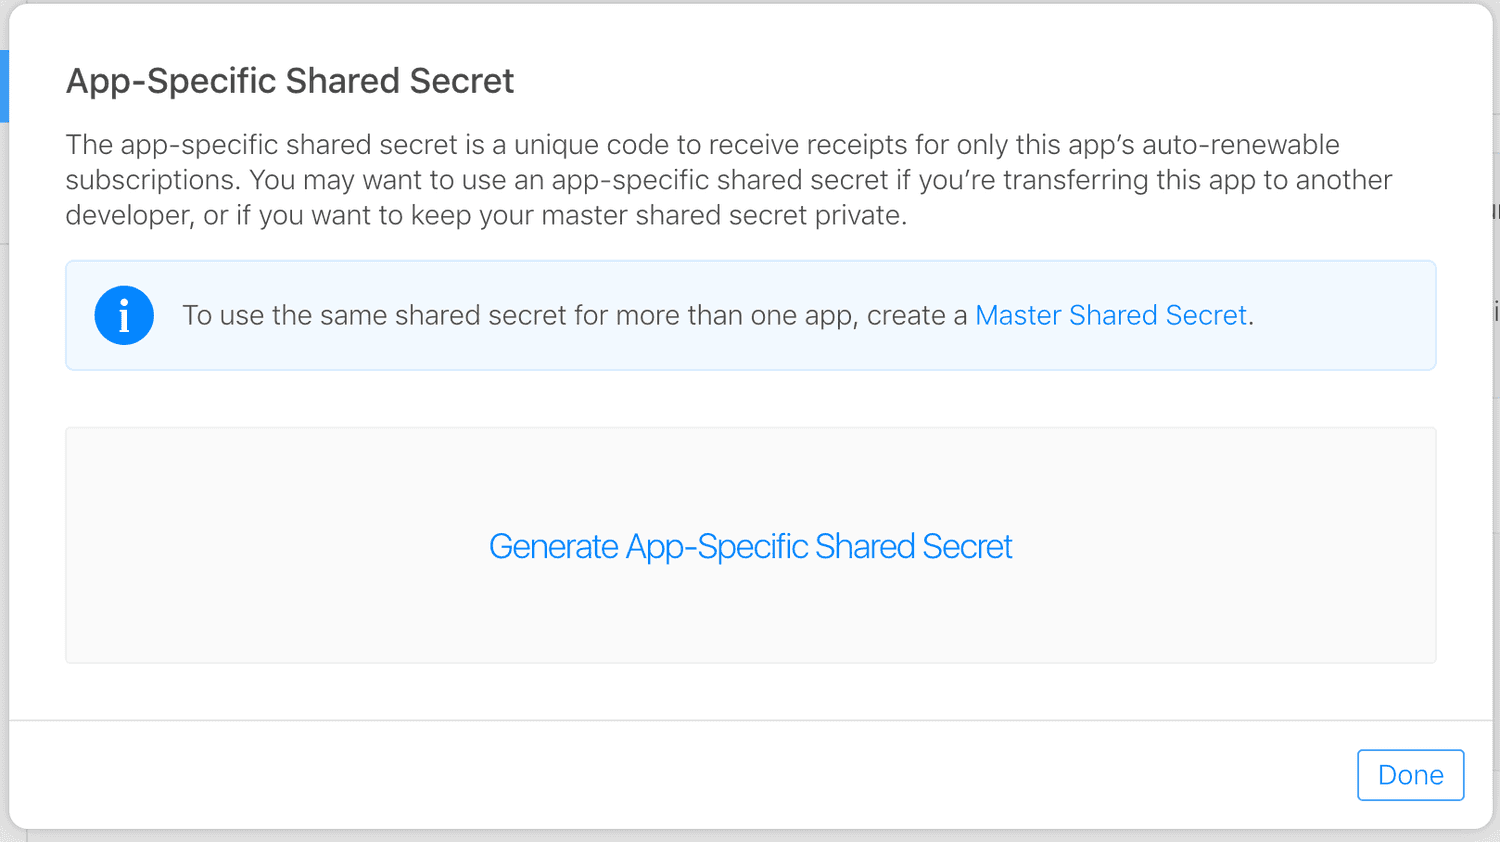
That will generate a secret and display it in a list like this one:

Copy that Shared Secret and then open our dashboard and select your app. In your app's menu, expand the Settings menu item and click in Services:

If you have subscribed to the Monetize add-on, to configure your service, you should click the Configure button in the Monetize box:
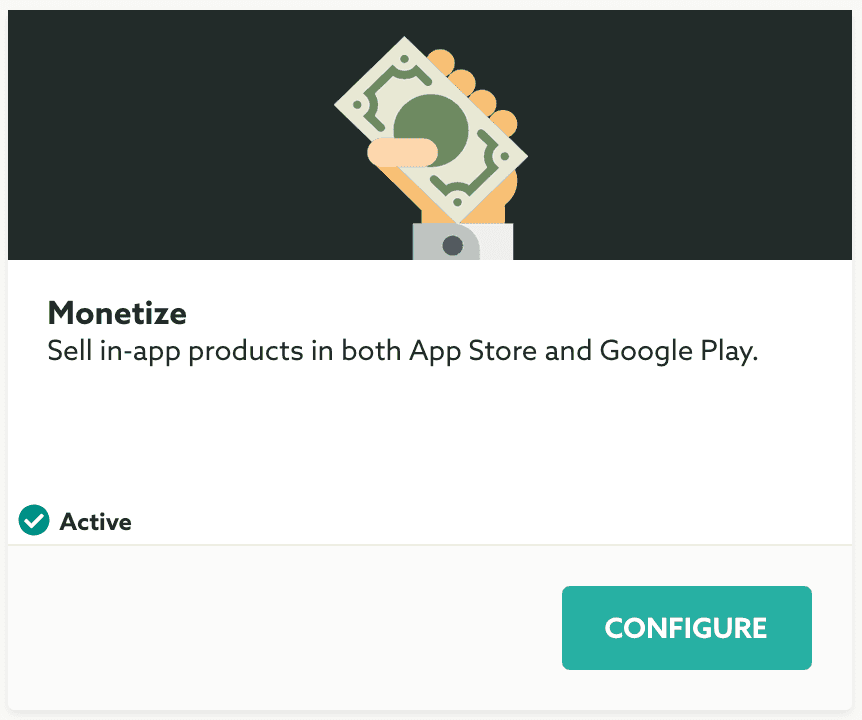
Locate the Shared Secret field and paste the identifier you've copied earlier:

You are now ready to create products in both Notificare and the App Store.
Designing your Products
It is important that before you create your products you understand what you can sell in the App Store. The App Store allows you to sell content, functionality and services in your iOS app. Our library supports the following types of products:
Consumables
These products must be purchased every time they are downloaded. As an example, this would be ideal for selling food in a Tamagochi app. You as a developer will be responsible to provide this content as soon as you get successful transactions' information from our library.
Non-Consumables
These products must be purchased only once. You could think of this as new content added to your game like a new level. Once every transaction is completed you are also responsible to provide the content for this purchase. This product can never be bought anymore so it is important that you make sure the user can always access whatever he/she bought.
In App Store Connect, click in My Apps:

In the My Apps page, click in the application you wish to create products for:

In your app's page, click in the Features tab:

In the Features page, click in In-App Purchases:

In that page, click in the plus button next to In-App Purchases:

This will open a window like this one:
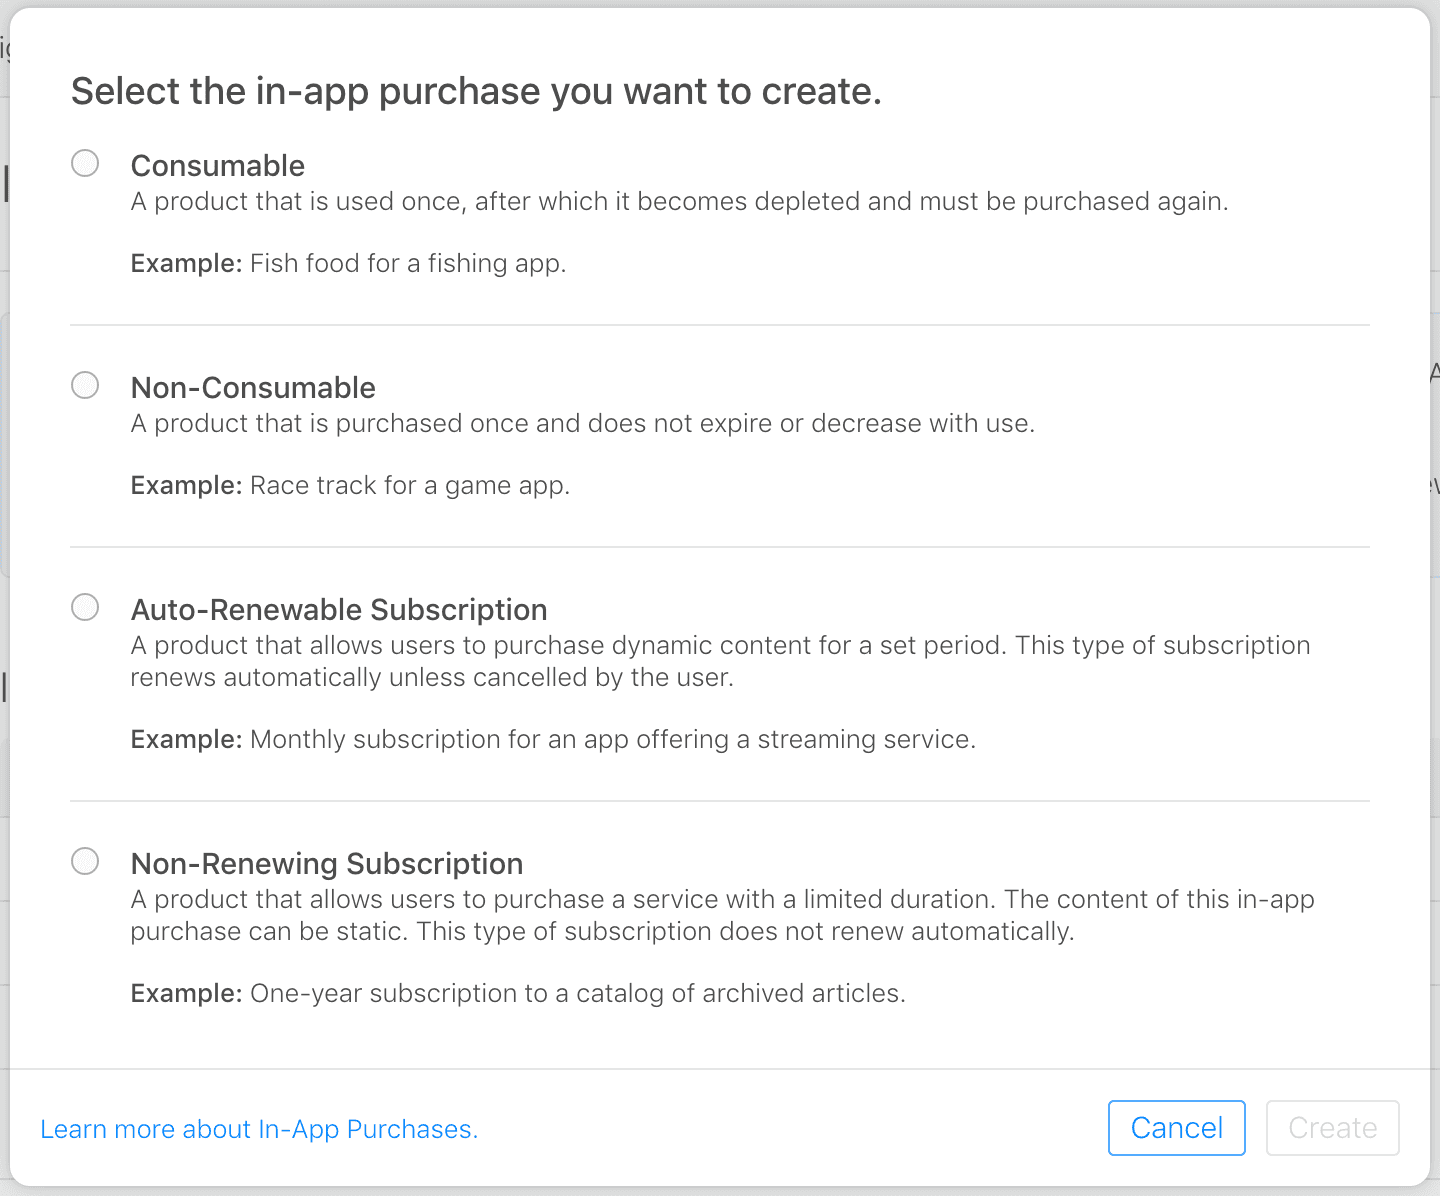
Consumable Product
Select Consumable as shown below:

Proceed by clicking in Create:

This will take you a new page where you will need to fill the Reference Name:

This name will not be shown to the user and its sole purpose is to serve as a reference in App Store Connect and in the Sales & Trends reports.
Then go ahead and insert the Product ID:

If you would like to clear the product for sale after it has been approved, check the following box:

Then go ahead and select the pricing tier you'll use for your product:

You will need to provide the Display Name and Description for your product. This texts will be displayed in the App Store and if your app is publish in other languages, you will want to insert more localization texts:
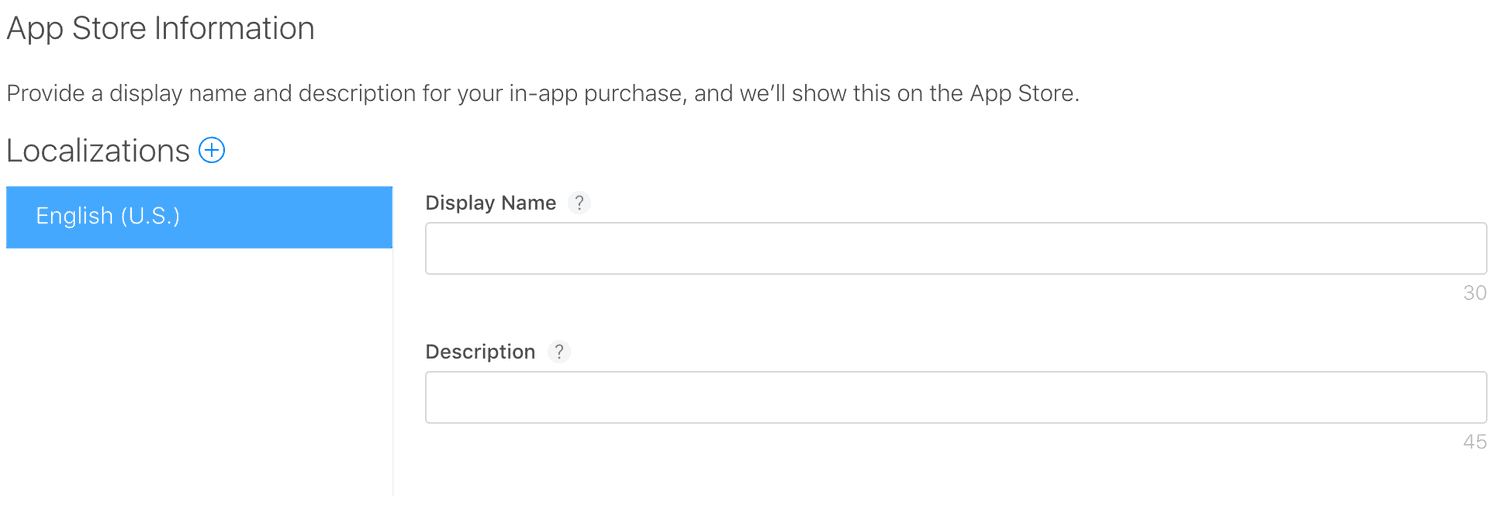
Optionally you can also provide a promotional image for your product:

You can promote products in your app's page in the App Store or eventually be featured. Users will be able to tap it and jump to your product's purchase flow.
Finally provide some information for the review process of your product, this will help the Apple team locate and understand where your product is inside your app.:

When you are done, make sure you click the Save button on the top right corner:

Non-Consumable Product
Select Non-Consumable as shown below:

Proceed by clicking in Create:

This will take you a new page where you will need to fill the Reference Name:

This name will not be shown to the user and its sole purpose is to serve as a reference in App Store Connect and in the Sales & Trends reports.
Then go ahead and insert the Product ID:

If you would like to clear the product for sale after it has been approved, check the following box:

Then go ahead and select the pricing tier you'll use for your product:

For Non-Consumable products, Apple offers you the possibility to host the content that your product will unlock after purchase (if applicable). Click Turn on Content Hosting if you're going to use this feature:

Soon as you enable this your product will change to the following state:

Clicking this button will change it to the Waiting for Upload state. Please read further below to lean how to prepare and upload hosted content for your in-app products.
You will need to provide the Display Name and Description for your product. This texts will be displayed in the App Store and if your app is publish in other languages, you will want to insert more localization texts:

Optionally you can also provide a promotional image for your product:

You can promote products in your app's page in the App Store or eventually be featured. Users will be able to tap it and jump to your product's purchase flow.
Finally provide some information for the review process of your product, this will help the Apple team locate and understand where your product is inside your app.:

When you are done, make sure you click the Save button on the top right corner:

Hosted Content
Like mentioned above, Apple can host the content that a Non-Consumable product will unlock after purchase. To prepare this content you will need to use Xcode to bundle the content and Application Loader to upload it to the App Store.
Start by opening Xcode and clicking New Project. It will prompt a window like the one below, select Cross-Platform tab, then select In-App Purchase Content and click Next.
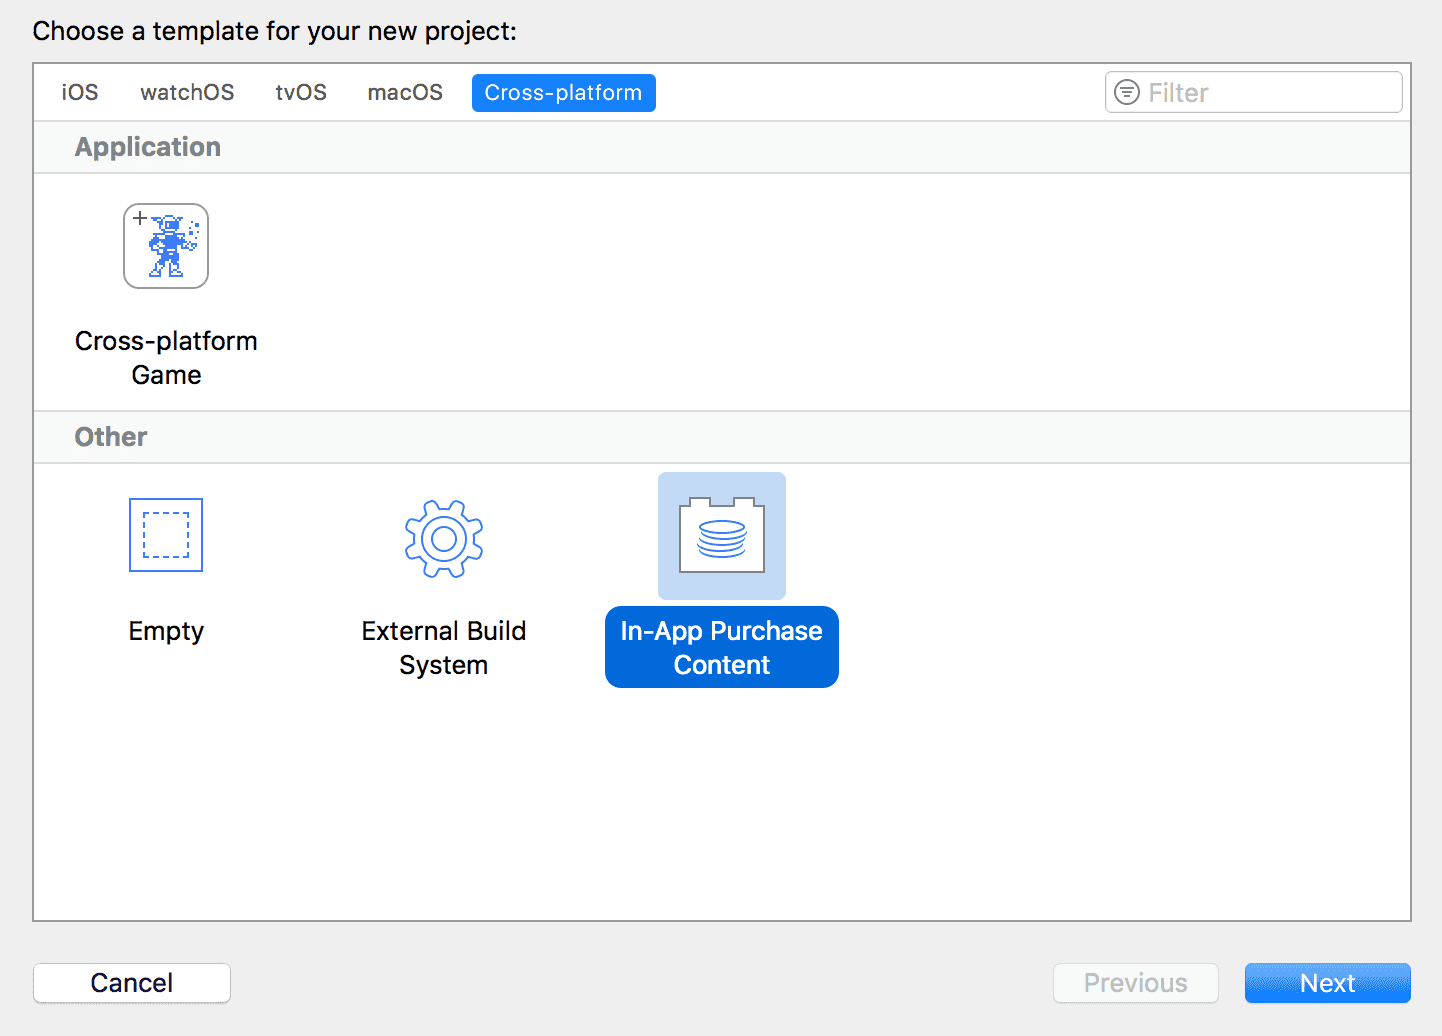
In the following screen, make sure you provide a product name and click in the Next button:
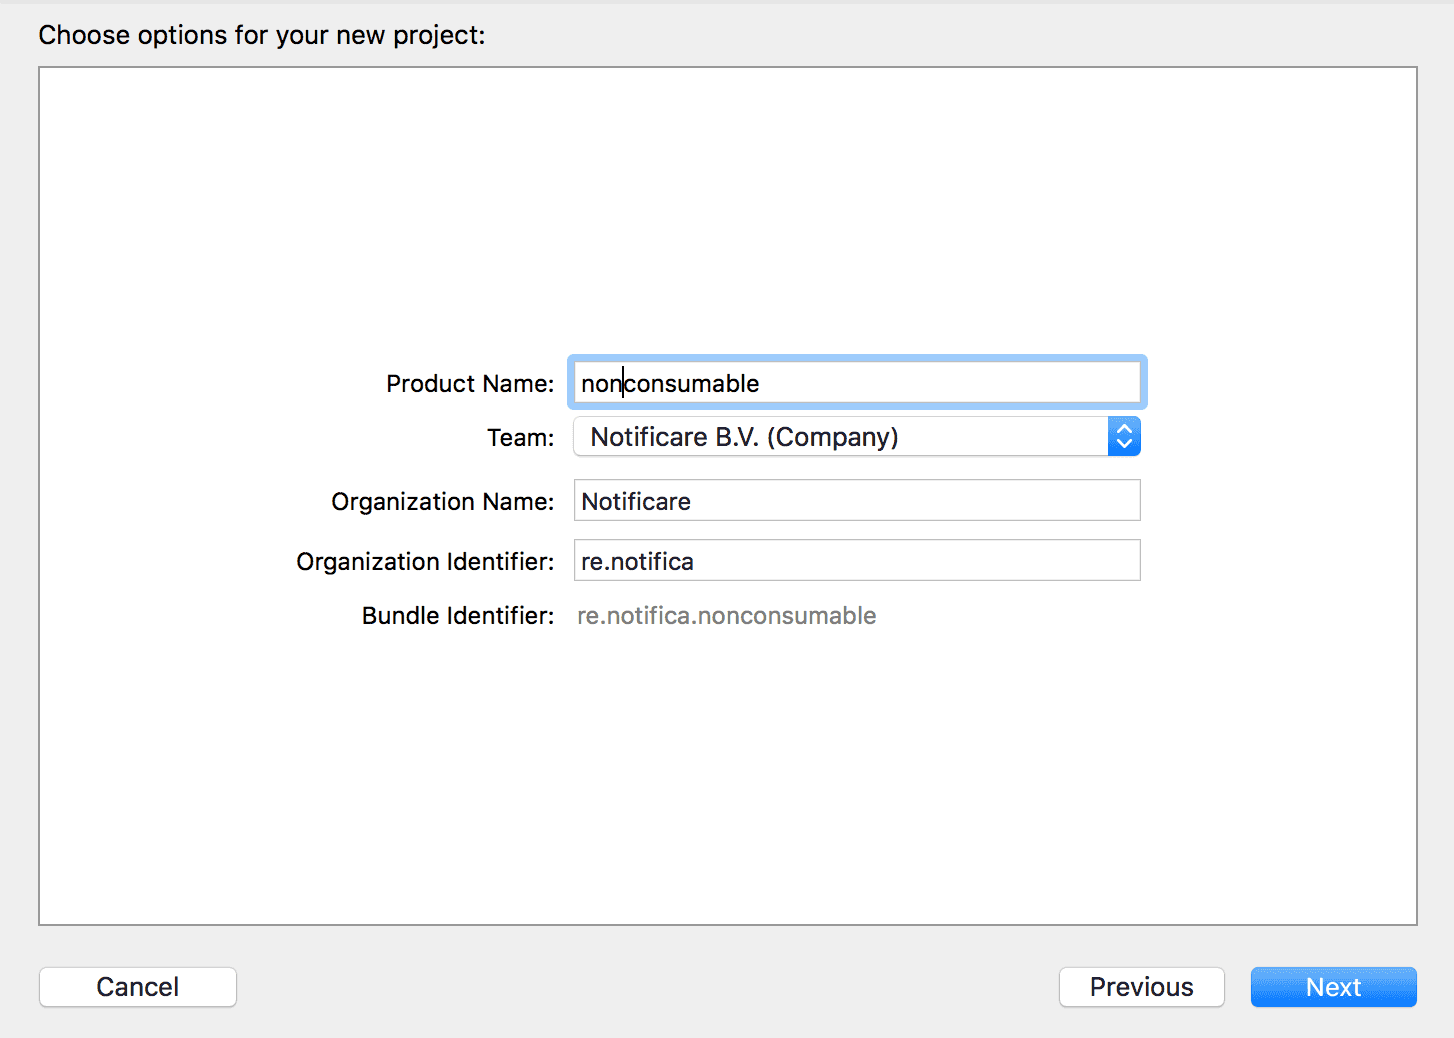
After saving the project in computer, you will see a project setup as follows:

Then simply drag the assets you want to include in your product into your project. It can be basically any type of files. Those files will then be downloaded upon purchase by our library and be accessible for you to handle them.
When you are done, expand the Product menu in Xcode and click in Archive:
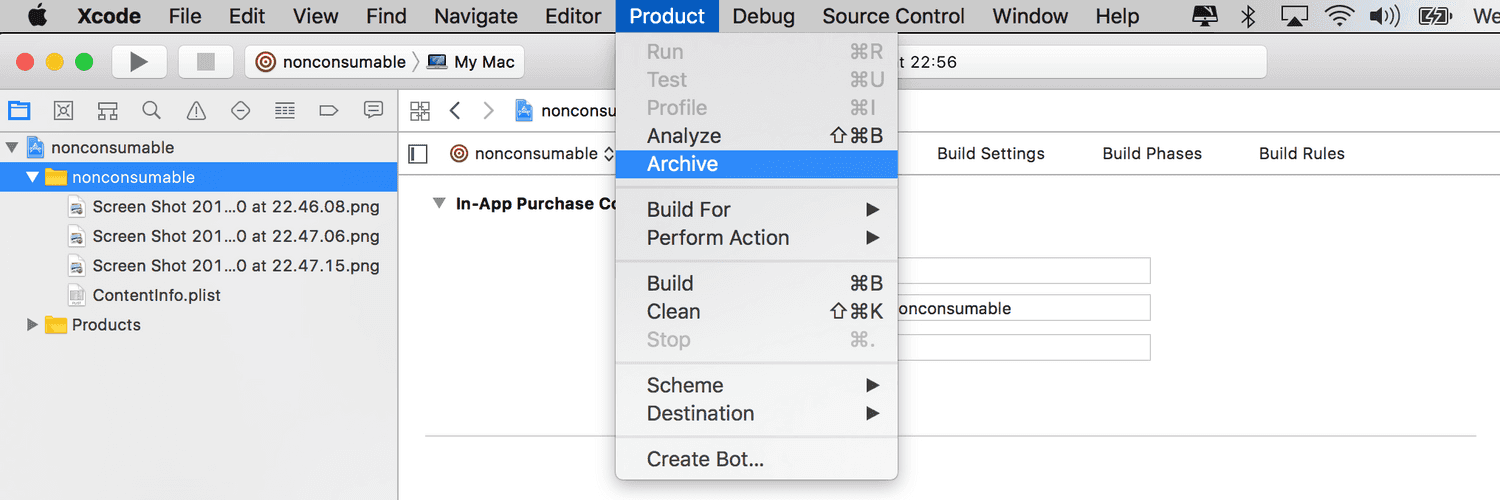
When your project is finished with archiving it will prompt the following Organizer window:

Click in the Export button in the right, it will open a window like this one:
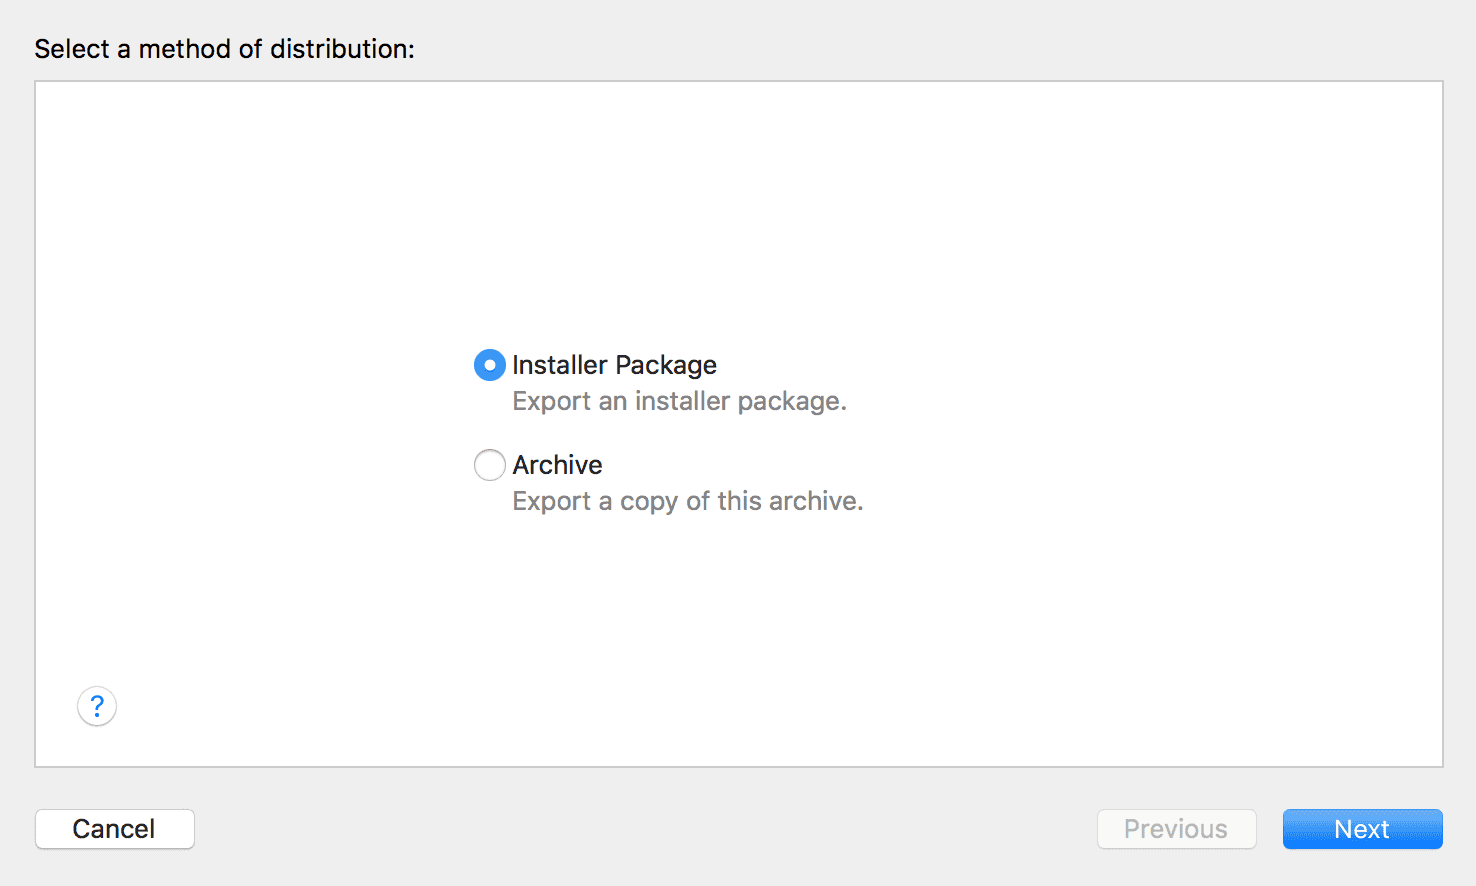
Leave the Installer Package selected and click Next. This will create a package (.pkg) that you will save in your computer.
Then let's upload this .pkg file to the App Store via the Application Loader. In Xcode click in the Xcode menu, expand Open Developer Tool and select Application Loader:
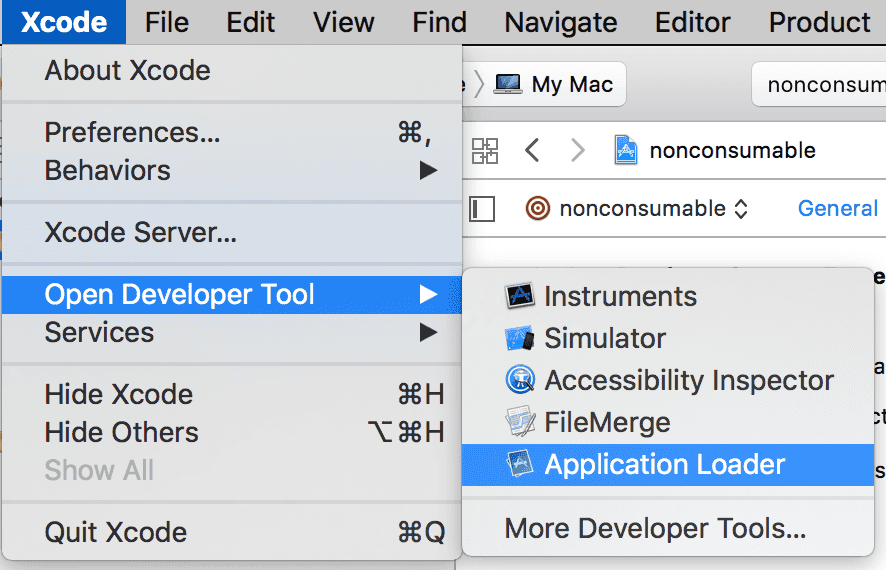
Then in the Application Loader, select the New In-app purchases template:
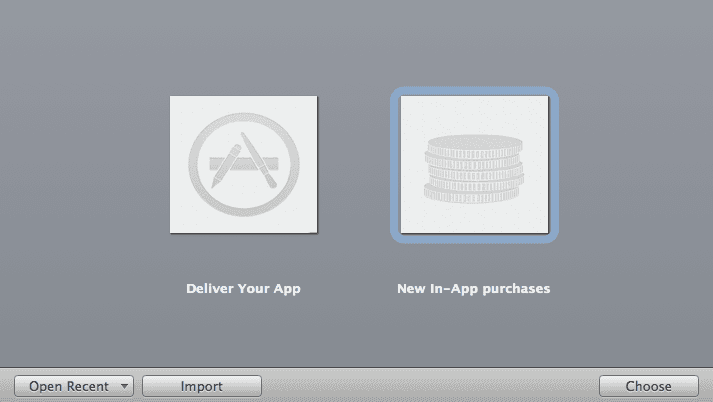
This will open a list of apps like the one below where you should click in the app you want to upload content for:
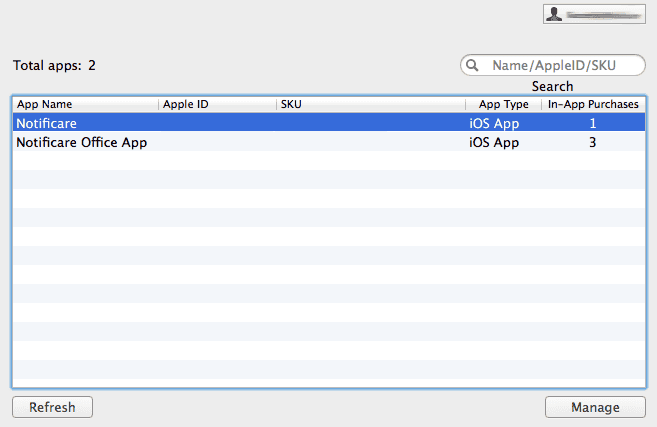
In this last screen, select the tab Hosted Content and upload the .pkg we've generated earlier. Click in Next to start uploading:
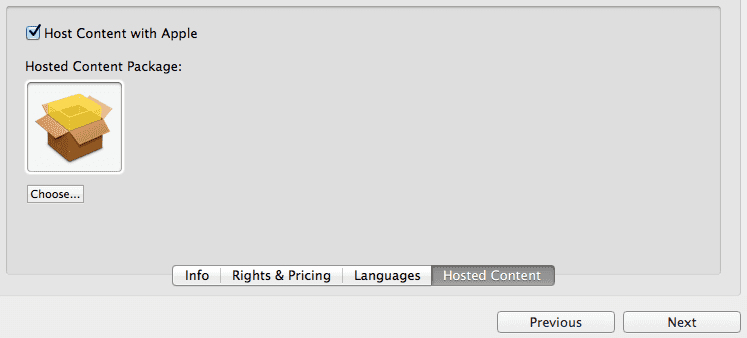
This will trigger the validation of your content and upload to App Store Connect. If successful this hosted content will automatically be available for you to test in your app. Apple will still need to review your product and approve it before it becomes available in the App Store.
When you've successfully created one or more products, you can go ahead and create it also in Notificare as described here.
After you've created correctly the same products in Notificare, you can proceed to read our guides in how to implement In-App Purchase.