Platform Configuration
Before you can start sending messages to Android, you will have to at least setup a FCM project and obtain a Google Maps key for Google Play Services based devices. If you also supporting Huawei Mobile Services based devices, you will also need to setup a PushKit enabled project (including the Receipts service) for Huawei Mobile Services based devices. This is all done via the Firebase Developer Console and Google Developer Console (for Google Play Services based devices) and Huawei Developer Portal (for HMS based devices). Keep reading this document to know how to configure your push provider platform.
Creating a FCM Project
In 2016, Firebase Cloud Messaging replaced the GCM (Google's Cloud Messaging) and became Android's official push provider. To be able to send notifications you currently need to create a project in Firebase.
Start by signing in Firebase. In their developer page you will find a button like this one:
This will open a window like this one:
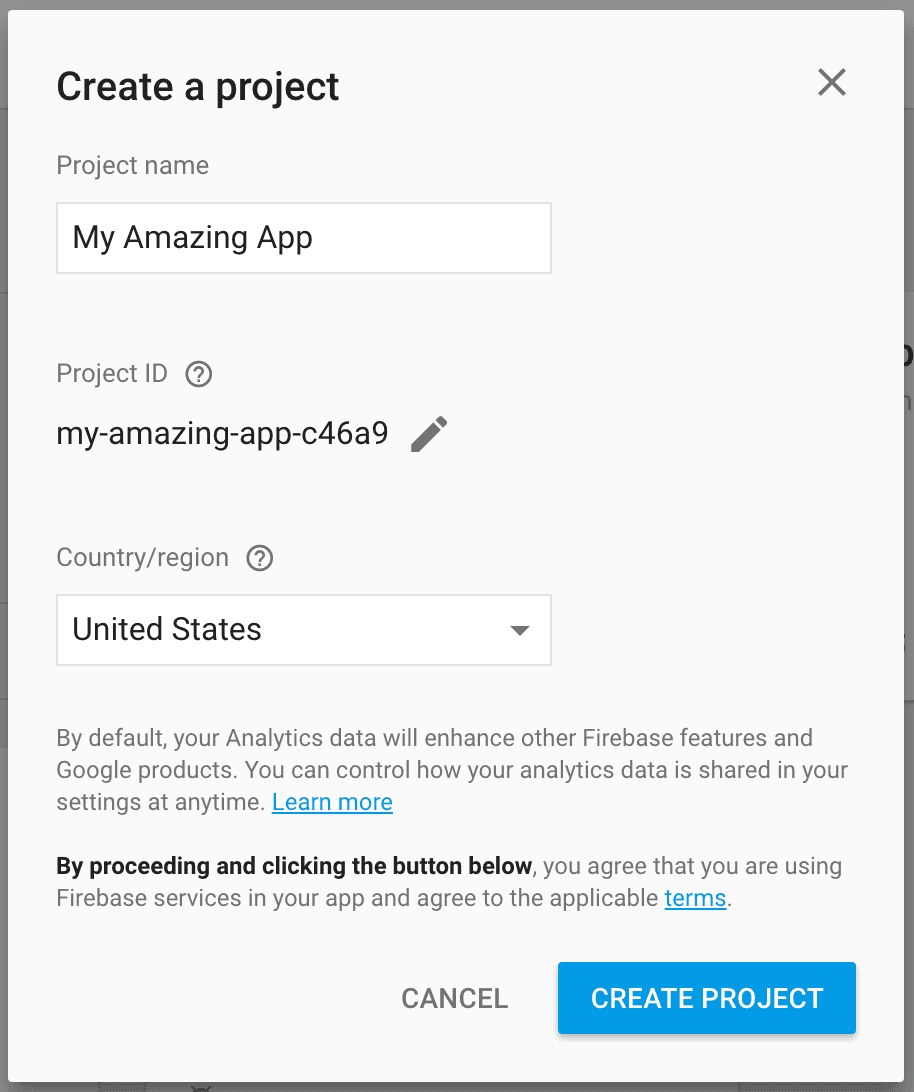
In this window you will have to provide the name of your project:

Firebase will generate an ID for you project, you can also customize this:

You will also need to select a country:

And finally click in the Create Project button:

After this, you will automatically be sent to the project area where you can find a button like this one:

In the project settings page you will find a tab for Cloud Messaging:

This is where you'll find the necessary keys for both Notificare and your app. For Notificare you will need the Server Key:

Copy this key and open our dashboard. Navigate to the app you've previously created and expand the Settings menu and click in Services:

Then you should click the Configure button in the GCM/FCM box:
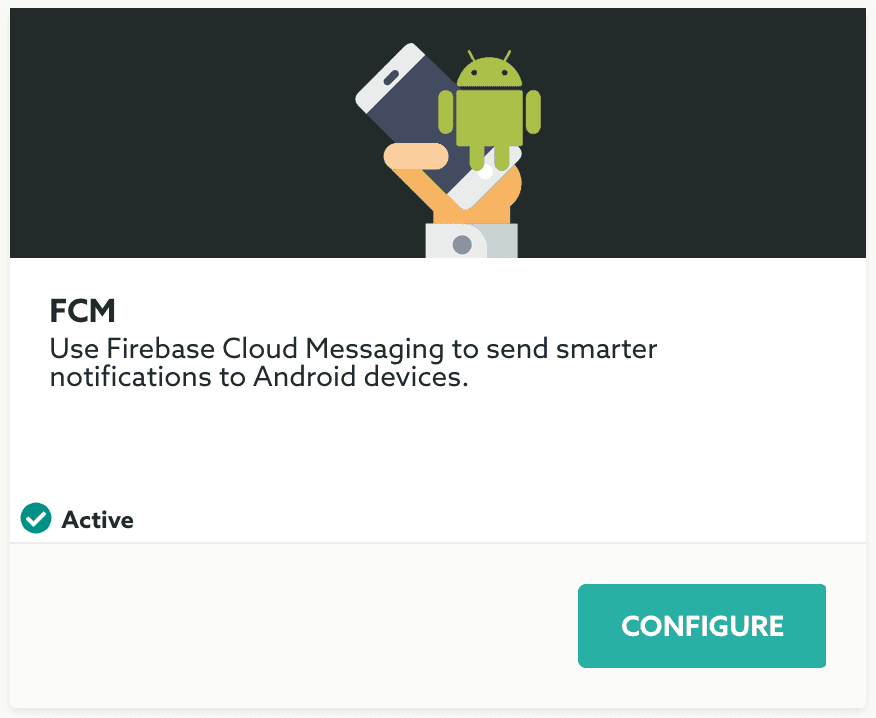
And paste the Server Key in the following field:

Finally you should click in the Update button to make sure you store these changes:

Migrating from GCM
If you have already an existing app using the older Google Cloud Messaging you will need to import the existing Google project into the Firebase Console.
Start by signing in Firebase. In their developer page you will find a button like this one:

This will open a window like this one:
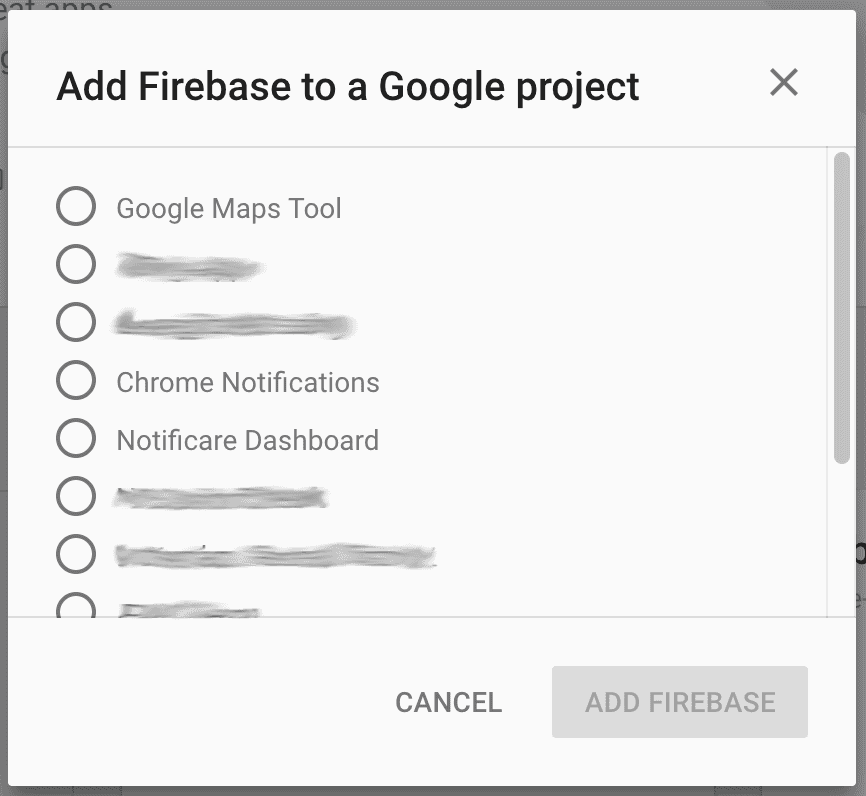
Select the project you want to import:

You will also need to select a country:

And finally click in the Add Firebase button:

After this, you will automatically be sent to the project area where you can find a button like this one:

In the project settings page you will find a tab for Cloud Messaging:

This is where you'll find the necessary keys for both Notificare and your app. For Notificare you will need the Server Key:

Copy this key and open our dashboard. Navigate to the app you've previously created and expand the Settings menu and click in Services:

Then you should click the Configure button in the GCM/FCM box:

And paste the Server Key in the following field:

Finally you should click in the Save button to make sure you store these changes:

Google Maps Key
Optionally if you want our library to handle Google Maps correctly you will need to enable access to this API in the Google's Developer console. This is only necessary if you intend to send notifications that use the map capabilities and if you are not already using yourself a Google Maps key in your app. If you do not want to use this functionality or you already use Google Maps in your app you can skip this configuration.
To enable this API and generate a API key, sign in into the Google's Developer Console and select the app you which to enable this API:

Then click in the Library menu item like shown below:

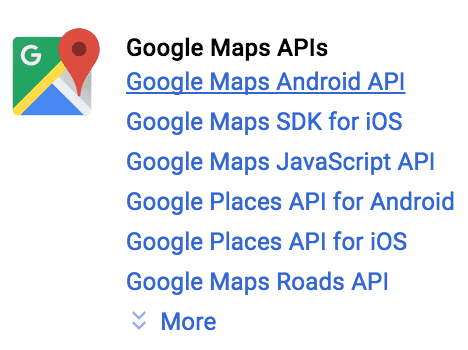
This will take you to a page where you find all the Google APIs. Locate and click in the Google Maps Android API link:
In this page you'll a short explanation about this API and the Enable button:

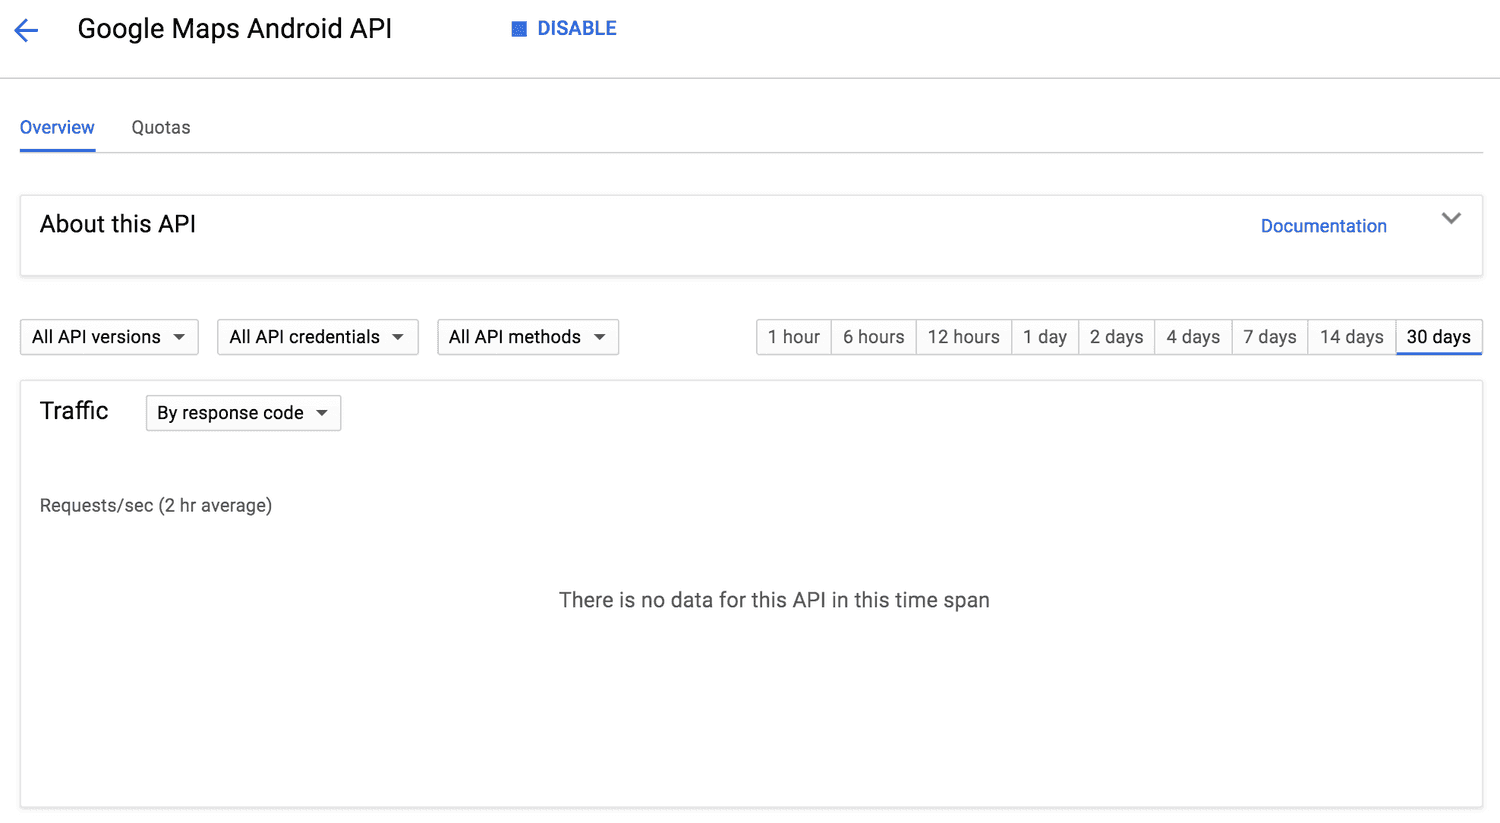
Clicking in Enable will allow your project access to this API and show you a page that looks like this:
Then you are ready to create an API key that can actually be used in your app. In the menu on the left, click in Credentials:

In this page expand the Create Credentials menu and click in API key:

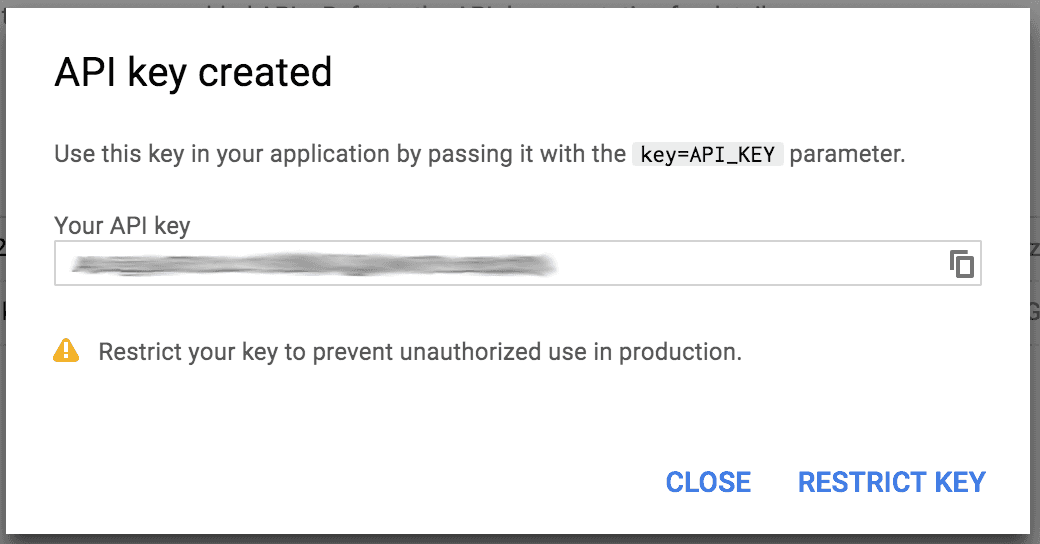
This will generate a key and display it in a window like the one below:
In production you might want to restrict the access of this key to your app but we will not cover this setup in this document.
Once you have generated an API key for Google Maps, go ahead an add an entry in your app's AndroidManifest.xml as follows:
<meta-data
    android:name="com.google.android.geo.API_KEY"
    android:value="ADD_THE_KEY_HERE" />
Creating an HMS Project
HMS PushKit is Huawei's official push provider. To be able to send notifications you need to create a project in the HMS AppGallery.
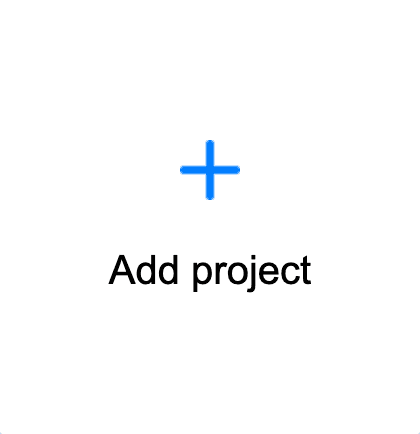
Start by signing in to HMS AppGallery. In the AppGallery overview page you will find a button like this one:
And add a new project
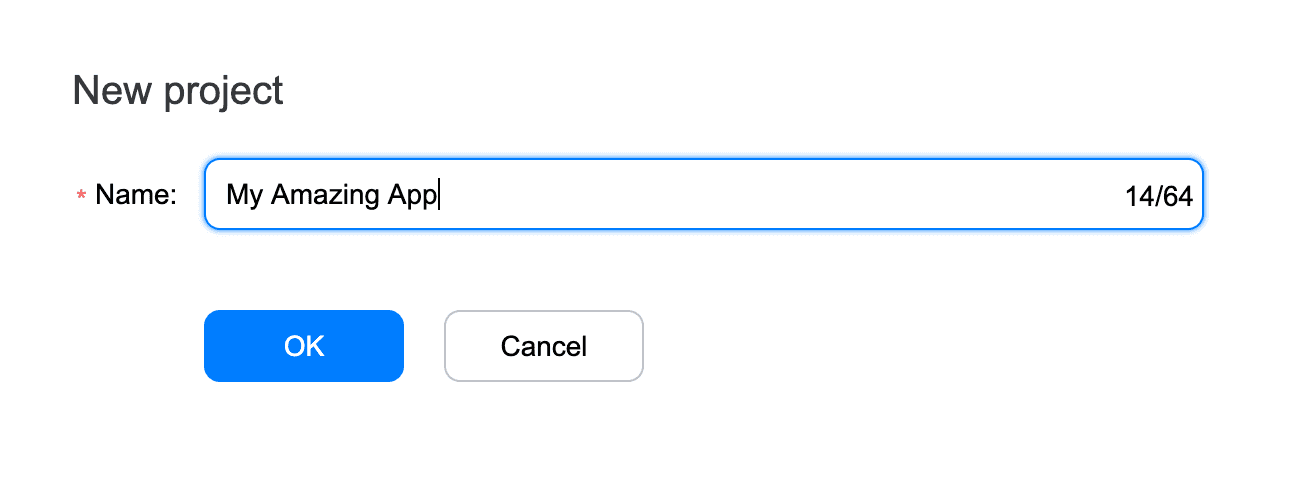
This will open a window where you will have to provide the name of your project:
After that, fill in the package name and language of the project you are creating:
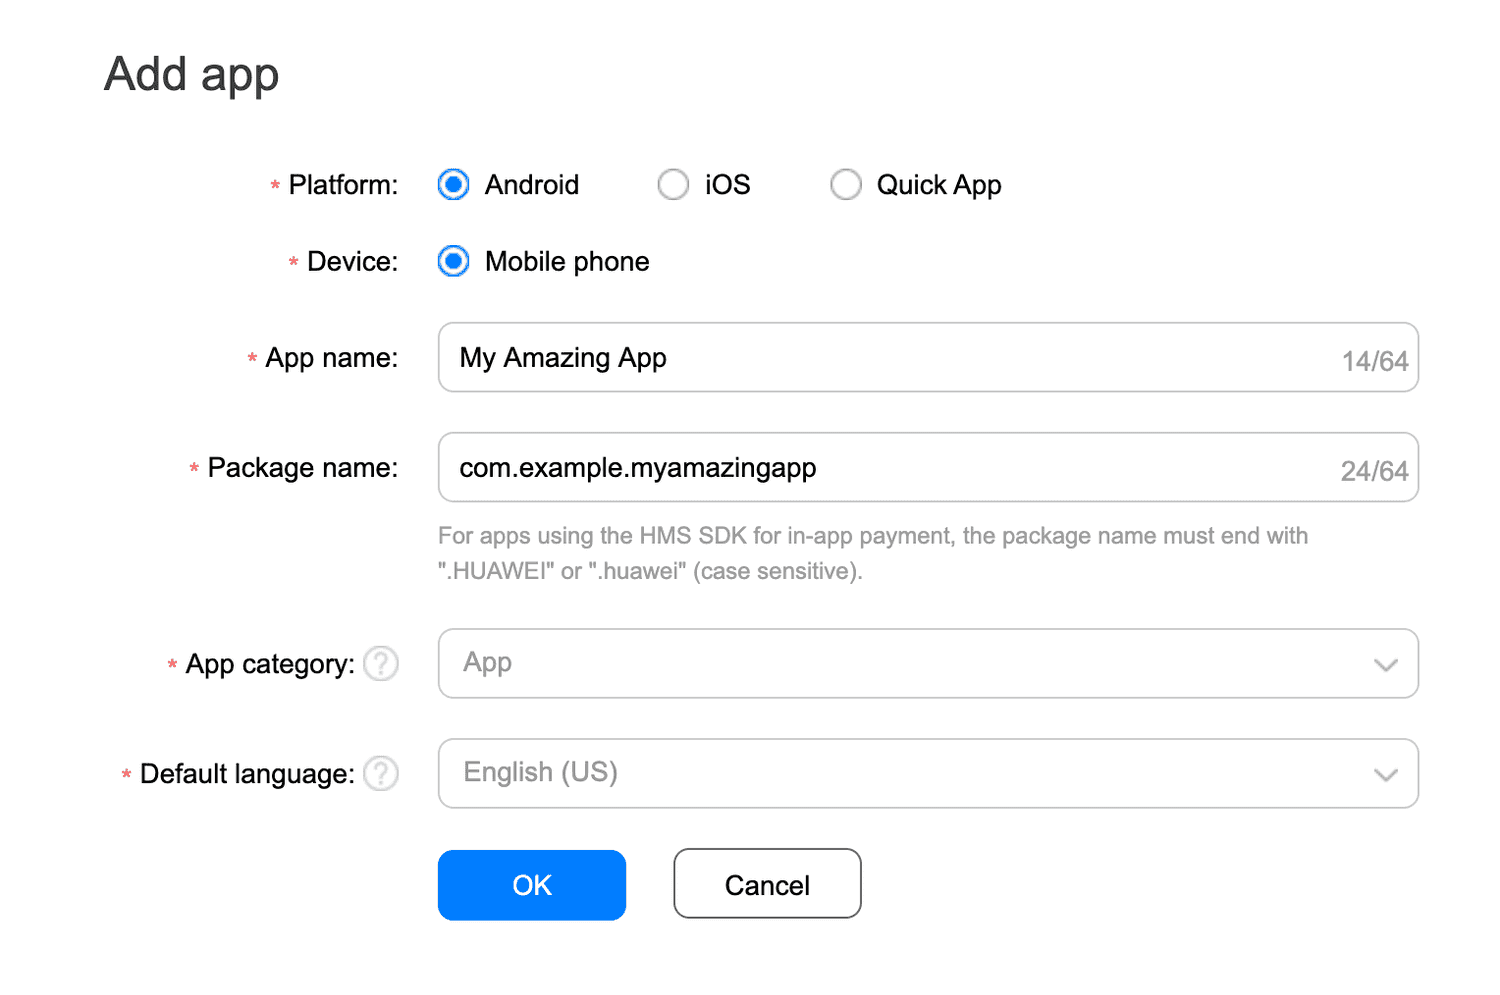
Now, add an app to your project. You can add several apps per project.
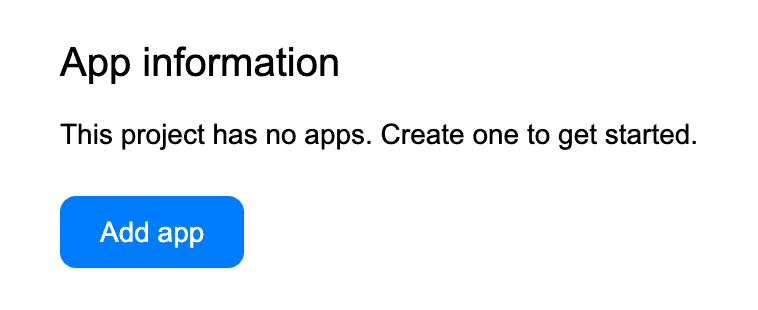
In the app information window, you will find the necessary info to configure your app in Notificare.
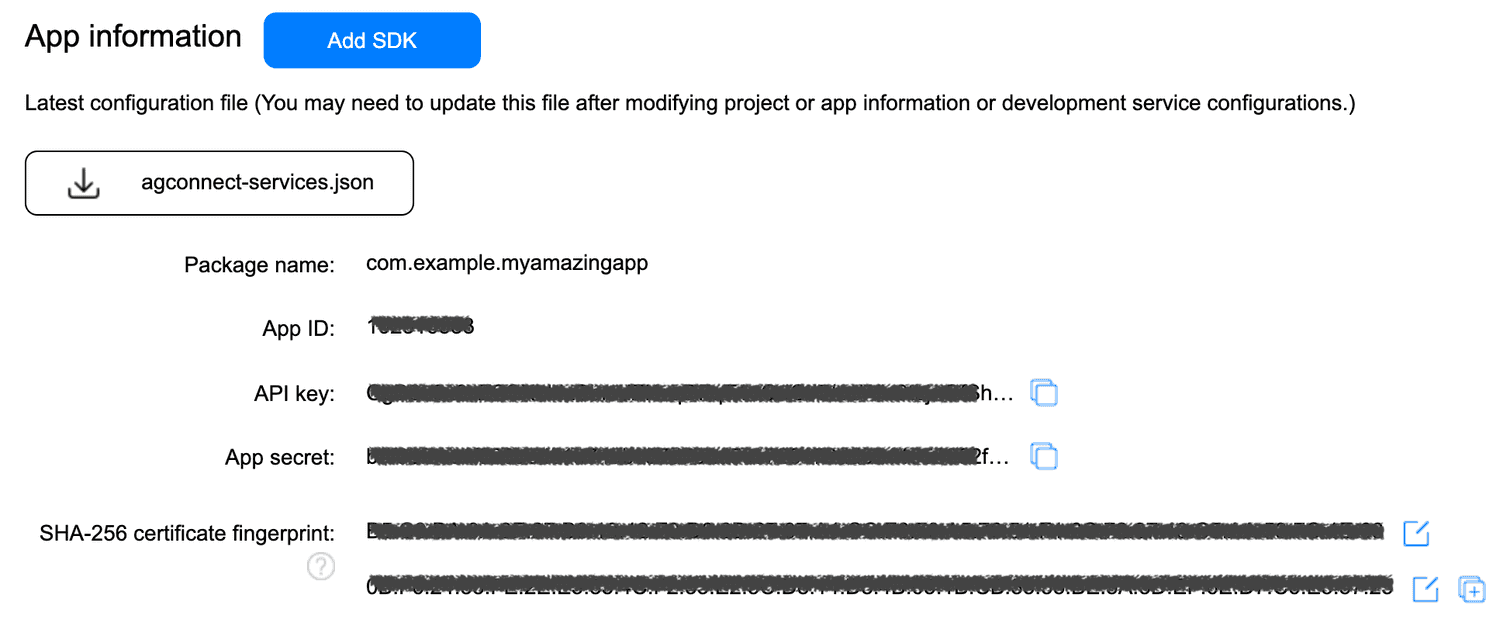
For your app to run on both a production as well as a debug environment, it is important that you add SHA-256 fingerprints for any debug environment you will be running the app from.
Debug fingerprints can be found in your machine's local debug keystore
/> keytool -list -v -keystore ~/.android/debug.keystore

Enter keystore password:
Keystore type: jks
Keystore provider: SUN

Your keystore contains 1 entry

Alias name: androiddebugkey
Creation date: Oct 7, 2019
Entry type: PrivateKeyEntry
Certificate chain length: 1
Certificate[1]:
Owner: C=US, O=Android, CN=Android Debug
Issuer: C=US, O=Android, CN=Android Debug
Serial number: 1
Valid from: Mon Oct 07 18:35:57 CEST 2019 until: Wed Sep 29 18:35:57 CEST 2049
Certificate fingerprints:
MD5:  XX:XX:XX:XX:XX:XX:XX:XX:XX:XX:XX:XX:XX:XX:XX:XX
SHA1: XX:XX:XX:XX:XX:XX:XX:XX:XX:XX:XX:XX:XX:XX:XX:XX:XX:XX:XX:XX
SHA256: XX:XX:XX:XX:XX:XX:XX:XX:XX:XX:XX:XX:XX:XX:XX:XX:XX:XX:XX:XX:XX:XX:XX:XX:XX:XX:XX:XX:XX:XX:XX:XX
Signature algorithm name: SHA1withRSA
Subject Public Key Algorithm: 2048-bit RSA key
Version: 1
For production environments, you will need to use your own keystore that you use when signing your APKs.
Copy the App ID and App Secret and open our dashboard. Navigate to the app you've previously created and expand the Settings menu and click in Services:

Then you should click the Configure button in the HMS box:
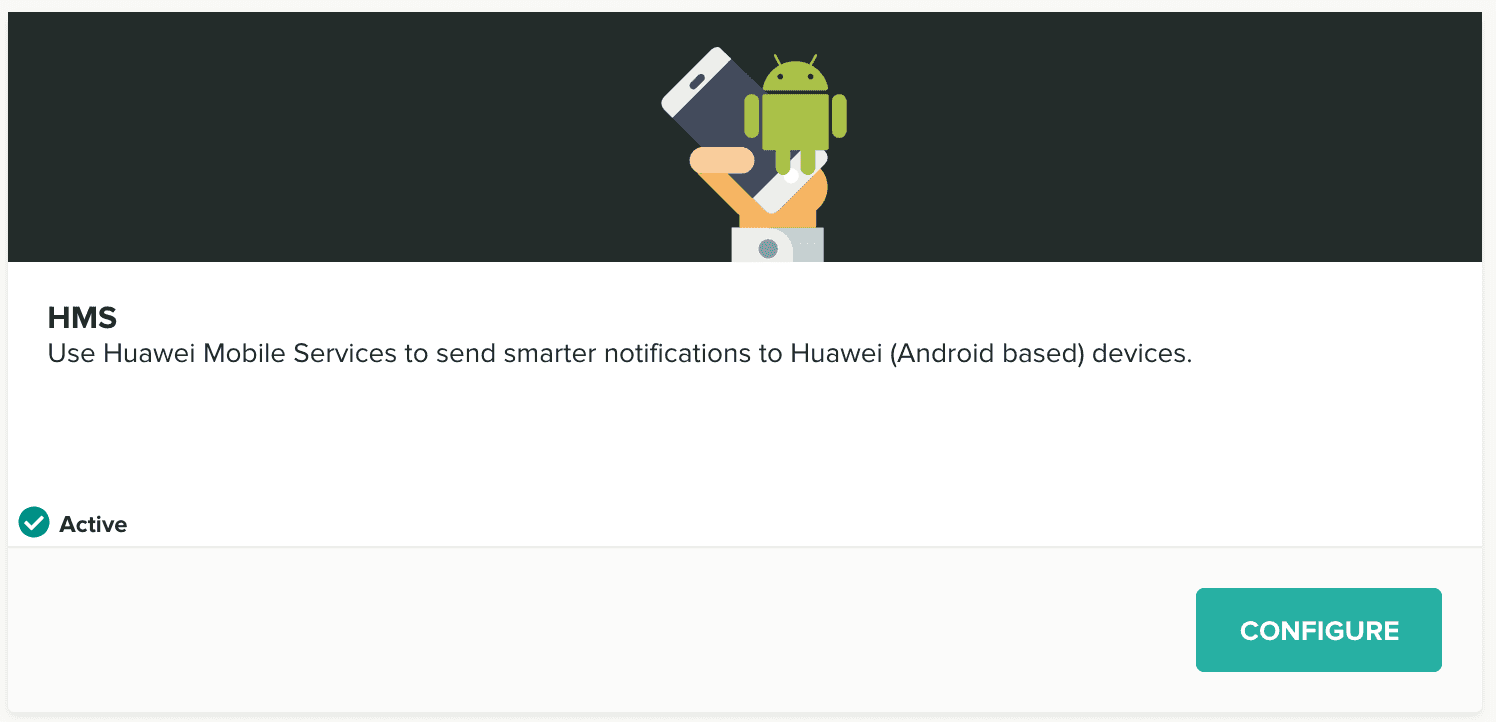
And paste the App ID and App Secret in the following field:

Finally you should click in the Save button to make sure you store these changes:

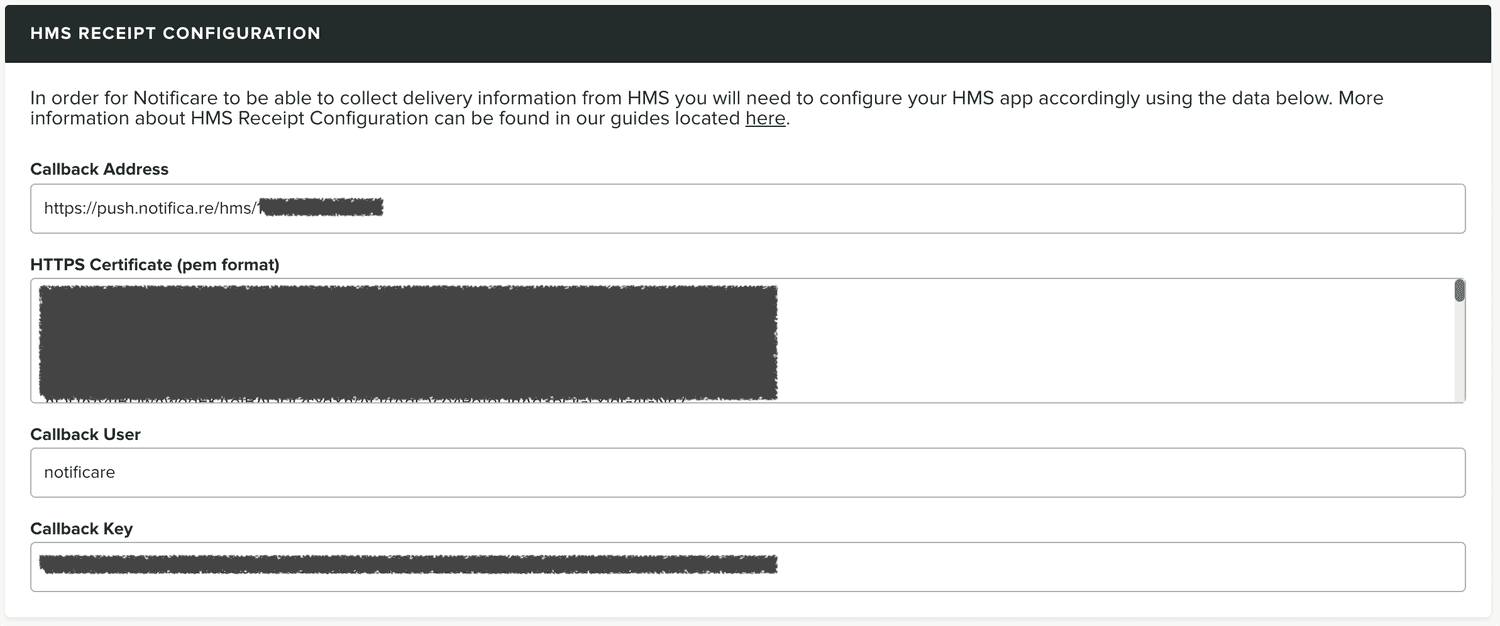
After successful saving, you should now see the necessary settings to be filled in for allowing receipts to be received from HMS:
In the side menu of the AppGallery Develop view, you can select PushKit, which will show you the status of PushKit.
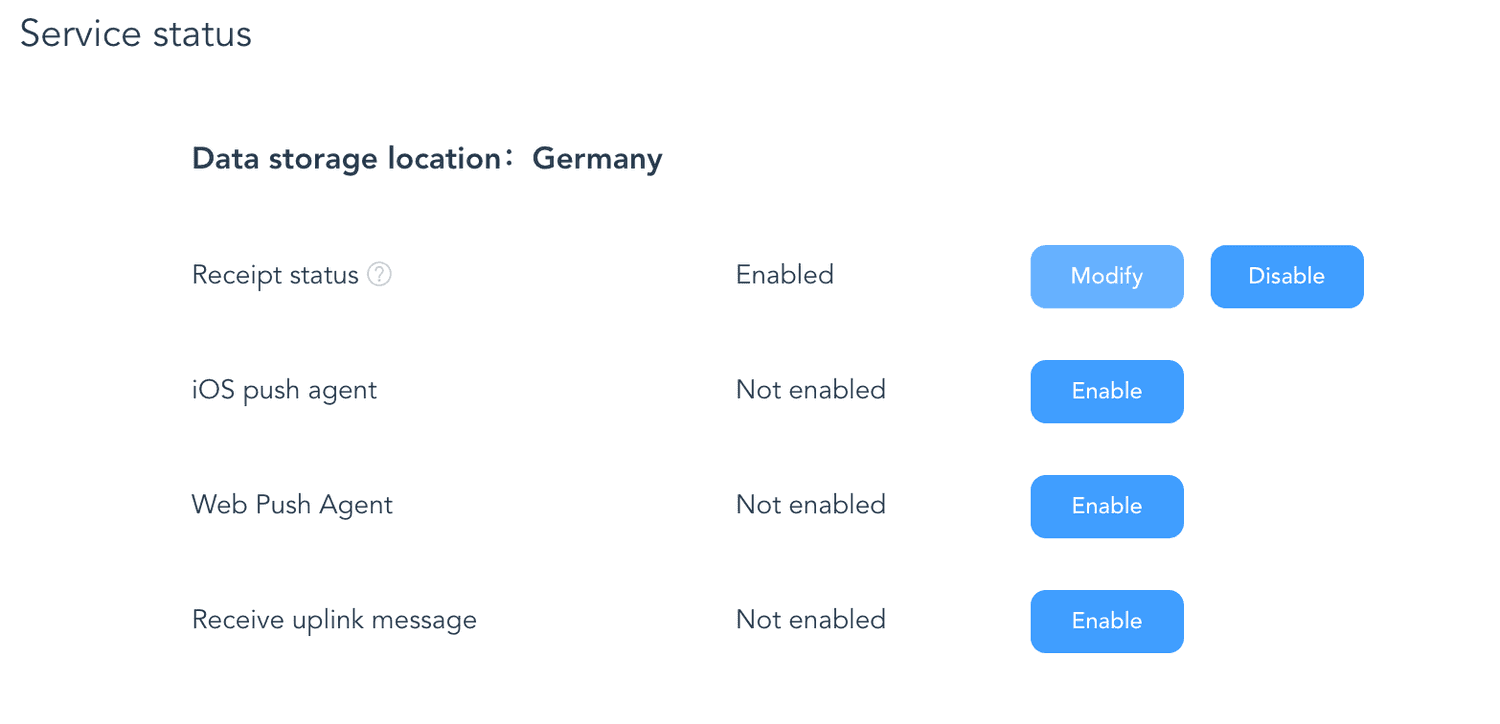
Enabling the Receipt service will allow us to receive information about message delivery, so we can inform you of app uninstalls, invalid tokens, etc.
Fill in the info from the Notificare's Dashboard as shown below:
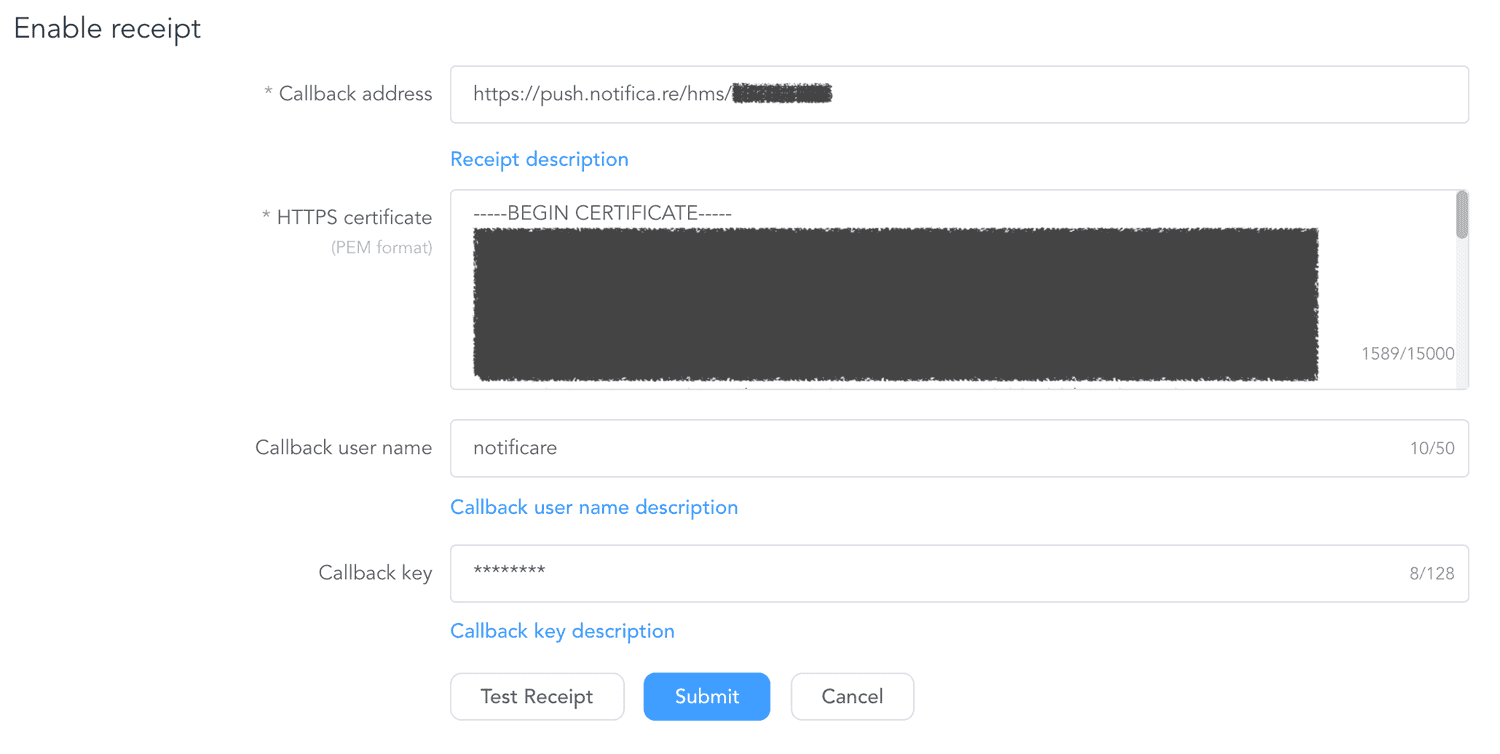
Click Test Receipt. After successful testing, click Submit and your setup is done.
You have now all the necessary platform configurations to start implementing our library. Keep reading our Implementation guides located here.