Implementation
If you've completed the steps described in the Setup guides, you are now ready to implement our HTML 5 library in your WordPress website. Our library supports Chrome 59 and higher (desktop) and Chrome 61 (Android) and higher, Opera 47 (desktop & Android) and higher, Firefox 54 (desktop & Android) and higher and Safari on MacOS 10.9 and higher.
WordPress Plugin
Our WordPress plugin is published in the WordPress plugin directory and can be found here. You can install it via the admin interface of your WordPress website. If you have access to it proceed to the next section to install our plugin.
Installing the Plugin
In WordPress, if you have an administrative role, you can quickly add new plugins to your WordPress website via the Plugins area in your admin navigation. Select Plugins > Add New and search for the Notificare plugin. Once found, it should look like this:

Then go ahead and select Activate and wait for the plugin to be fully installed before proceeding to the configuration step below.
Configuration
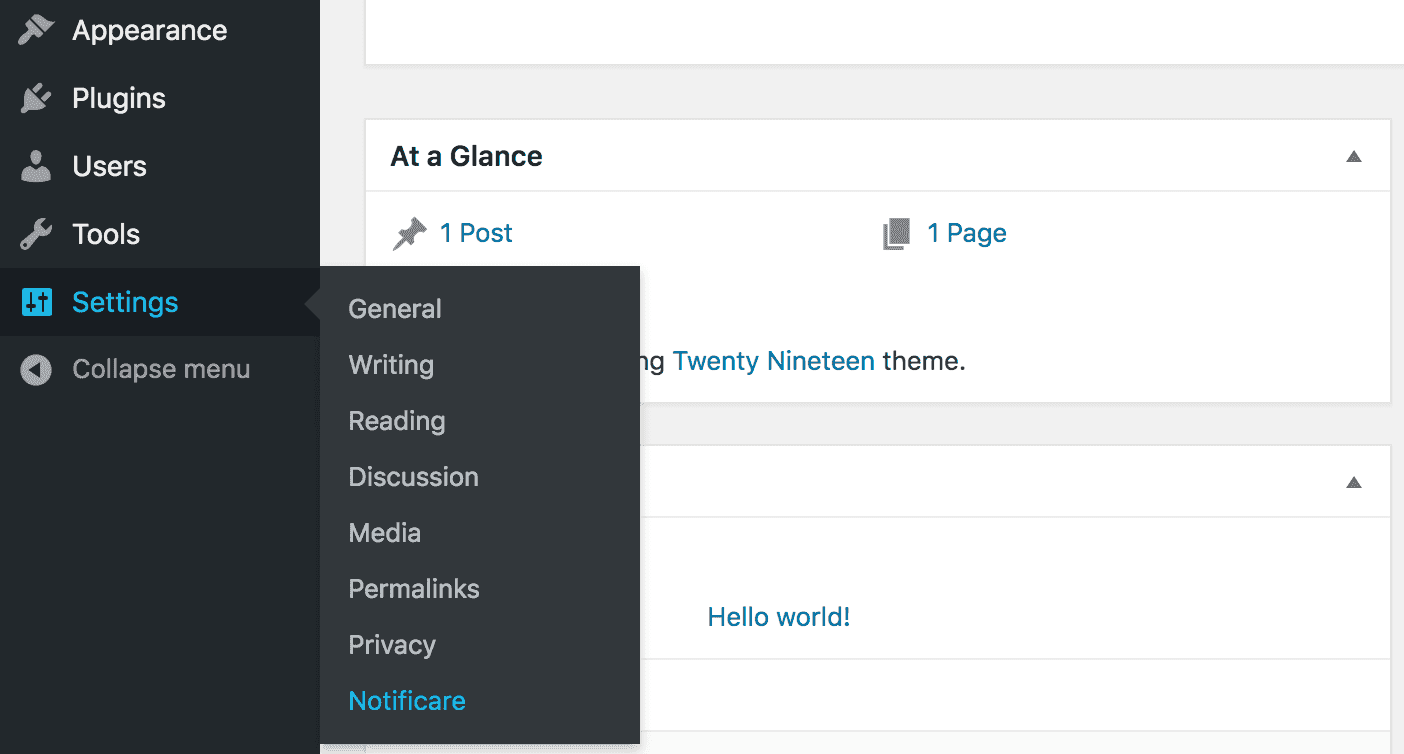
Once installed, you will have to provide some configuration settings for our plugin. Go ahead and select Settings > Notificare from you admin navigation menu:

That will show the Notificare Settings page:

Then you start by given a name to your website:

After that make sure you provide the host name (must be the same host as your WordPress website):

You should also add a version of your website, we will use this when registering a token for your visitors. Adding a version will allow you to later target different versions of your website if needed:

If you wish to use play sounds when a notification is received, you should provide the path to the folder where those .mp3 files are located. You can then use those when sending remote notifications:

Then you should provide the Application Keys for the Notificare app you've previously created (as described here) and grab the Application Key and Application Secret:

This file will be included automatically when installing the plugin in /public/js/push-worker.js so if you change its location you should provide the new path in the Service Worker File field. The Service Worker Scope will determine which subset of your content the service worker should control. Usually if you would like to gove the service worker access to all your website, you should provide / as the value of this field:

If your website does not contain a manifest.json file yet, you can use the option below to add one:

Make sure you add the gcm_sender_id which you generated previously as described in the Setup guides.

If you already have one, then you should add the the Sender ID in the gcm_sender_id property of your manifest.json file:
{
    "name": "Your Website Name",
    "short_name": "Your Website Short Name",
    "display": "standalone",
    "gcm_sender_id": "SENDER_ID_HERE",
    "gcm_user_visible_only": true
}
Finally if you intend to use the geo-location capabilities of our plugin, you can tweak the geo-location settings in the fields below:

Initializing the Plugin
Now let's initialize the plugin, in your web pages make sure you add a javascript snippet like this, just before the closing body element:
<script>
    $(document).ready(function(){

        var instance = $('body').notificare();

        ... more code
    });
</script>
After this point, you have instantiated the Notificare library and consequently you can use the instance variable to further interact with the plugin. Please note that you can attach the plugin to any element in your page, here we have chosen to attach it to the body but it is not necessarily what you should do. Also depending on your own website setup you might not include this implementation directly in the HTML page. In most cases developers will want to abstract this implementation in their own JS files. Keep reading our Implementation guides to dive deeper into all the features included in this library.