Website Push
In this area you can set up your app to support Web Push and Safari Website Push. In this area you will be able to provide all the information we need to start sending notifications on your behalf.
Under the Settings menu, you should start by clicking in Services:

You should then click in the Configure button from the following box:

You should start by uploading an image that will be used as the icon push notifications:
![]()
This should be a 256x256px PNG file without alpha channel.
Once you've uploaded it, you will see your icon as follows:
![]()
Allowed Domains
Notificare supports a multi-domain configuration, and you should provide all the domains where you want to support web push. If you run our library in a domain not specified here, you will receive 403 responses.
You should also provide at least one domain in the following section:

Device Registration
When using our Web SDK, by default, we will register all visitors of your website or web app as push devices. This enables you to take advantage not only of Web Push but also of all the other features of Notificare (Tags, In-App Messages, Inbox, Location Services, etc.), since a push device is required for every feature to work.
Exceptionally, in our Web SDK, you can choose to prevent devices from being registered for those users that do not grant permission for Web Push notifications. This only makes sense if the only users you care about are the ones that subscribe for web push notifications. Obviously, when you choose to do that, you will not be able to provide any functionality for those users that do not accept the web push notification prompt.
If you understand the ramifications of this choice, you can indeed prevent device registration for non-subscribers by toggling the following option ON:

It is important to note that this option will only have any effect when you use our SDK 5.0.0 or higher. For older version of our SDK, this option is defined in the configuration file of our library.
VAPID
To receive push notifications in web apps running in Chrome, Edge, Opera, Firefox, Safari 16 (desktop) and Safari 16.4 (iOS) you only need to provide (or generate) VAPID credentials.
If you already have VAPID credentials generated in another provider, you can paste the Public Key in the following field:

And paste the Private Key in the following field:

If this is the first time you are setting up your web app to receive push notifications, then you should simply generate new VAPID credentials, by clicking the following button:

Once you've pasted your keys or generate new keys, you will see your VAPID configured as follows:

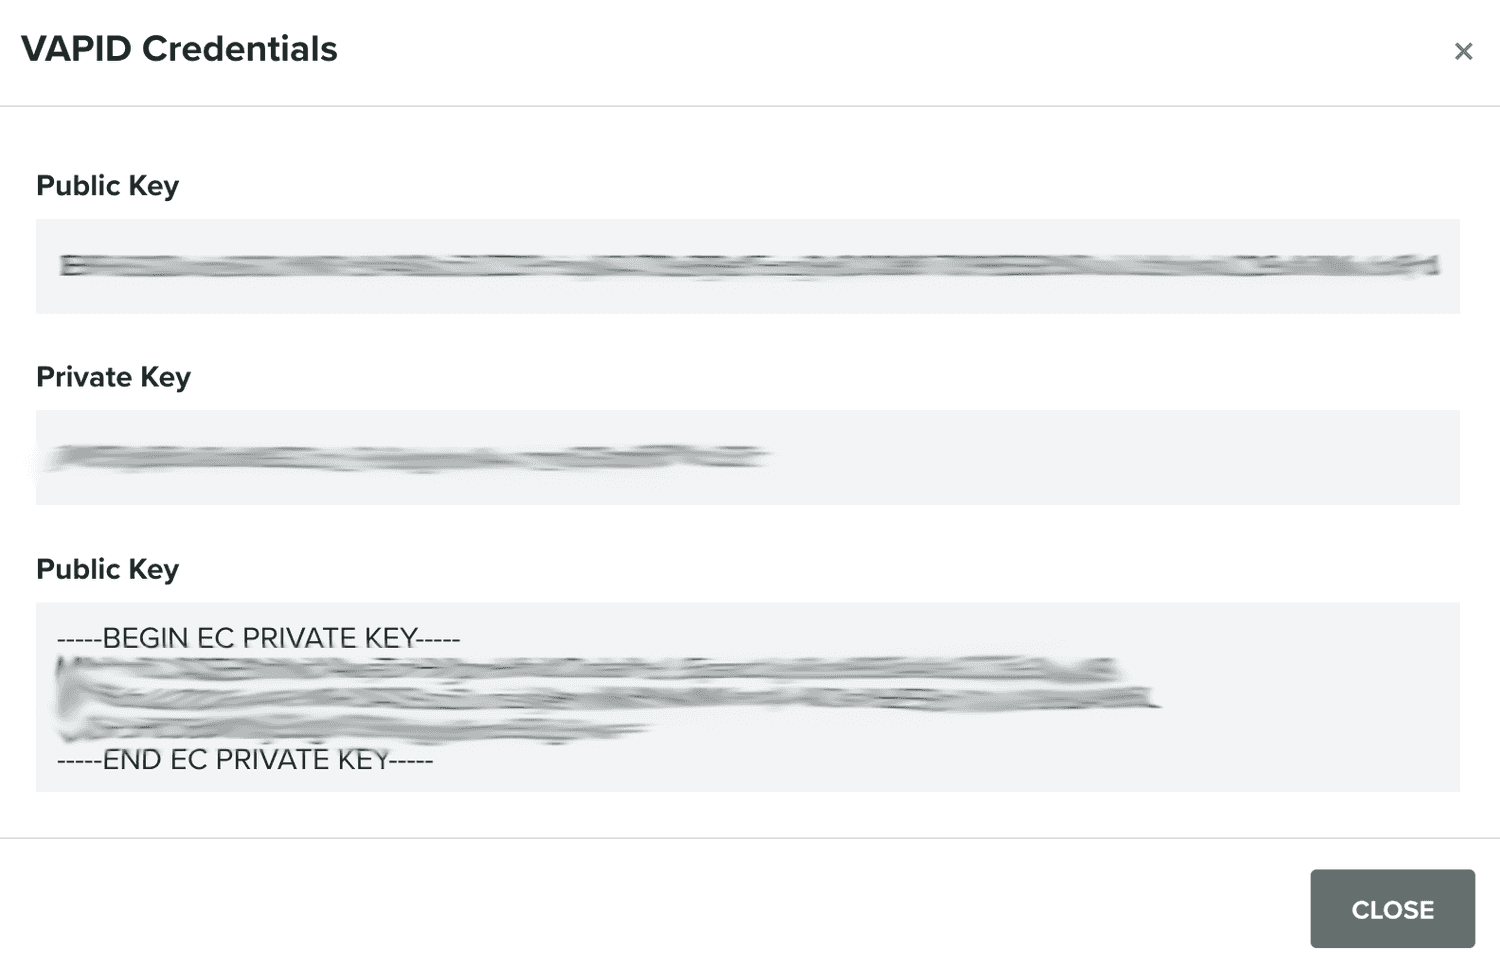
You can delete a VAPID key by clicking in the button in the top right corner. You can also retrieve stored VAPID keys by clicking in the following button:

This will open a window as follows:

YOu can use this information to migrate from Notificare to another provider.
Safari Website Push
If you want to also want to receive notifications in Safari 15 and below (desktop only), you will need to provide us with a Safari Website Push ID too. You can upload any .p12 file exported (using a password) from your Keychain Access app after being generated in Apple's Developer Portal. To learn how to generate these files, please read our guides located here.
First, you will need to provide us with the URL Format String:

This will be the page where users will land, when they click a notification in Safari 15 or below (desktop).
For us to be able to collect metrics, in this field you should provide a URL with a query parameter that includes a placeholder for the notification identifier (e.g. https://mydomain.com?nid=%@).
Then you should provide us the .p12 file you've generated, by uploading it in the following field:

You will also need to provide us the password you used when you've exported this certificate from your Keychain Access app:

If everything is correct, you will then see your stored SSL Certificate as follows:

You can also delete your current SSL Certificate, by clicking the button in the top right corner. SSL certificates have an expiration date, when they are expired, you will see something like this:

Launch Configurator
In our Web SDK v3 and higher, the launch mode should be defined in this page too. This will define how our library launches, and you have three different options at your disposal.
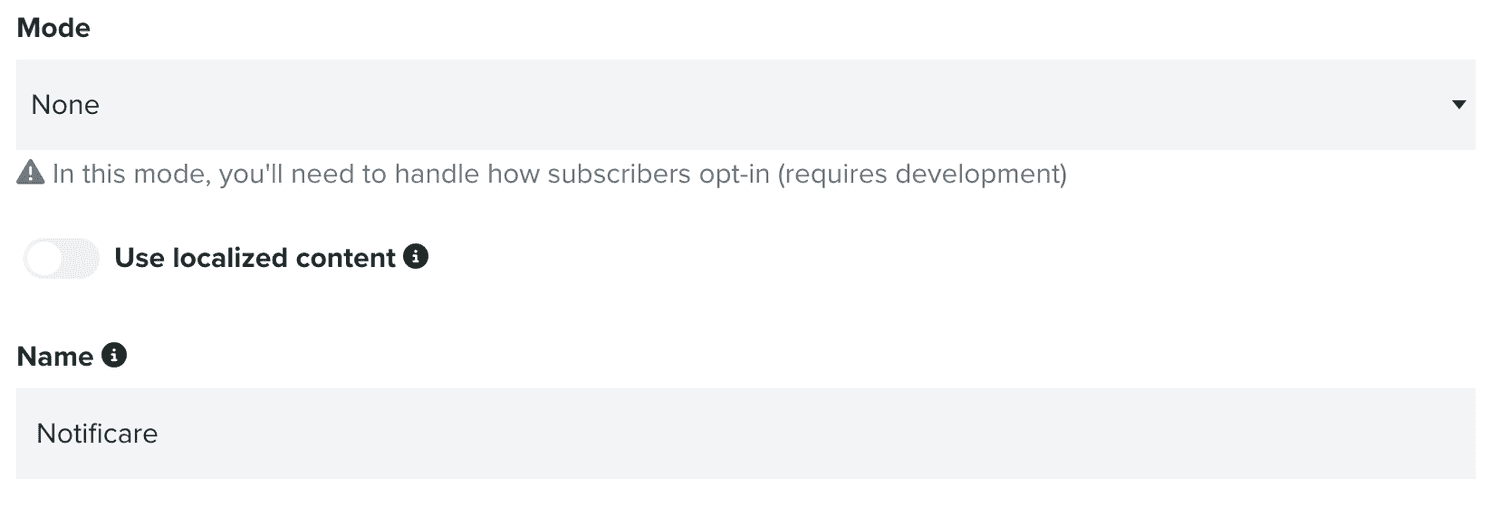
If you want to deal with the push permission dialogue yourself, you should select the following option:

In this mode, you will need to use our SDK to develop your own custom onboarding flow.
If instead you want to use one of two managed solutions we offer, you can either select the Dialog mode:

Or the Button mode:

Both modes can be customized to fit your needs, including localized versions in as many languages as you need.
Finally, once you've provided all the information required, hit the Save button to store your changes:
