Live API
In this area you can configure the Live API service. This service is an add-on feature of our platform. Before you can subscribe this add-on you will need to be enrolled in a paid plan.
This add-on will allow you to receive all the signals your mobile and web apps generate and handle them in your own servers. This is a crucial tool for integrations between Notificare and your own infrastructure or 3rd party software.
Under the Settings menu, you should start by clicking in Services:

You should then click in the Configure button from the following box:

In this area, you will start by providing a name for your Live API instance:

And then provide the endpoint where it will run (must be a publicly available URL):

Then hit Save & Generate Keys to continue:

You will then see that we are now waiting for your changes in the Endpoint URL to verify your Live API instance:

For this verification to occur, you will need the keys we've generated:

After adding the keys in your Live API instance code, you will need to perform a verification before we start sending you any events. Before you perform this verification, you might already select what type of events you want to receive, using the following field:

You can add or remove filters at any time. When you are ready to verify your Live API instance, click in the following button:

If your server is successfully verified, your instance will become active, and you will start receiving events too. You'll see a banner like this one:

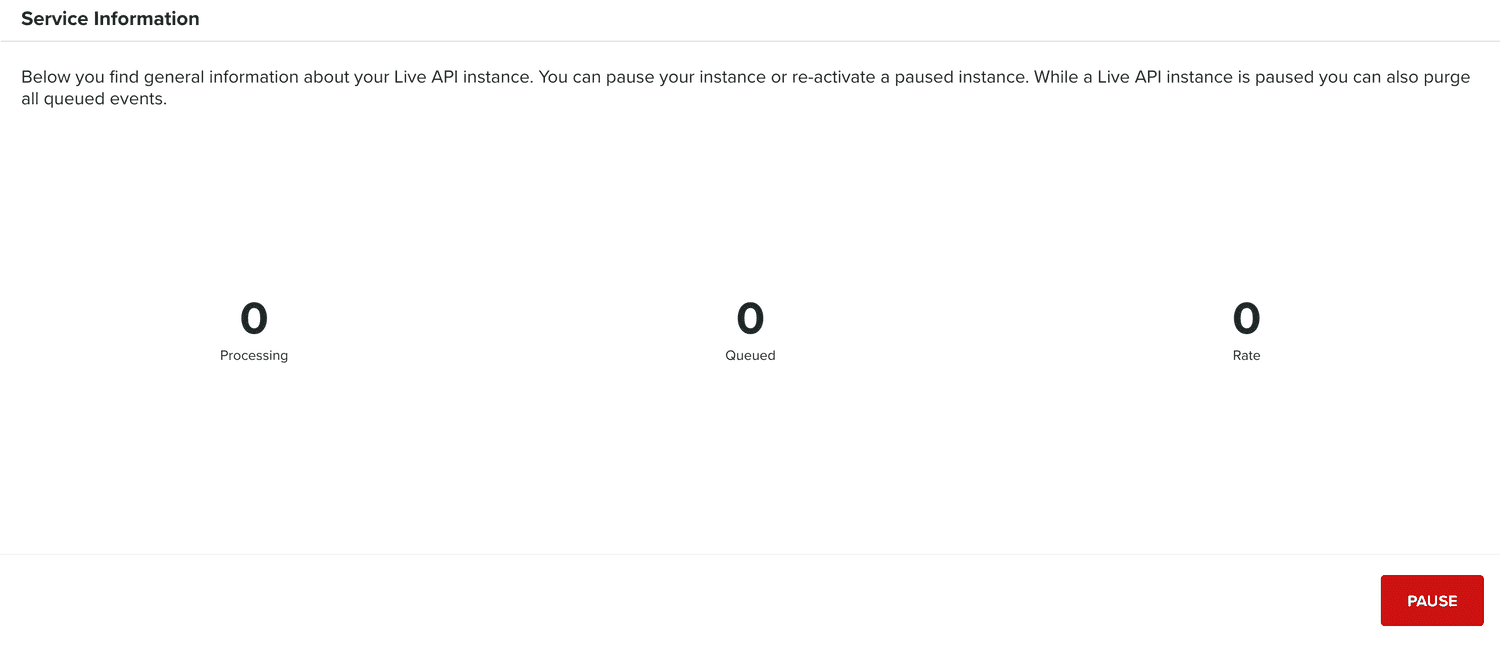
After this point, we will display a new section in this area, like the one below:

This is basically the heartbeat of your instance showing you the all the information in real-time. In most cases, seeing no metrics is a good sign. It means that your instance is able to process incoming messages as fast as they are received.
You can also pause your instance at any point in time:

While your instance is paused, we will queue any events we receive from your apps, you can purge those queue event by clicking in the following button:

Additionally, you can re-activate your instance, by clicking the following button:

To learn more about the events you will receive in your instance, please read our Live API documentation located here.