Data Filters
In this page you'll learn how to use the Data Filters component throughout our dashboard. This component is used filter events based on the data included in its data object, allowing you to create highly relevant event based messages and campaigns or export jobs.

You should start by adding a set of data filters by clicking in the Add Data Filter Set:

This will add an entry as follows:

For custom events, which contain arbitrary data that you define when registering those events, you will need type the property name:

For other events that we automatically register and include a data object, we will provide you with a list of properties that you can select instead:

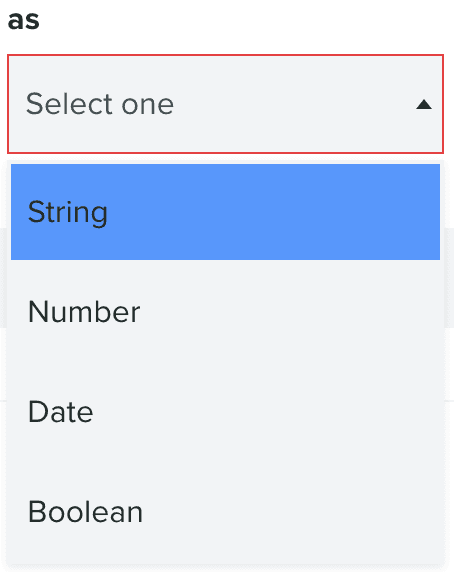
After that, you should also define how we should treat that property:

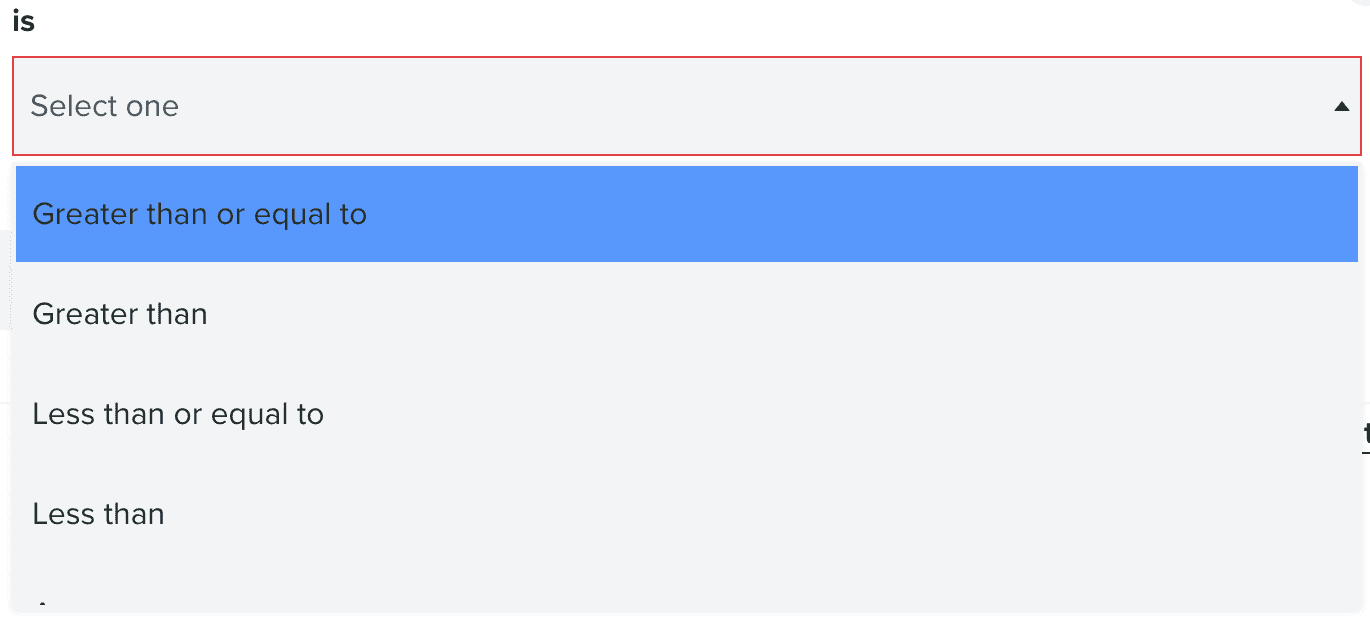
This will define which kind of operators will be available for comparison:

You should then provide the value:

If you don't provide a value, you can use the following switch to define if we should compare it as a NULL value or an empty string:

Each entry can also be removed by clicking in the button in the top right corner. You can also add more filters in a set by clicking in the following button:

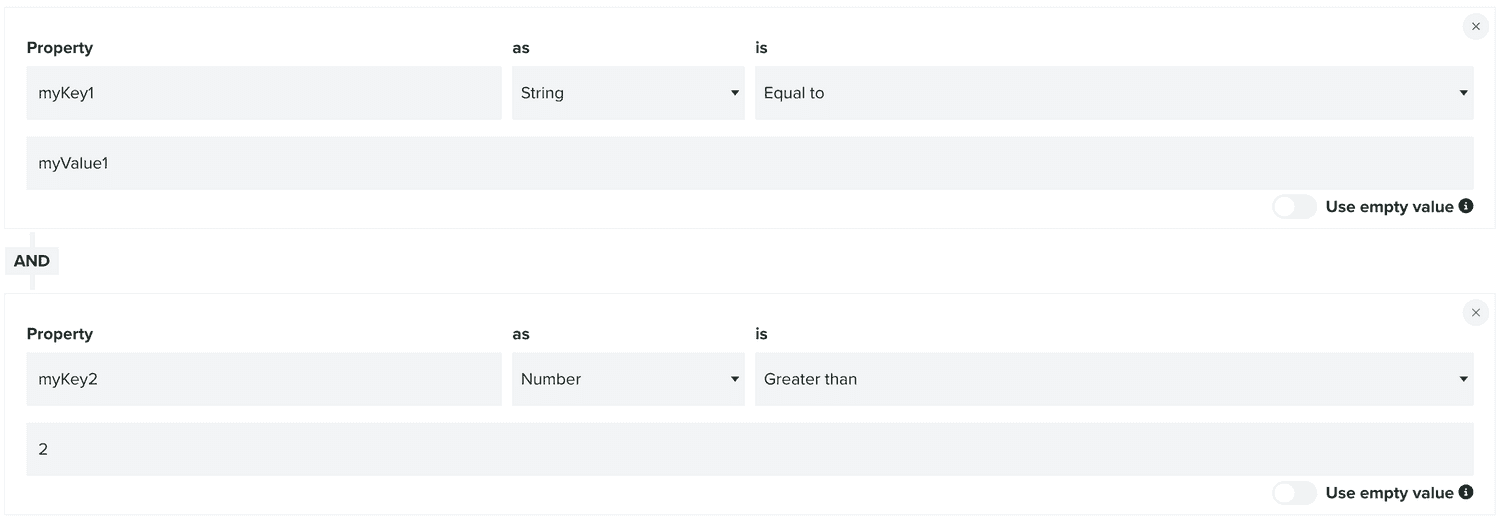
Allowing you to add multiple filters in one set:

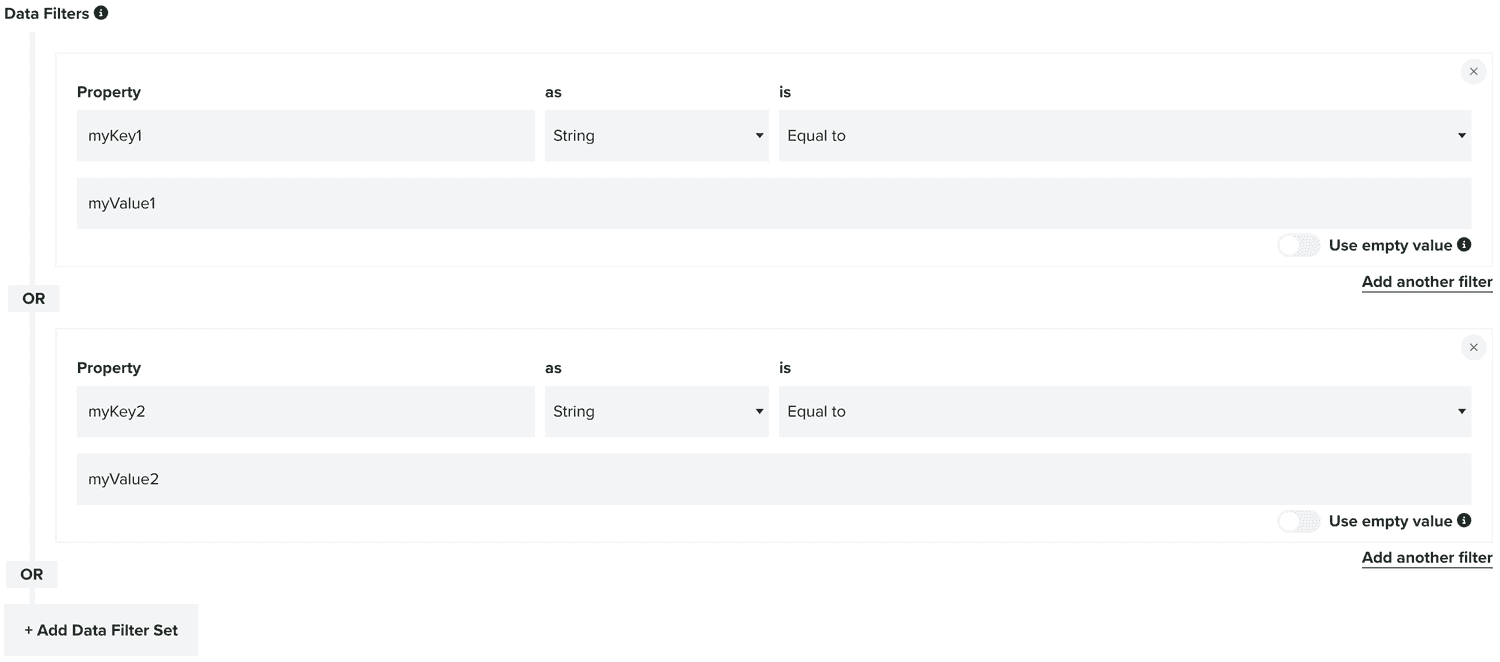
You can also add more data filters sets:

There are no limits on how many filters you can have in each set or how many sets you can create. This will allow you to create complex data filters as you see fit.