Programs
In this area you can create loyalty and reward programs that make your digital passes smarter. To access this area, you will need to expand the Loyalty menu and click in Programs:

In this area, you will find all the programs you create:

You can create a new program by clicking in the following button:

Tier-Based Programs
This type allows you to create a loyalty programs based a point system. It is flexible enough to create a membership profile with different levels. For example, it is the ideal type if you want to create a loyalty card that changes as users reach different levels.
Setup
In this tab, you will need to provide some basic information for your program:

You will need to provide a Name and select the Type. Obviously, for this type, you will select the Tier-Based option.
Tiers
In this tab, you will define the tiers for your Tier-Based program. This allows you to assign a certain pass template to a tier of your program.

For each tier you will need a different pass template. To learn how to create pass templates, please read this page.
You can start adding tiers by clicking in the following button:

This will open a window as follows:
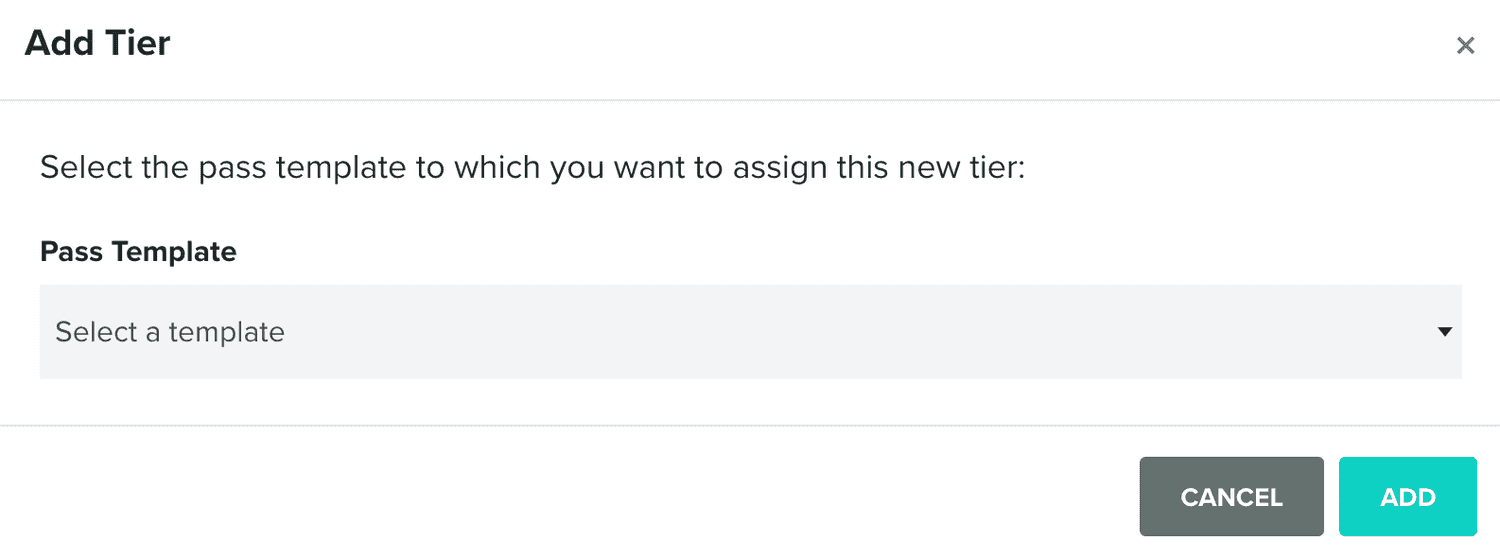
You should select an existing pass template to add a new tier to your program:

You can add as many tiers as you want, depending on your loyalty strategy.
For example, you can run a point based program with only one tier, the points in the card can then be redeemed for goods. You can run a level-based program, where each level represents a different tier. Users on higher levels might get better discounts or special offers. Or you can run a stamp-based program with 10 or more tiers, where you reward your users when they reach the last tier. A tier based program offers you that flexibility.
Profiles
In this tab, you will define how loyalty profiles, for Tier-Based programs, are linked to data in your passes.

Each user will have its own loyalty profile, and this is where you define what data should we store for your loyalty profiles and how they match with data in your passes. For example, if your pass should contain the name and email of your users, you will want to add those two fields to the profile and match it to those fields in the pass.

You can add as many fields as you need.
These definitions, will allow you to automatically generate passes with this data whenever you create a loyalty profile. Loyalty profiles can only be created using our REST API. This is usually implemented by your own app or website whenever users create an account or make a purchase.
Rules
This tab is only visible after you create a Tier-Based program. This is where you will define how your program should behave when the balance of a loyalty profile changes.

You can add rules by clicking on the following button:

This will open a window as follows:
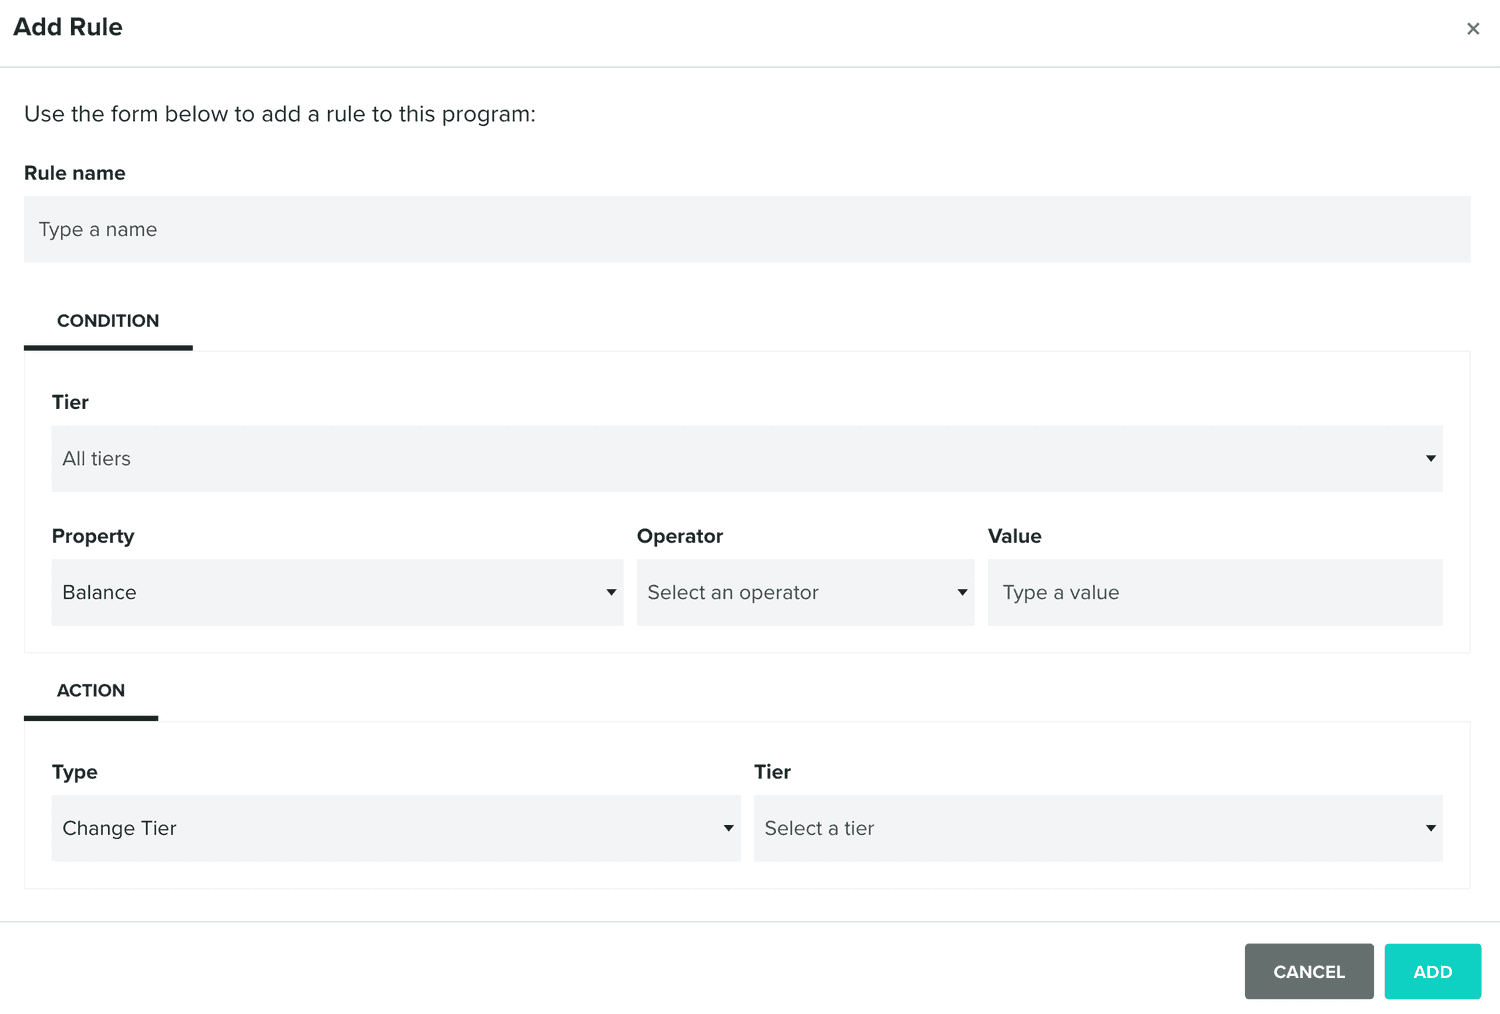
Where you need to provide a name for your rule, the conditions and the action. Basically, these rules allow you to change a loyalty profile tier whenever the balance reaches a certain threshold:

You can have as many rules as you need, and you can change them whenever you see fit. You can also disable them by using the toggle in each rule.
You can only trigger a rule by updating a loyalty profile's balance using our REST API or by using an Event-Based Campaign. This is usually implemented by your own app or website whenever users create an account or make a purchase.
Options
In this tab, you will define some basic configuration for your program:
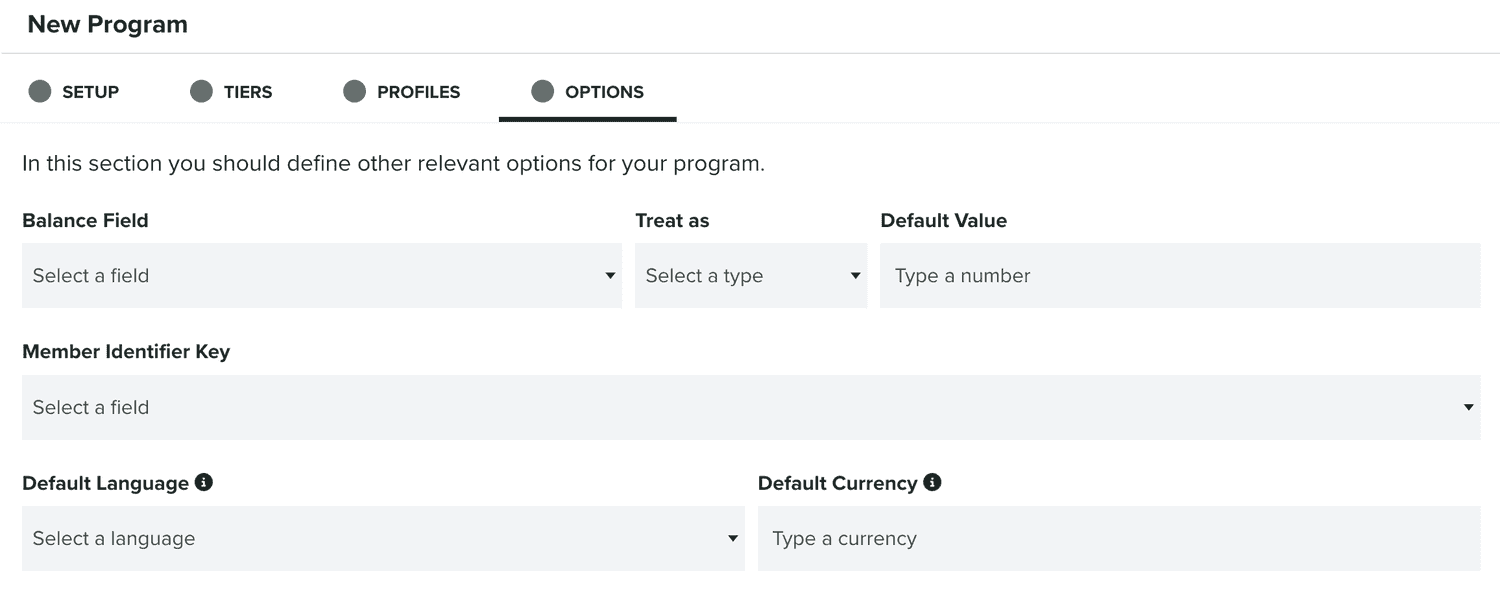
Basically you need to define which field in your passes will be used for the balance, how we should treat that field and its default value:

You should also define which field in your passes will be used for the member identifier:

You should also define what language and currency your program should use:

One-Time Offer
This type allows you to create and distribute single use digital cards. It is the ideal type if you are looking to reward users with a discount, provide access to a venue or generate a gift card.
Setup
In this tab, you will need to provide some basic information for your program:

You will need to provide a Name and select the Type. Obviously, for this type, you will select the One-Time Offer option.
Template
In this tab, you will define which template you'll use for your One-Time Offer program. Unlike Tier-Based programs, this template can be of any type, allowing you to create a wide range of single-use cards.

All you need to define, in this tab, is which pass template to use.
Codes
This tab is only visible after you create a One-Time Offer program. This is where you will manage the unique codes available for your program.

You can search available codes and see how many available codes you have in the following area:

In this area you can also add one single code, by clicking the following link:

Which will open the following window:
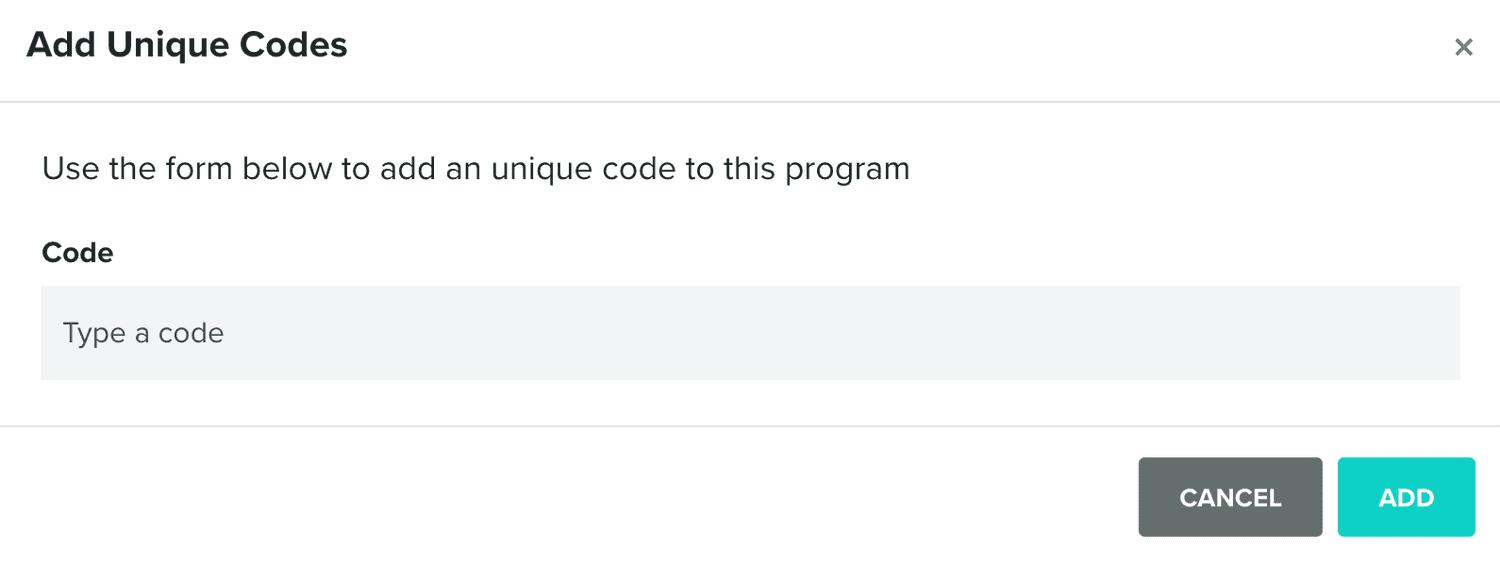
Where you should provide the unique code.
Additionally, you can also import unique codes by clicking in the following link:

Clicking on this link will take you directly to the following import job.
Finally, you can also delete all available codes for a program by clicking in the following link:

These unique codes will then be used to generate digital cards, either using our REST API or by using an Event-Based Campaign.
Options
In this tab, which is only visible after you create a program, you can define some basic options for your program:

If you want to receive email warnings whenever you are running out of available unique codes, you can toggle the following option ON:

By default, if no warning level is provided, we will email you whenever your available codes reach zero. If you want to be warned before that, you should provide a number in the following field:

Once you've created your program, you can always edit it, by clicking in each entry on the list:

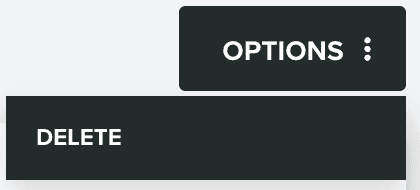
You can also delete a program, by expanding Options menu and click in Delete:
