Passes
In this area you can create digital passes. To access this area, you will need to expand the Loyalty menu and click in Passes:

In this area, you will find all the passes you create:

You can also search passes using the section below:

You can create a new pass template by clicking in the following button:

Setup
In this tab, you should select a previously created pass template you want to use as the basis for your pass:

You can not change the template afterward and the pass will be intrinsically connected to this template, allowing you to even update all passes whenever you make changes to the template.
Relevance
In this tab, you can override any locations and beacons (Apple Wallet only) you might have included in the pass template. If none is provided, we will use whatever was included in the pass template (if any). Please note that some of these features are platform-specific.
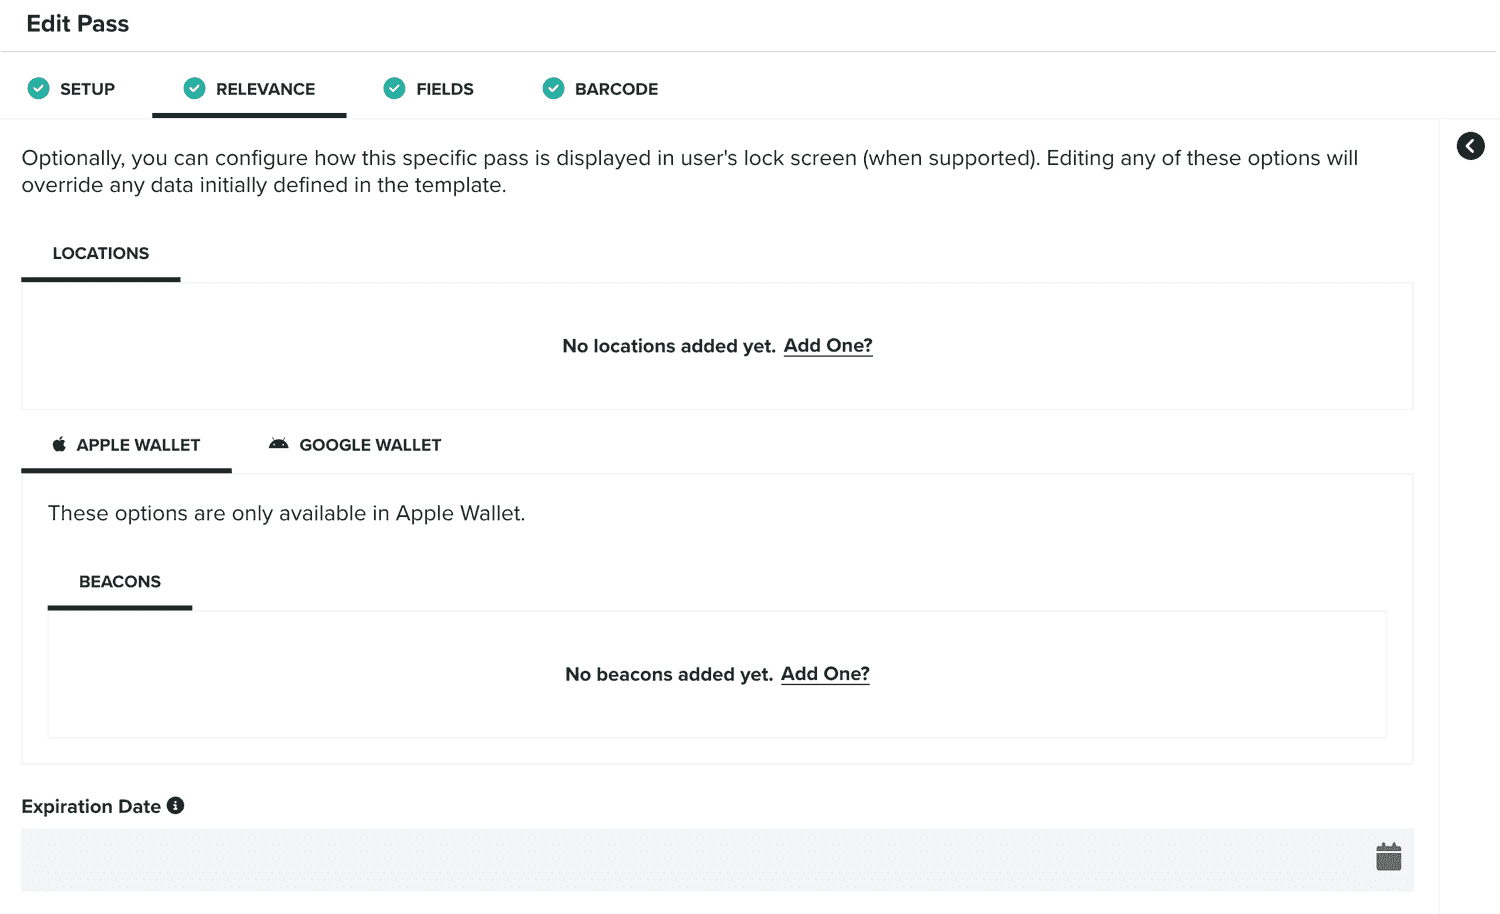
You can add as many locations and beacons as you want but only the first 10 will be considered in your passes.
You can add locations by clicking in the following link:

Which will open the following window:
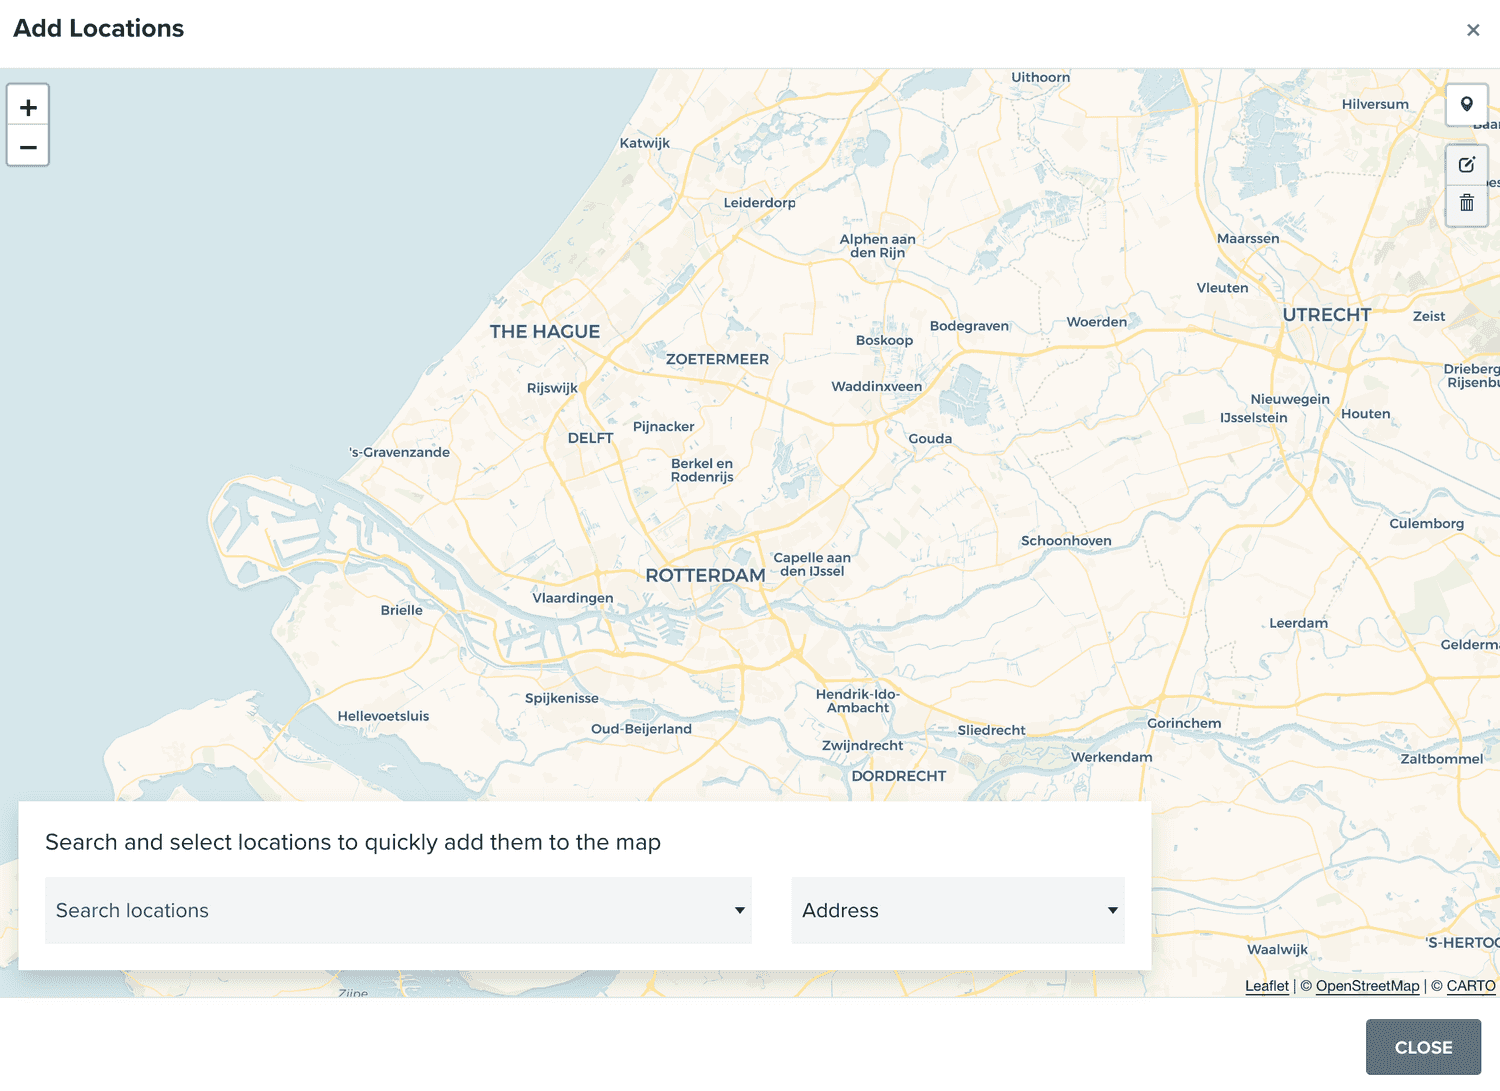
Where you can add locations either by adding markers to the map or by searching addresses, Geo-Zones, POIs, cities and countries. You can also provide a relevant text and an altitude for all the locations you add:

You can also provide a relevance text and an altitude for all the locations you add. The relevant text will be shown when the pass is displayed in the lock screen while altitude will be used in combination with the location to provide some precision to this geo-triggered alert.
You can also add beacons, in the Apple Wallet tab, by clicking in the following link:

Which will add an entry to your beacons list as follows:
![]()
For each beacon you add you should provide the Proximity UUID, Major and Minor of your beacon, as well as a relevant text that will be as an alert in device's the lock screen.
When editing a pass, you can also add messages, in the Google Wallet tab, by clicking in the following link:

Which will open a window as follows:
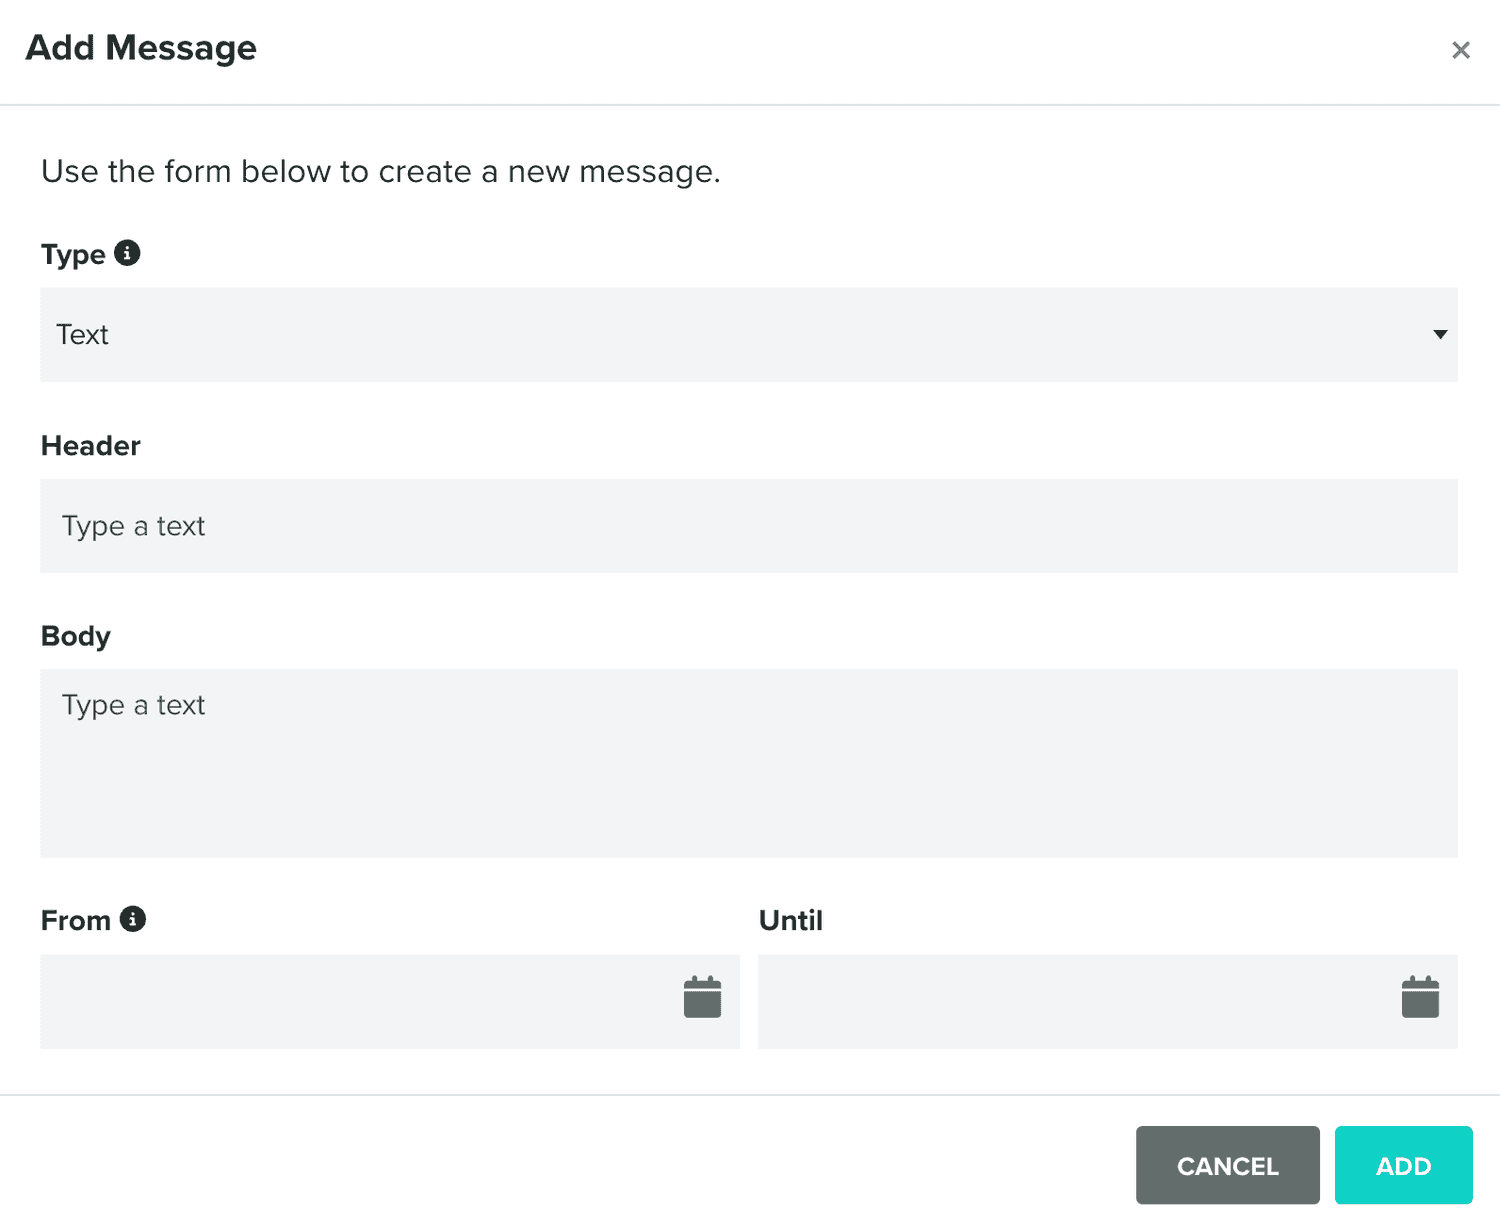
You can create two types of messages:
- Text: Displays the message on the card details screen.
- Text & Notify: Displays the message on the card details screen and generates an Android notification.
You must provide a header and a body. You can also set a display interval for each message, specifying From and Until dates. This flexibility ensures that messages are shown at the right time, and they remain visible in the message list indefinitely if no Until date is set.
You can clear all messages in a pass template by clicking in the following button:

Additionally, for all Apple Wallet passes (except Offer and Loyalty ones) you may also provide a relevant date:

When provided, an alert will also be displayed in device's the lock screen.
Finally, all passes also support an expiration date:

When provided, the pass will be automatically voided after this date. Google Wallet may use this date to send notifications to your users a few days before they expire.
Fields
In this tab, you may customize the data displayed in your pass. It will only display the fields included in the pass template after you've selected one in the Setup tab:

When you select a pass template, you can then provide values for all pass specific fields defined by your pass template:
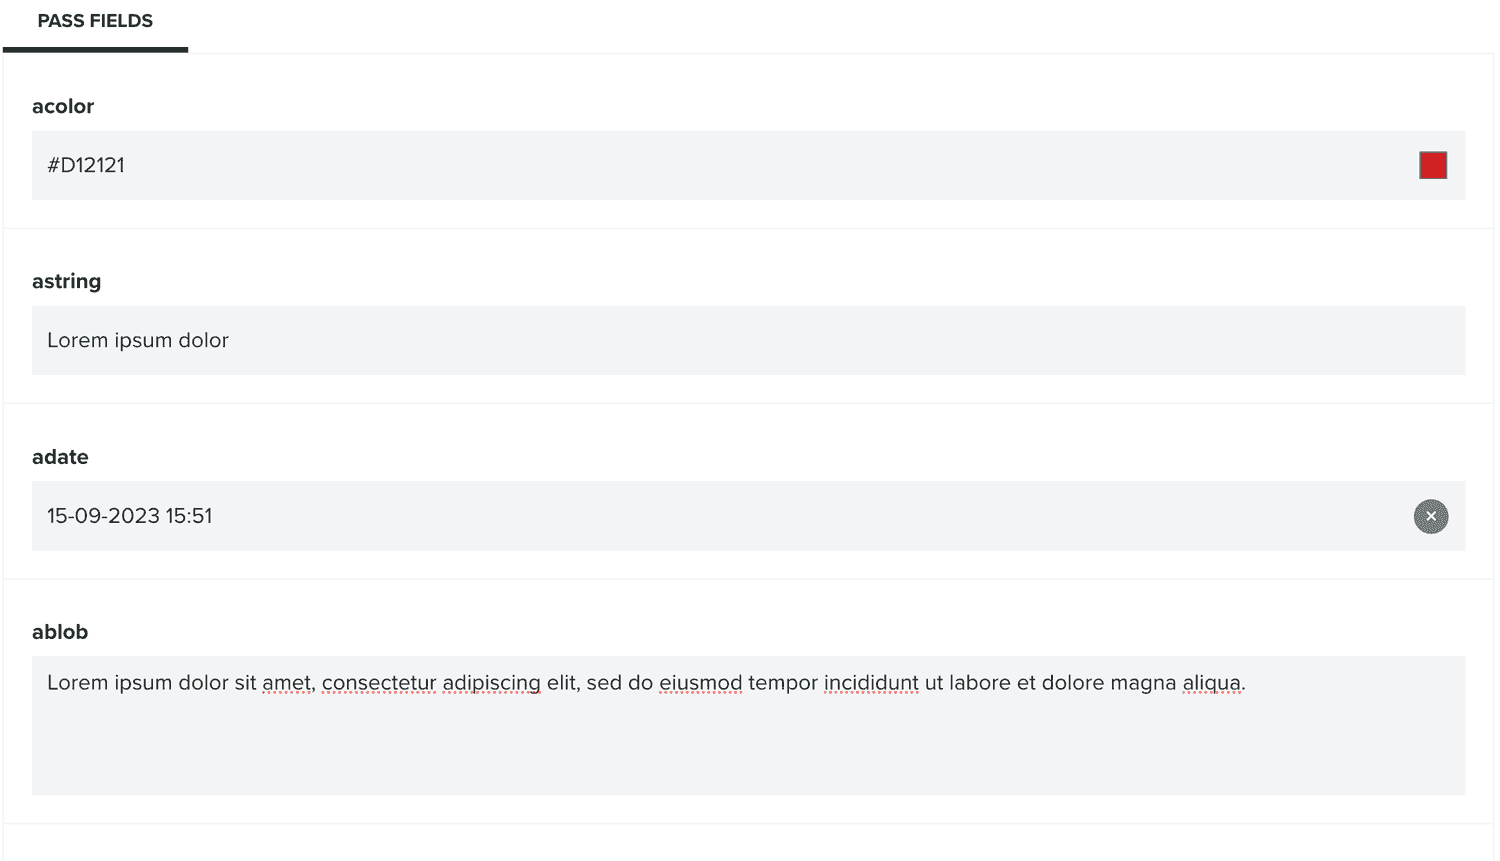
All fields provided in your pass template include a default value which we will use if you don't provide any values in this section.
Barcode
In this tab, you may define an identifier for this pass:

Even if your pass template is defined to not use a barcode, you can still provide a unique identifier for it. If left blank, we will generate one for you. This value cannot be edited, and it will be the unique identifier for your pass.
While you design your pass template you can also see a preview of what it will look like, by expanding the following area:
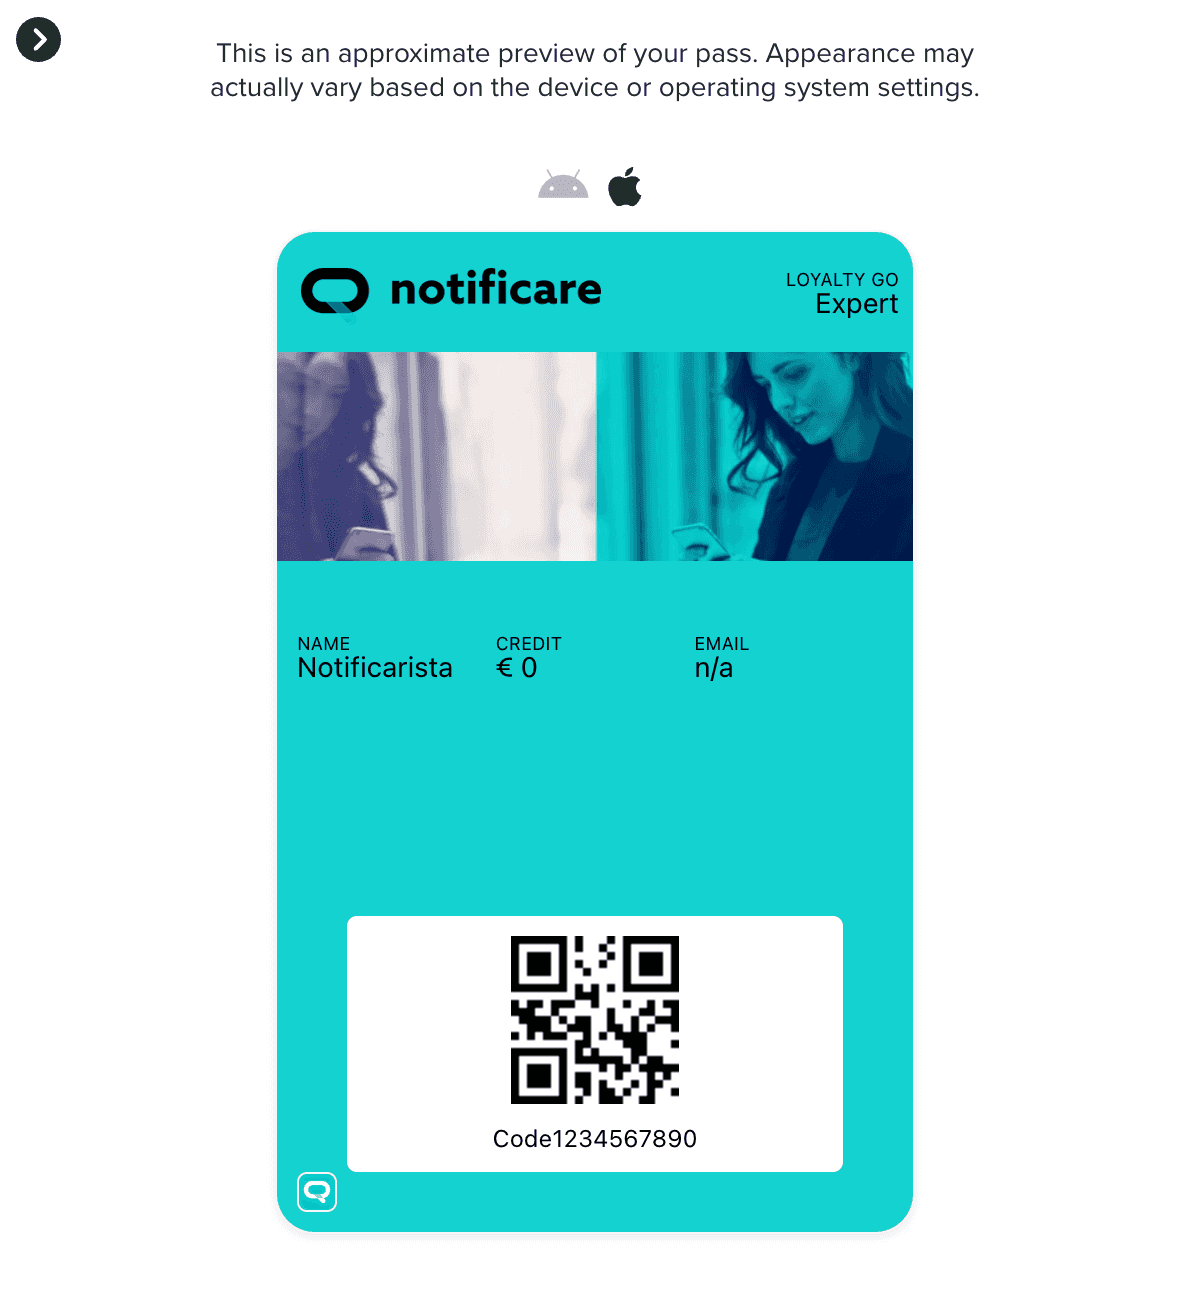
Once you've created a pass, you will be able to edit it, by clicking on each entry in the pass templates list:

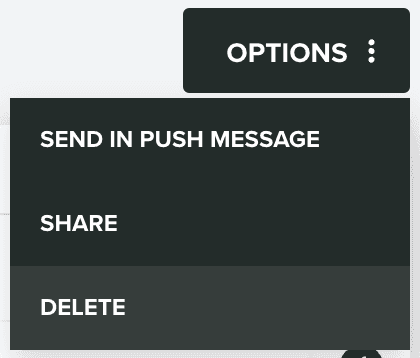
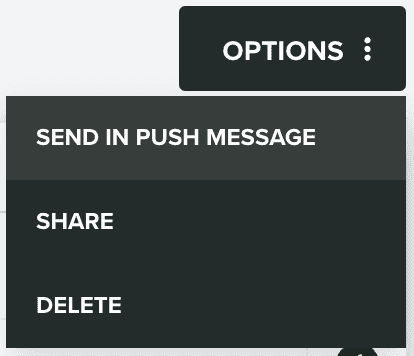
In this page you can also quickly distribute a pass using a push message, by expanding Options menu and click in Send in Push Message:
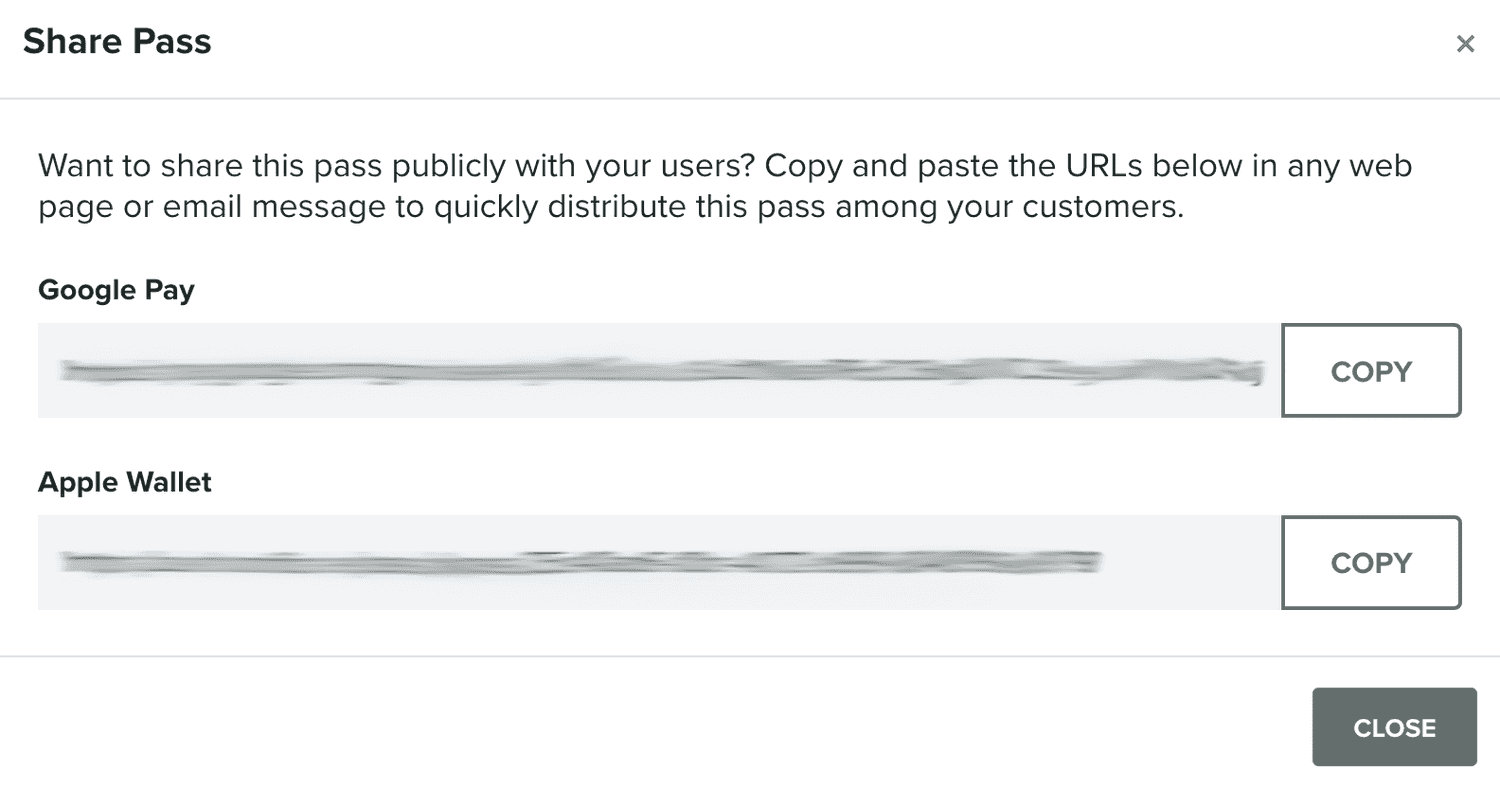
You can also clone a template by expanding the Options menu and click in Share:
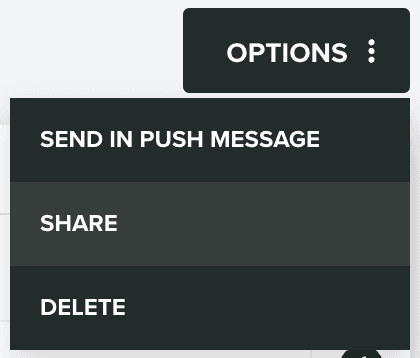
Which will open a window as follows:
And you can delete passes by expanding the Options menu and click in Delete:
