SMS Messages
In this area you can send text messages using Notificare's powerful SMS composer.
You start by expanding the Engagement menu item, then the Messages menu item and finally click in New SMS Message:

In this area you will find our powerful composer for SMS. This composer will be used throughout our dashboard whenever you need to send or edit text messages.
Audience
In this tab you will define the recipients of your message which you can select in different ways:
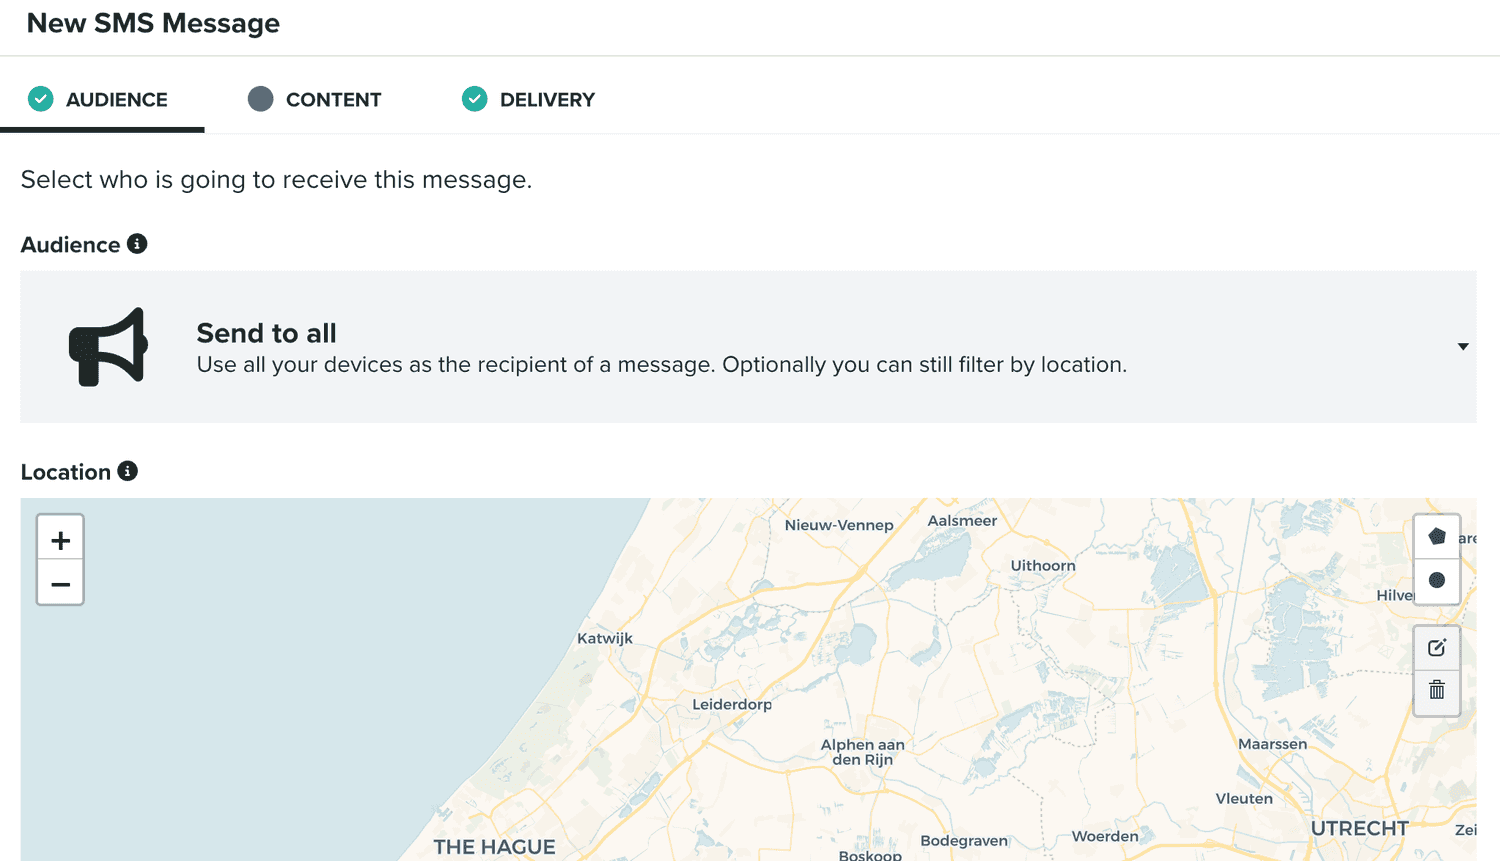
This tab will not be visible for triggered messages (e.g. event-based). For non-triggered messages, the default selection is Send to all:

Which like the name says, it will basically allow you to target every phone number in your audience. Additionally, if you also collect your user's location (you must have a plan that supports Location Services), with this option, you can also filter the audience based on a location, which you define in the following area:
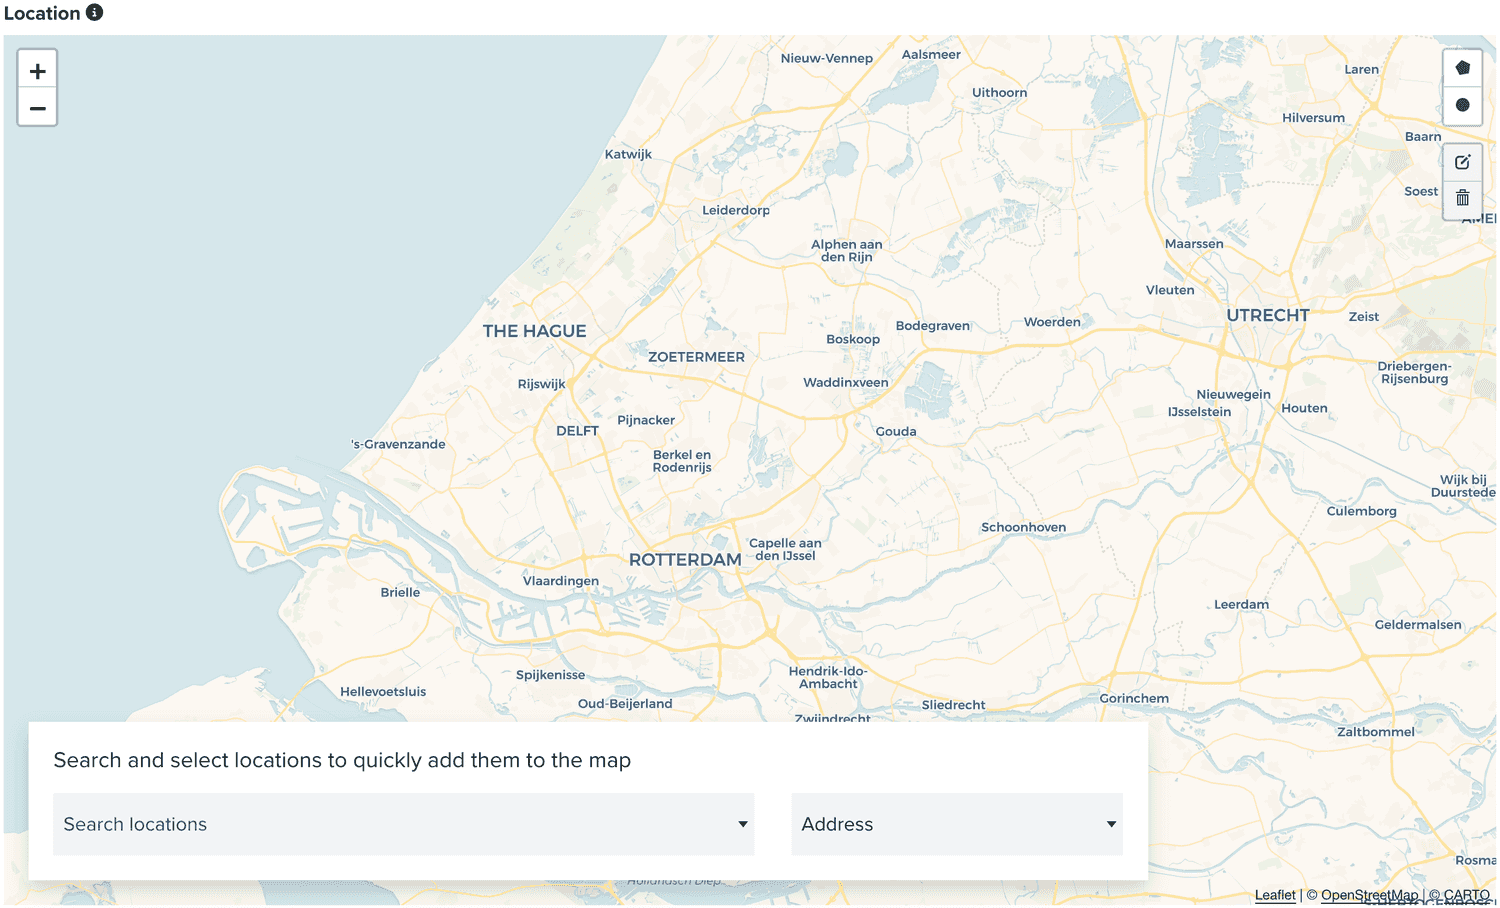
There are different options you can use, for example, you can also send a private message to a specific user, by selection the following option:

When you select this option, you must also search and select a user in this field:

This will target all the phone numbers of that user.
You can also send a private message to s specific phone number. Simply select the following option:

Where you will need to search and select a phone number in the following field:

You can also target groups or users, using segments. To do that, you need to select the following option:

You can then define which segments you want to use by searching and selecting one or more segments in the following field:

Similarly, you can also target groups of devices, using tags. Simply select the following option:

And search and select one or more tags in the following field:

Sometimes you just want to retarget users that interacted previously with your app. When that's the case, we offer an option where you can target users that executed an event on a given period of time:

Where you will need to select at least an event and start and end date:

If the event you choose, is a custom event, you will also need to select the custom event you want to target:

Some events allow you to also define a filter based on the data included in the event, allowing to further filter your selection:

To learn more about data filters, please read the guides located here.
Additionally, you can further filter the results of this selection, by using a criteria:

Which allows you to define filters using a combination of Segments, Tags, Location, Device Properties and User Data Fields.
To learn more about criteria, please read the guides located here.
Finally, your last option will allow you to combine Segments, Tags, Location, Device Properties and User Data Fields, by using a criteria to filter your audience:

Where obviously you will need to define your criteria:

To learn more about criteria, please read the guides located here.
When this tab is available in the composer, you will also see a section as follows:

That will display information about the users or phone numbers you will reach with your selection. In this section, we will also provide an estimation of the cost of a message. Unfortunately, this estimation can only be done based on a single country and by default we will use your account's country. However, you can compute the costs for any country you want by clicking the country name, which will open the following window:
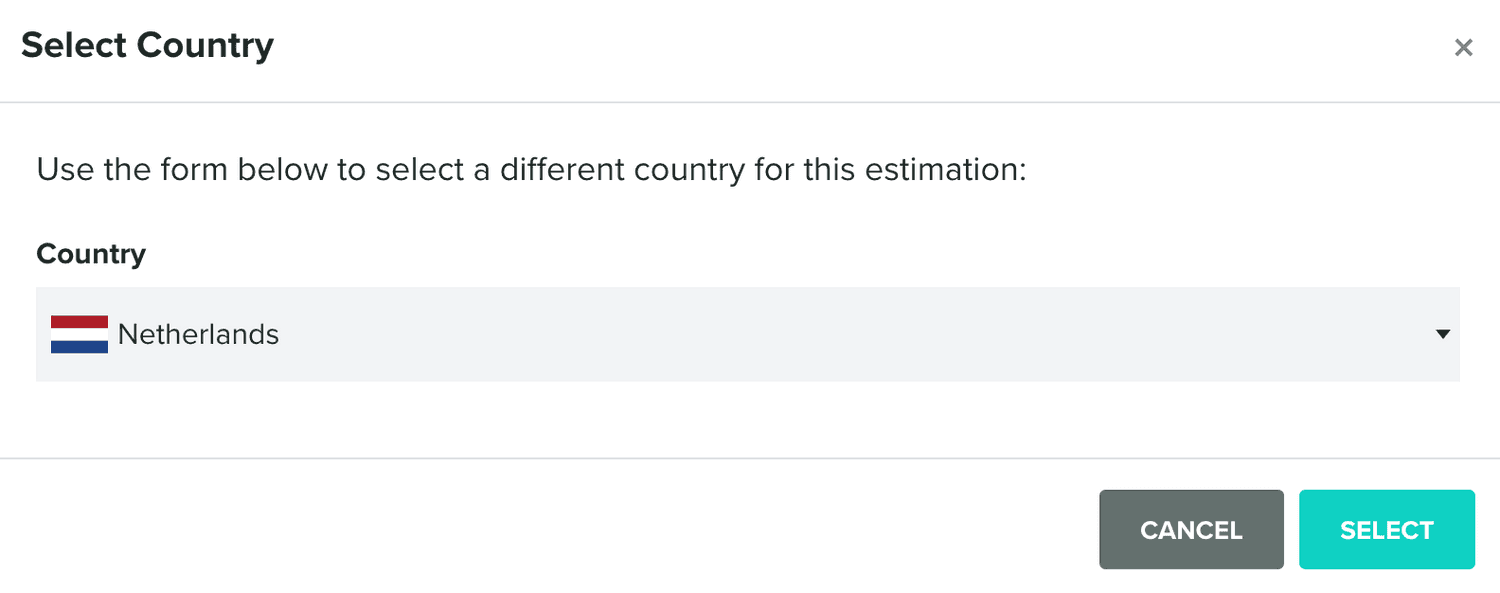
This should allow you to estimate costs for different target recipients.
Filters
This tab is only visible, when you are creating or editing a triggered text message (e.g. event-based campaigns).
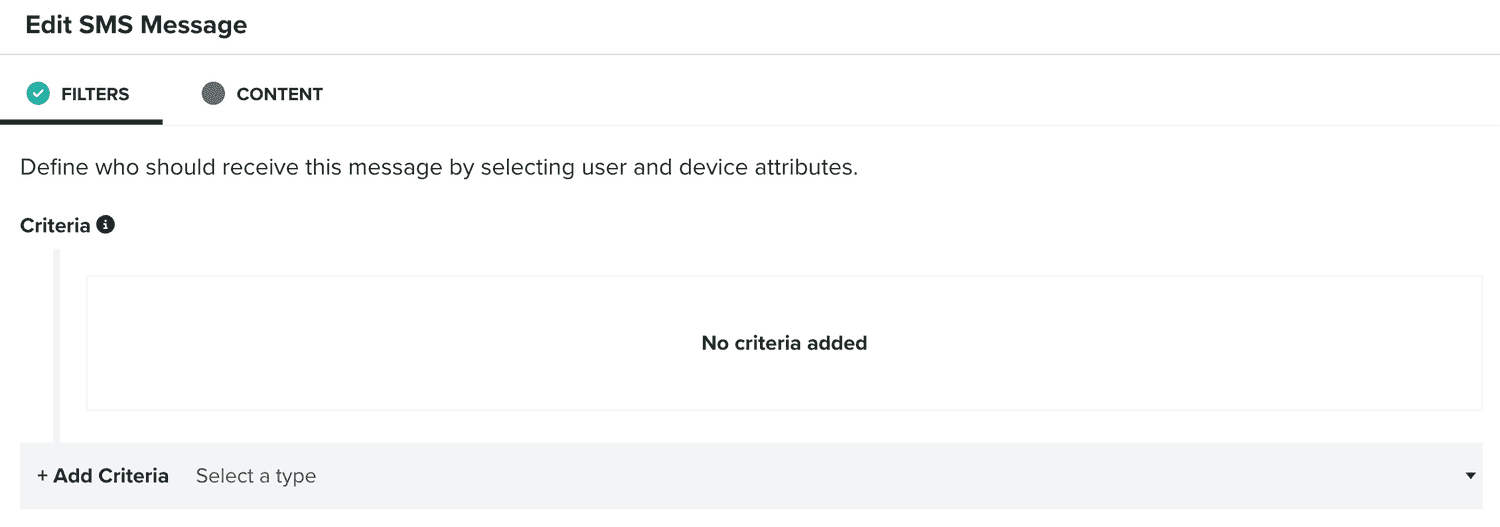
When that's the case, this is the area where you define who is eligible to receive the content of that trigger. You define that using our criteria component:

To learn more about criteria, please read the guides located here.
Content
In this tab you will actually define what is the content of your text message:
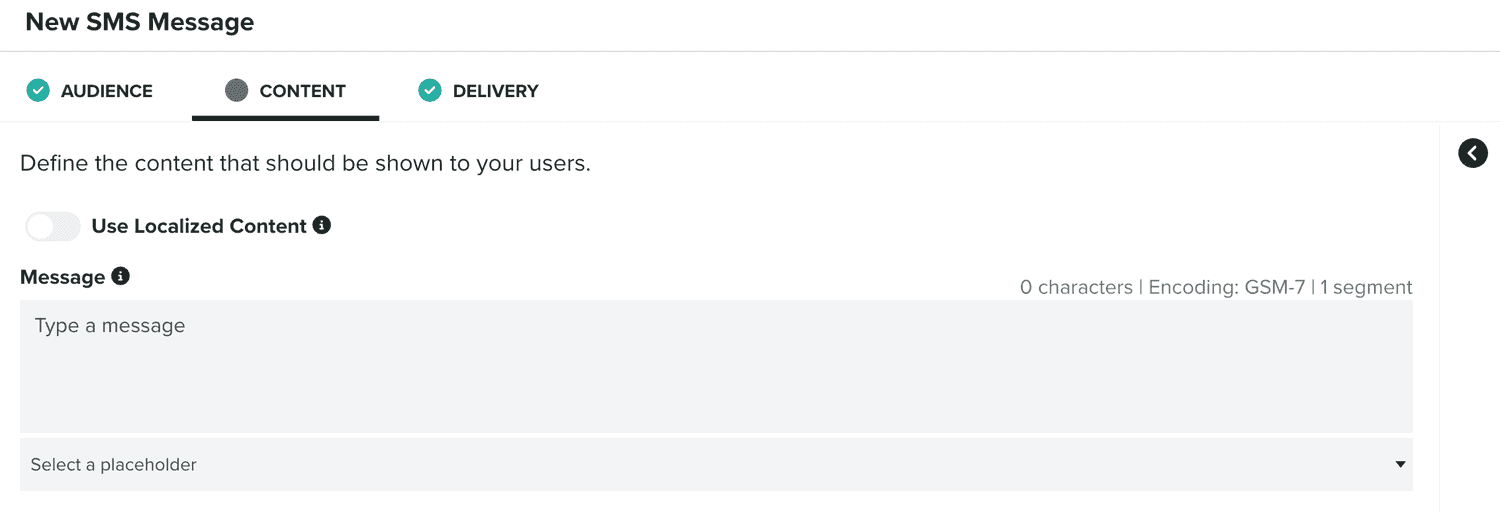
Text messages can be localized in different language/region combinations. When you want to use localized content, please toggle the following option ON:

You can learn more about localized content in our guides located here.
The only required field in a text message is the message itself:

About Character Limit
The character limit for a single SMS message is technically 160 characters. However, most modern phones and networks support message concatenation: they split large messages into individual SMS messages (called "segments") and then re-create the large message at the receiving end. Notificare supports long messages up to 1600 characters. However, we recommend sending messages that are no more than 320 characters to ensure the best deliverability and user experience.
The 160-character limit is for messages encoded using the GSM-7 character set. Messages not encoded with GSM-7 are limited to 70 characters. If you include non-GSM characters, such as Chinese script or Emojis, those messages have to be sent using the UCS-2 encoding.
When you send a message with more than 160 GSM-7 characters, it will be split into segments of 153 characters. This means that 7 characters are sacrificed per segment to help with concatenation. On the other hand, messages sent using UCS-2 with more than 70 characters will be split into 67-character segments. This means that 3 characters are sacrificed per segment to help with concatenation. Notificare will bill you per segment used.
Emoji support has not been standardized across carriers, as a result we cannot guarantee support for Emoji across all carriers. Using Emojis in text messages will force messages to be encoded as UCS-2, reducing message segments to 70 characters. Older 16-bit Emojis count as a single character and newer 32-bit emojis count as two characters in a message.
Additionally, when enabled by our team, you can also include media files in your text messages:

You can include up to 3 files (png, jpg or gif with a max. size of 1MB each) in your messages.
Please note that MMS is only supported when sending from a United States or Canada 10DLC or Short Code to a United States or Canada recipient. These media files will be ignored when included in a message targeting phone numbers from any other countries.
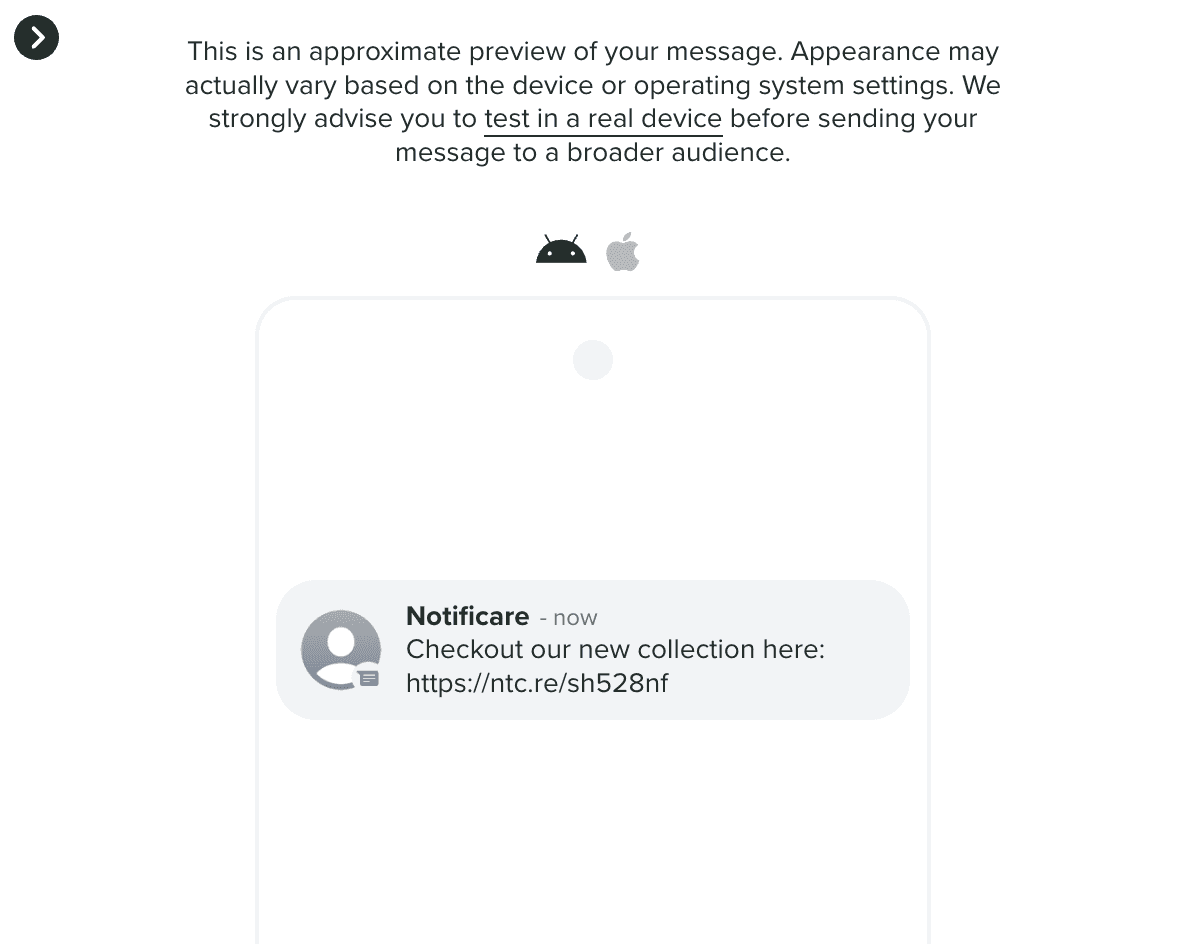
In this tab, it is also possible to preview the content of your message, by expanding the following section:
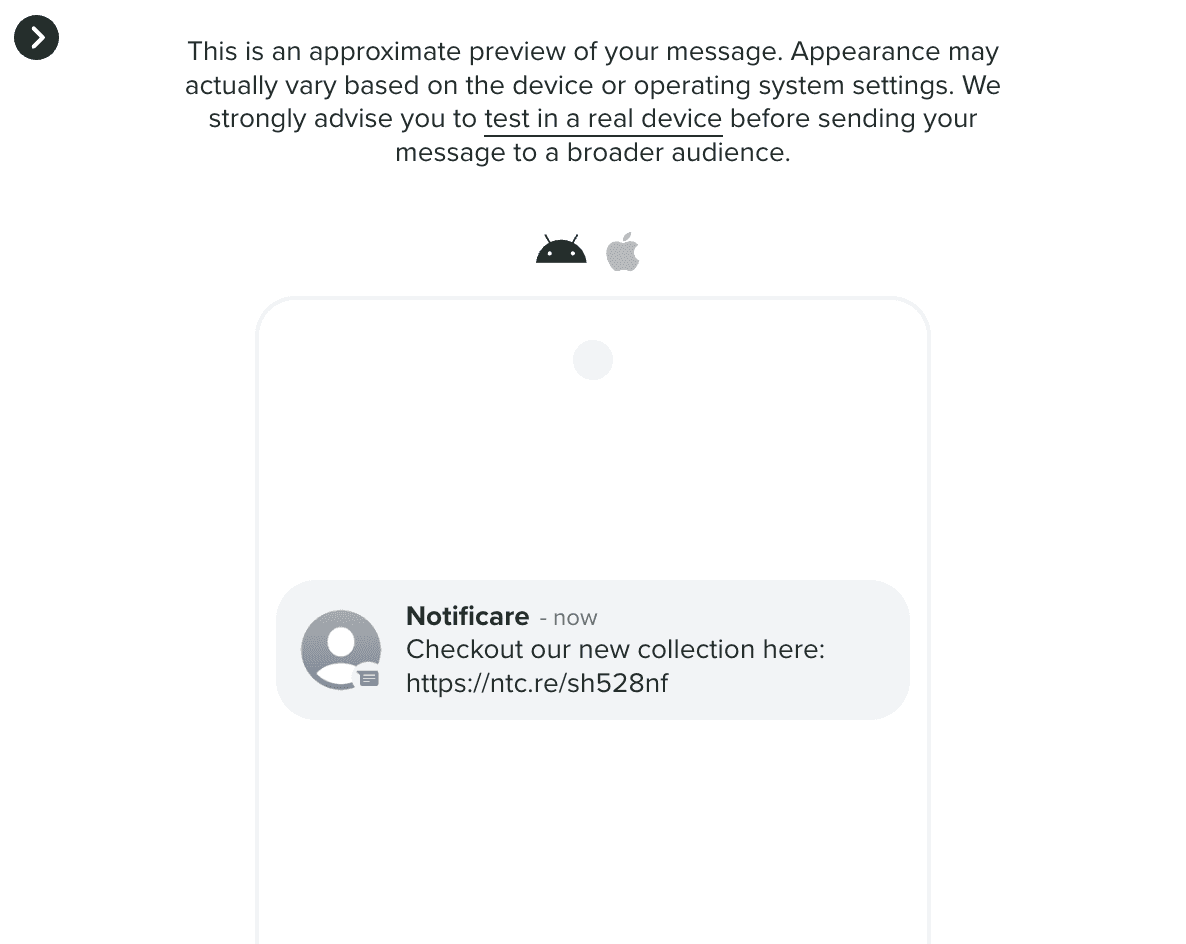
In this section it is also possible to test a message in a real device, by clicking in the test in real devices link, which will open the following window:
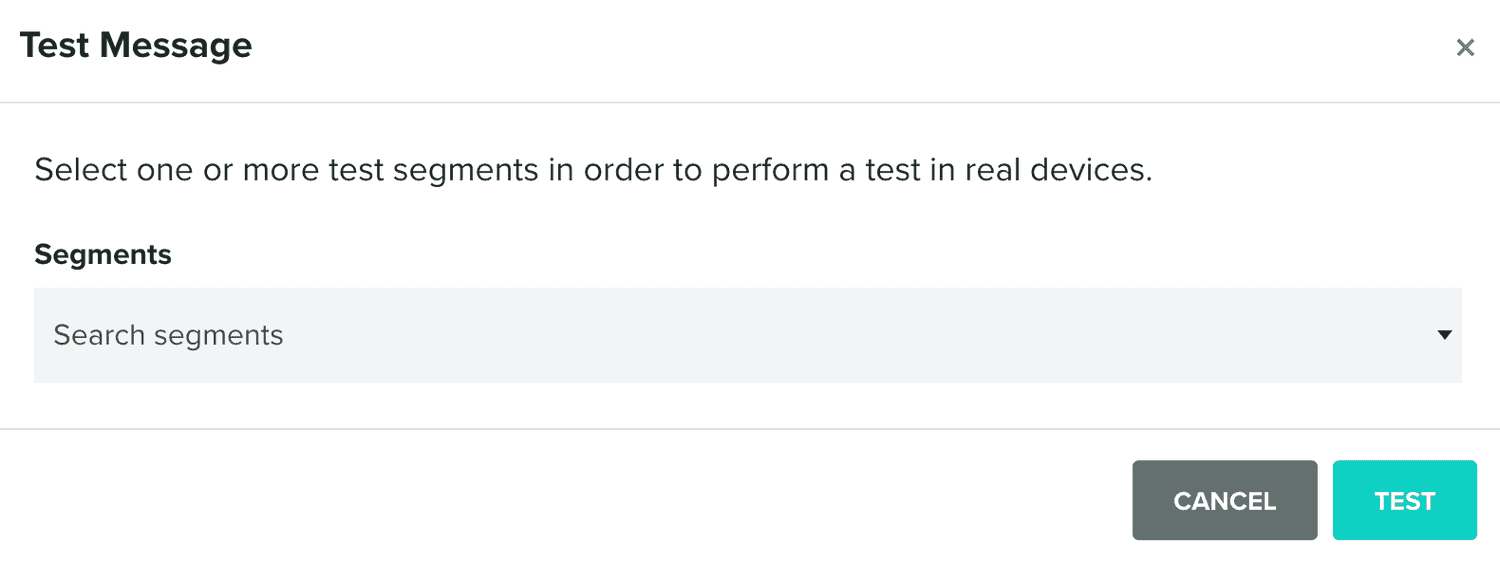
You can then target test segments and send this message to a group of test users before sending it to your selected audience.
Finally, in this area you will also see an icon as follows, when at least the message is provided:
![]()
When clicked, it will open a window as follows:
Which contains the payload necessary to replicate the message when using our REST API directly.
Delivery
In this tab, you will define the delivery options for a message. This tab is not visible for triggered messages (e.g. event-based campaigns).
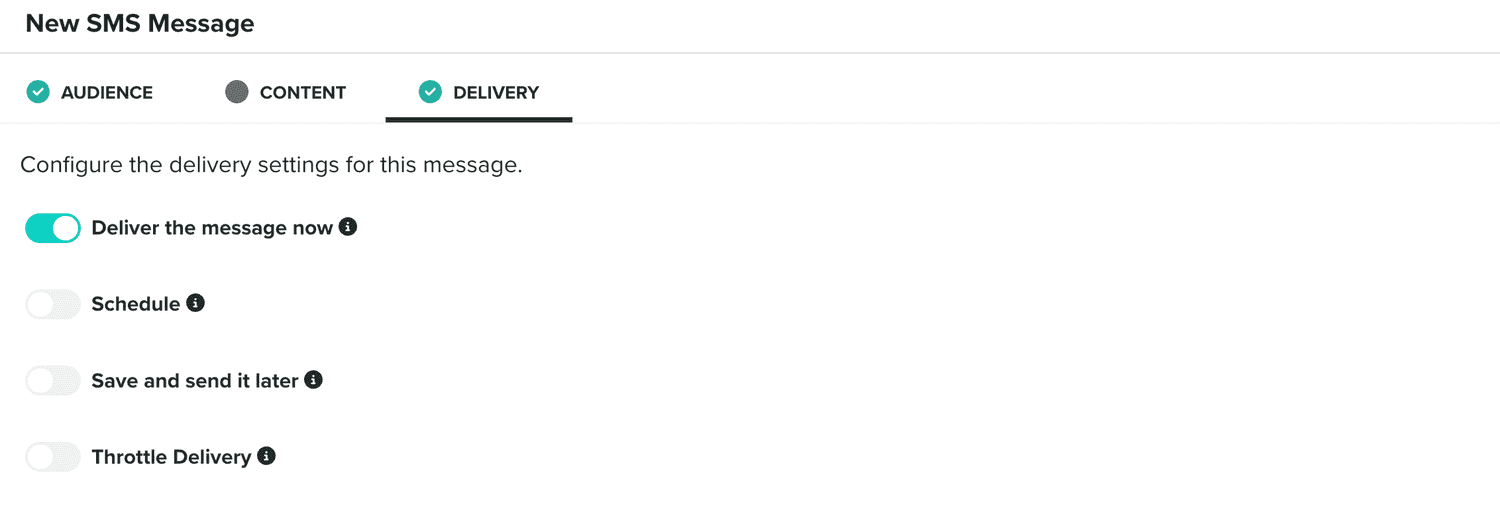
When you want to send a notification right away, you should toggle the following option:

If instead you would like to schedule a message for a date in the future, you should select the following option:

You can learn more about the schedule component in our guides located here.
Lastly, you can also save a message as draft, by selecting the following option:

If you save a message in this mode, your message will then be available in the Drafts area, where you can edit and eventually send or schedule it.
In this area you can also define a throttle rate for your message:

By default, our system will deliver your messages as fast as possible. However, it can potentially disrupt your servers or any 3rd party services used in your website or apps. By providing a maximum number of messages we send per second, you can minimize this issue.
For non-transactional messages, when you provide a throttle rate, we will estimate the delivery time for your message according to your selected audience, and displayed it as follows:

Finally, for non-transactional messages, you can also send a copy of your message to one or more phone numbers (up to 10). This is defined by using the BCC option found in this area. To create a BCC list toggle the following option ON:

Then simply search and select up to 10 phone numbers, using the following field:

Additionally, you can also add phone numbers by searching for segments, tags or users. This is done by first clicking in the More search options link, which will prompt the following window:
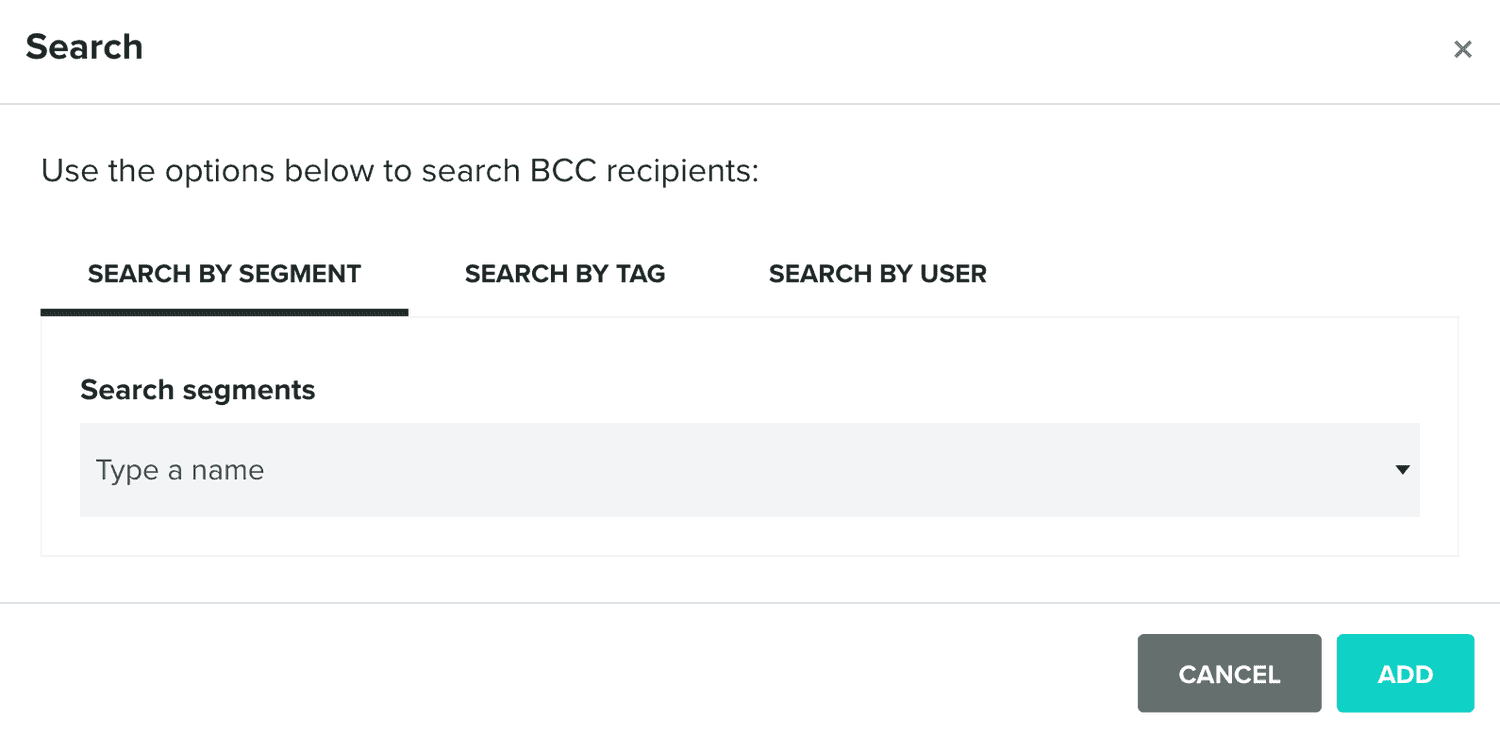
Where you can search segments, tags or users and add their phone numbers to the BCC list.
If you choose to schedule or send your message right away, you wil be prompted with the following window:
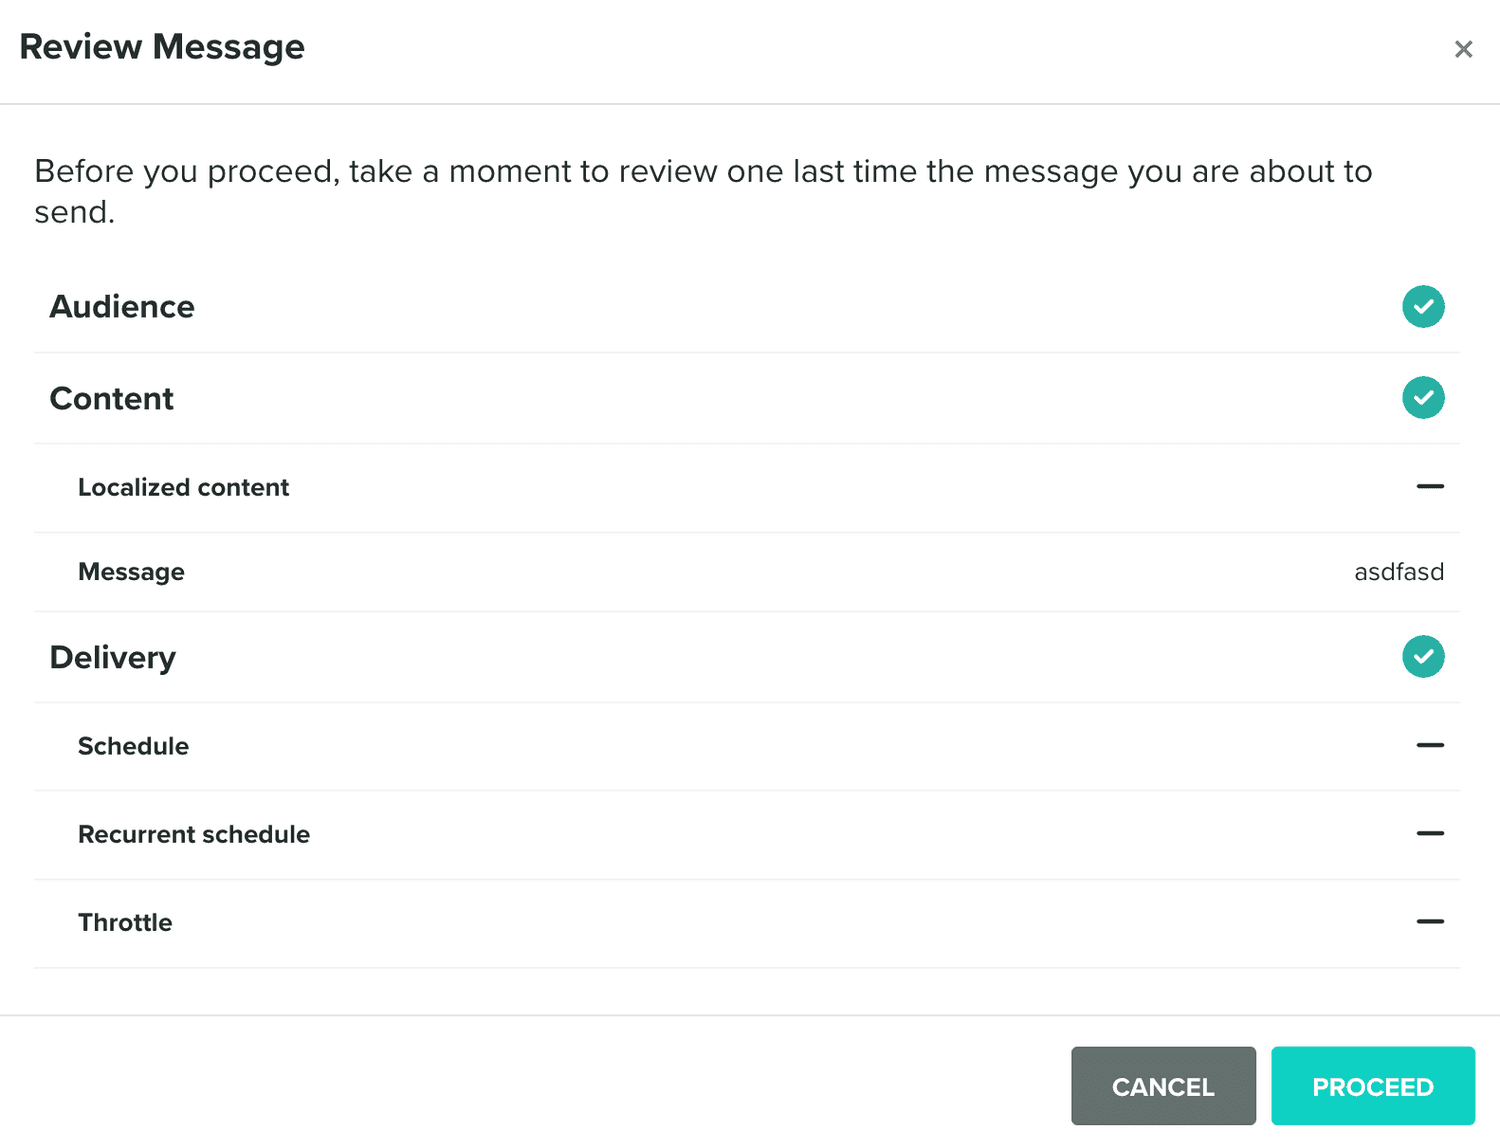
If you are sending or scheduling a non-private message, we will request you to authenticate that using 2FA (if enabled):
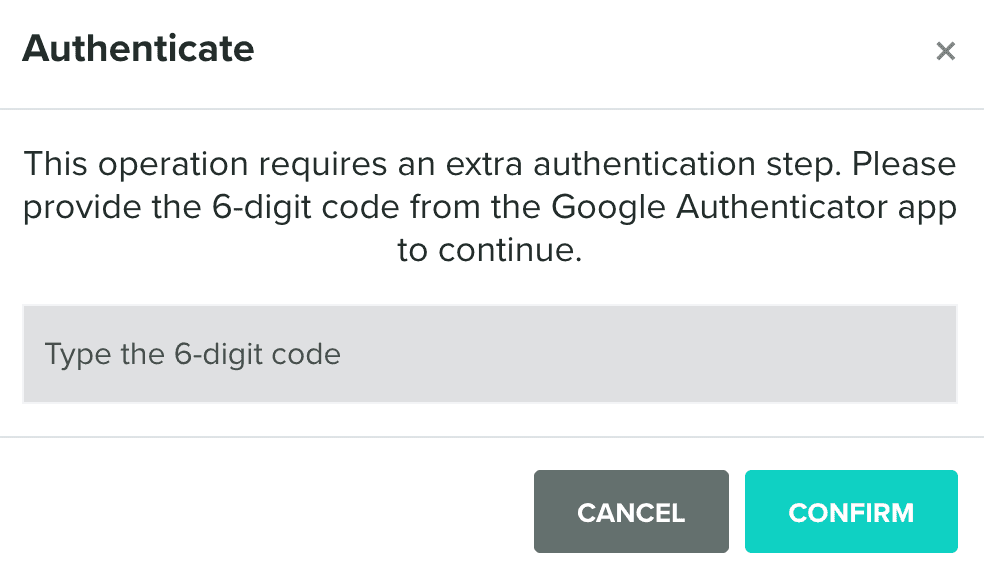
Or your password:
