Email Editors
In this area you can learn about all the email editors you can use when composing an email message.
Pre-Defined Components
When you select this editor, you will take advantage of a drag and drop solution that requires no HTML markup knowledge. Its components are highly optimized to create fully responsive email messages.
In our email composer, you use this editor by selecting the following option:

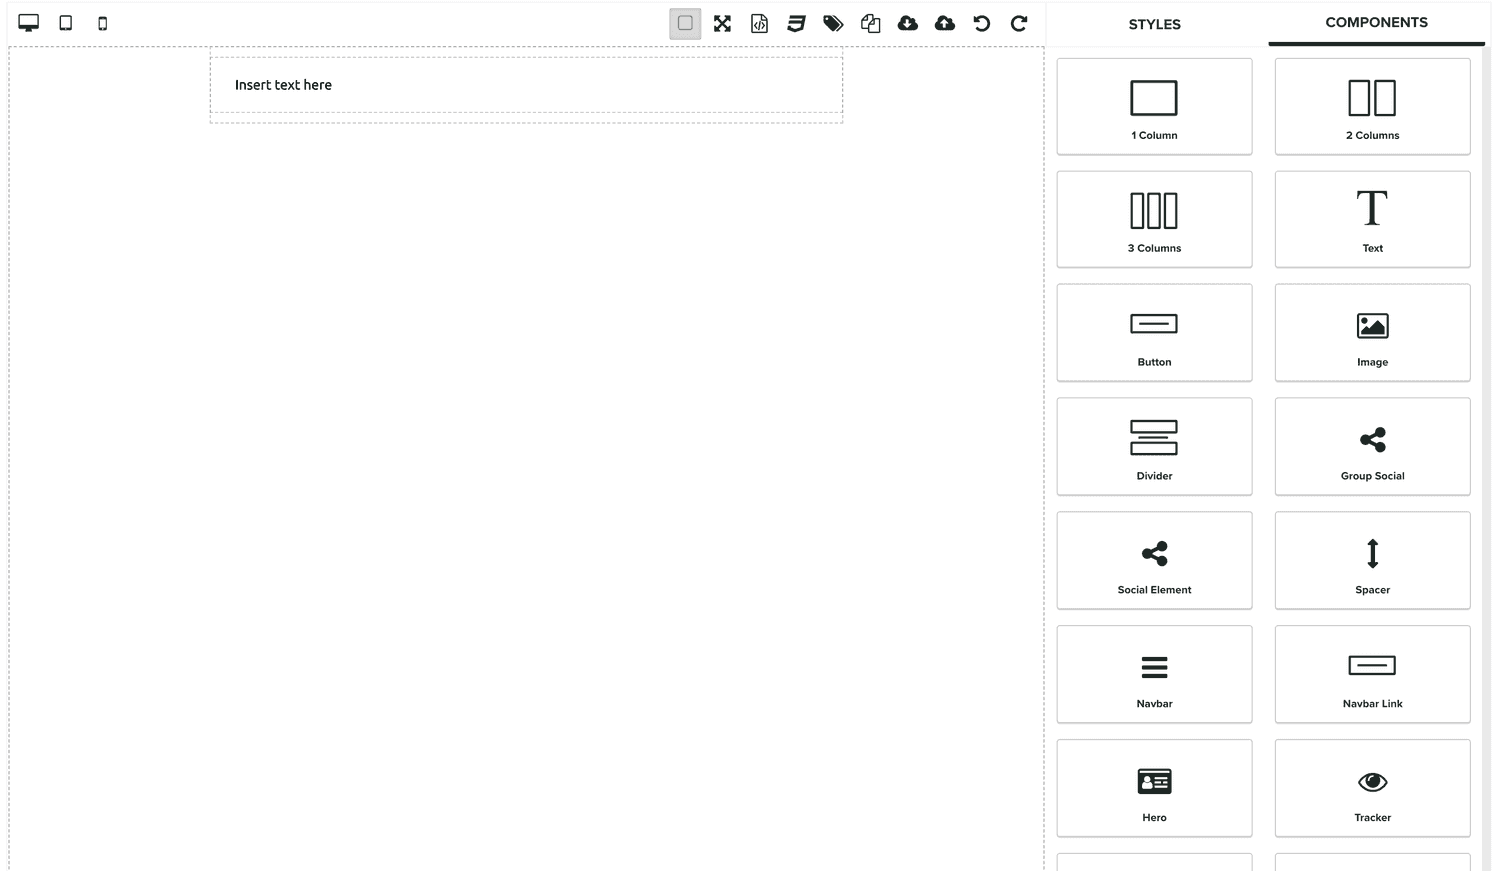
Which will load the following editor:
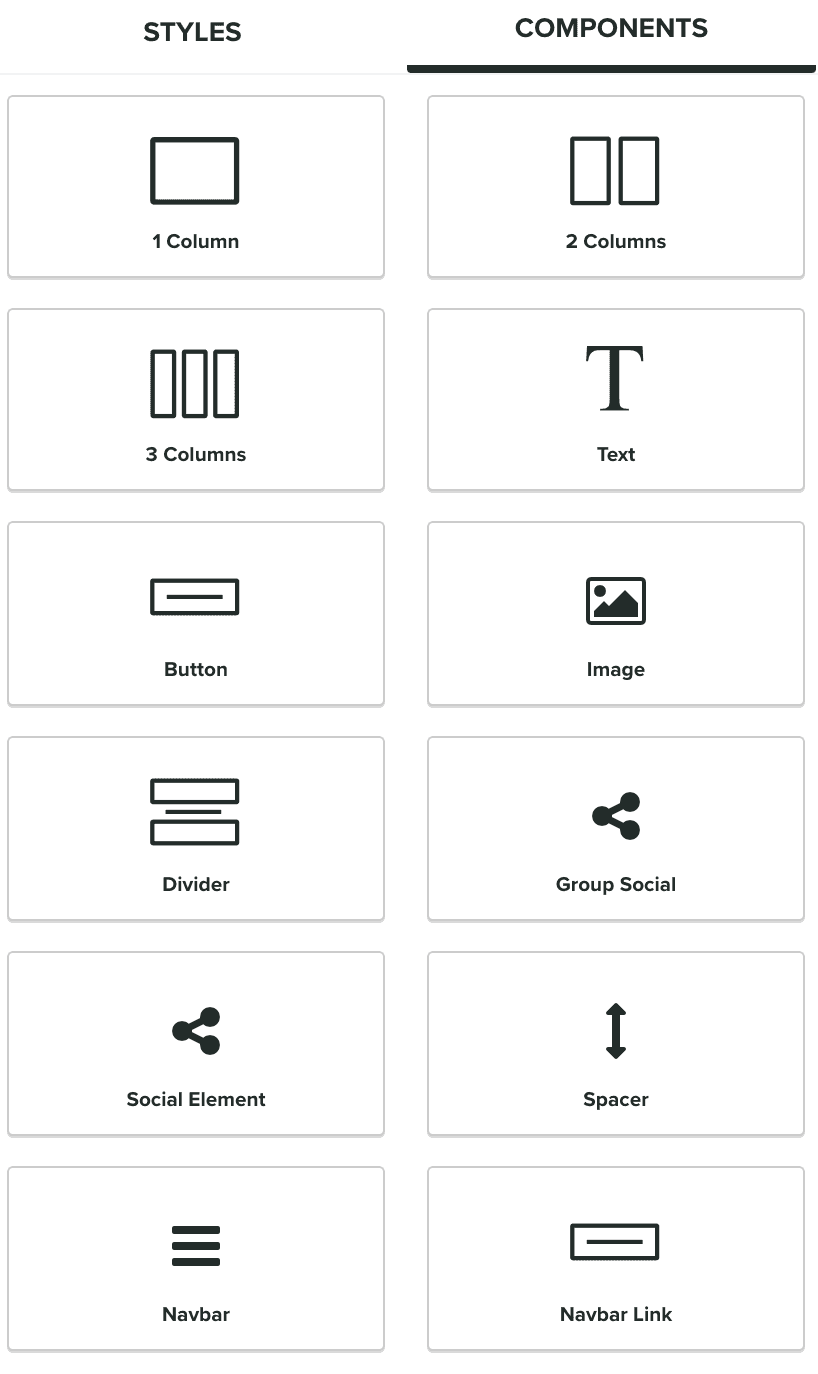
You can start by dragging components from the following section:
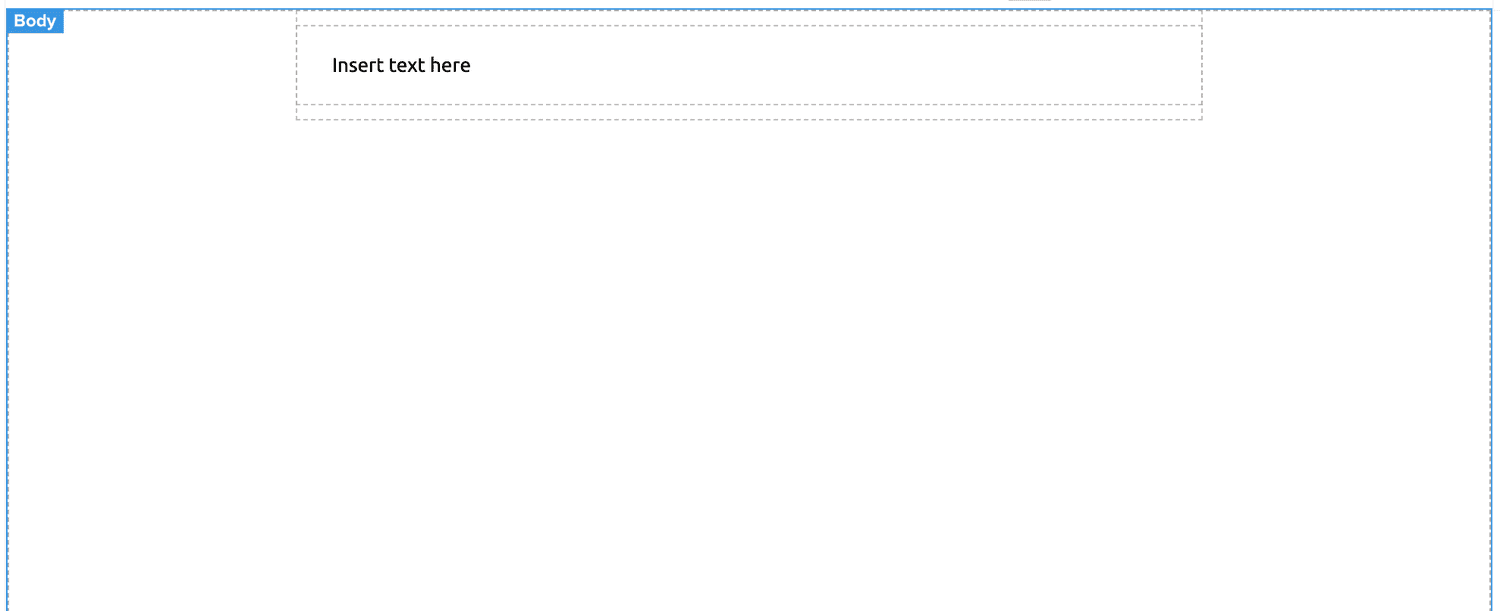
And dropping them in the following area:
In the Components section you find all the elements you will ever need to design your email message. Additionally, in this area you will also find all the email Partials you create. These can also be dropped into your content.
Components dropped in the editor area, can be selected by clicking on them:

When selected, you can drag it further to change its position. You can also use the following menu:

Where you can select the parent element by clicking on the first icon from the left, drag its position by clicking the second icon from the left, clone it by clicking the third icon from the left or remove it by clicking the last icon from the left.
Double-clicking certain components, will also allow you to edit them, for example, in a text component:
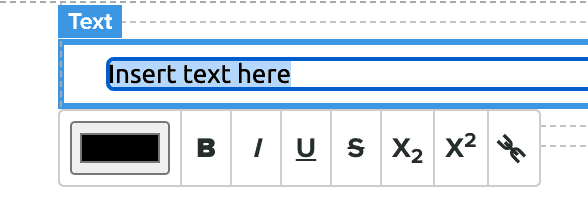
Where a rich text editor is available exclusively for a text component. In this minimal editor, you can change the color, format the text and eventually create a link with the selected text. Additionally, when a component is selected, it can be further customized in the following section:
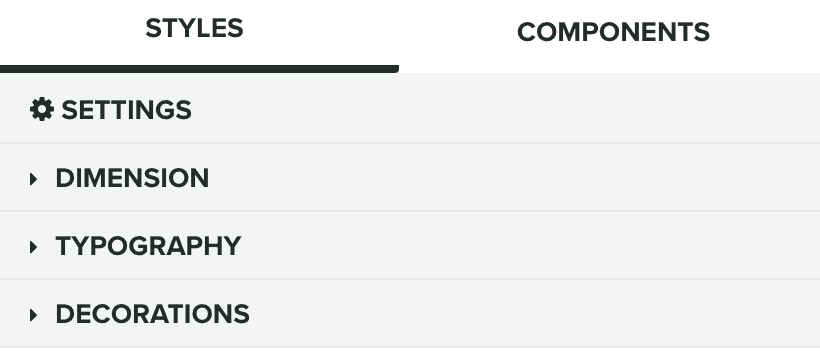
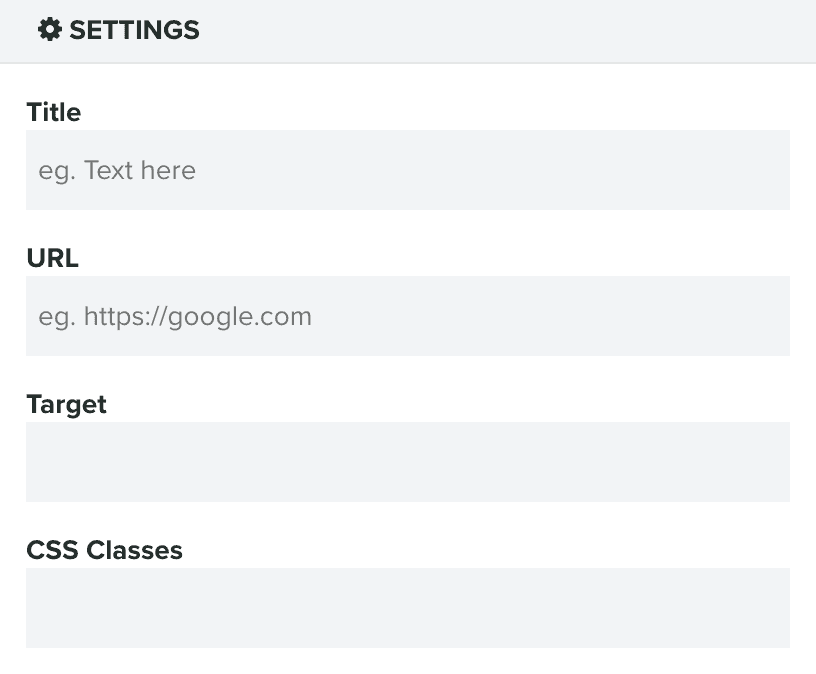
Where you can change styles and attributes in the following area:
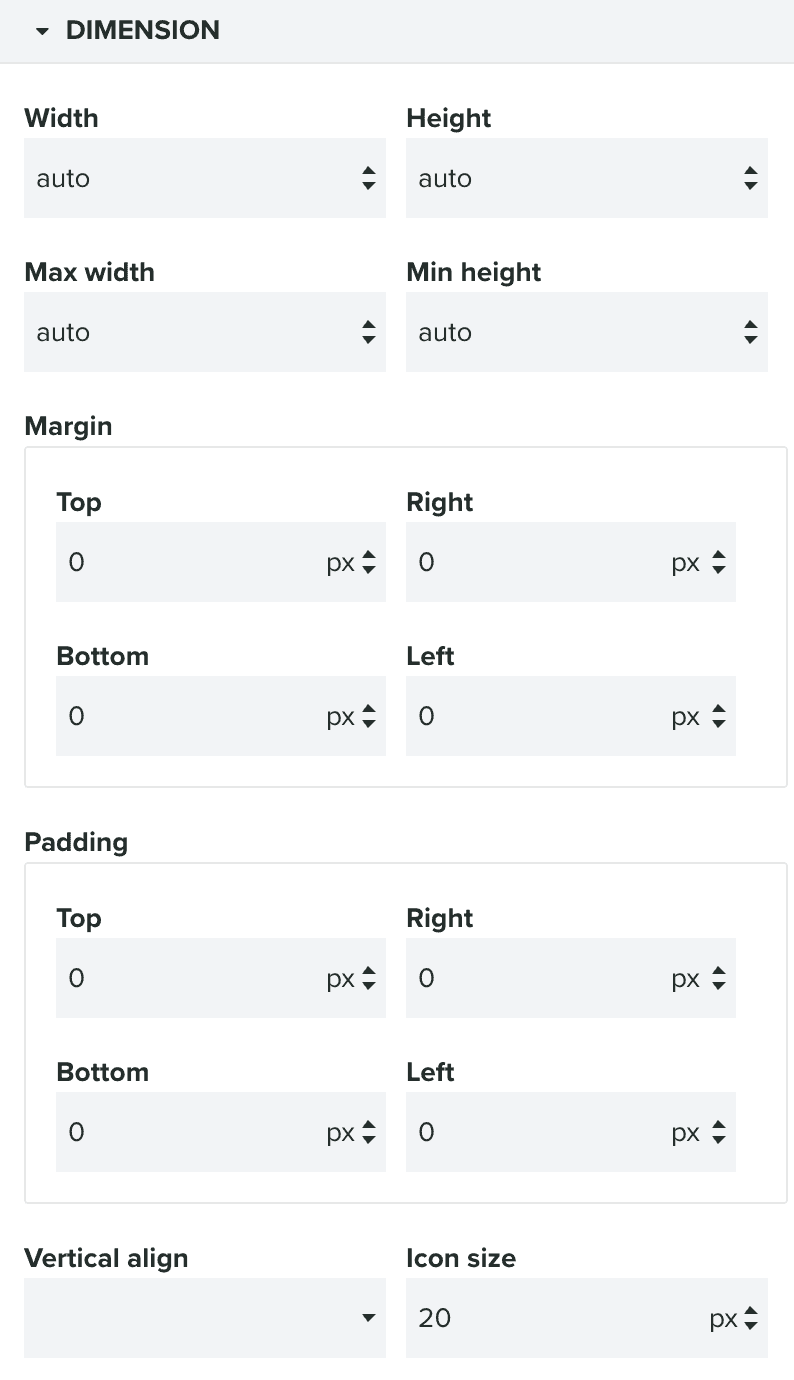
Its dimensions in the following area:
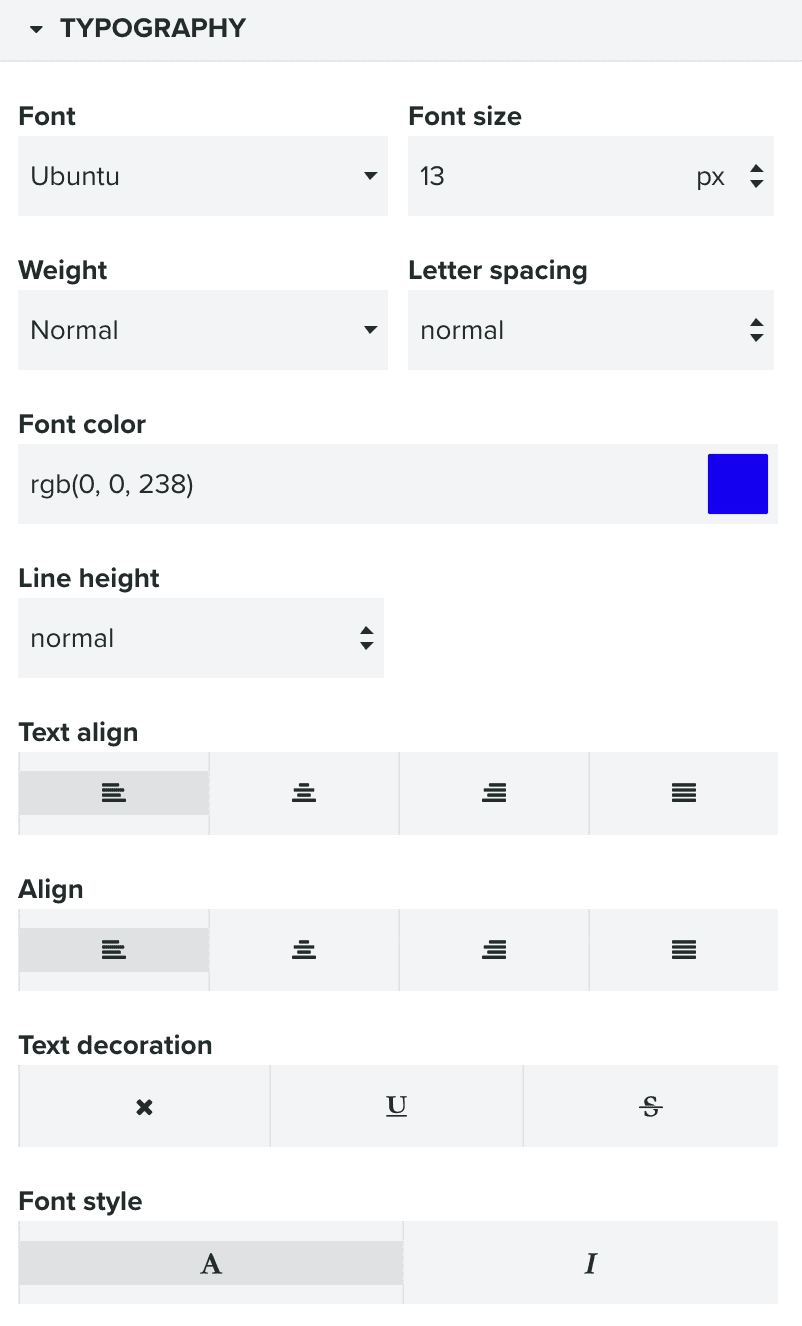
Its typography in the following area:
And its decorative elements in the following area:
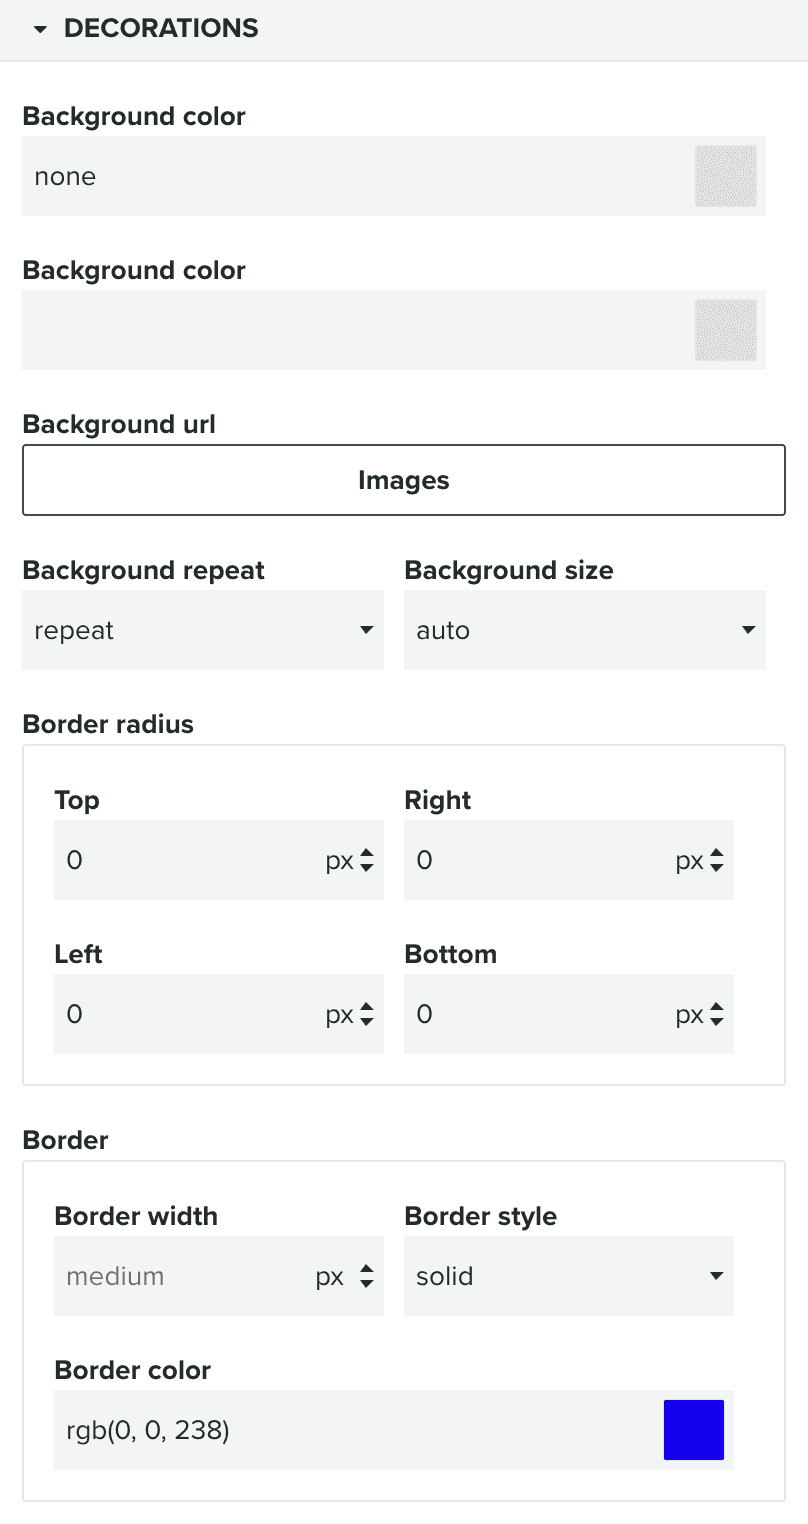
Furthermore, this editor also offers the following toolbar:
![]()
From left to right you will find: show/hide element's outlines, enter a fullscreen mode, edit MJML, edit CSS styles, manage meta tags, open the free template's window, the import and export window and undo and redo changes. Additionally, you can also preview your content in different device size, using the toolbar below:

Custom HTML
You will want to use this editor when you already have HTML templates, or you want to have full control over the design of your email messages.
In our email composer, you use this editor by selecting the following option:

Which will display an editor as follows:
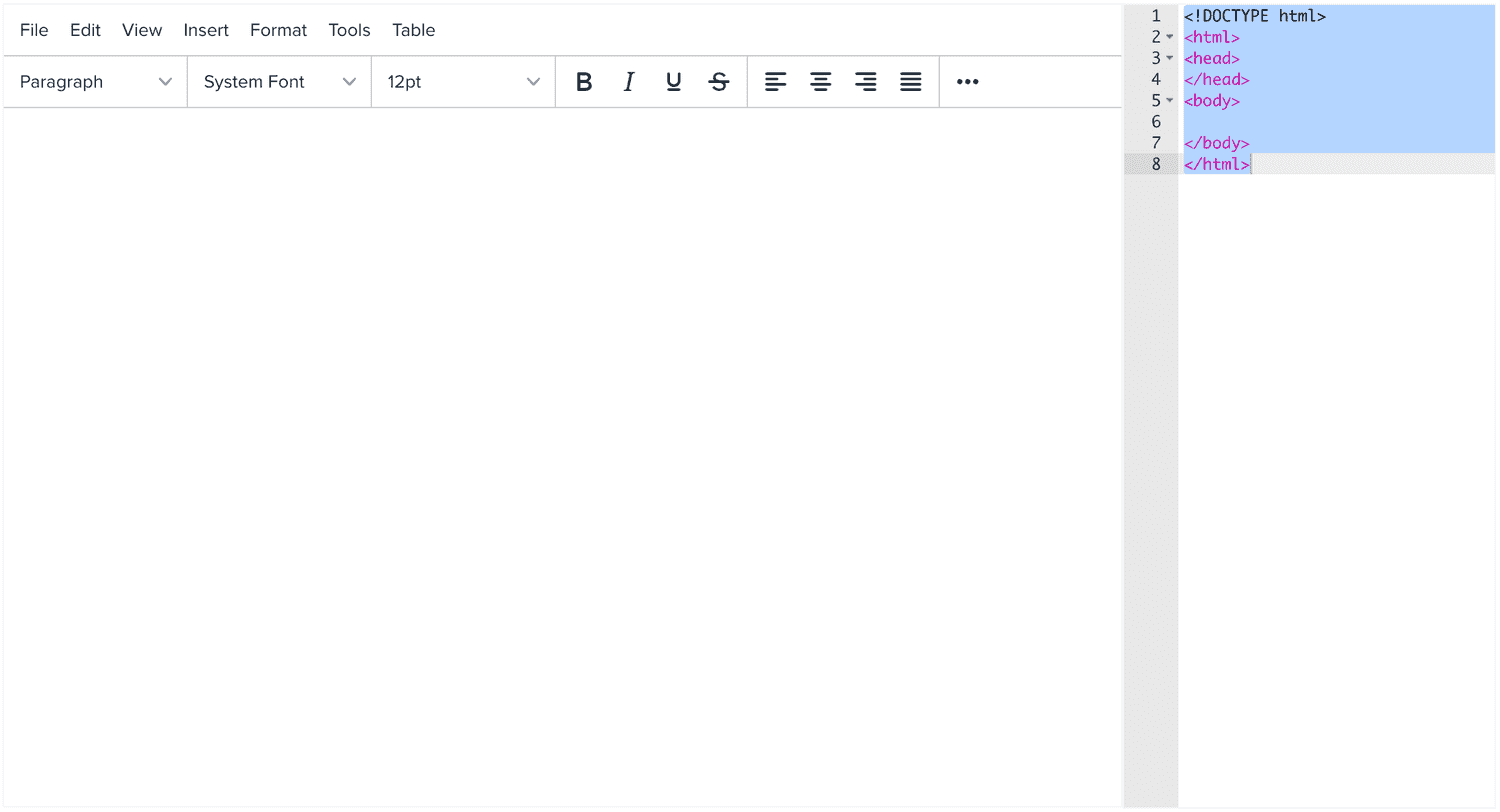
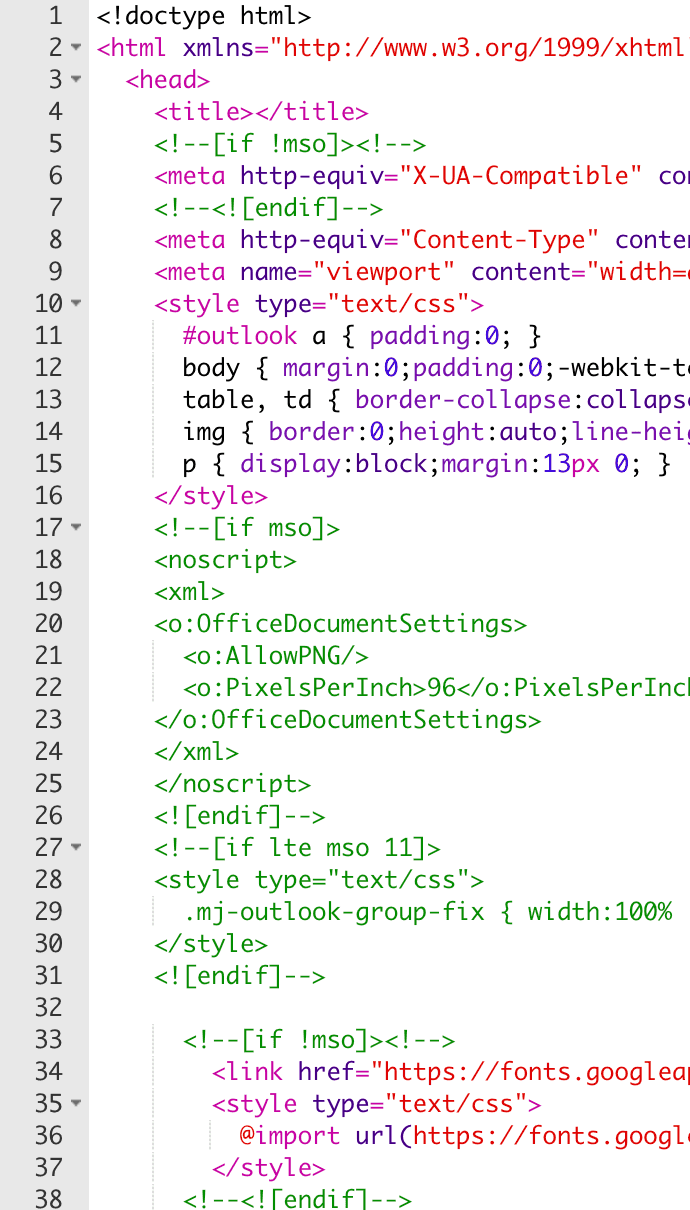
This editor offers two editing options, in the following area, you can paste or edit markup directly:
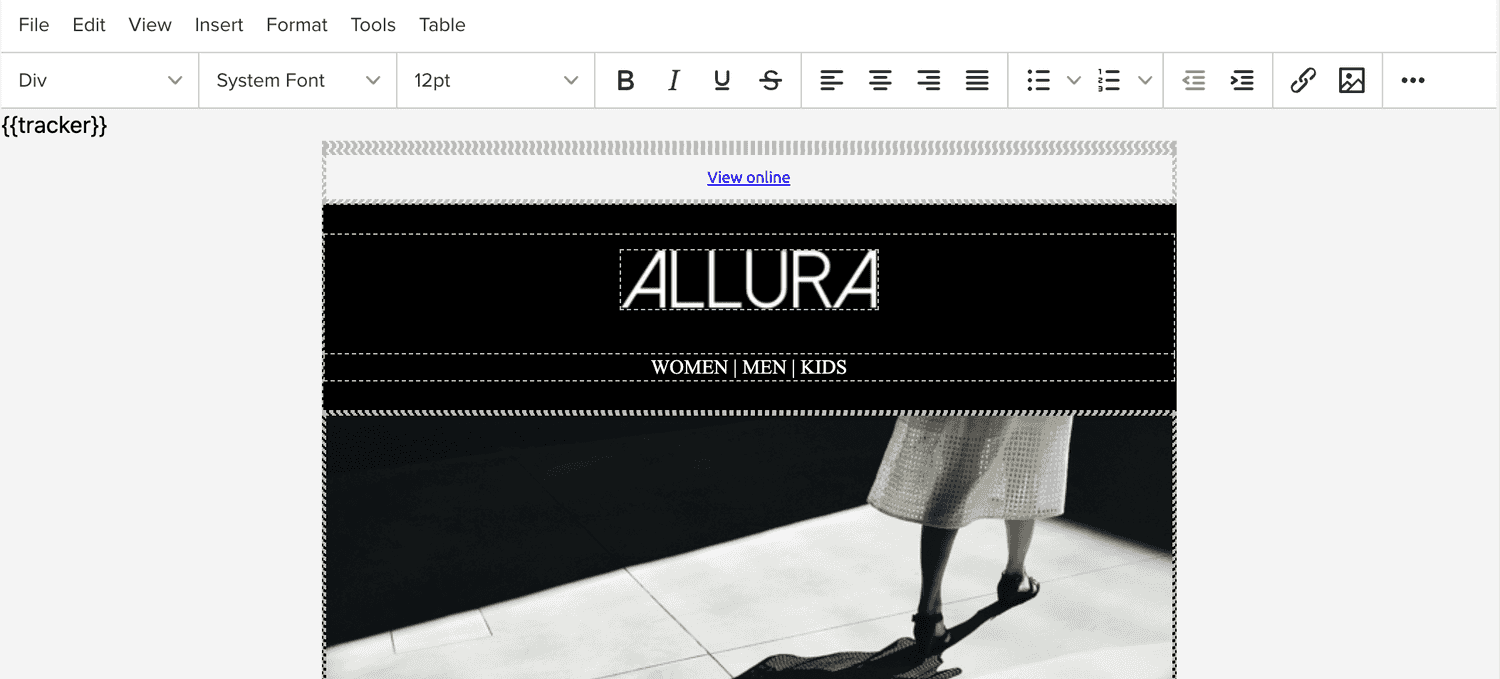
And the following area, a WYSIWYG editor, where you can inline edit your content:
Custom MJML
If you are familiar with MJML you can use this editor instead. It allows you to compose responsive emails where MJML tags can quickly be transformed into HTML.
In our email composer, you use this editor by selecting the following option:

Which will display an editor as follows:

Where you can add your MJML markup in the following area:
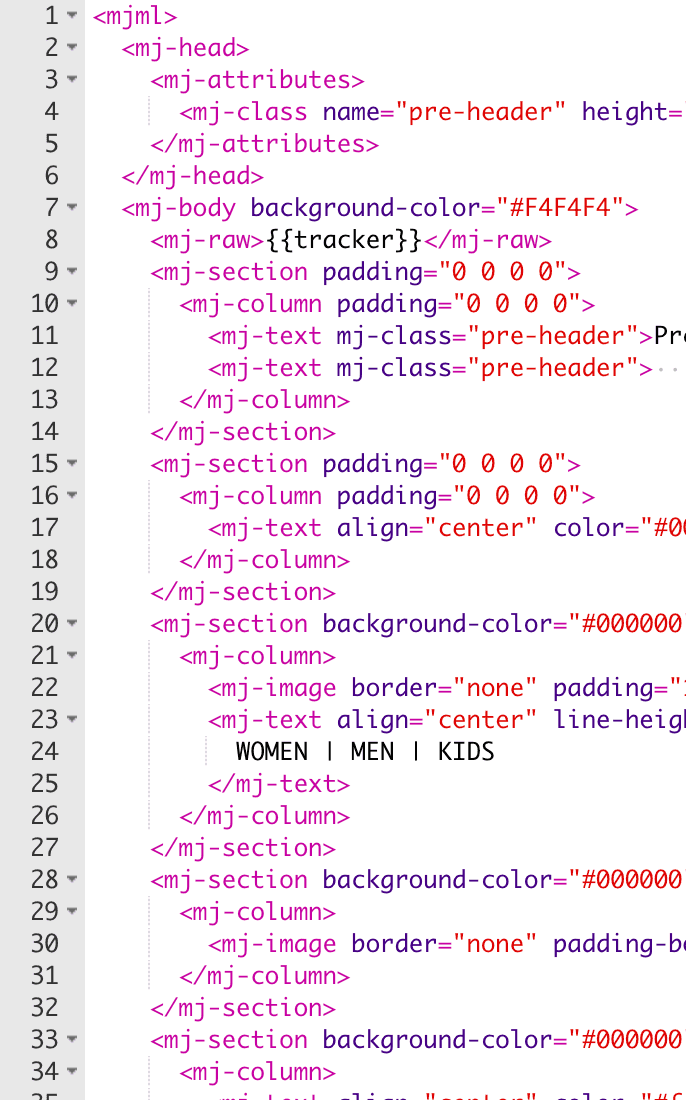
And visualize the resulting HTML in the following area:
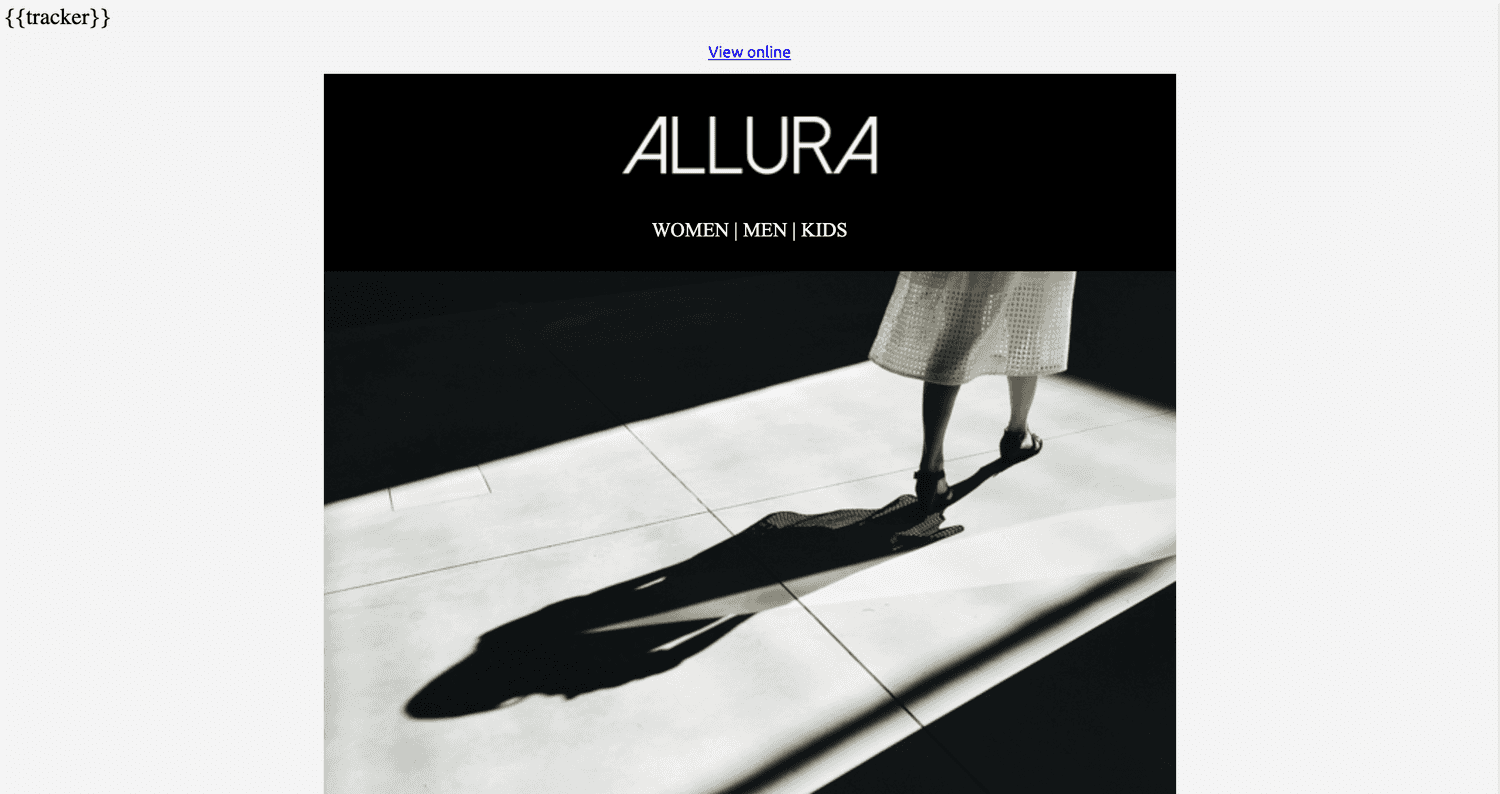
All these editors support the following system placeholders:
{{tracker}}
This placeholder makes sure we can track opens for your messages. Usually it should be included right after the opening body tag.
{{view}}
This placeholder provides you with a link to a web page containing the HTML message you create. It is used to provide a web version of your message in case email clients have any problem displaying the content of the message. Usually this is placed in a tag in the beginning of your content.
{{unsub}}
This placeholder provides you with a link to the unsubscribe operation. It should be used to let users unsubscribe for your email messages. Usually this is placed in a tag in the footer of your content.