Tags
In this area you can find all the Scannable Tags you create. Scannable Tags let users unlock new content when scanning NFC tags or QR codes from within your app. You will need to use SDK 1.10.0 or higher to tap into this functionality.
You start by expanding the Content Management menu item, then the Scannables menu item and finally click in Tags:

In this area, you will find all the tags you create:

You can also search tags using the following section:

You can create tag by clicking in the following button:

You will need to provide a name for your tag:

And select if you want to associate some content to it or not:

By default, None is selected, but you can choose to associate Rich Content to it. If you do select Rich Content, we will use a default one that you can change later. Please note that you cannot change the type of content afterwards.
Finally, you will need to provide the data embedded in your QR Code or NFC tag:

Usually, the most common data embedded in a Scannable Tag would be a URL using a URL Scheme that your app supports (Deep Links). Please note, this value cannot be changed afterwards.
Once you've created a tag, you can also edit it, by clicking in each entry on the list:

Important to note that tags will only be available for scanning if enabled, which you do by toggling the switch in each entry.
Inside this page, you will be able to edit the content of your tag, by clicking on this section:

Content in Scannable Tags is pretty similar to all the types of content we support for Push messages. You can find more information about it here.
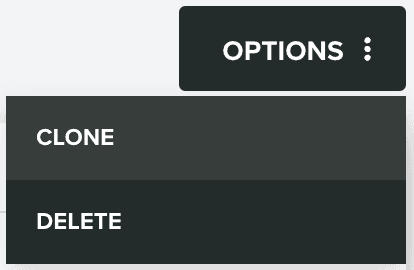
Additionally, you can also clone tags, by expanding the Options menu and click in Clone:

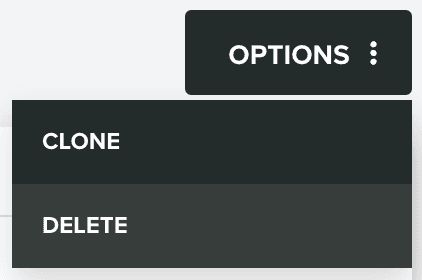
You can also delete tags, by expanding the Options menu and click in Delete:
