Manage 2FA
In this area you can enable, disable and reconfigure 2FA for your account.
For your protection, your account will use Two-Factor Authentication (a.k.a. 2FA) with the Google Authenticator app. Other 2FA apps are available on the app stores, but we recommend using Google's free authenticator app.
You start by expanding the Your Account menu item and click in Manage 2FA:

If 2FA is not enabled, you will see a page as follows:
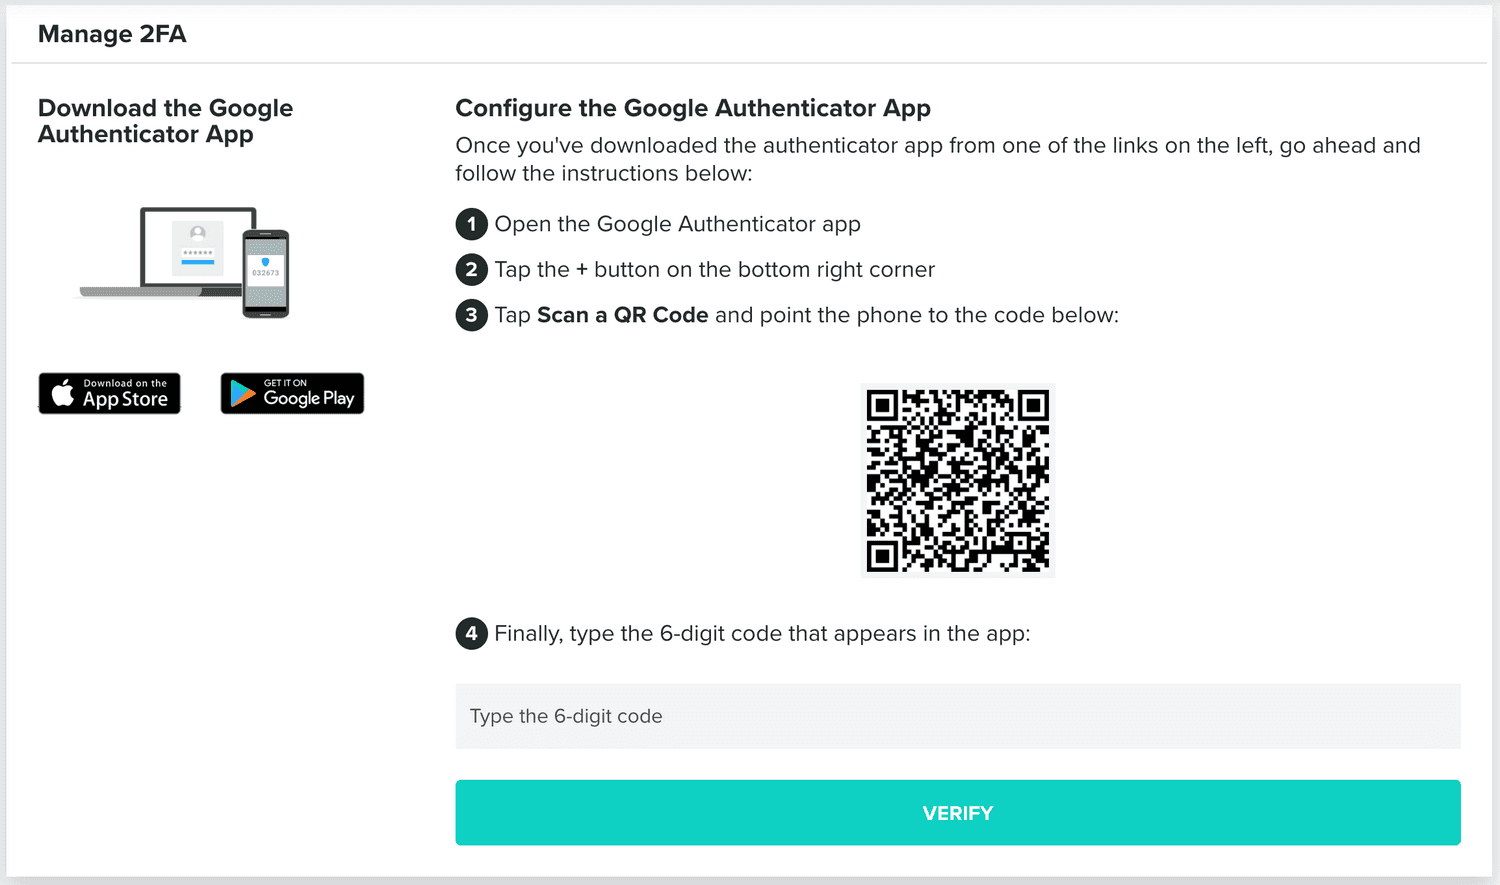
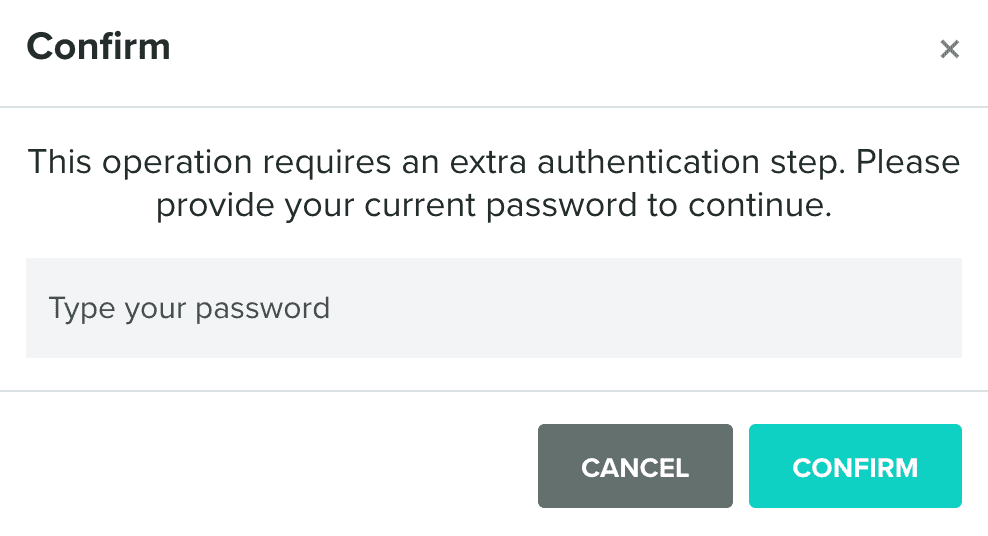
You should follow the instructions in this page, which will tell you to download the app, scan the QRCode and provide the 6-digit code the app generates. When you click in Verify, we will request your current password to confirm this set up:
Once you've enabled 2FA, you should see a page as follows:

You can at any moment reconfigure (when you have a new mobile device) or disable it. In both cases, before you can complete that operation, you will need to provide your password:
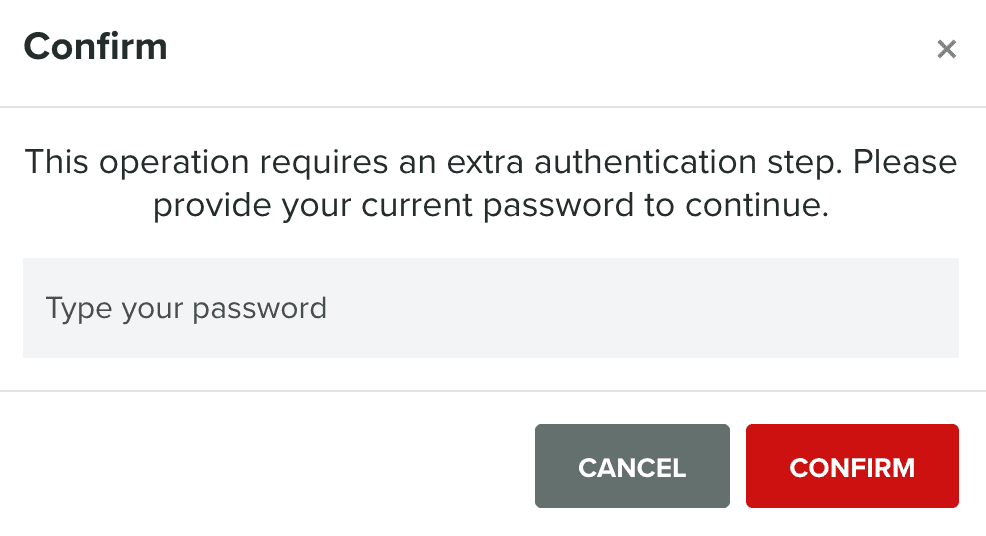
After that, this page will once again show you the instructions to set up 2FA as it initially did.
Although it is possible to disable it, you will always be prompted to enable it again whenever you want to access our dashboard. 2FA is mandatory for all accounts, except trial accounts. It will be required as soon as you accept an invitation to share an app using a Free account or when you enroll in a paid plan.
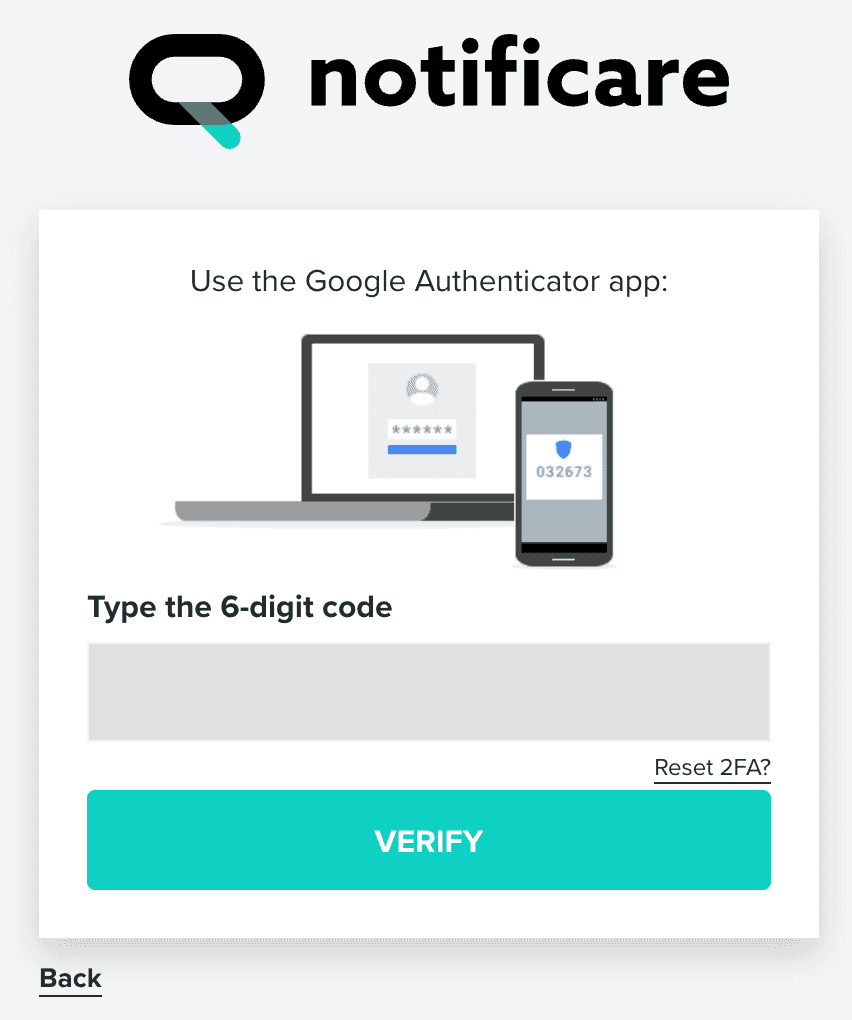
If you lose your authenticator device or your 2FA codes in any other way, you can reset 2FA via the sign-in flow in our dashboard, by clicking in the Reset 2FA? link as shown below:
To complete this reset, you will need to provide your password:
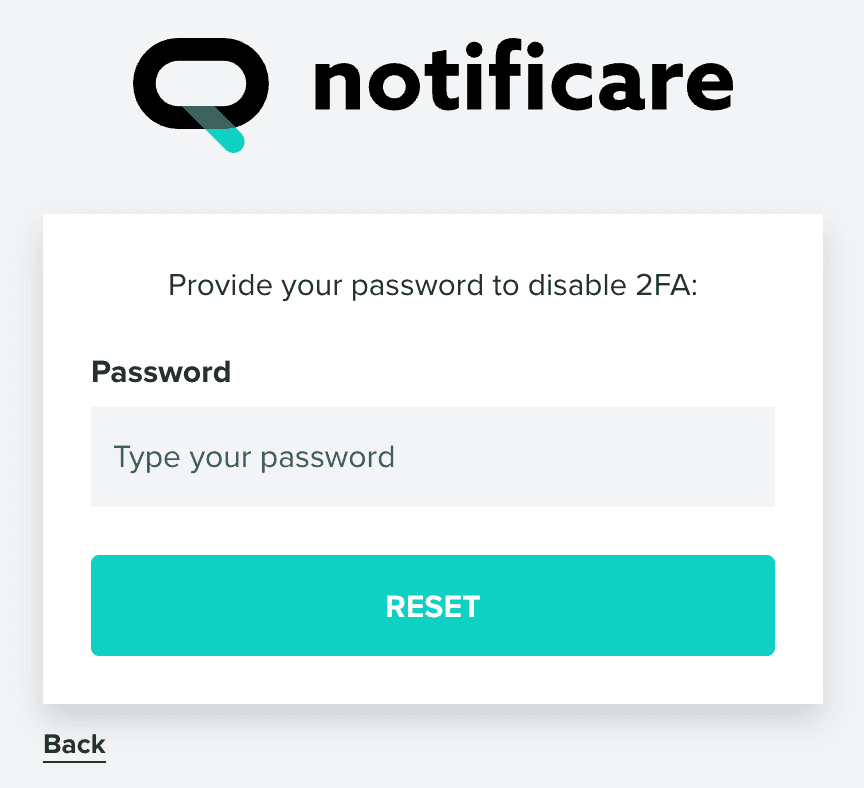
After that, your account will be deactivated, and we will send a message to your email address. In that message, you'll find a reactivation link that allows you to sign in once again. The first time you sign in, after this reactivation, you'll be required to set up 2FA.