Create Scannable Tag
In this page you'll learn how to create a scannable tag.
Expand the menu item Scannables and click in the Scannable Tags:

In this area you will find a button in the top right corner called New Tag, click on it to proceed:

You should start by naming the tag:

Then you should type the value you will write into the NFC tag/QR code or paste the value written on an existing one:

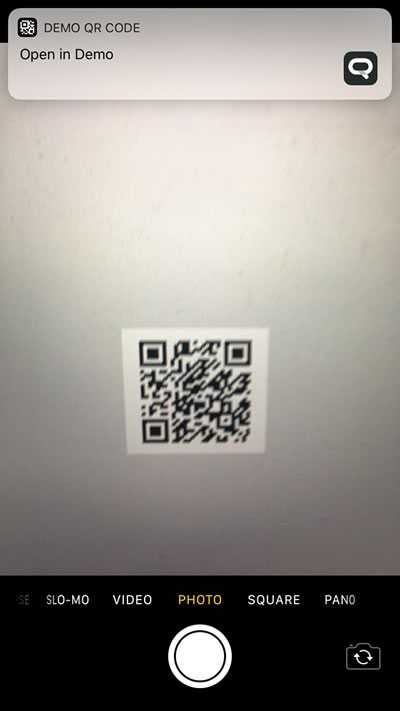
We strongly advise you to create payloads that use the URL Scheme supported by your app. This will allow you to also handle NFC Tags (Android) and QR Codes (iOS) without the user have to necessarily open your app.
Below is an example of the iOS Camera app allowing you to quickly open your app by scanning a QR Code:

And in Android or iOS 12 (in iPhone XS), NFC Tags can be opened by simply tapping a tag even when your app is not being used:

Optionally you can assign content to your scannable tag. You can have a tag without any content attached to it and in your app you will need to handle yourself any interaction you will want to create when the tag is scanned. If you want to present content when the tag is scanned then you can use the same mechanism used in notifications:

If you choose Notification as the content type, you will be able to compose your content after creating the tag.
Soon you are done configuring your tag you can go ahead and hit the Create Tag button:

Keep reading our guides and learn how to edit tags.