Share App
If you already enrolled into a paid Notificare subscription, you are allowed to share your apps with other existing accounts or even invite other persons to create Free accounts which will give them full access to your apps. To start inviting other people, expand the menu Settings and click in Share App from your app menu.

Please note that only the app owner is allowed share the app with other accounts. This menu item will not be visible for other accounts. In this page you will see two sections, the accounts you share your app with:

And the pending invites, which are all the invitations you send to share an app before they accept it:

In this area you can start inviting other persons to access your app, by clicking in the button New Invite:

This will open a window as follows, make sure you provide the first and last name and email address so we can invite this person to share the app:
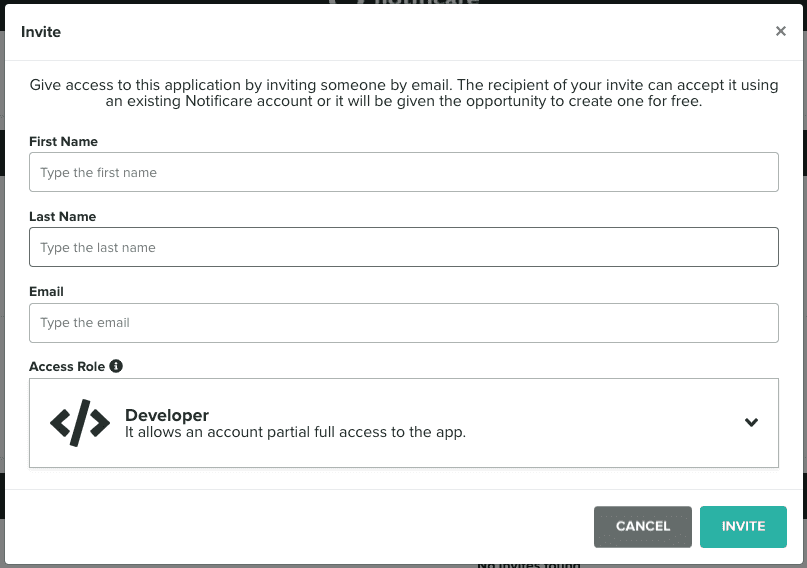
After completing this operation, your invite will be shown in the Pending Invites list like shown below.

At the same time the recipient of your invite will be receiving an email like the one shown below:
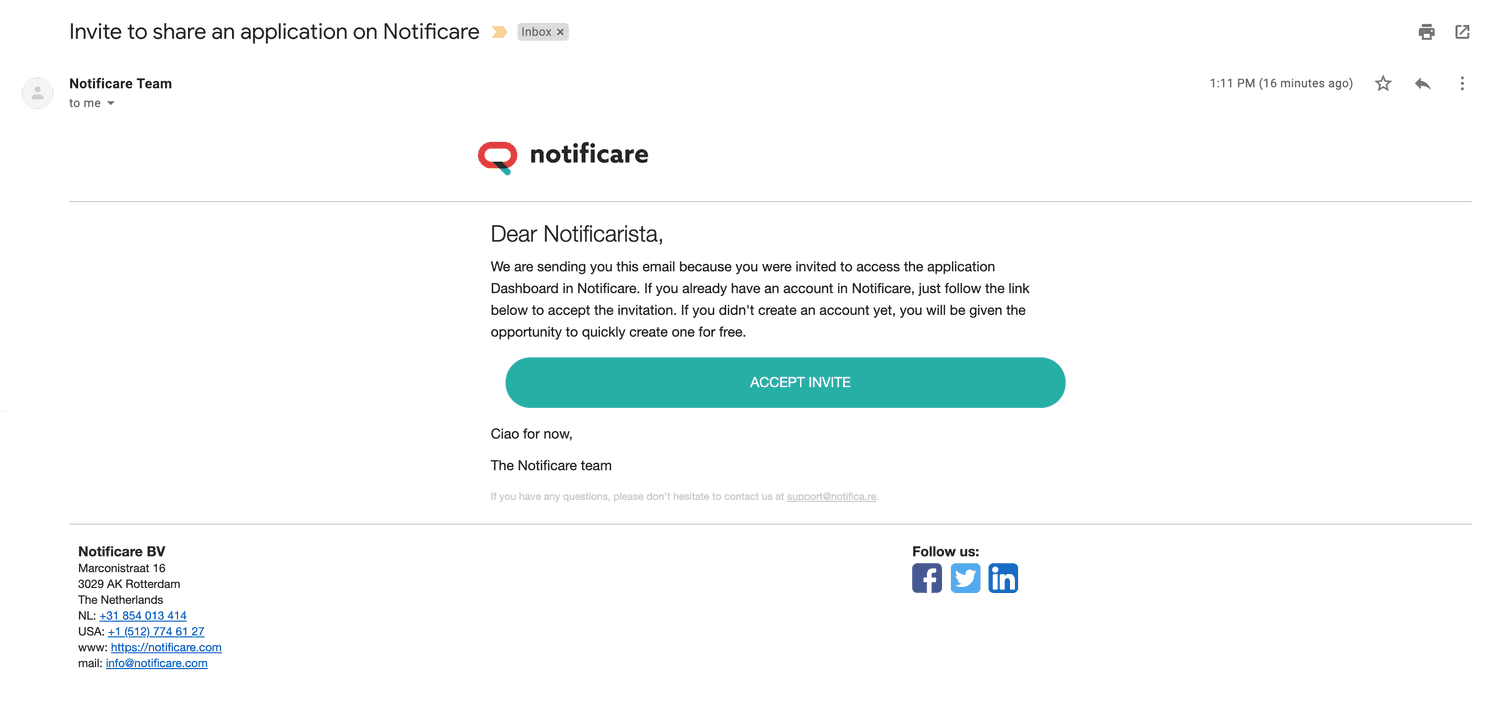
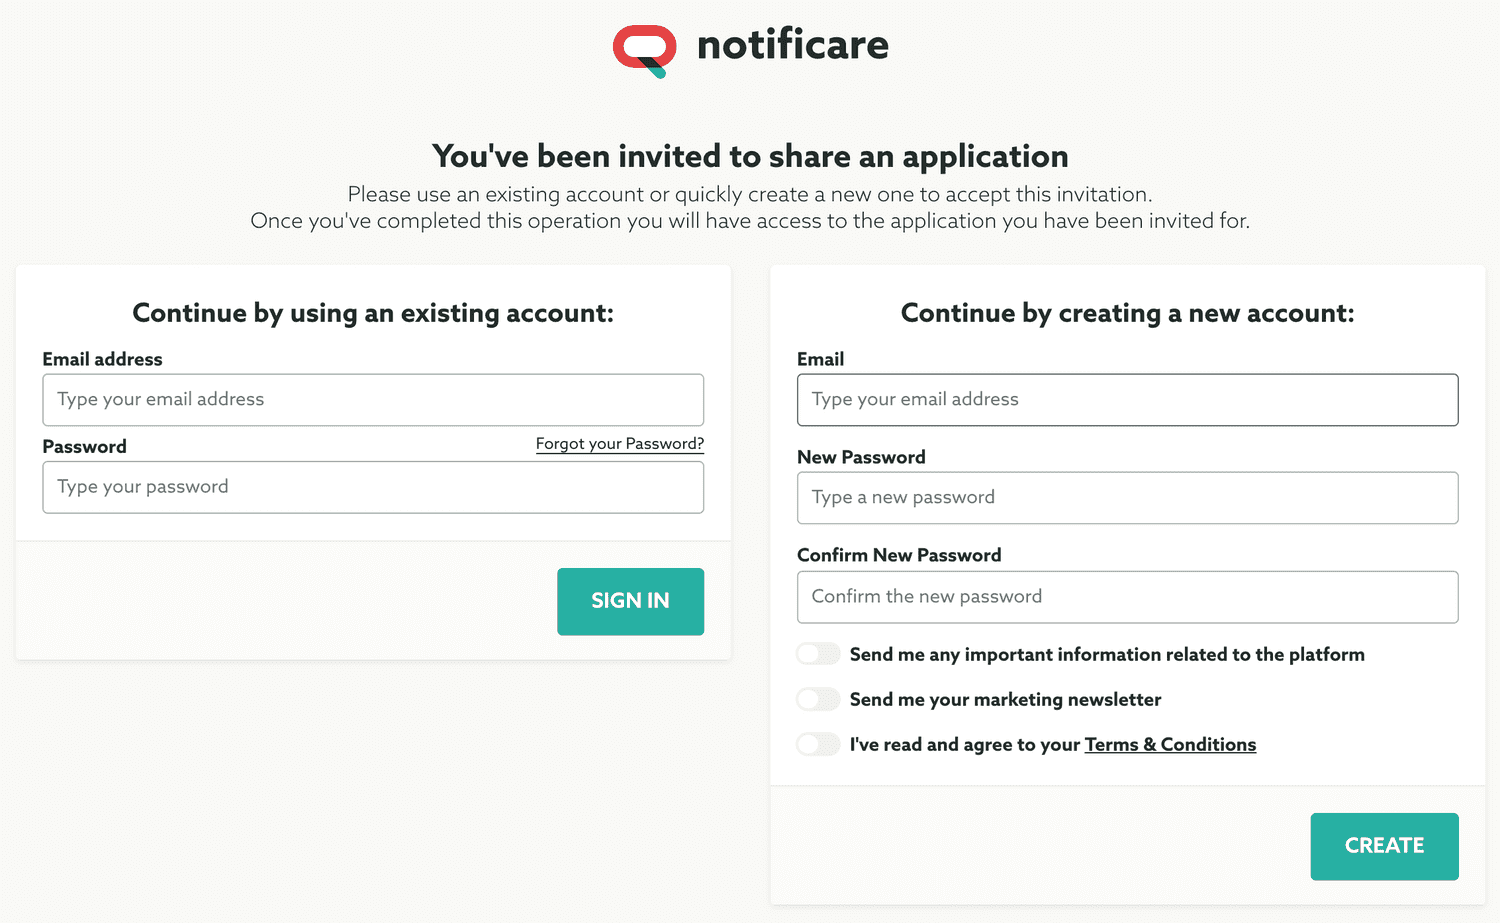
Your invitee should click the Accept Invite button to complete the invitation process. If the invitee is not yet logged in, a page like the one below will be shown:
If the invitee is logged in, a page like the one below will be shown instead:
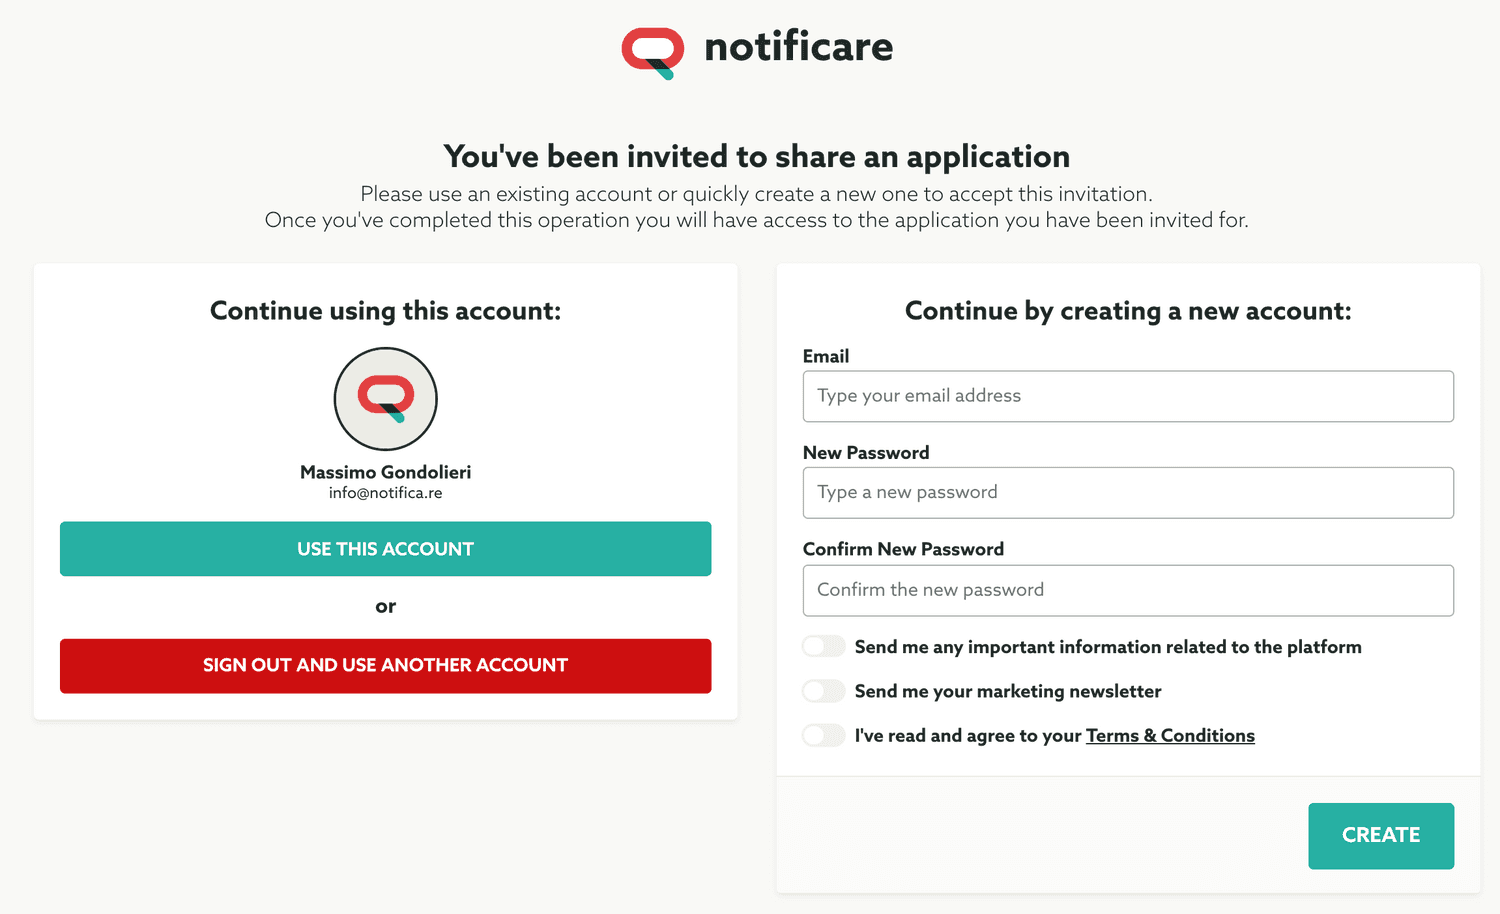
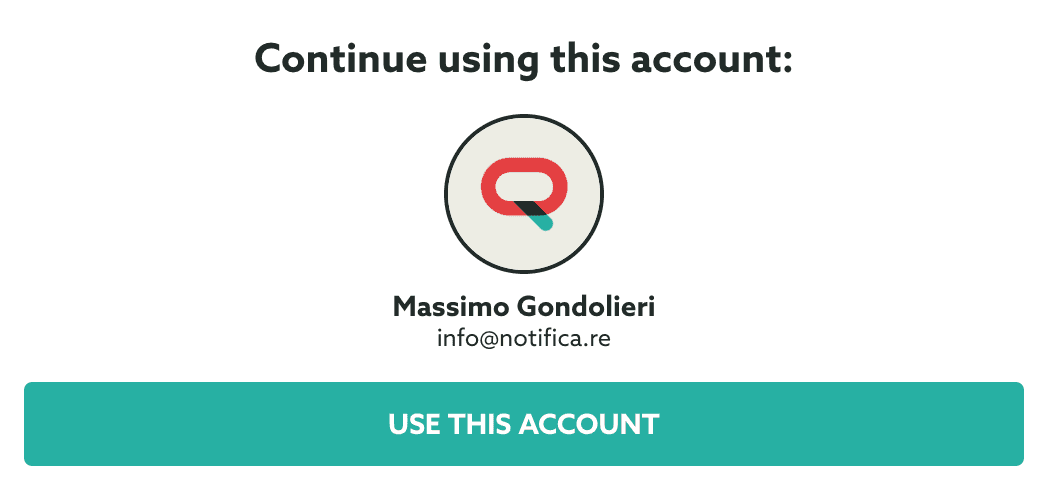
In this case accepting the invitation is simple, the invitee only has to click the button Use this Account:
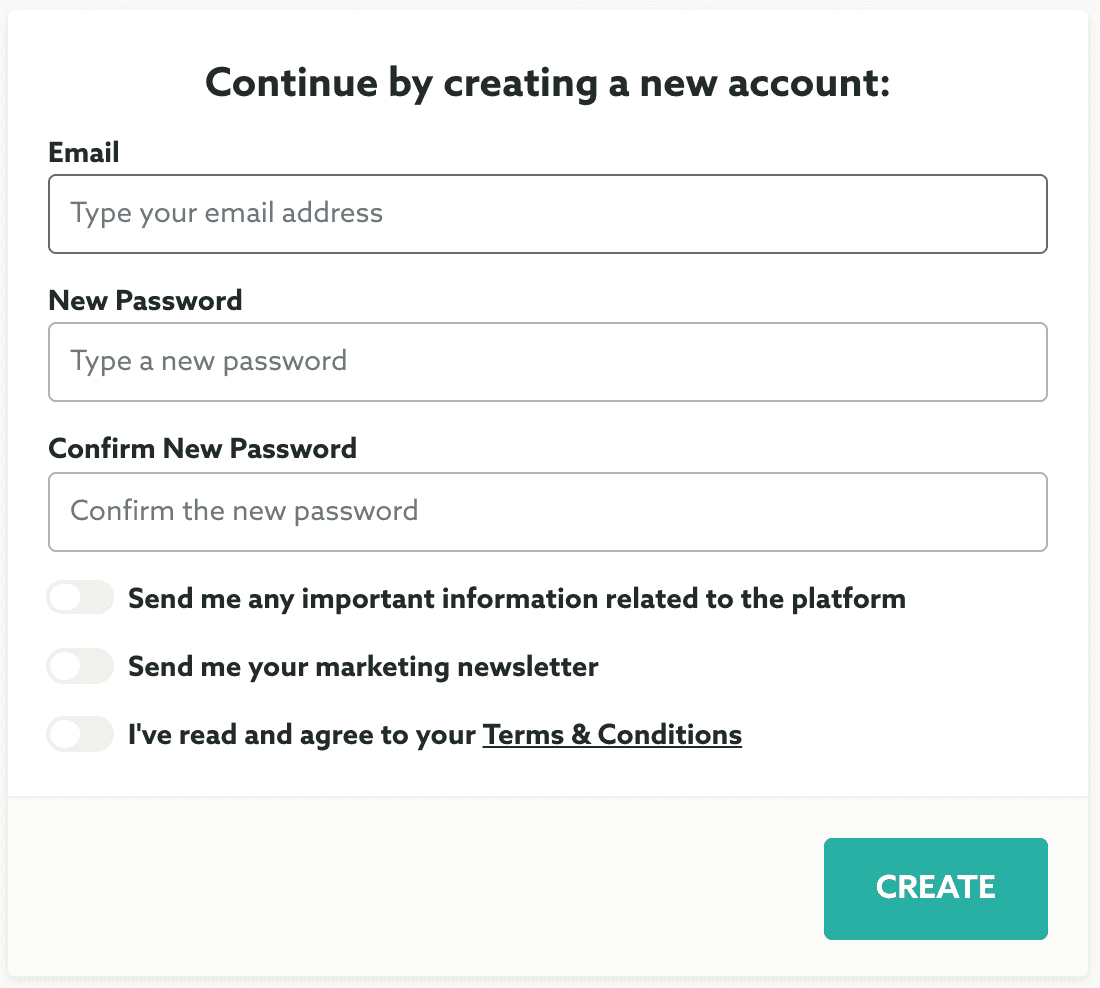
If your invitee does not have an account with us and would like a limited access account with no costs associated, a new account can be quickly created using the following form:
Whatever option your invitee chooses, once it is completed this process, the app will be visible in the Apps Shared With You list:

At the same time, after an invite being successful accepted, the owner of the app will see the following in the Share App page under Settings:

The owner of the app can at anytime revoke access to the app, by simply clicking the top right cross in the share account record. This will remove the app from the list of shared apps in the invitee account.
For all the accounts you share your apps with, you can configure some settings. By clicking in the shared account record, you will see a window as follows:
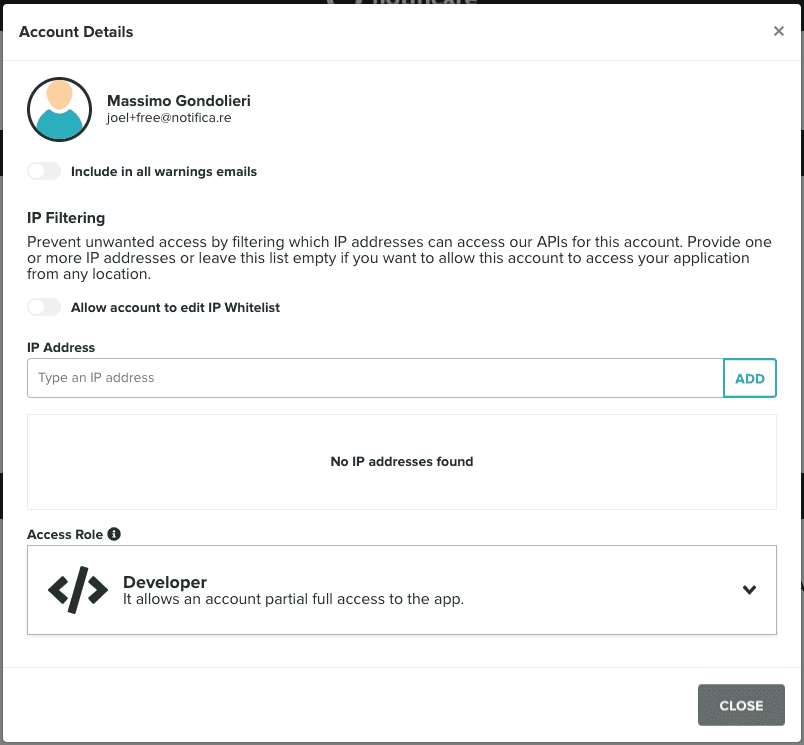
For example you can add this add to the warning emails list of recipients. This is done by toggling the option below:

You can also delegate the IP Whitelist management for this account. This will enable the account to manage the IP Whitelist themselves:

Additionally you can also add IP Addresses and restrict this account access to the REST API from a certain IP:

Finally you can also change the access role for a shared account:

After selecting a new role, you will need to click Set Role to confirm you selection:
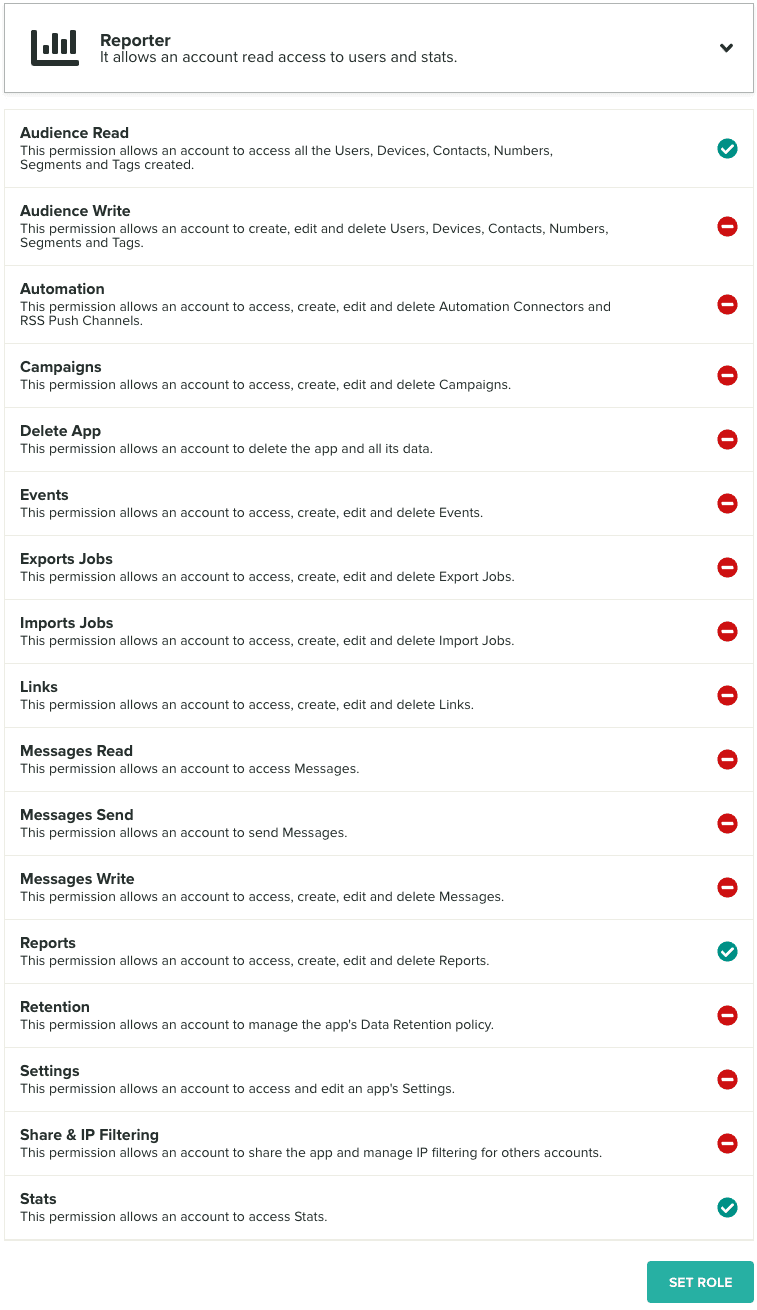
A shared account will have access to an app according to this access role. The shared account is also free to leave this app whenever they want. If that happens a new invite must be created and this whole process must be repeated.