Website Push
In this area you can setup your app up to receive Web Push notifications. This service is capable of sending remote push notifications to the majority of the modern internet browsers. In this area you will be able to upload a GCM/FCM server key necessary for Chrome desktop and Android legacy browsers, a VAPID for Chrome, Opera, Edge and Firefox desktop & Android notifications and a Website Push ID for Safari desktop notifications.
To access these pages, expand the Settings menu and click in Services like shown below:

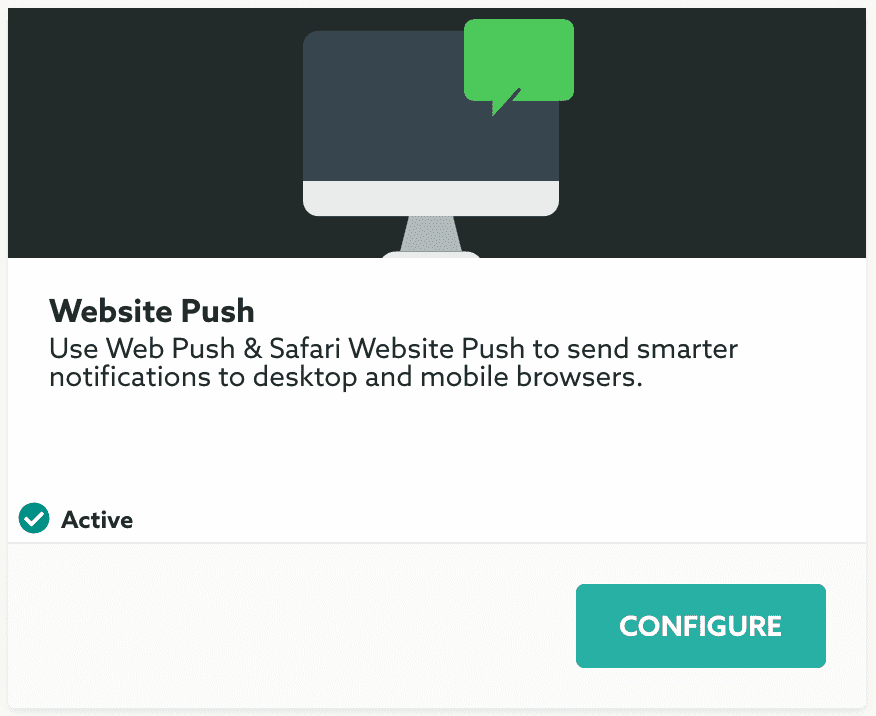
Then you should click the Configure button in the Website Push box:

To start configuring the Website Push service, please upload an icon for your app. This will be the icon shown in the native browser notifications, make sure it's a .png file (256x256px for best results) without alpha channels (no transparency):
![]()

As you add domains they will be shown in the list below, you can remove or edit them as you might see fit:

You'll also will need to provide us the URL Format String which will be the landing page for your notifications. This will be the page that will be opened when users click the native notification in their browsers. It must provide a placeholder with the format %@ (e.g: https://mydomain.com/?n=%@):

Finally you will need to provide platform wise configurations, depending on how many browsers you would like to support, without these settings web push notification in these platforms will not work. Initially you will see a section that looks like this:

To be able to send notifications to legacy Chrome and Opera versions, you'll need to provide us a GCM/FCM server key. To learn how to get this key please visit our guide here. Once you have a server key, paste it in the following field:

You can at anytime delete or update your GCM/FCM server key but bear in mind that if you have any subscribers generated with a certain server key, changing that key will render them obsolete.
To be able to send notifications to more recent versions of Chrome, Opera, Firefox and Edge (mobile Android & desktop) users, you'll need to upload an existing VAPID or generate one. If you already have a public and private VAPID keys, paste them in the following fields:

If this the first time you are setting VAPID keys, you can simply hit the Or Generate VAPID Credentials button.

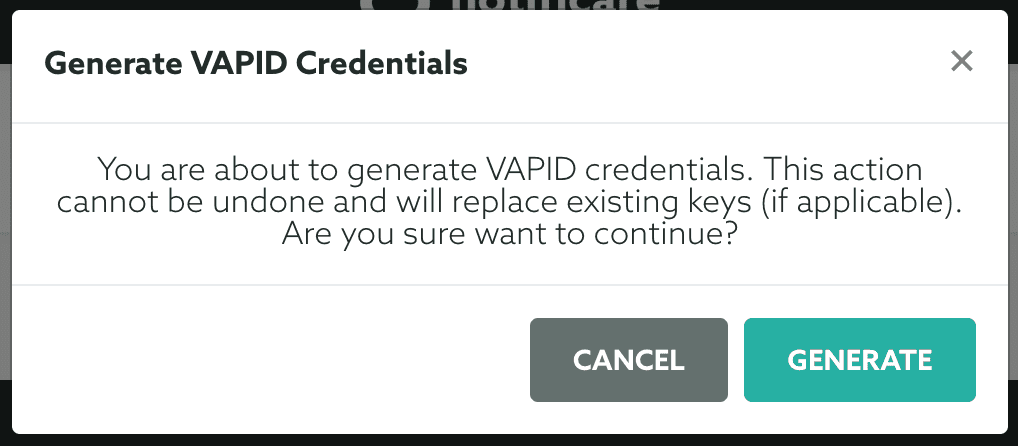
This will open a confirmation window like the one below, clicking in Generate will proceed to create your VAPID credentials:

Once you have successfully uploaded the VAPID keys or generated a new one, we will display something like this:

You can at anytime delete, update or generate new VAPID credentials but bear in mind that if you have any subscribers generated with a certain VAPID, changing these credentials will render them obsolete.
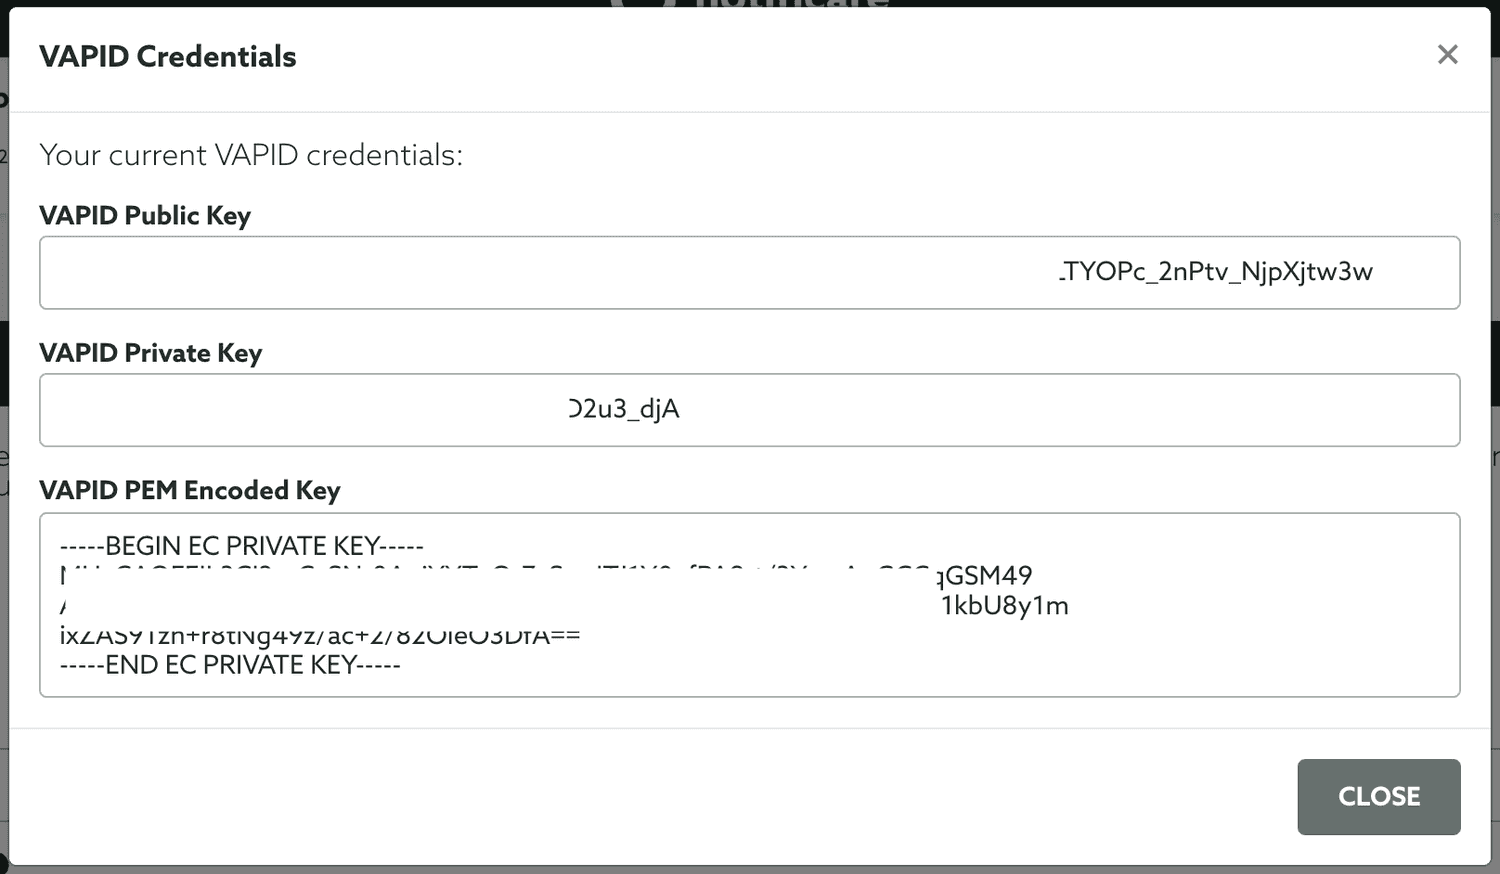
You can also export your current VAPID credentials at any time. Clicking in the Show VAPID Credentials button will open a new window like the one below:

This will be useful if you want to move to a new Notificare app or simply use another WebPush provider.
Finally to be able to send notifications to Safari (desktop only), you'll need to upload a Safari Website Push ID certificate, to learn how to generate this certificate please visit our guide here. Once you have a certificate upload it in the following field:

Because these files give access to any Web Push provider to send notifications to your website, it's a good practice to protect these files with a password. In the following field you should provide the password so we can open and extract the information in the file:

Once uploaded, a valid Safari Website Push ID will look like this:

You can at anytime delete or update your Safari Website Push ID but bear in mind that if you have any subscribers generated with a certain certificate, changing that certificate will render them obsolete.
Finally you should click in the Update button to make sure you store these changes:

At this point your service will also show as Active in the Services list:
At any point in time you can change any of the details in this page. Please note that any erroneous change in these settings in a production web app, might cause the disruption for your subscribers.