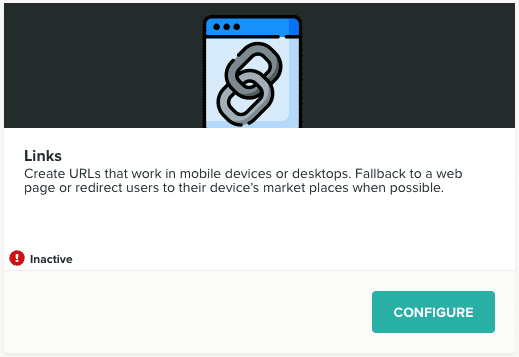
Links
Links are available in all our plans. They allow you to create shorter URLs that will dynamically open according to your users' devices. In this page you can setup all the configuration needed to create Links that open your app (if installed), the app store (if not installed) or ultimately a web page if executed in a non-mobile device.
To access these pages, expand the Settings menu and click in Services like shown below:

Then you should click the Configure button in the Links box:

Please note that before you finish successfully this setup, this service will show the Inactive sign. While inactive you will not be able to create any Links of type Dynamic Link.
To complete this configuration, you start by providing information for both the App Store and Google Play:

In the App Store tab, you will need to provide the information about the App Store ID:

This will make sure we can provide a fallback for your Links when users open the link in a mobile device that does not have the app installed.
You will also need to provide the information about the Bundle ID:

And the iOS Team identifier:

These two identifiers are mandatory in order to create valid iOS Universal Links.
For these Links to work in Android device is is also equally important to setup the Google Play tab. You start by providing the Android Package Name:

In order for us to be able to verify these links you will also need to upload your Android Fingerprints. These must be valid SHA-256 fingerprints (the same ones you use to sign your app):

For that you should paste the fingerprint in the following field and click the Add button:

Doing this will add them to a list of fingerprints as follows:

After configuring these 2 tabs it is imperative that you save these settings by clicking the Save button:

You are now ready to add URL prefixes for your Links. These will be unique identifiers that will give your links a more branded look. Basically any prefix you create can then be used with our links creating a URL in teh following format:
https://YOUR_PREFIX.ntc.reYou start by adding one in the following field:

Clicking the Add button will automatically create a prefix (if it does not exist yet):

After completing the setup below and adding at least one prefix, the service will be Active and ready to use.