In this area you can setup your Email Service. With this service your are able to send perfectly customizable HTML (with attachments) and/or plain text emails to your users. In this area you will be able to configure Notificare to send messages on your behalf as well as setting up pre-defined and localizable messages for new opt-ins or opt-outs. Please note that to use this service you will need to buy Email credits before you can start sending messages.
To access these pages, expand the Settings menu and click in Services like shown below:

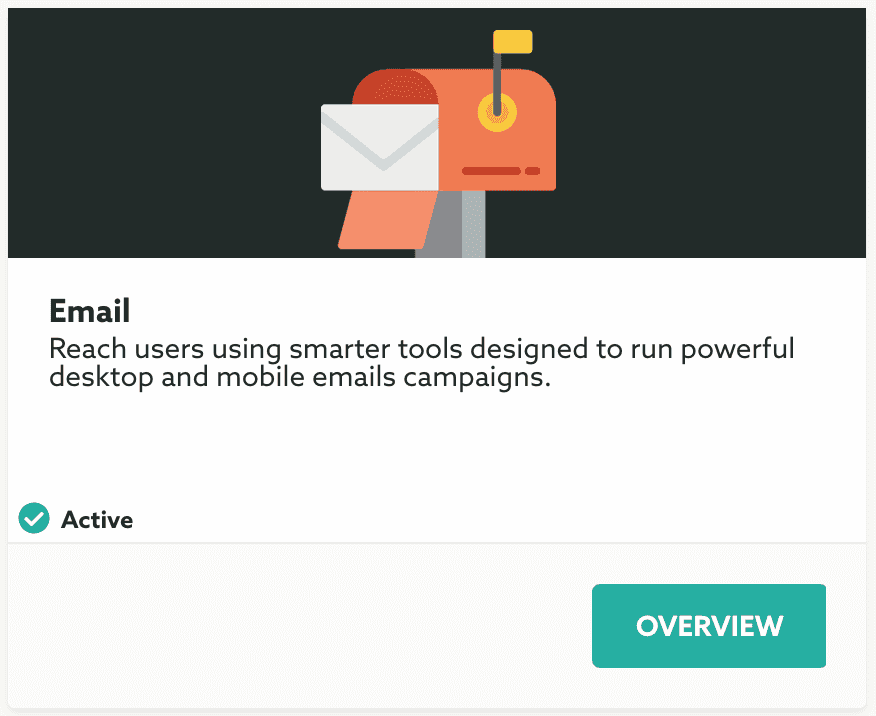
Then you should click the Configure button in the Email box:

To start configure your Email service, you need to make sure you have access to the DNS management of the domain which you wish to set as the sender address for your emails. In order validate this domain we will require you to add some DNS entries for your domain, without this set we will not be able to send emails on your behalf.
Soon you're ready to proceed, go ahead and start by adding the domain which you are going to use:

Then add the default sender name, this value will appear in all the emails you send in the as the FROM value (you can later provide a different one when sending messages):

Finally add the default sender address, pretty much like the sender name, this value will appear in the FROM value (you can also provide a different one when sending messages):

Then simply hit the Save button to store this changes:

If successful, this domain will be now be pending for validation, go ahead and expand the Show instructions for DNS setup:

You will have to add all these entries to your domain's DNS. This will make sure we can send email on your behalf. Once you have insert these entries and it propagates throughout the network we will be able to confirm this domain is now validated by showing you the following icon next to your domain's field:

At this point your service should be active and you should be able to send email messages. Additionally, in order for all features to be fully functional, you should continue to set up all the options below this point. You can start configuring how your new subscription's validation emails will look like. The minimal setup will require you to provide this data in at least one language but you are also able to provide this data in any other languages you want. For that simply toggle the options below:

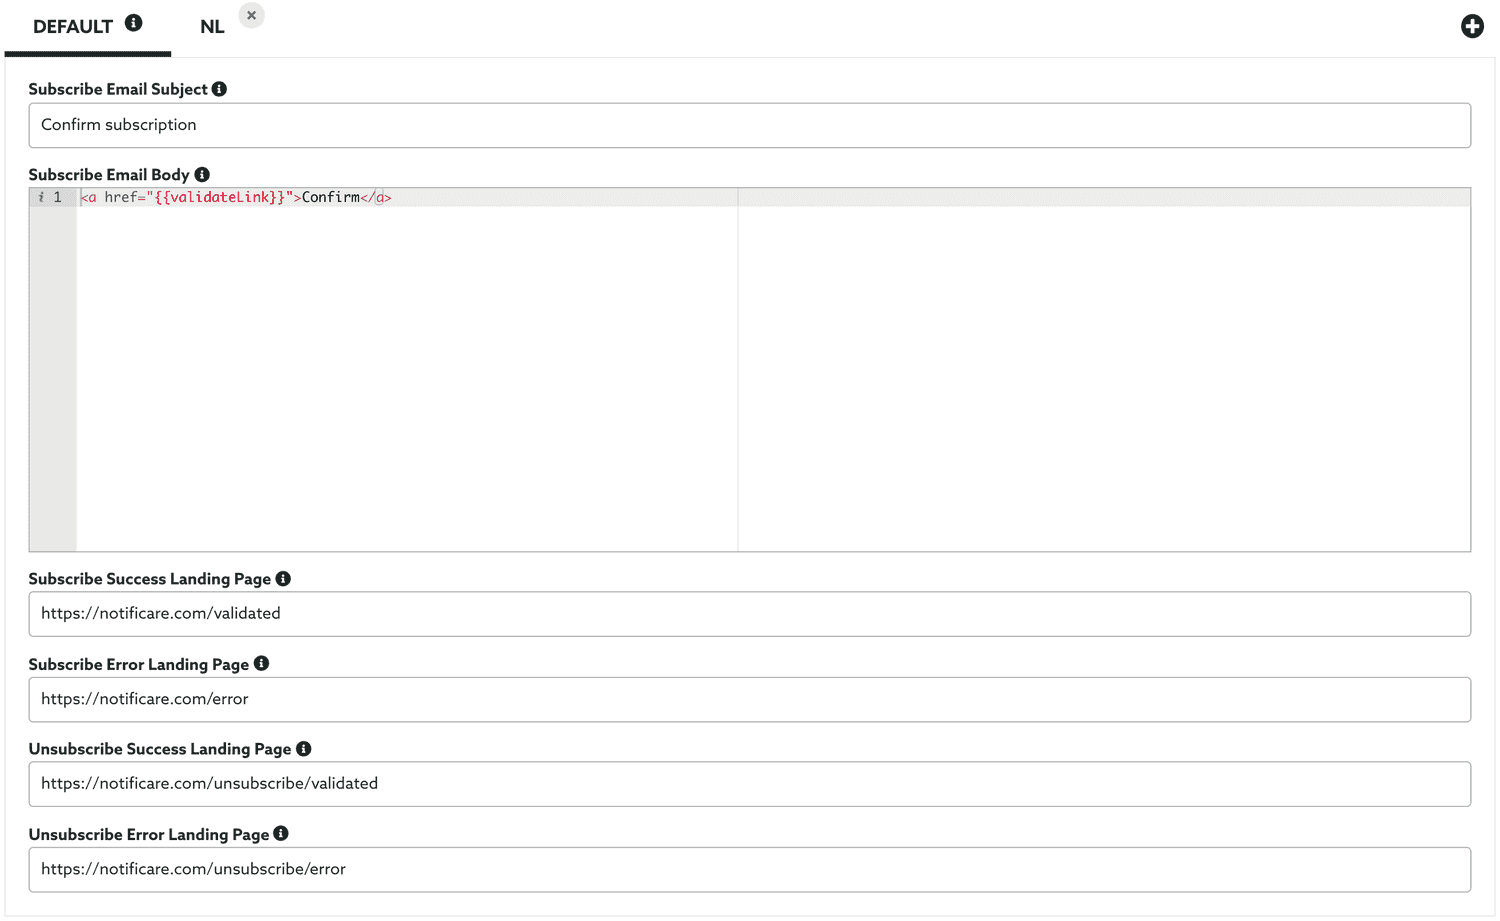
Then provide a subject for the new subscription email, this will be the subject of the email message sent to your users whenever they subscribe in your apps:

Then provide a body for the new subscription email, this will be the body of the email message sent to your users whenever they subscribe in your apps:

Please note the placeholder used in the body, you should include {{validateLink}} as the href value or a link in your body. We will automatically replace this placeholder with a fully functional link that will take care of the users validation. Only after users successful validate their email, we will consider your subscribers valid and available for email messages.
Then make sure you also provide the success landing page URL for a new subscription. This will be the URL we will redirect subscribers after they are successfully validate their email address:

You should also provide the error landing page URL for a new subscription. This will be the URL we will redirect subscribers if an error occurs while they validate their email address:

Because you will want to include a unsubscribe link in all your campaigns, you should also provide the success landing page URL for an unsubscription. This will be the URL we will redirect your subscribers after they are click in a unsubscribe link:

You should also provide the error landing page URL for an unsubscription. This will be the URL we will redirect subscribers if an error occurs while they unsubscribe their address:

Providing both a success and error URLs, will allow you to include the {{unsub}} placeholder in your email messages.
If you provide support more than one language, you should fill in the same exact fields for all the languages you wish to support. We will use the use it according to the language captured at the time of the subscription:

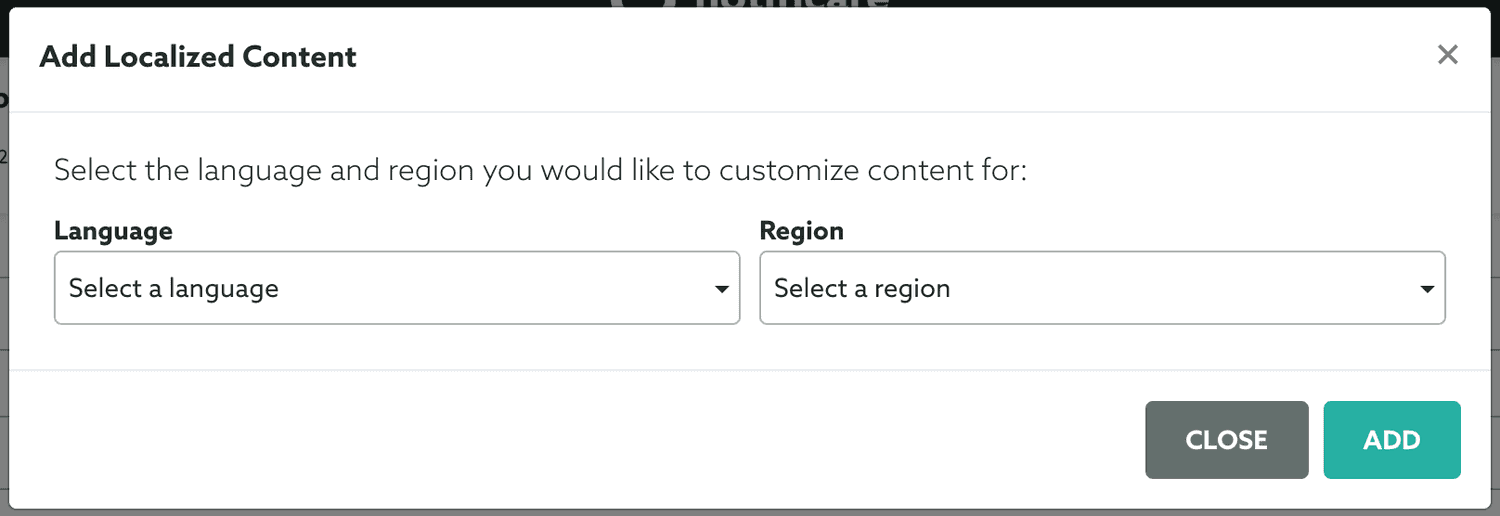
To add more language click the icon on the top right corner, this will open a window like this one:

Simply select at least the desired language, you can also select a combination language/region in case you're looking to support countries where one or more languages are used (e.g. be-NL, be-FR) and finally hit the Add button:

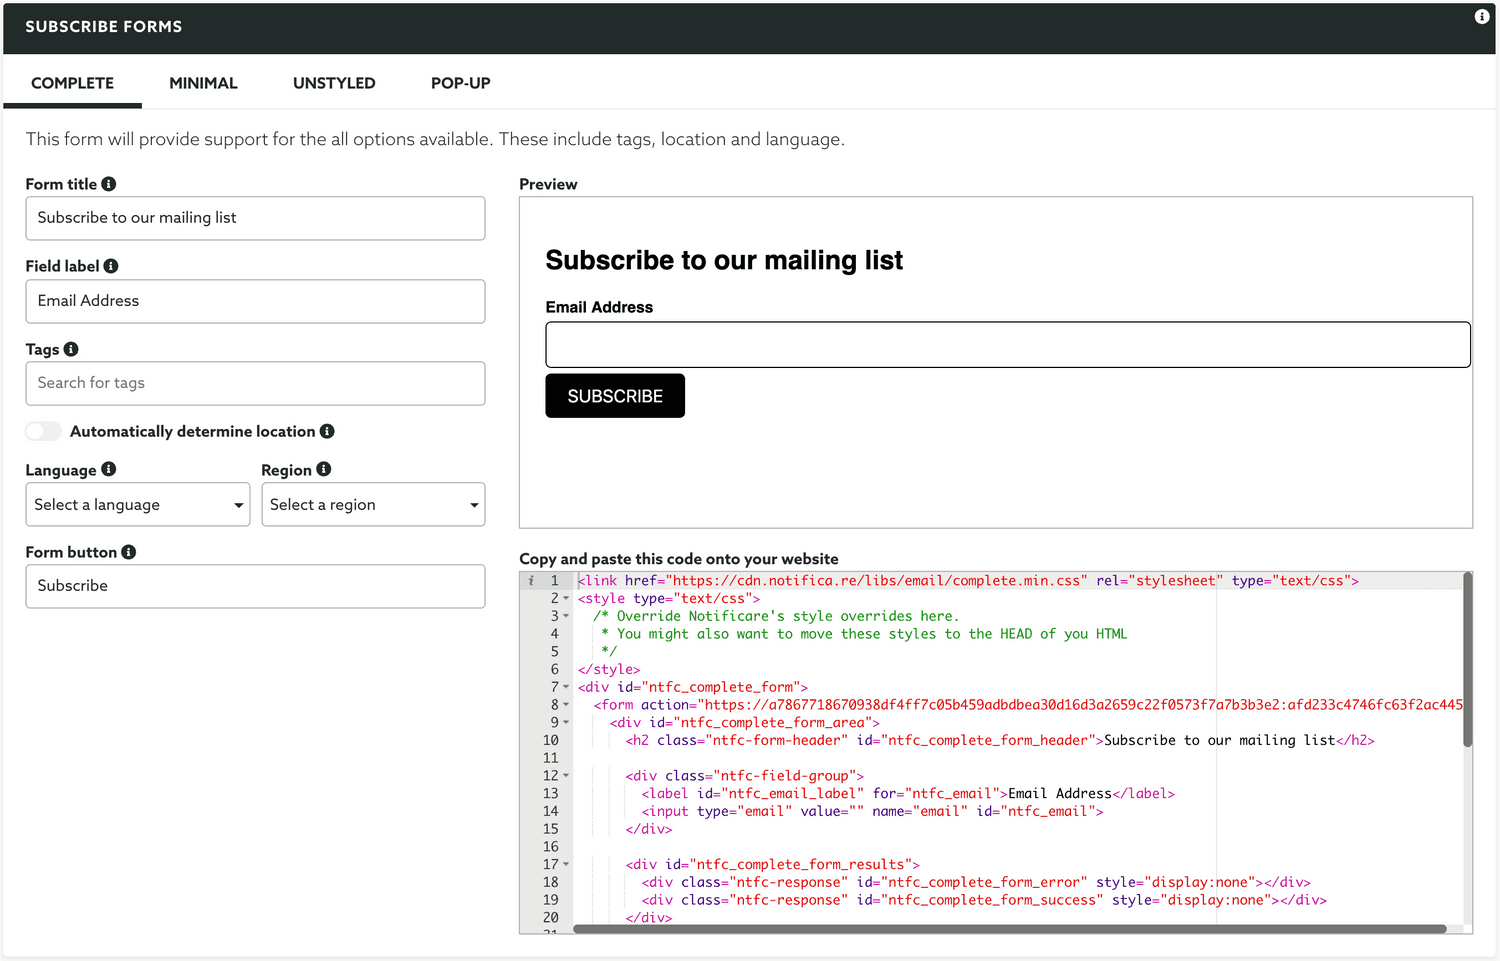
Once you have finished setting up all your Email service, you can then implement a form to capture email addresses in your website or apps. To accelerate this process we've developed a ready-to-use solution that you can quickly copy and past in your websites:

Simply select one of the options available and include it in your website, you will be ready to start capturing email addresses in no time.