Configure App
You can at any time change the base configuration of your app. To do that expand the Settings menu and click in Configure App:

In this page you can manage base settings for your application. For example, you can change the icon shown throughout the dashboard, by uploading a .png image (preferably 256x256px) in the following field:
![]()
You can also find the Notificare's identifier for this app (this field cannot be changed):

You can however change the name of your application in the following field:

You can also change the category of your app. The value in this field helps us determine industry benchmarks for apps running in our platform.

You can also change the User Registration mode in your app. By default, this will be set to Device Level which lets user profiles to be created from any front-end (your app using our SDK) or back-end application (your server using our REST API). If you wish to be a more strict and only allow user profiles to be created via our REST API (recommended) please set the following field:

Please note that if you have our Users & Authentication add-on, this setting will not be visible in this page. Instead, you should manage it in a different area like described here.
Furthermore, in this page, you can also set the amount of time we will keep users active. When you select a period of time other than Forever we will deactivate all active users which the last active date is older than the option you've selected.

For this option you can select between Forever, One Month, Three Months, Six Months, One Year, Two Years or Three Years. Depending on the metrics your business cares about, you can choose to deactivate users older than one of these options. We will only charge you according to the number of active users in your account. If a deactivate user, opens your app, will automatically become active again.
If your mobile app is published in Apple's App Store, you can provide us the App Store ID. This value will unlock functionality like presenting your App Store data or allow you to use the Rate App notification type (iOS 10.1 or below).

If your app is published in Google Play, you can also provide us with your app's package name to help us retrieve the same exact data from Google's app store.

You can also provide a default value for the userName placeholder. If you use placeholders in messages, anonymous users will not see any text when you use the {{userName}} placeholder. By providing a text in the field below, you can have a default value for this placeholder:

To help you tackle marketing pressure and prevent sending too many message to your users, you can use the following option to define the maximum amount of messages sent to a given push device, email contact and phone number during a certain period of time:

You can select between hour, day, week and month, and once you've defined a limit, you can also break through this limit on a per-message basis, when sending messages via our dashboard and API.
User Data Fields
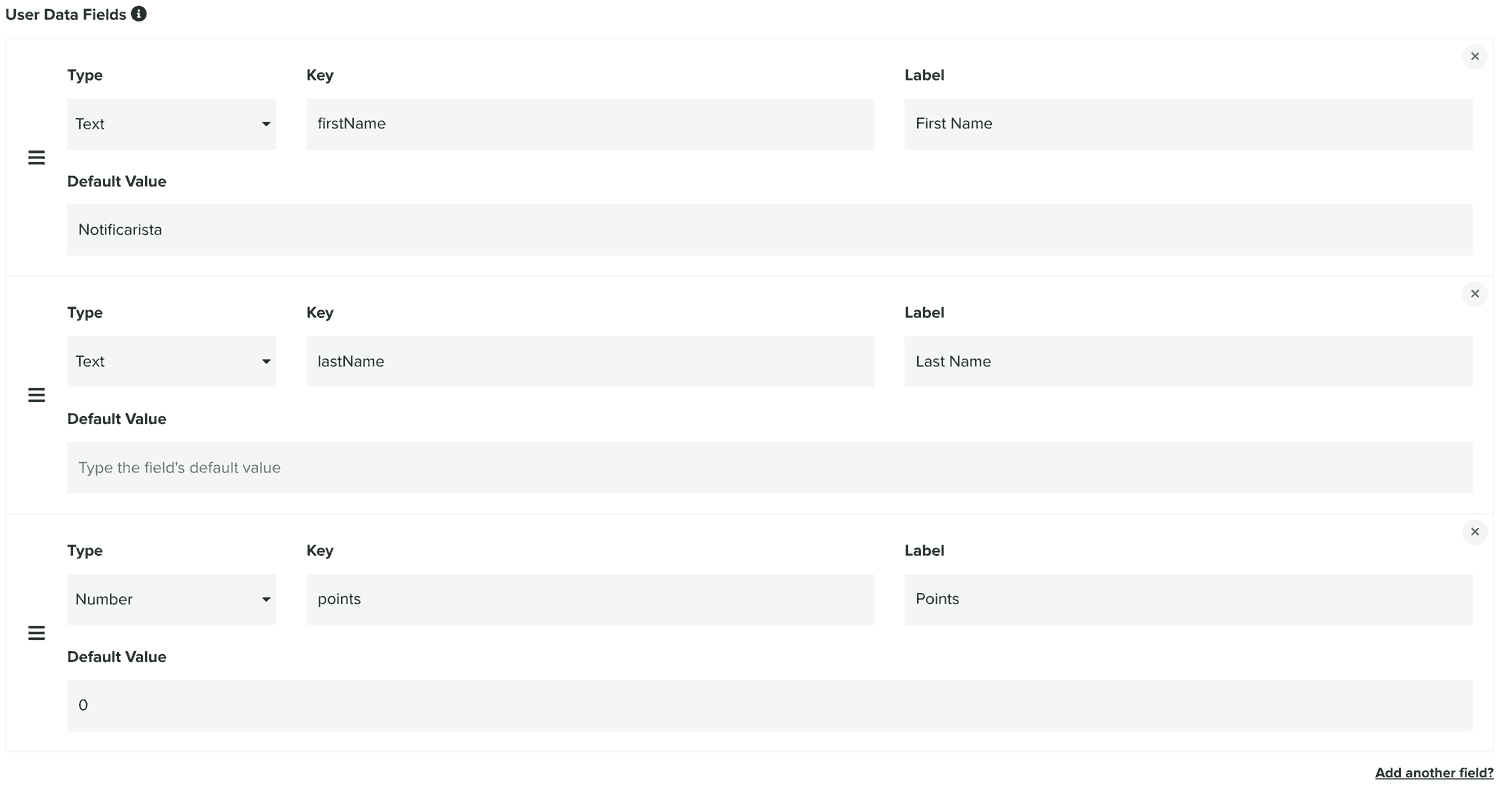
In this page you can also configure your Users Data Fields. These key-pair fields can be used by your apps to store additional data for each device. We will also allow you to use the values stored in these fields as placeholders in your messages. This can help take message personalization to a whole different level. To add fields simply click in the Add a Field? link:

For each User Data Field you add, you will need to select a Type and provide a Key (machine-readable string), a Label (human-readable string) and optionally a Default Value (human-readable string). The Key for each field will be used by developers to assign values so should make sure it does not contain any spaces or special characters. Optionally, you can also provide a default value for this filed using the Default Value field, this will make sure something is shown when no value exists for a field when you use it as a placeholder ({{userData.YOURKEY}}) in your messages:

Because these fields can be displayed in your mobile or web app, you might need to change the order which they are displayed. For that, simply drag & drop the field to a new position by clicking in the icon below:

After you add all the fields you want, you will have a list similar to the one shown below.

Do not forget to click in the Update button to store any changes you do to fields in this page.

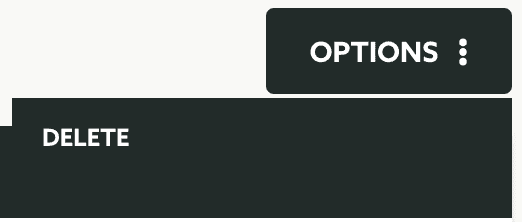
If you own an app, in this page, you can also delete the app. This is a destructive action and cannot be undone. Once you confirm you want to delete the app, you will not be able to recover it or any of its data. To delete the app click in Delete under the Options menu.

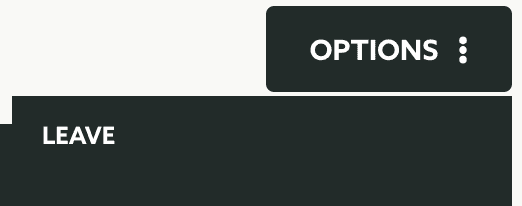
If you do not own an app, in this page, you can revoke your access to it. The app owner can still invite you again to share the app at any time in the future. To leave the app click in Leave under the Options menu.
